How to Easily Edit Text In Cricut Design Space
Learn how to easily manipulate and edit text in Cricut Design Space – and learn how to make a fun summer themed basket for a water balloon fight!
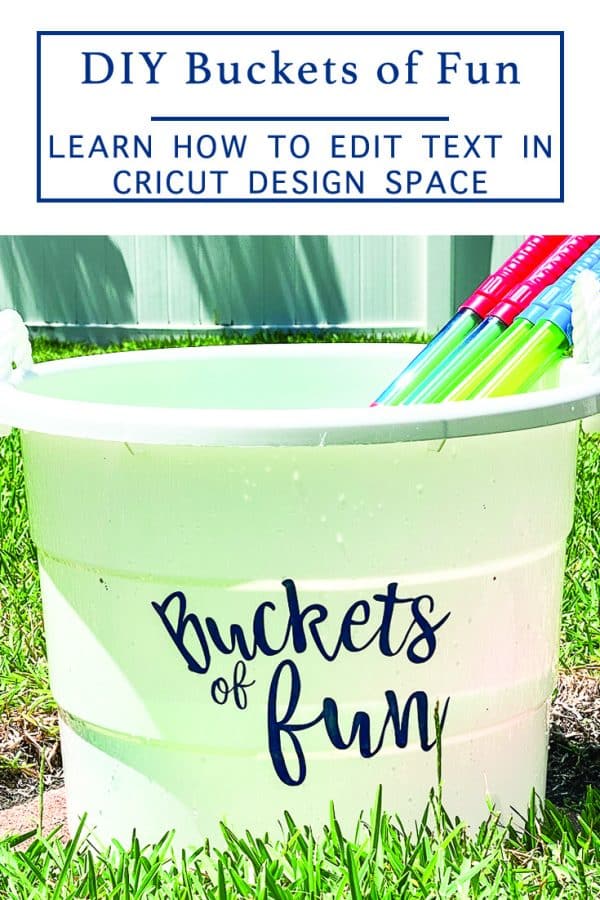
Summer officially starts for our area next week, and I am ready for Buckets of Fun! I love a good water gun and water ballon fight. So, when I saw this giant bucket at Target recently, I grabbed it and some water toys.
But, I didn’t want this bucket to get used for grill stuff, or hockey gear, so I added a cute vinyl decal to the front of it. However, I wasn’t in love with some of the text options in Cricut D.S., so I had to quickly edit the text in Design Space.
Editing text with your Cricut isn’t too difficult once you know how to do it.
Summer Fun
We love water balloons, reusable water sponges, water guns, and water cannons at our house. Every year on the first day of summer we go to the store to get fresh new water play toys to start our summer fun.
Typically, we just refill our water reservoirs from the pool, but I thought the bucket would be a great alternative to that and serve as a storage bucket for our toys too!
Make a Decal and Edit Text in Design Space
I wanted to make a simple decal for our bucket, but I really didn’t want to use a print style text. I wanted to use something that was more like a script. And, script text in Design Space isn’t connected. So, I had to edit it to make each letter connect properly.
If you already know how to edit text, and you just want this cut file, you can find the Design Space image here.
A Little Bit of Design Space Text
First, let’s talk about the basics of text in Design Space:
- If you have Cricut Access, you will have access to TONS of different fonts. You can also purchase fonts within Design Space, which are usually around $4.99
- Design Space also pulls in any fonts that you have downloaded on your computer – so if you download a font from the web or purchase it from someone, it should show up. If it doesn’t, completely exit out of Design Space and resign in it, and it should be there! Here is more information on how to use your own fonts in Design Space.
- There are different styles font styles – regular, bold, italic, bold italic, and writing. If you are going to be using pens, make sure you select “writing” and then change your line type to “draw”.
- You can change your font size, the spacing between the letters and the spacing between lines of text.
- If you have different text boxes that you want to line up, you can select them all and press the “Align” button at the top of the Design Space screen. Don’t get this confused with “Alignment” – this is a tool you can use to right, center, or left-align your text.
- Curve is a relatively new tool, but it makes it so you can easily curve your text without having to ungroup the letters (which we will talk about below).
- To create a new font box, just click the “text” box on the left side of your screen
Editing Design Space Text
Now, let’s talk about ungrouping your text so you can edit your text. This is a great technique for moving letters closer together, connecting cursive fonts so they connect more cohesively, and making certain letters in a word larger.
Step 1
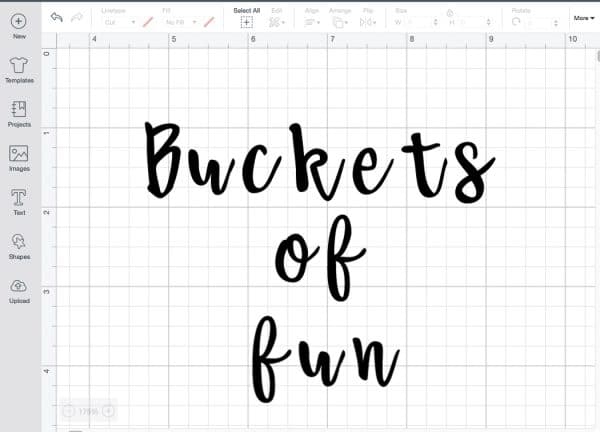
Open Design Space and type out your text. I used the Babette font for this project.
I also made a new text box for each word.
Step 2
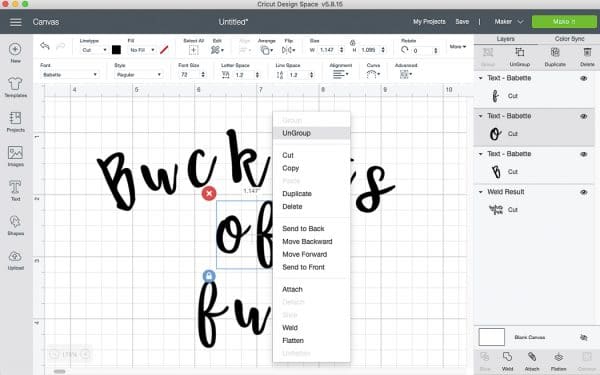
Highlight the text after you have typed it out, and select ungroup. You can click ungroup in the right tool bar, or in the center tool bar under “advanced” you can select “ungroup to letters”. This will separate each letter.
Step 3
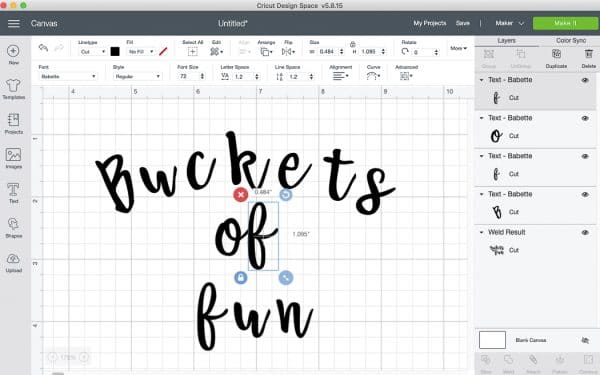
Next, select a letter, and move it so that it is touching the next letter. If your letter has a negative space, like an “A” make sure that the letter next to it doesn’t go into the negative space.
Step 4
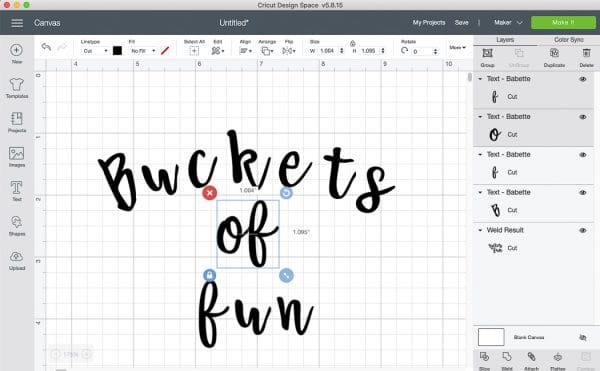
Once each letter is where it should be, select the whole word and click on the weld option.
This will create one cut “image” instead of one for each letter.
Repeat the steps above for each word.
Step 5
Now, adjust the spacing for the words. Once you are happy with that, select the whole phrase or name and weld together.
Optional
I wanted buckets to have a slight arch to it. So, before I ungrouped the text, I arched it some. Then, I created an oval under the text to mimic the arch.
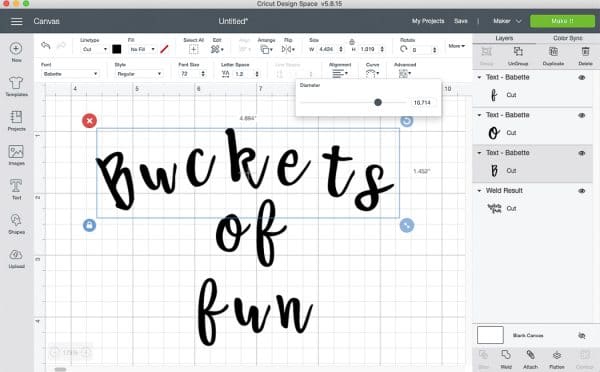
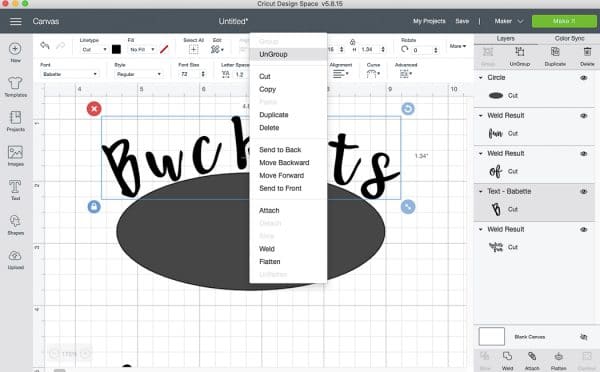
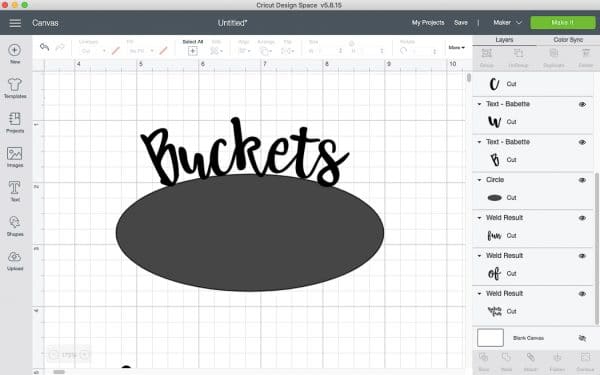
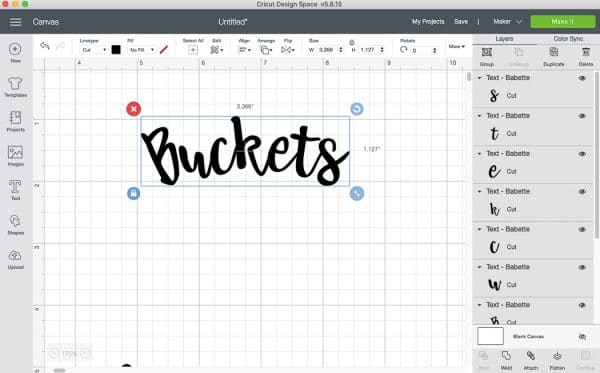
Next, I ungrouped the letters in the arch, and moved the letters on each side of the middle letter along the curve of the oval to keep the arch. Once I was satisfied with the spacing and the look of the text, I removed the oval. Then, I selected the arched text and welded it together.
How to Make This Project:
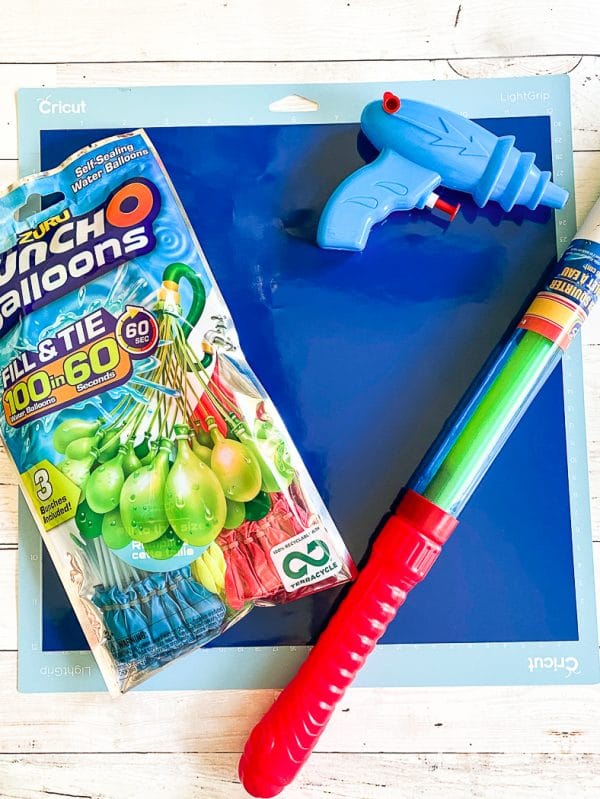
Once your project is ready to cut, send it to the Cricut to cut.
Step 7
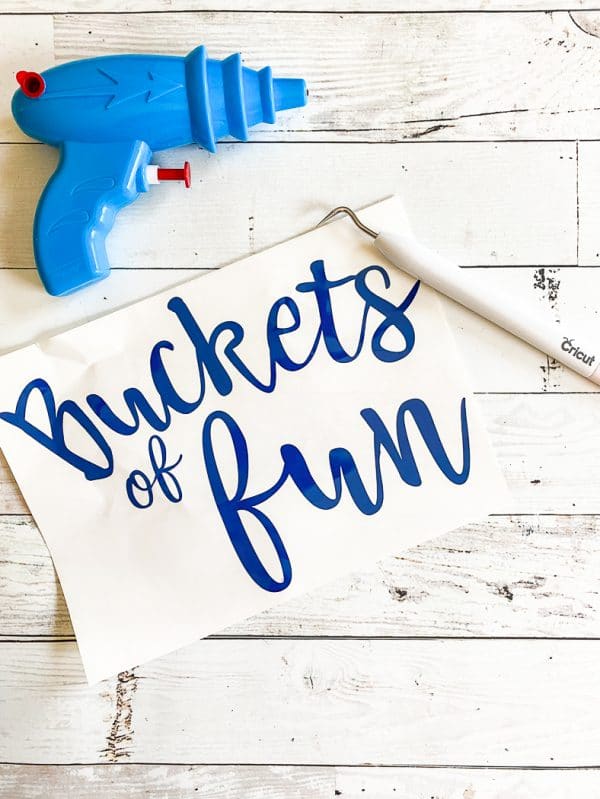
After the image or text is cut, weed the excess vinyl and apply transfer tape over the remaining vinyl.
Step 8
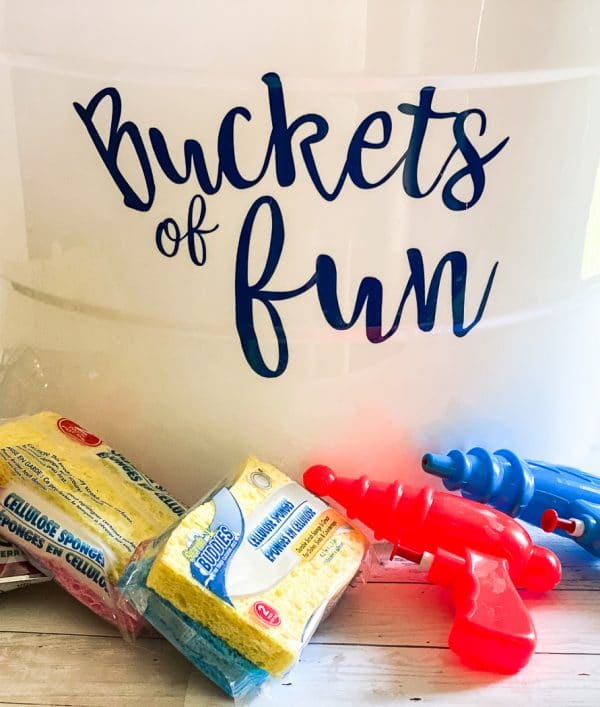
Apply the vinyl decal to a bucket. You could use a smaller bucket too and use them as a fun summer party favor or neighbor treat!
Step 9
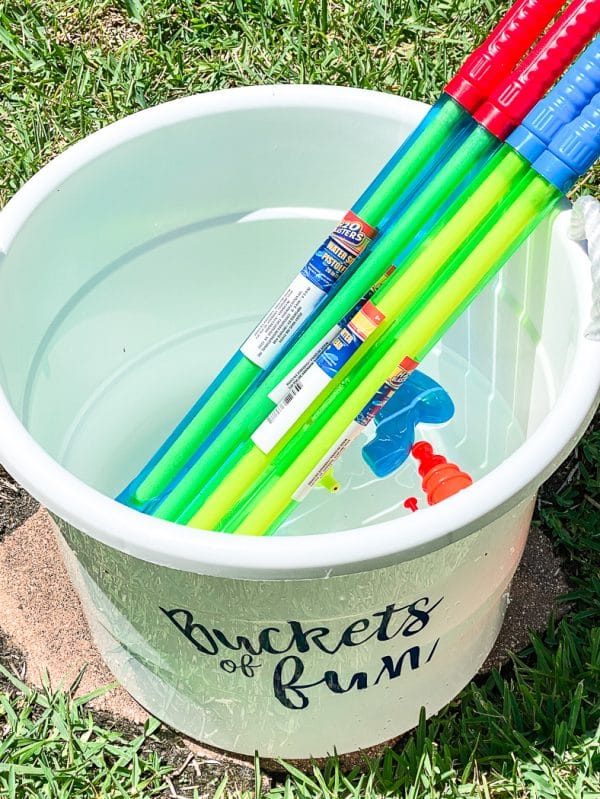
Fill your bucket with water and have buckets of fun this summer!
Other Cricut Tutorials You May Enjoy:
- DIY Custom Window Cling
- How to Curve Text in Design Space
- Design Space Desktop: What You Need to Know
Other Summer Posts:
- The Summer Slide: 13 Resources to Avoid Summer Brain Drain
- DIY Slip ‘n Slide Kickball
- Best Water Activities for Kids
