How to Get More Storage on Your iPhone
If you searched, “how to clear storage on iPhone” you are in the right place. Below you will find the best tips to manage iPhone storage and maximize your space – no matter how many GBs you have!
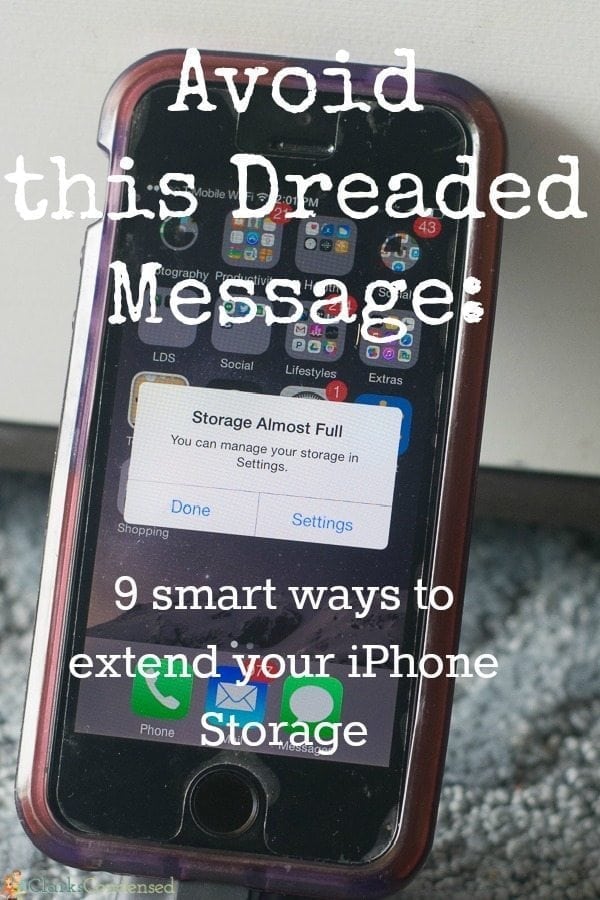
If you need a quality but inexpensive iPhone case, the one pictured above is AMAZING. It’s the only brand I get for my phones. the one pictured above is AMAZING. It’s the only brand I get for my phones.
We’ve all been there – there’s the perfect picture-capturing moment and you get the dreaded message that your phone is almost out of storage. If it’s really bad, it just tells you there’s no space left. And you can’t take that picture or video that you wanted to.
As someone who takes pictures and videos all the time, I have this message pop up far too often. When I bought my first iPhone, I could only justify buying the 16 GB version. While it is a lot of space, and I lasted about five months before it started giving me that dreaded message, and I had to start getting a little bit better about maximizing my phone’s space.
Since then, I’ve gotten other iPhones, and fortunately, I’ve been able to get the ones with a lot more storage (and let me just say….totally worth it). But I know that’s not always an option for people.
I know that you could just delete photos and that would solve most people’s iPhone storage issues…but 1 – that takes a lot of time and 2 – you usually have to delete photos at a time where you haven’t had a chance to back them up. Who wants to lose their pictures?!
So, luckily for you, I’ve sought out all sorts of tips on how to manage your iPhone storage the best.
First off – you want to see how much space your phone has, how much is being used, and what is hogging up all the space. Just click on Settings – General – Storage.
From there, you can see what is taking up the most space. Chances are, it’s photos and videos. However, it could be something else (like music or apps.) Depending on what is taking up the most storage, you can read the section below that is most applicable to you – though I think it’s wise to read all of them.
So, without further adieu, here are a few ways to maximize your iPhone’s storage!
How to Manage Storage on iPhone
Delete unwanted apps
You might be thinking – why would I have unwanted apps? I downloaded them!
Well, you might be surprised how often you download a random app on a whim, never end up using it, and you totally forget it’s there. For instance, I like to think I keep my apps fairly condensed. However, I just went through my phone, and I ended up deleting five apps that I haven’t used in several months and have no intention of using anytime soon.
If you delete an app, it just goes to iCloud, so it’s not like you are losing the data. If you realize you want an app you deleted later on, you can just re-add it to your iPhone and pick up where you left off! Just go into the Apple App store and you can see all your past downloads!
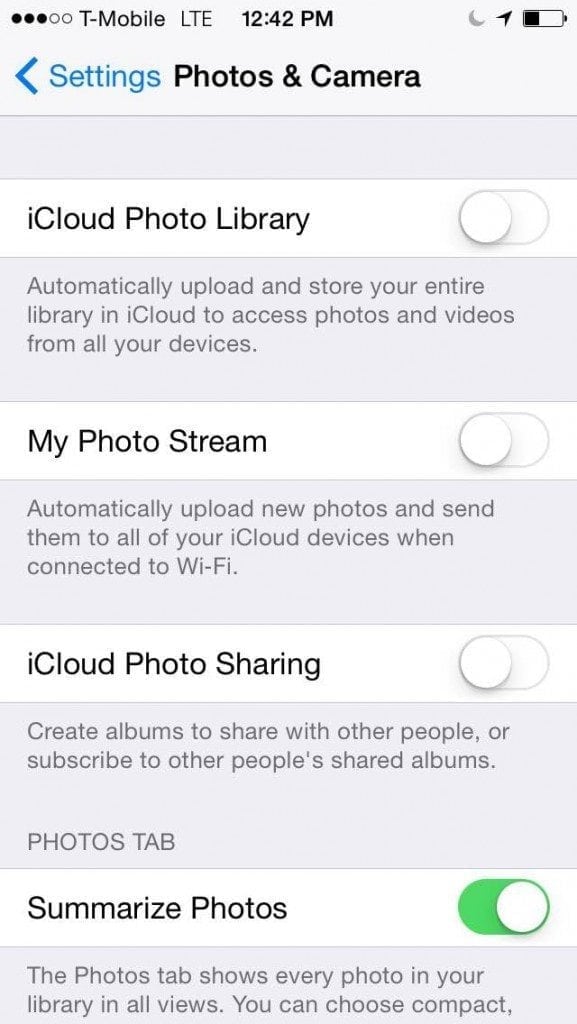
Turn off Photo Stream
Photo stream essentially uploads your photos from one of your iOS devices to all of your devices. So if you take pictures on your iPad, it will be saved to your iPhone as well. There’s really no reason to do this in my opinion, and by turning it off you can save space on your devices.
You just go to settings – photos and video – and toggle the option for photo stream to off.
HDR
Did you know that your phone is automatically set up to take photos in HDR mode? Do you know even know what that means? I sure didn’t. Lifehacker.com has a great little guide to using HDR, but basically, HDR stands for high dynamic range imaging. Here’s how it works (from the link above):
Instead of just taking one photo, HDR uses three photos, taken at different exposures. You can then use image editing software to put those three images together and highlight the best parts of each photo. In the case of HDR on smartphones, your phone does all the work for you—just snap your picture and it’ll spit out one regular photo and one HDR photo. The result is something that should look more like what your eyes see, rather than what your camera sees.
It can be great…but you don’t need to use it all times. And guess what – when it’s activated, your phone is saving several copies of the same picture, which can eat up your storage pretty quickly. There are a couple of things you can do.
First off, you can make it so just the HDR version is saved – not the original as well. To make it so it only saves the HDR version, just go to settings – photos and video – and unclick the “save original photo” under HDR.
You can also turn off HDR – because really, you don’t always need it. When you launch your camera app, at the top you’ll see something that says HDR Auto, like this:
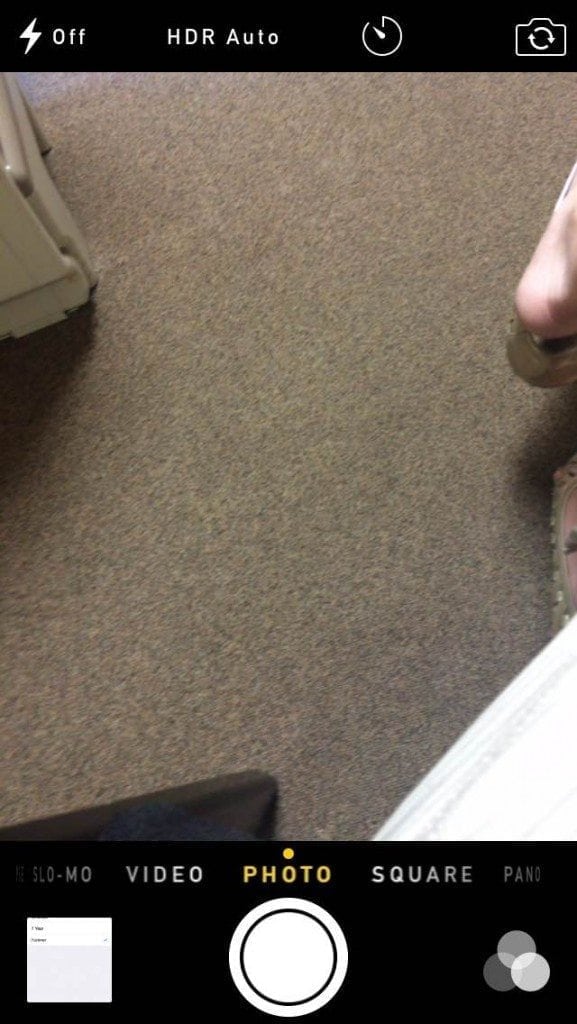
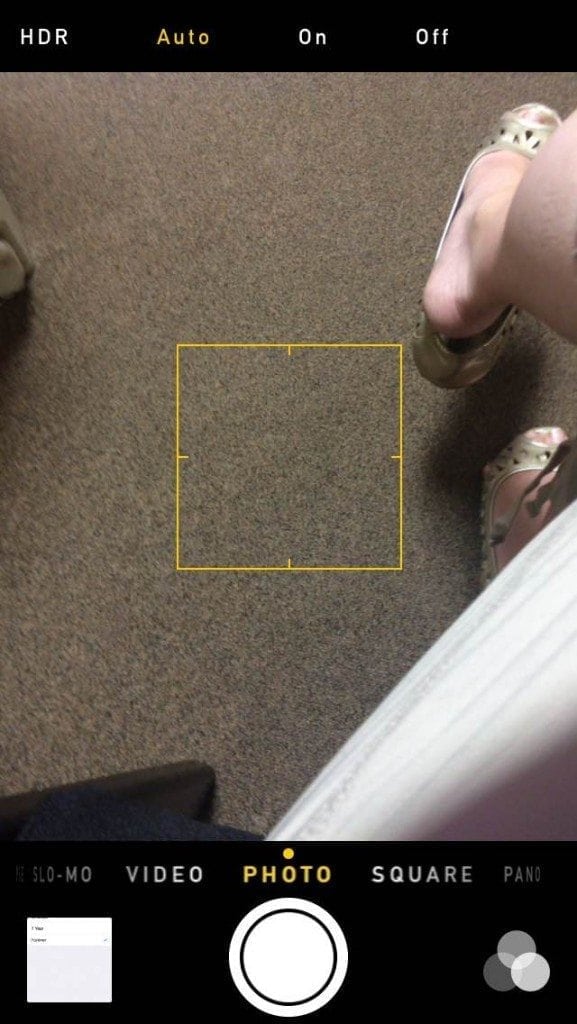
Click on that, and you can select HDR on and HDR off. HDR on means it always work, HDR auto means that it will go off when the phone feels it should, and HDR off means it is not on at all. I would set it to HDR off so you have a little more control!
Delete photos from random folders
There are a lot of photo folders on your phone, and often, photos will be saved double (just like the HDR thing I mentioned above.) Just go into your photos app and you’ll see several different sections. For instance, if you have Instagram, it is saving every image that you upload to Instagram to an Instagram folder.
This really isn’t necessary! If you remove the photos from this folder, it won’t affect what you’ve already uploaded to Instagram.
I also have folders for photo collages I’ve made (typically for Facebook or Instagram – so they are saved on those websites and apps), and one of the biggest wastes of space – the Burst folder!
Burst can be a great feature if you are wanting to take a ton of pictures at once, but it saves all of them (which can be a lot of pictures!) You can go into the Burst folder and you’ll see all of the photos that have been taken in Burst mode. I was shocked when I saw how many I had (though most of them were courtesy of Jack, who loves opening my camera and just holding down the camera picture!)
You can go through the bursts and select which images from them you’d like to save. It’s pretty easy to do, and once you select the couple of photos from the burst that you want, it gives you the option to instantly delete the rest!
Music
I don’t have a lot of music on my phone, but I know a lot of people do! It can take up a lot of space quickly. The best solution is to upload all your music to iTunes on your computer, and then you can stream it using the Home Sharing feature. Here’s a tutorial on how to use it. Since your computer likely has a lot more space, this is a great way to still listen to your music, but free up space on your phone!
Recently deleted folder
I discovered recently that when you “delete” a photo from your iPhone, it doesn’t actually delete it right away. It move it to a folder that is called recently deleted. This is actually helpful in some cases – for instance, several weeks ago I was recording my brother’s choir performance, and I accidentally deleted one of the videos (and kept the video I meant to delete!) This is when I discovered this folder.
So, when you delete a photo, if you don’t go and empty the recently deleted folder, it still remains on your phone. It all made sense to me when I realized this because I would sometimes delete a bunch of pictures/videos, yet my phone would still tell me I was out of space. Make sure you delete the contents of this folder regularly!
Turn off Live Photos
I love the live photos that you can do on the iPhone nowadays, but they definitely take up a lot of space. However, you can easily disable it. When you open up your camera, there is a yellow set of circles that indicates whether or not Live is on or off. By default, it is on. I actually get kind of annoyed when I notice it’s been on for awhile. So just make sure it’s off!
Delete text messages
Text messages can quickly accumulate, and they take up a surprising amount of space. Every so often, just go into your messages folder, click edit at the top, and delete all the conversations you don’t need. If you want to keep certain messages from some people, just go into that individual conversation and you can select which messages you want to delete!
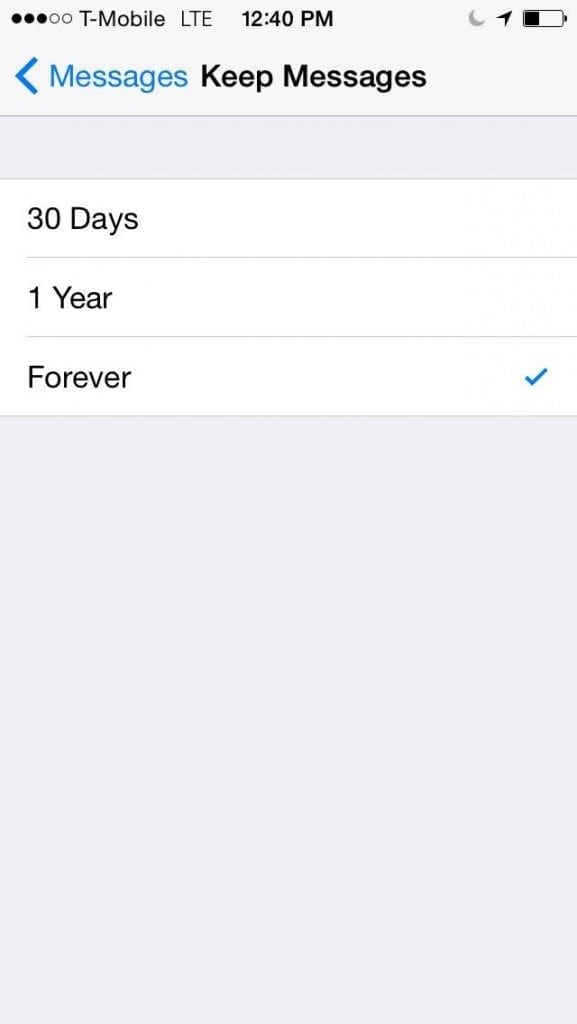
Alternatively, if you don’t care if messages get automatically deleted after a certain amount of time, you can just go into settings – messaging – and select how long they should be kept for.
How to Buy More Storage on iPhone
iPhone Cloud Storage
Back up to the Cloud
Cloud storage is quickly becoming a popular choice for backing up copies of documents, photos, and videos.
First off, if you want to keep all things Apple, you can purchase a little bit of extra space from iCloud. They have plans that start pretty inexpensively, and it’s simple to use and setup.
However, I don’t use iCloud. My favorite cloud backup services are from Google and Amazon Cloud.
I discovered awhile back that you can automatically back up your photos to your Google account (or you can set it to upload just when you are connected to WiFi to save on data). I love this, because you get a lot of free photo storage with a Google account, and if you run out, it’s only a couple of bucks a month for storage. If you are okay without having the original file size uploaded, but one that is still great quality (just a little smaller) you actually get unlimited storage.
All you have to do is download the Google Photos app, connect it to your Google account, and then go to “assistant” to set it up.
This is nice because then you can store the photos on the cloud and not worry about losing them if you need to delete a few unexpectedly. There is also an option to delete all your photos from your phone after they’ve been uploaded to the cloud, which is helpful!
If you have Amazon Prime, you get access to FREE unlimited storage with Amazon Cloud for photos and videos. This is an awesome service they offer, and you can download an app on your phone that will automatically upload all your photos to the Cloud. Amazon Prime is $99 a year, so definitely look into this option as well.
External Storage
iPhones don’t have the option for adding a microSD card to the phone to expand your storage. So, there’s another great option – using external storage, like the SanDisk iXpand Flash Drive. This is an an amazing little device to have on hand for those times when you run out of storage but haven’t had a chance to upload your photos to your computer.
It’s a flash drive that is specifically made for Apple products, like the iPhone, and you can quickly transfer your photos and videos from your iPhone to it when you need to free up space on your device quickly.
I really like this because it’s pocket size, so you can easily have it in your purse or wallet, and it has a TON of space. I actually used it recently to transfer thousands of RAW photo images off of my MacBook (and if you know anything about RAW photos…you know they are BIG files), and it barely put a dent into the storage space. It will last you a long time, so it’s a great deal. I’ve been using it for awhile, and I love it. It is compatible with iPhones, iPads, PCs, and Macs, and it automatically syncs photos and videos as soon as it’s connected. Best of all – you can set it to automatically delete the transferred content from the phone, so you don’t have to do that yourself (because trust me…it takes forever!)
Now that you’ve extended your storage, find out how to make your iPhone battery last longer. Click the picture below!





Loved your idea. I need some advice about which iPhone to buy. I have an iPhone 5, which has been great, but I am having trouble with the Home button. I want the most gb I can get, and don’t know whether to look for a 7 or 8; I don’t want to spend too much, but want something to last 5 years, if possible.
Hi, Susan! I would say either get an iPhone 7 plus or 8 plus for the most storage and longevity. I have an iPhone x, and I don’t think it’s as durable as the 7 or 8.
good job! How do you delete email at one time?
There should be an option at the top of your email list to select all, and delete.
do you know how i would delete the original images of HDR images that i’ve ALREADY taken?
So helpful! Thank you so much!
Warmly, Michelle
Your welcome!