
Tips and Tricks for DIY Subway Tile Backsplash Installation
DIY Subway Tile Backsplash InstallationTips and Tricks – including all the products you need!
Thank you to Floor and Decor for sponsoring this post. All opinions are 100% our own.
There are a lot of different things you can do to update, improve, or just change the look of your home. One popular improvement to make is to add a backsplash in your kitchen.
There are a lot of different backsplash options out there. There are even some very simple peel-and-stick. However, if you are going for a more classic and durable look that will increase the resell value of your house then you should consider glass subway tiles. Doing a tile project yourself will save you money. Plus, glass is more water resistant than paint and drywall, which is helpful in a kitchen.
At first, we had trouble deciding what we wanted to use for our backsplash. We went to Floor & Decor a few times, and we brought samples home to place in our lighting and next to our countertop (you can read all about selecting your kitchen backsplash here). We are very glad we did.
We returned our samples, and we bought about eight boxes of white glass subway tiles. The knowledgeable employees there at Floor & Decor made sure I had everything I needed for my project, so I didn’t have to stop my project and run back to the store.
Plus, I attended a tile class at Floor & Decor on a Saturday where I was able to ask questions about my specific project. The class and ten YouTube videos later I felt somewhat confident I wouldn’t completely mess-up.
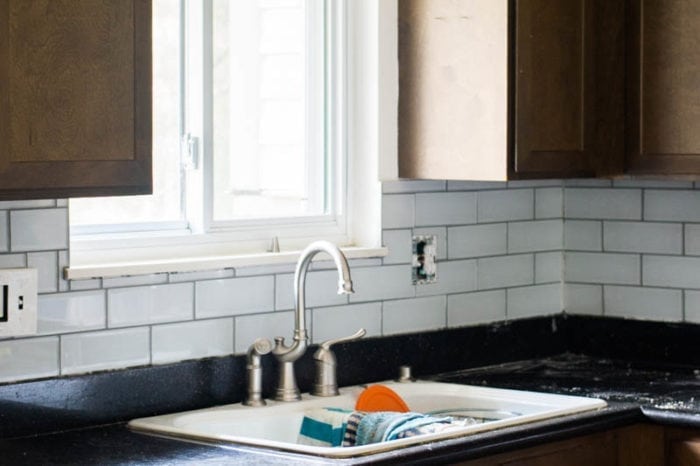
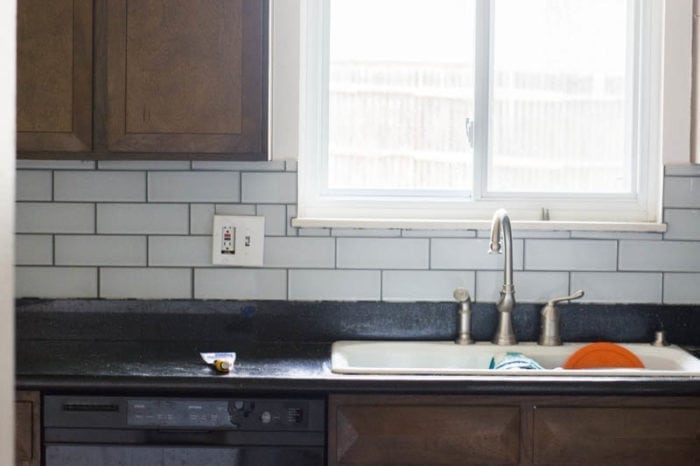
Here is the finished product. The rest of our kitchen is still in renovation mode, so please check back in a few weeks for new cupboards, a new sink, and clean countertops!
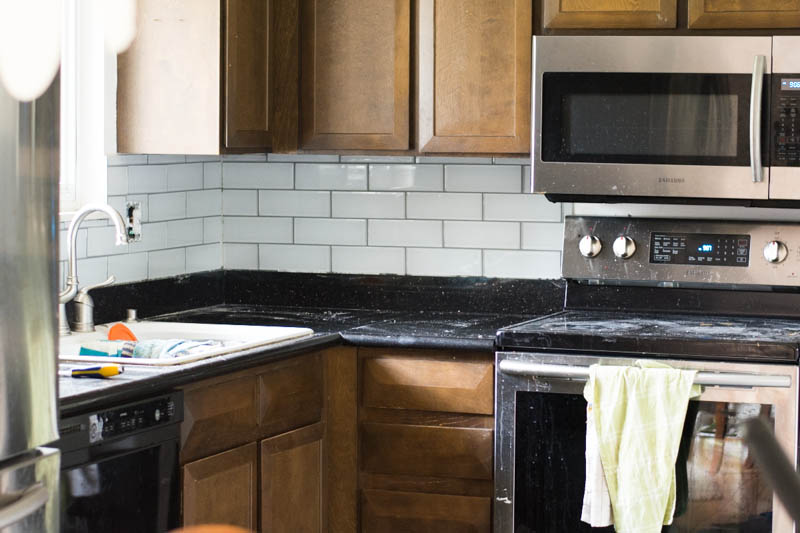
After a decent amount of time and some mistakes along the way, here are some of the things I learned about DIY Subway Tile Backsplash installation.
Get a good tile saw, and get comfortable with it.
I was recently given a wet tile saw by Ryobi that I really put through its paces. I bought a specific blade for glass tile at Floor & Decor to replace the stock blade. I’ve never done a tile project before, and I had never used a tile saw before.
After thoroughly reading the manual I gave it a try. I was a little slow, but I began to figure it out. Tile saws are the most expensive tool for a glass subway tile project, but I believe they can be rented. You might know a friend or family member who already has one, so ask around. I would recommend at least buying a new blade if you do borrow a wet tile saw.
To make my marks on the tile I used a black permanent marker. The marker did a good job of not being washed off by the wet tile saw. I later used a paper towel with some rubbing alcohol to remove any stray marks.
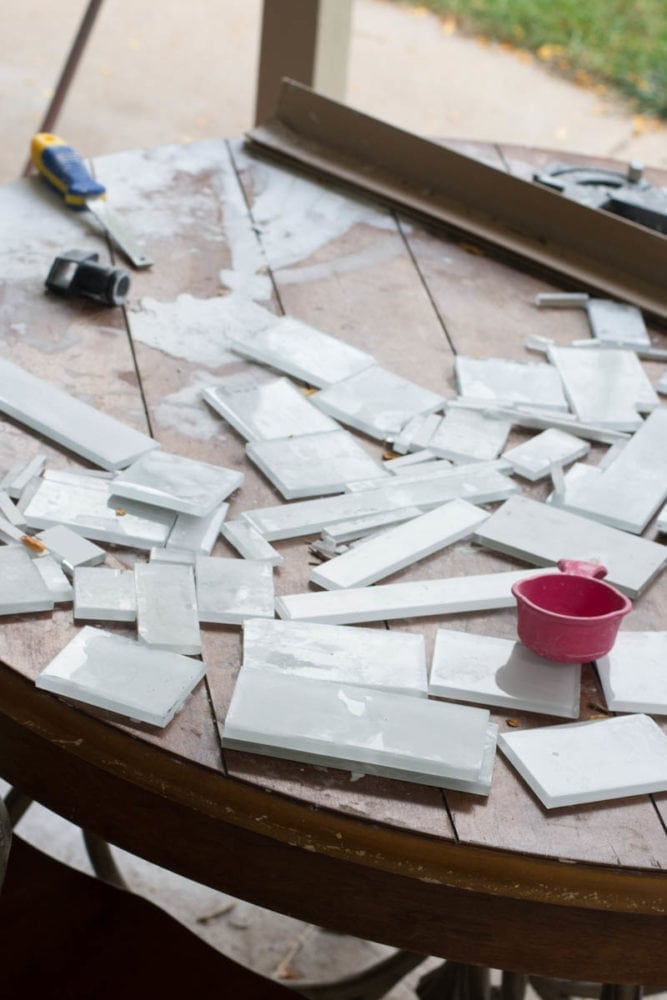
Once you start using your wet tile saw make sure you keep you water reservoir level where it is supposed to be, and change out the water occasionally. If you are done cutting for the day, make sure to empty your water reservoir, or your blade will rust. Most of all, just using steady, straight pressure will allow the saw to cut more quickly and easily. I had a lot of extra pieces by the end.
Measure very carefully
One of the first things you do with a tile project is to plan where the tiles will go. Decide where you want your tile to go and where you want it to stop.
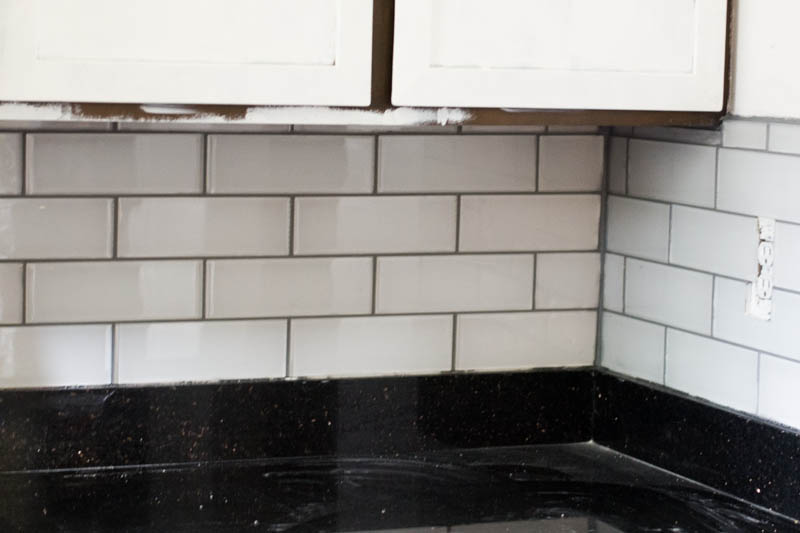
Plan to hide your cuts in the corners and under cabinets.
Try to keep your whole pieces front and center.
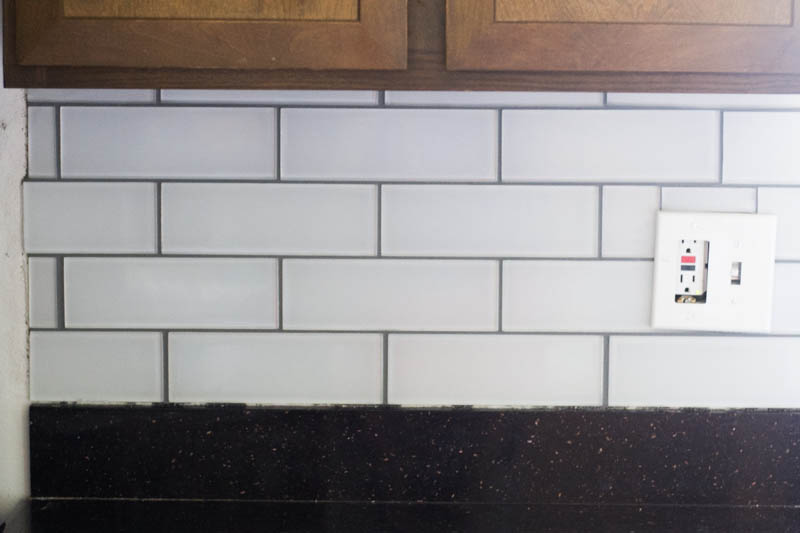
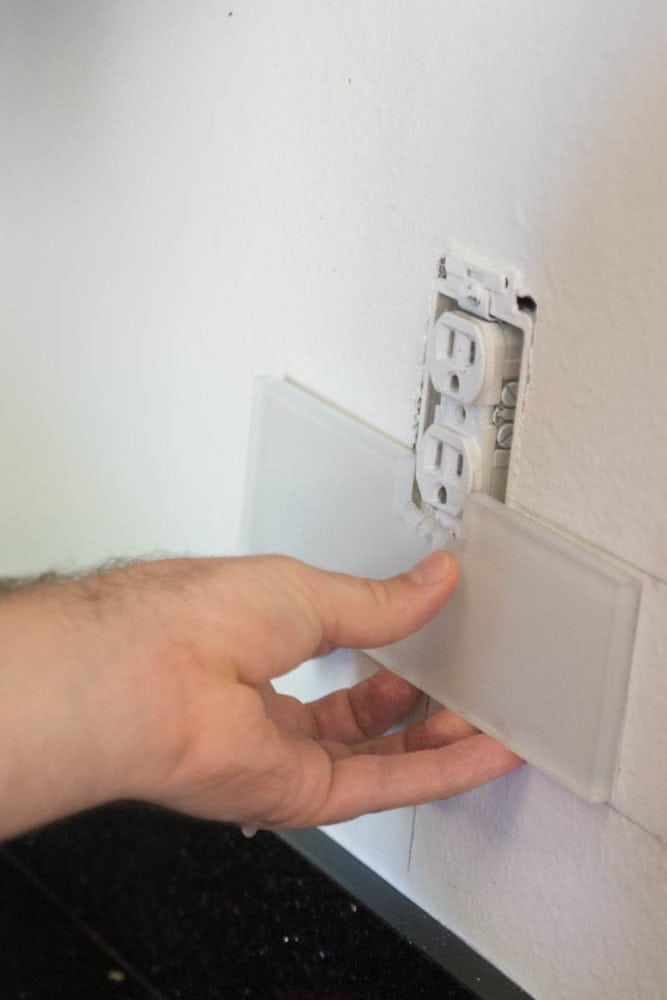
Measure around your outlets, and make sure you don’t accidentally tile over your outlet screws. You will need to extend your outlet later to be flush with your new tile surface. I had to pop some tiles off, cut them, and then reattach them because I forgot this for the first outlet I tiled around.
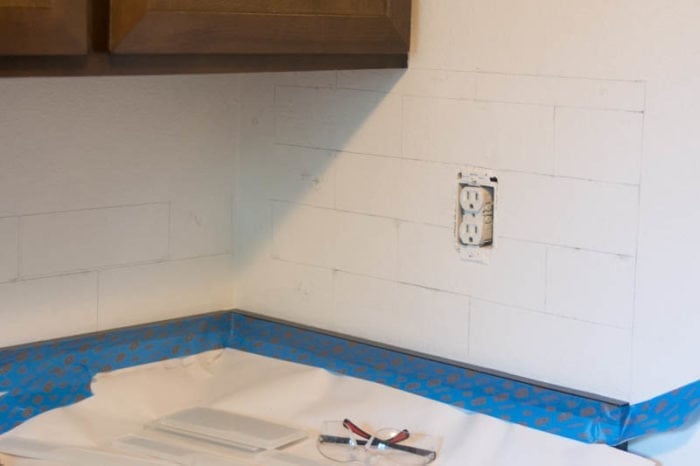
As always, try to measure twice and cut once. Try to factor in the thickness of the wet tile saw blade, gaps for spacers, and the gaps in corners and edges for caulking. Those will affect where you cut. To get a better idea of what cuts I needed, especially in tricky spots around outlets, I would outline the tiles on the wall with a pencil. When I was done with my measurements I wiped off most of the graphite, so it wouldn’t obstruct the grout from attaching to the wall.
I tried to use just pure math to make my cuts for one section, but they still didn’t turn out exactly right. Be prepared to make some quick trims if things don’t seem to be lining up.
To make my marks on the tile I used a black permanent marker. The marker did a good job of not being washed off by the wet tile saw. I later used a paper towel with some rubbing alcohol to remove any stray marks.
Once you start using your wet tile saw make sure you keep you water reservoir level where it is supposed to be, and change out the water occasionally. Plus, just using steady, straight pressure will allow the saw to cut more quickly and easily. Push extra slow and carefully near the end of your cut. For me, it almost always broke at the end. However, the shorter the distance the cleaner the break. I usually just used the saw or a glass tile file to smooth the edge.
Lay the tile out before the grout is mixed.
I used one type of grout to attach the tile to the wall and another to fill in the grout lines. An employee at Floor and Decor recommended Mapei Adesilex P10 Mosaic & Glass Tile. It is a glass tile mortar with polymer. This was used to attach the tiles to the wall. It is a good product for areas that will have water, and it is less brittle than other type of products. It will save you a step. Once you mix this mortar you are on a bit of a deadline. You don’t want your mortar to dry up – and it does pretty quickly. Just follow the instructions on the packaging and you should be fine.
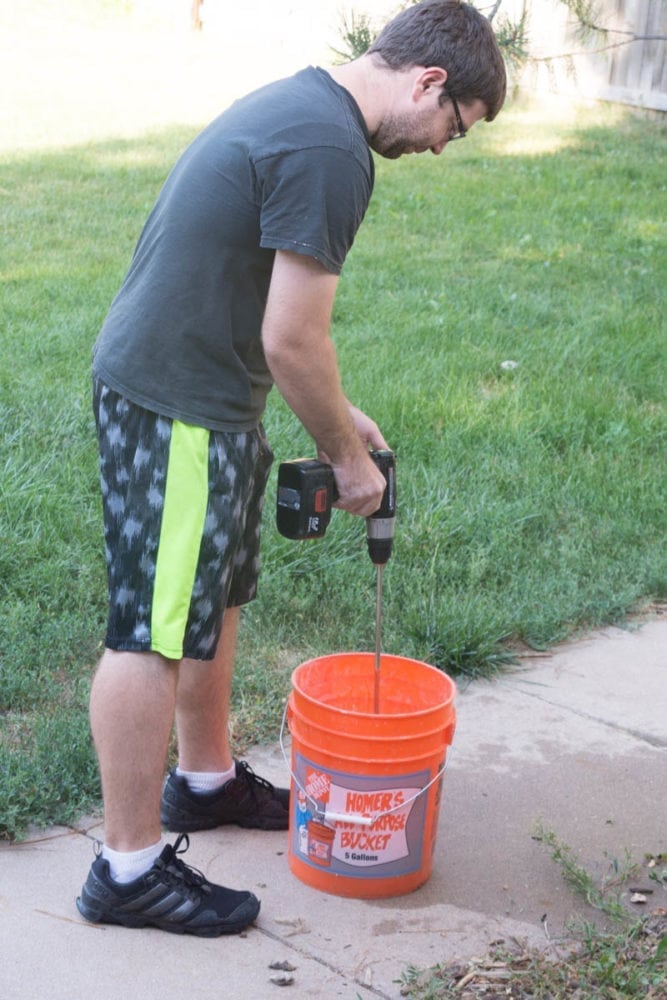
I liked to lay all of my tiles and spacers out along the wall where I would need them. I wanted to make putting the tile up as quick as possible so the mortar I had spread along the wall with my trowel did not dry.
If you need to recut or adjust the cut of a tile you might need to wipe off the mortar you have on the wall, and put it back in the bucket. The grout will dry more slowly in the bucket than on the wall. When the grout is spread out there is more surface area for water to escape from. Obviously, you still shouldn’t take too long or your grout in the bucket will dry as well.
Only do U-shaped cuts if you really can’t avoid it
Cutting out a u-shaped section out of a tile instead of a corner or end piece is time-consuming. Mostly, I tried to cut U-shaped pieces to go around outletsBasically, you have to make ten or twenty cuts to carve out the u-shaped section one cut at a time. I tried cutting until there were lots of thin little pieces that I then tapped to break. It worked once, and then it didn’t work twice. It is risky. After I did get the u-shape roughly cut out I would file down the edge to make it flatter and smoother.
Once, I had spent 45 minutes on one u-shaped piece before trying to wipe off some dust at the end. My finger caught an edge and launched the piece onto concrete. It shattered into a hundred pieces. The experience was very frustrating, to say the least.
Have several sponges and buckets when grouting
After pushing the grout between your tiles you will need to use a sponge and water to clean the tiles. Using several buckets and sponges means you will be cleaning with cleaner water, and you will have to make fewer trips to go get clean water.
Fortunately, the tile that was recommended to me at Floor and Decor comes pre-colored, pre-sealed, and pre-mixed. It was very simple and easy to use. You just pop the lid and it is ready to go.
Make sure that your caulk matches your grout
You can by caulking for corners and other edges that matches the color of your grout. However, don’t be like me, buy and remember to use the edging that the sell at Floor and Decor when you’re putting your mortar down. It will make the project have cleaner lines in the end.
It will take some time, so plan ahead
If you’re a dad like me with limited time then be realistic about what will impact your project schedule. If you’re working on a kitchen, try not to use it. I always seemed to have to wash a sink full of dishes before I started putting up tile. Cutting tiles is loud. So don’t plan on cutting at night. Your neighbors will thank you. However, you can measure out your cuts at night or when the kids are napping.
DIY Glass Tile Backsplash Materials
Here is a list of all the materials we used during this project. Besides the tile saw (which we received from Ryobi), these were all purchased from Floor & Decor, which really has everything you could ever need for a very affordable price.
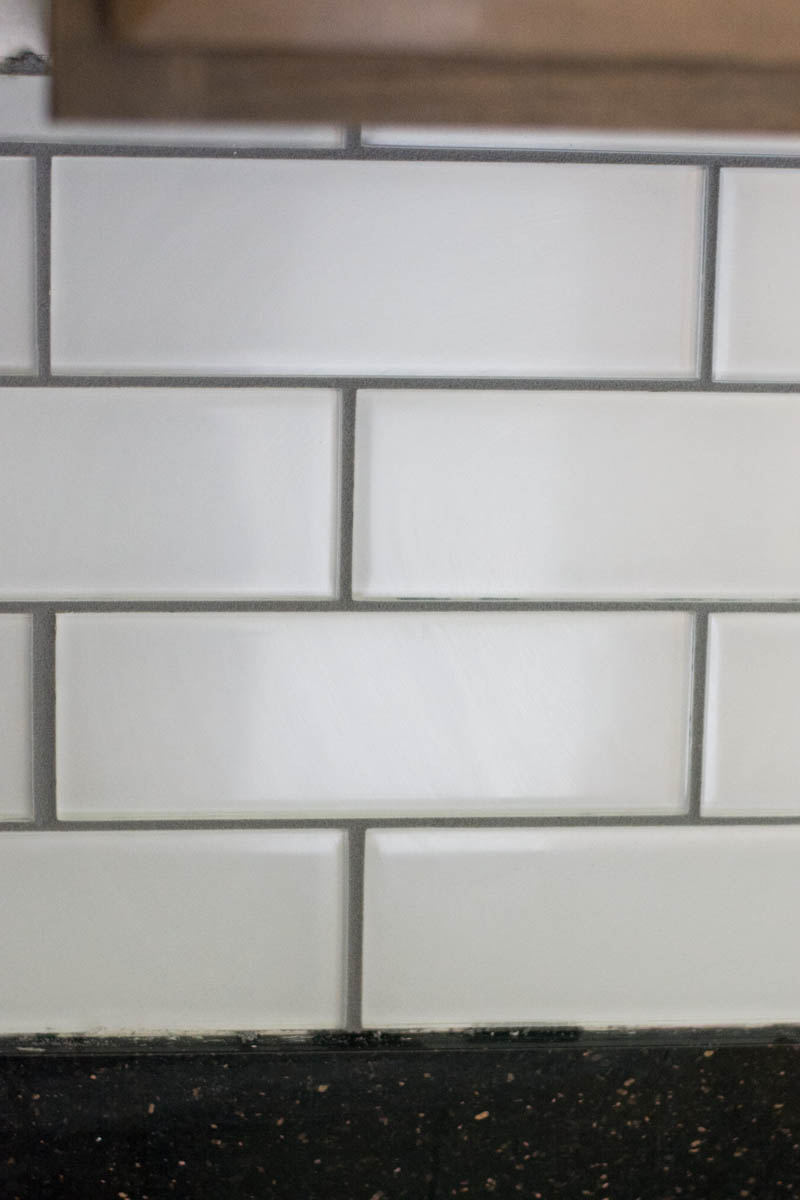
Pure Snow White Shiny Glass Tile
Mapei Flexcolor CQ Pearl Grey
Adesilex P10 Mosaic & Glass Tile
Grout and Concrete Sponge
Glass Wet Saw Blade
Tile Force V-Notch Economy Wall Trowel
Maipei 19 Pearl Gray Caulking
Caulking Gun
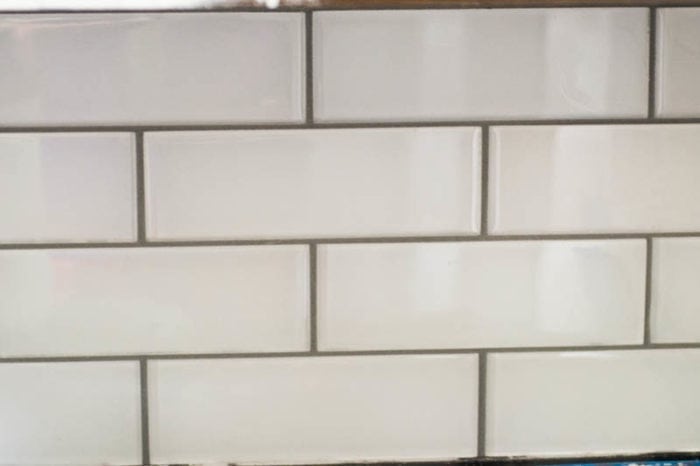
Glass Tile Backsplash Photos


Gorgeous! I’m glad I found this post… I’m thinking of doing the same backsplash in our fixer upper!
Thanks! Good luck on your projects!
I love the look of Subway tile! Maybe I’ll get brave and DIY this in my kitchen – you’ve inspired me! 🙂
Thank you! I hope you will. It’s a fun project!
I would love to do something like this….it turned out so beautiful! I love your kitchen!
Thank you!
I am a big fan of simple white subway tile. You can’t go wrong with this classic and it looks so good and super modern right now.
I agree! It’s very classic.
I need to redo my kitchen. I love that you did this yourself. I wish mine looked nice right now, but it will again with the help of these tips. Thanks!
I’m so glad you found it helpful!
OH I am swooning I loved how it turned out! My kitchen is stuck in the 1970’s sigh.. lol.. It needs some help ASAP and I love this.
Haha!! Our kitchen was 1/2 modern, 1/2 1970s, so I feel your pain. We just redid my parent’s kitchen, which was totally 1970s-esque, and it looks so much different (I have that transformation here on the blog, too!)
Thanks for the tips, I need to decide on some tile for our backsplash fairly soon.
You’re welcome! good luck!
Awesome tips, it looks great! We have done a few areas in our home with subway tile back splash and have learned so much from each time doing it.
Thank you! It definitely is a learning process!
I love that the subway tile look is cool right now for the kitchen. A backsplash really does make a big difference in a kitchen. Thanks for sharing your tips.
Thanks so much! 🙂
The backsplash turned out so great! Such a fun way to update your kitchen!
Thank you, Jamie!
My husband added a subway tile backsplash in my kitchen when we redid it. I love it but I wish we’d have gone with the black grout like you did! So beautiful.
My husband did our kitchen and bathroom tile. It saves so much money!
It really does!
This is gorgeous! I love the way it turned out! It makes me excited to see how the rest of your kitchen turns out!
Thanks, Chelsea!