How to Make a Raised Garden Bed: Step by Step Tutorial
Gardening can take on many forms depending on your space and skill – raised garden beds can be a great option. In this post, we will teach you how to make a raised garden bed.
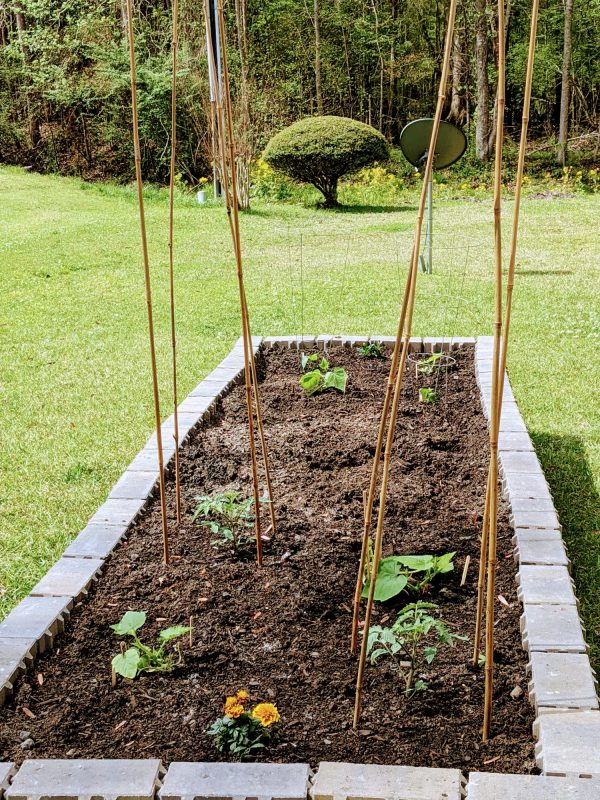
Raised Garden Bed Plans
Gardening has become so popular in the last few years, and it’s easy to see why. Gardening brings us joy and helps us feel in tune with the world around us. It helps us feel more aware of what we put into our bodies.
One of the most popular methods of gardening has become the raised bed: A garden bed framed by wood, bricks, concrete, or another durable material. This style works so well because it’s better for the plants, easier to maintain, and accommodates a variety of gardening constraints. You can build a raised bed on any budget, and in a short period of time.
So you’re ready to build a raised bed…
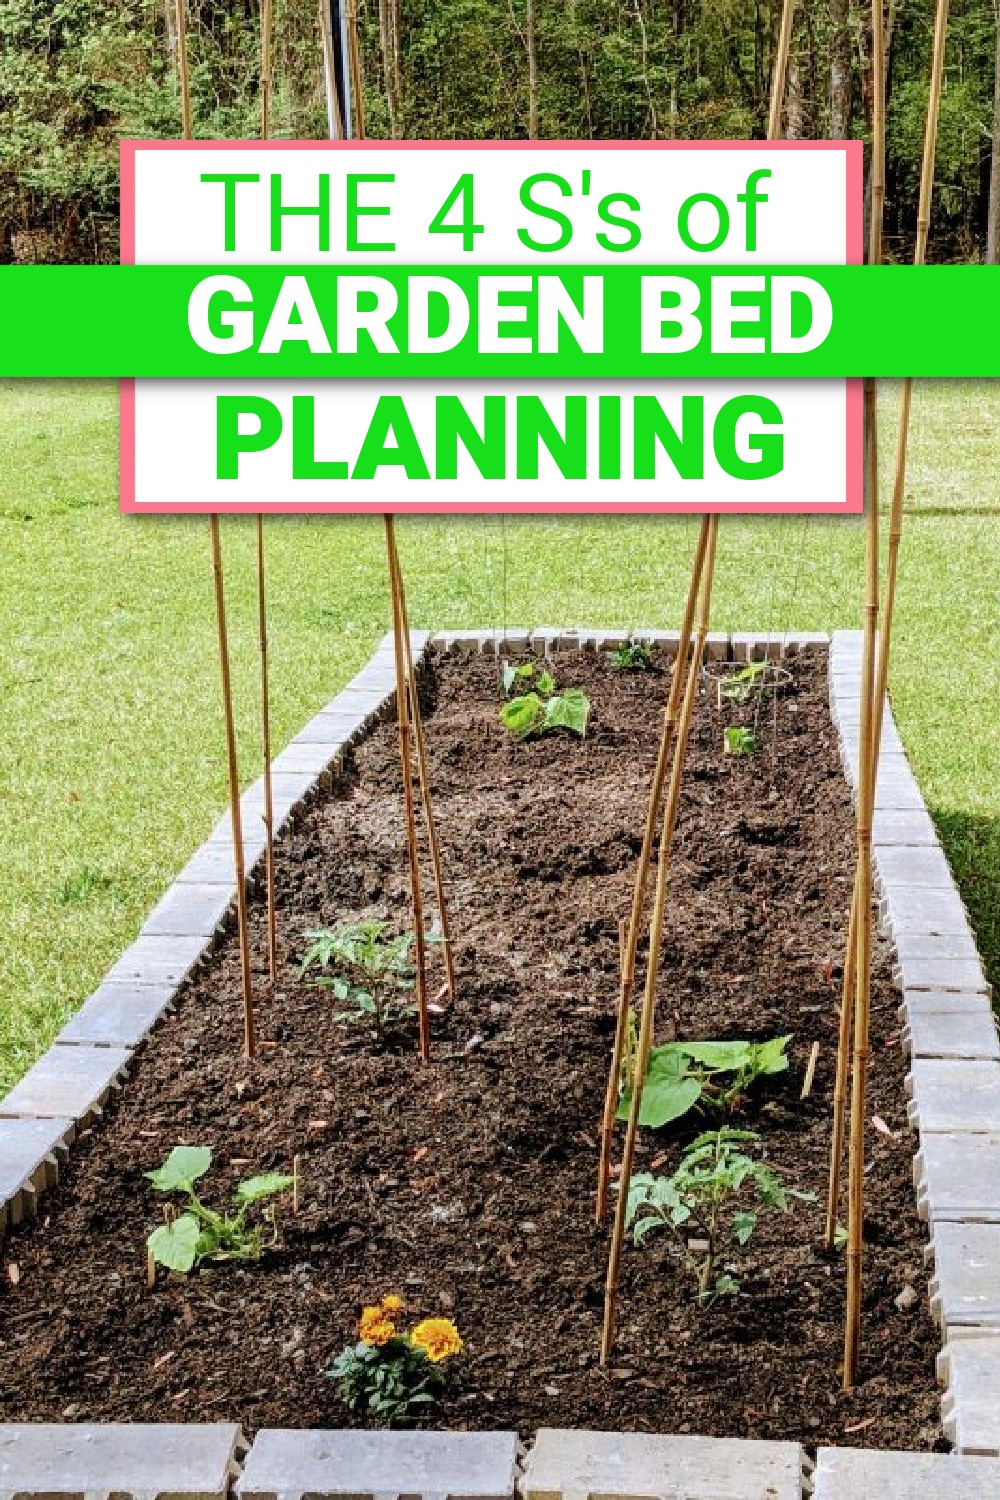
Making a raised bed can honestly be accomplished with one trip to the hardware store and just a few hours of labor. First, though, make sure you have planned for the bed, from where you’ll put it to what you’ll grow in it. Here’s a great link to what you need to know as you plan your raised bed.
Now that you know where the garden will be, you can get to work!
What material should I use for a raised garden bed?
Most commonly, people make raised beds from wood. It’s easy to work with, relatively cost-effective, and easy to get. But you can make a raised bed out of anything: brick, cinder blocks, corrugated metal, or other materials. Just make sure what you use hasn’t been chemically treated, painted, or otherwise treated in a way that might jeopardize your health.
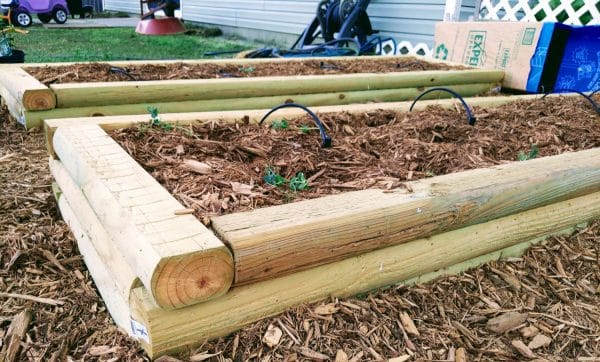
Cedar and pine are great wood choices. Cedar is durable in the elements, and pine ages well. Redwood, juniper and other sturdy woods will also work. Some woods will last just a few years before they need to be replaced, but the cedar will last longer. You can build a garden out of planks, or even landscaping ties. Just make sure your selection hasn’t been treated with chemicals. The wood is labeled, and you can ask your retailer.
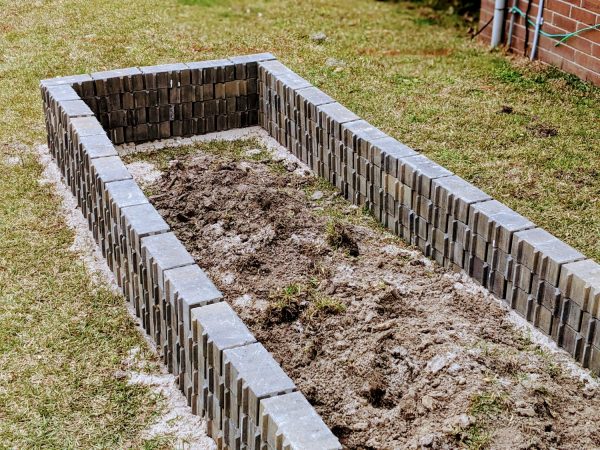
If you want to build something more durable or polished, brick is a great choice. Lots of people are using reclaimed or leftover bricks, they are both attractive and sustainable. This option takes more work and precision, but it can still be done in a weekend.
How do I put together a raised garden bed?
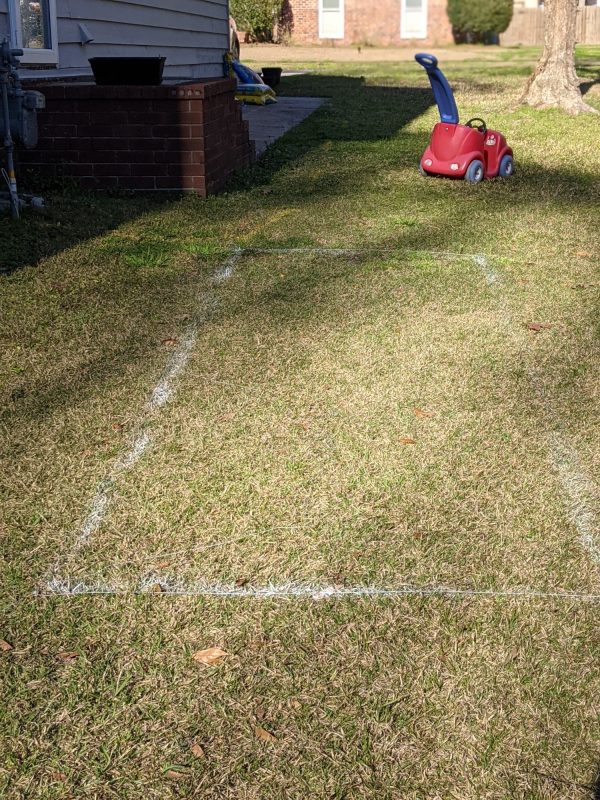
Lay out the site you plant to put your garden. If using bricks, use twine and stakes to ensure you maintain straight lines as you work. We also used spray paint to see the lines in the grass.
If you’re building a wood raised bed, you can secure the boards with screws, or even use special corner pieces found online and in home improvement stores. There are some landscaping bricks with four sections cut out, specifically designed for holding planks and perfect for fast, tool-free construction. With this method, you could have a garden set up in about an hour.
Using screws is superior to nails, as they hold better and are more resistant to wear and tear. For added stability, you can use wood glue, but it’s not necessary.
While you can drill the holes, and sand the wood if needed, in your garage or driveway, be sure to assemble the garden on site. Moving a constructed wood frame is nearly impossible, because of weight and size issues.
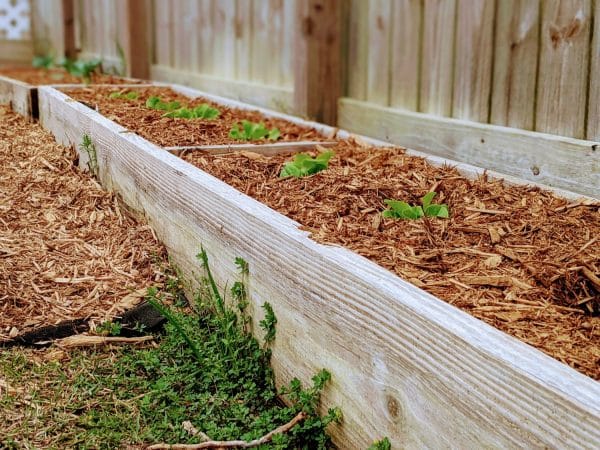
Level the ground under the bed, or dig a small trench to secure the boards if the ground is not level. Dig up the grass underneath, especially if the bed will be shallow. While the grass will not push through, it’s easier for the plant roots to reach deep into the soil if they don’t have to go through the grass first. Also, while it’s unlikely the grass will penetrate the surface, it will continue to compete with your plants for water and nutrients for awhile.
For brick beds, you need to dig a trench twice the width of the stone and use paving sand to level out the trench. This is a critical step in building a raised bed out of brick, because if your foundation is not sure and level, the entire garden could collapse after a heavy rain.
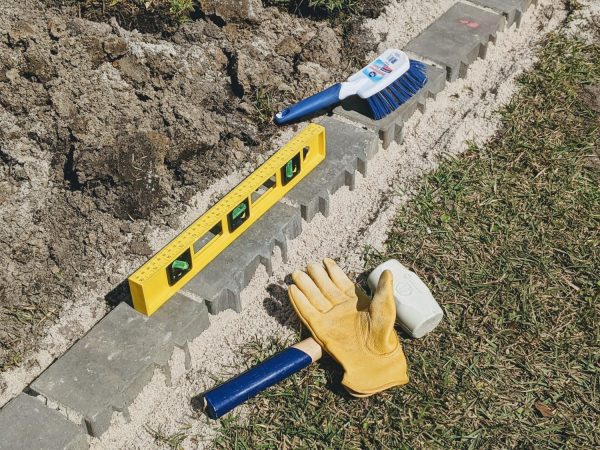
Tamp the sand down and place the bricks carefully in the trench. Place a level on every brick to ensure things are aligned. You can use a landscape adhesive to add additional stability, and it doesn’t add much time or cost to the construction. You do need to allow the adhesive to cure for a few days before putting in the soil.
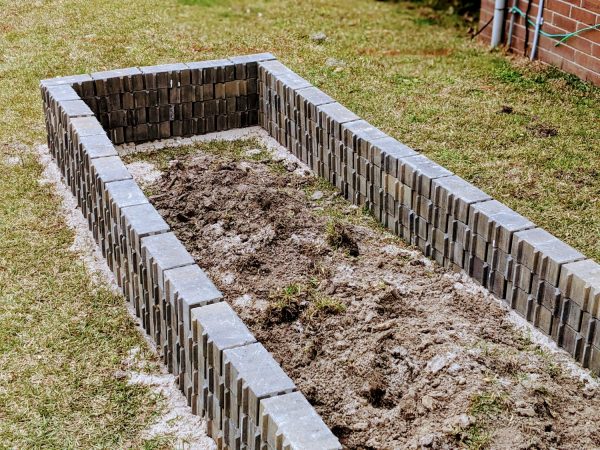
While it sounds like a lot more work, it’s not an overwhelming undertaking. We built our brick bed in one weekend. Friday night, we dug the trench and carefully laid the first level of brick, and we finished up Saturday around lunchtime. All told, it was about 6 hours of work for two people.
Do I need to do anything else?
Many people think that their raised beds require lots of extra materials, but you really don’t need extras to make your raised bed a success. But let’s look at some popular additions, in case they’re right for you.
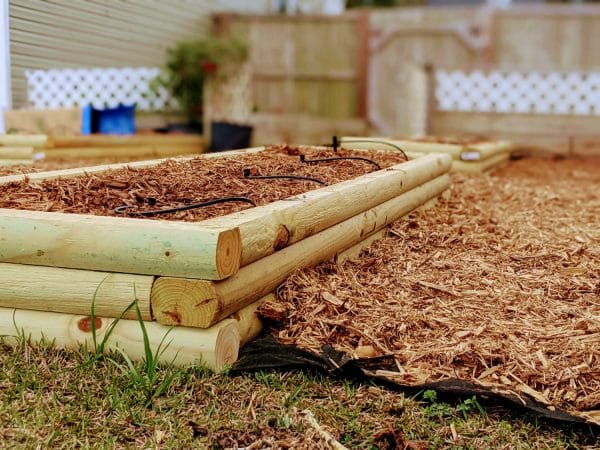
Gardening fabric? Some choose to put down black fabric, but this is unnecessary unless you have a specific reason, such as drainage issues to consider. It also restricts beneficial organisms, such as worms, from coming into the garden bed and doing their helpful work. However, in shallower beds, it’s an easy way to keep grass from becoming a nuisance, and increase stability.
Chicken wire? If you know you have moles and other digging creatures, you can put down chicken wire at the base of the bed to limit their ability to get inside the bed. You need to decide right away if you want to do this. Ask around and see if digging pests are prevalent in your region.
Sometimes, people use chicken wire to create a barrier around the perimeter of the garden to keep out rabbits and other ground animals. If you’re unsure about whether you need this, hold off and add it later. Chicken wire will not deter deer, though.
Paint? There’s no reason to paint or stain a garden bed, especially one you’re using to grow food. The fewer contaminants and chemicals you expose plants to, the better. If you want to paint, be sure to use an exterior paint. Even so, these are not rated for food, and cannot be guaranteed safe.
Trellis or cage? Trellises are necessary for certain plants such as peas and indeterminate tomatoes. Cages help keep tall plants growing up, and give them a little extra structure. These should be added to the garden at the same time the plants are so they don’t damage the large root system.
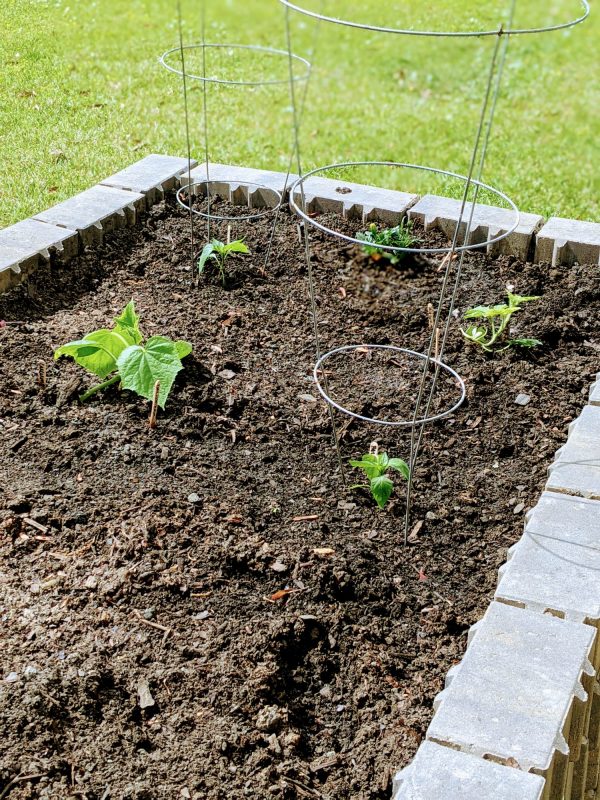
You can also use a trellis for vining plants such as smaller pumpkin, zucchini, or cucumbers. This will help save space in the garden. It has the added benefit of lifting the plants away from bugs and animals. The flip side is these plants will require more water, as more of the plant is exposed to the sun and air.
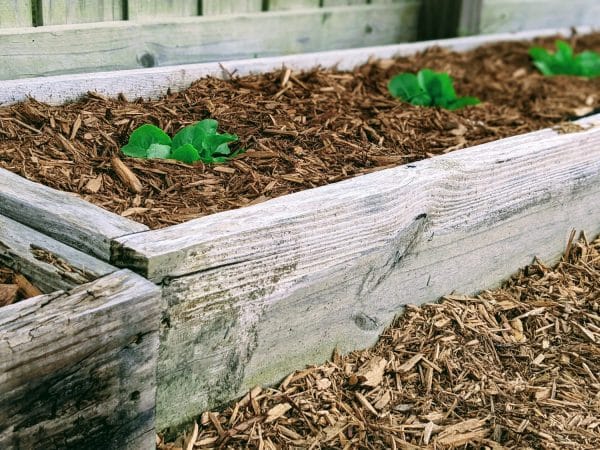
Mulch? People put down mulch to avoid weeding. It also helps with drainage and adds organic matter over time. For the average garden, it’s not necessary and I don’t use it for most of my beds.
Let’s review
Check out this post to make sure you’ve picked the ideal spot and plants for your garden.
Prep site and materials by leveling the ground, drilling holes as needed, and measuring carefully to ensure things will fit.
Lay out the materials and construct them on site. Don’t try to move the finished bed to the site unless it’s very small.
Brick beds need to have a trench and paving sand. They need to be built with a level in hand, to ensure it doesn’t become lopsided and collapse under pressure.
There’s no need to paint, add fencing, or otherwise embellish the garden unless you want to. Don’t forget to add trellises or cages at the start of planting.
Make sure you use a proper soil for raised beds.
With these tools and guides, you should be able to design your own bed and have it producing gorgeous, happy plants in no time!
More Posts You May Enjoy:
- Easy DIY Backyard Ice Rink with Boards
- Easy DIY Cornhole Board Tutorial
- How to Make a DIY Pallet Garden Bed for Under $30
- Gardening for Beginners: What You Need to Get Started



We used to have lots of raised beds in our garden until the soil got too depleted and wouldn’t hold any water. So now we just create beds on the ground and space them out so we can get a mower between them. But I do like how much easier it is to weed in raised beds.
Thanks for sharing!