How to Make Shirts with Cricut
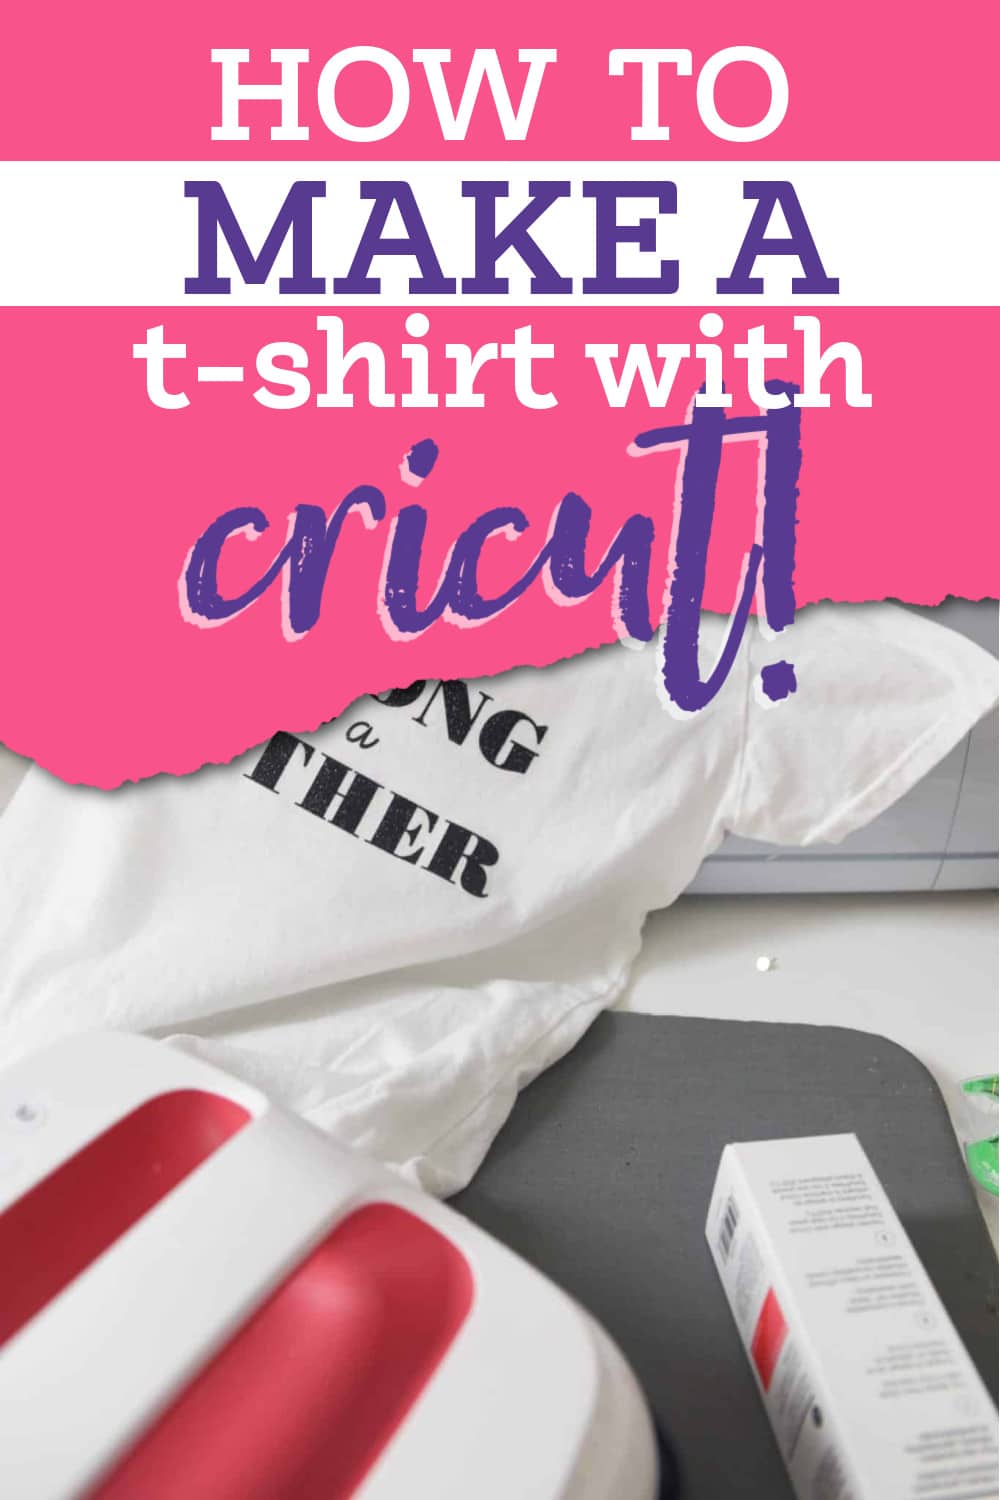
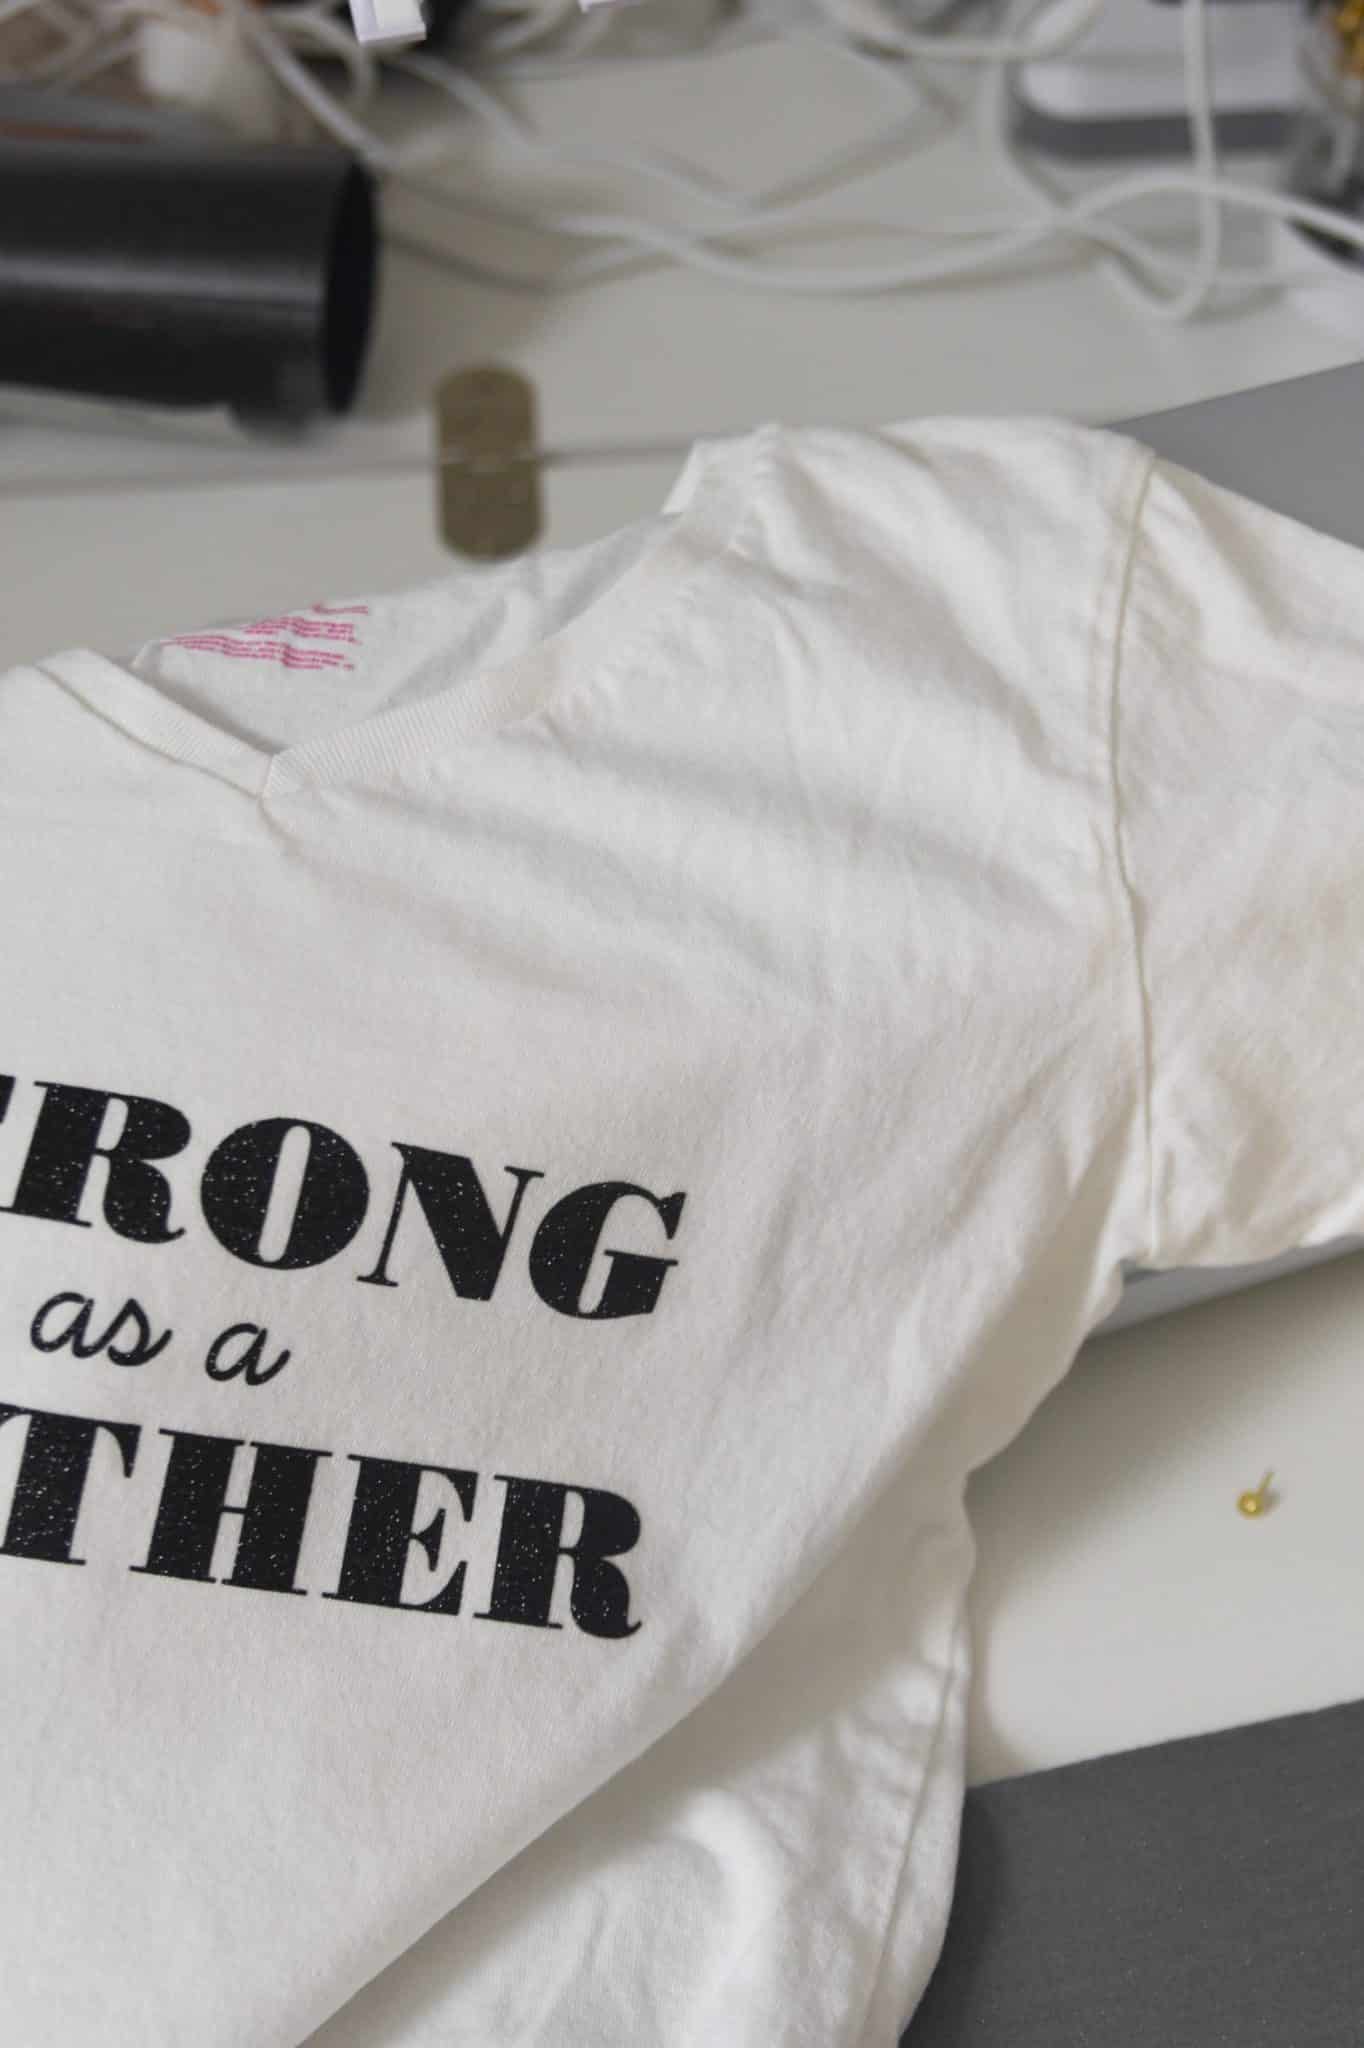
Making your own t-shirts is one of the most popular ways to use a Cricut. But if you’ve never done it before, you’re probably wondering how to make a t-shirt with a Cricut. Luckily, making your own t-shirts with your Cricut is super easy. In fact, it only takes five steps to make your own t-shirt! You can have a new shirt to wear in under 30 minutes if you follow these easy instructions.
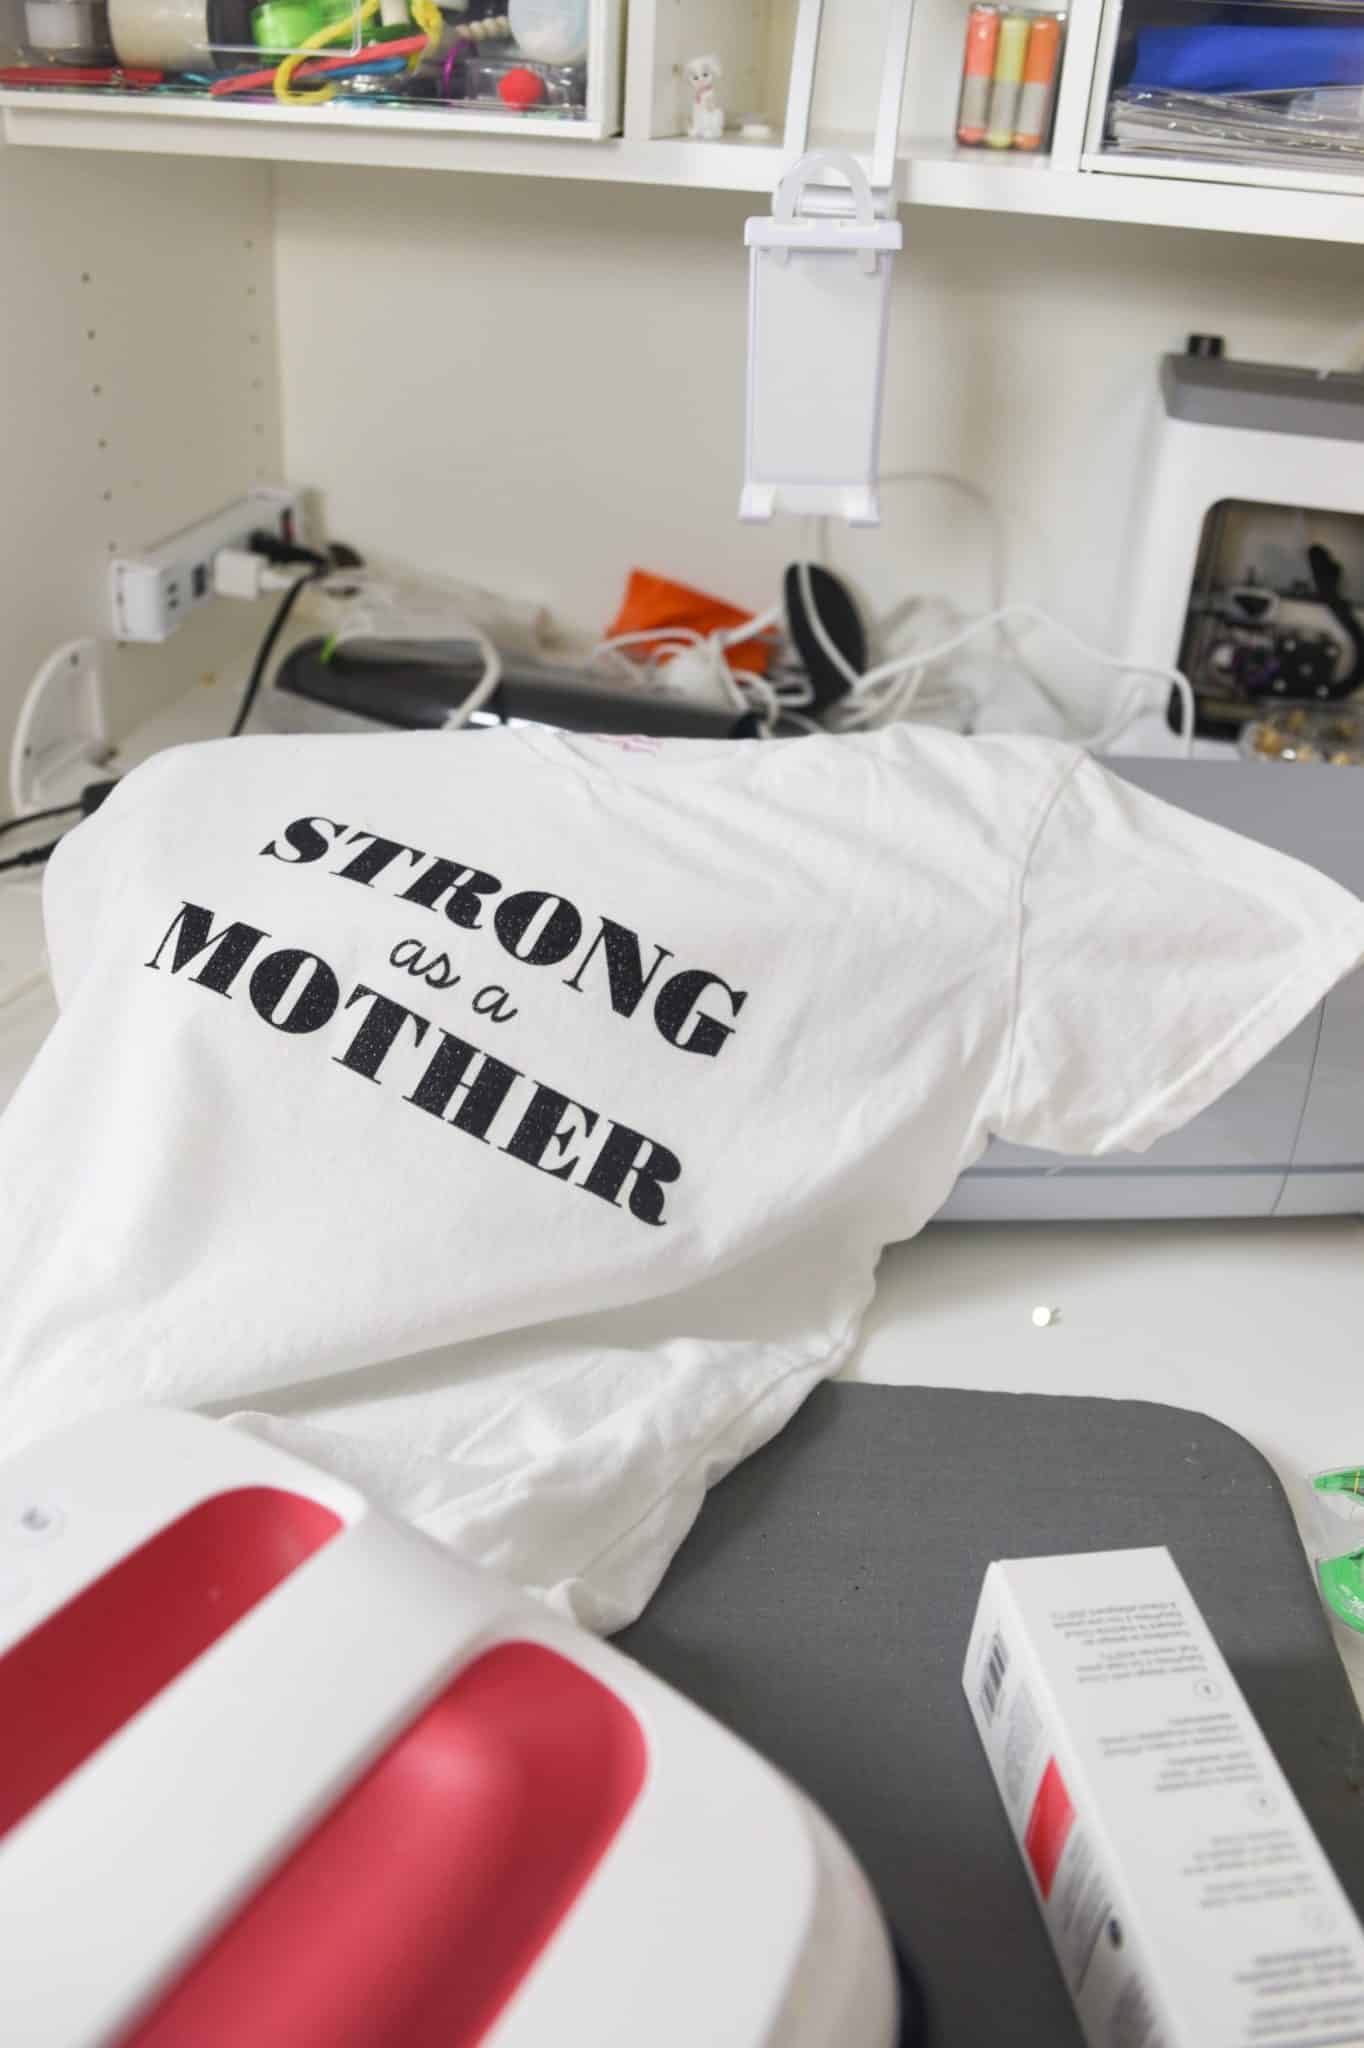
One of the most popular things you can make with a Cricut machine is personalized t-shirts – they are one of my personal favorites!
I make them all the time for holidays, special occasions, and just as a fun way to make a statement!
Making shirts with a Cricut machine isn’t hard, but there are a few things to keep in mind as you do so. In this post, I’ll be sharing EVERYTHING you need to know about making personalized shirts with a Cricut machine. Let’s get started!
- What do I need to Make a T-Shirt with Cricut
- How to Make a T-shirt with Cricut
- Can Cricut Make Shirt Designs?
- Places to find Cricut Shirt Designs
- Should I use an EasyPress, Heat Press, or Iron for Cricut
- Best Cricut for Making Shirts
- Best Vinyl for Making Shirts
- Best Shirts for Iron on Vinyl
- How Much to Sell Shirts Made with Cricut
- More Cricut Posts You May Enjoy:
What do I need to Make a T-Shirt with Cricut
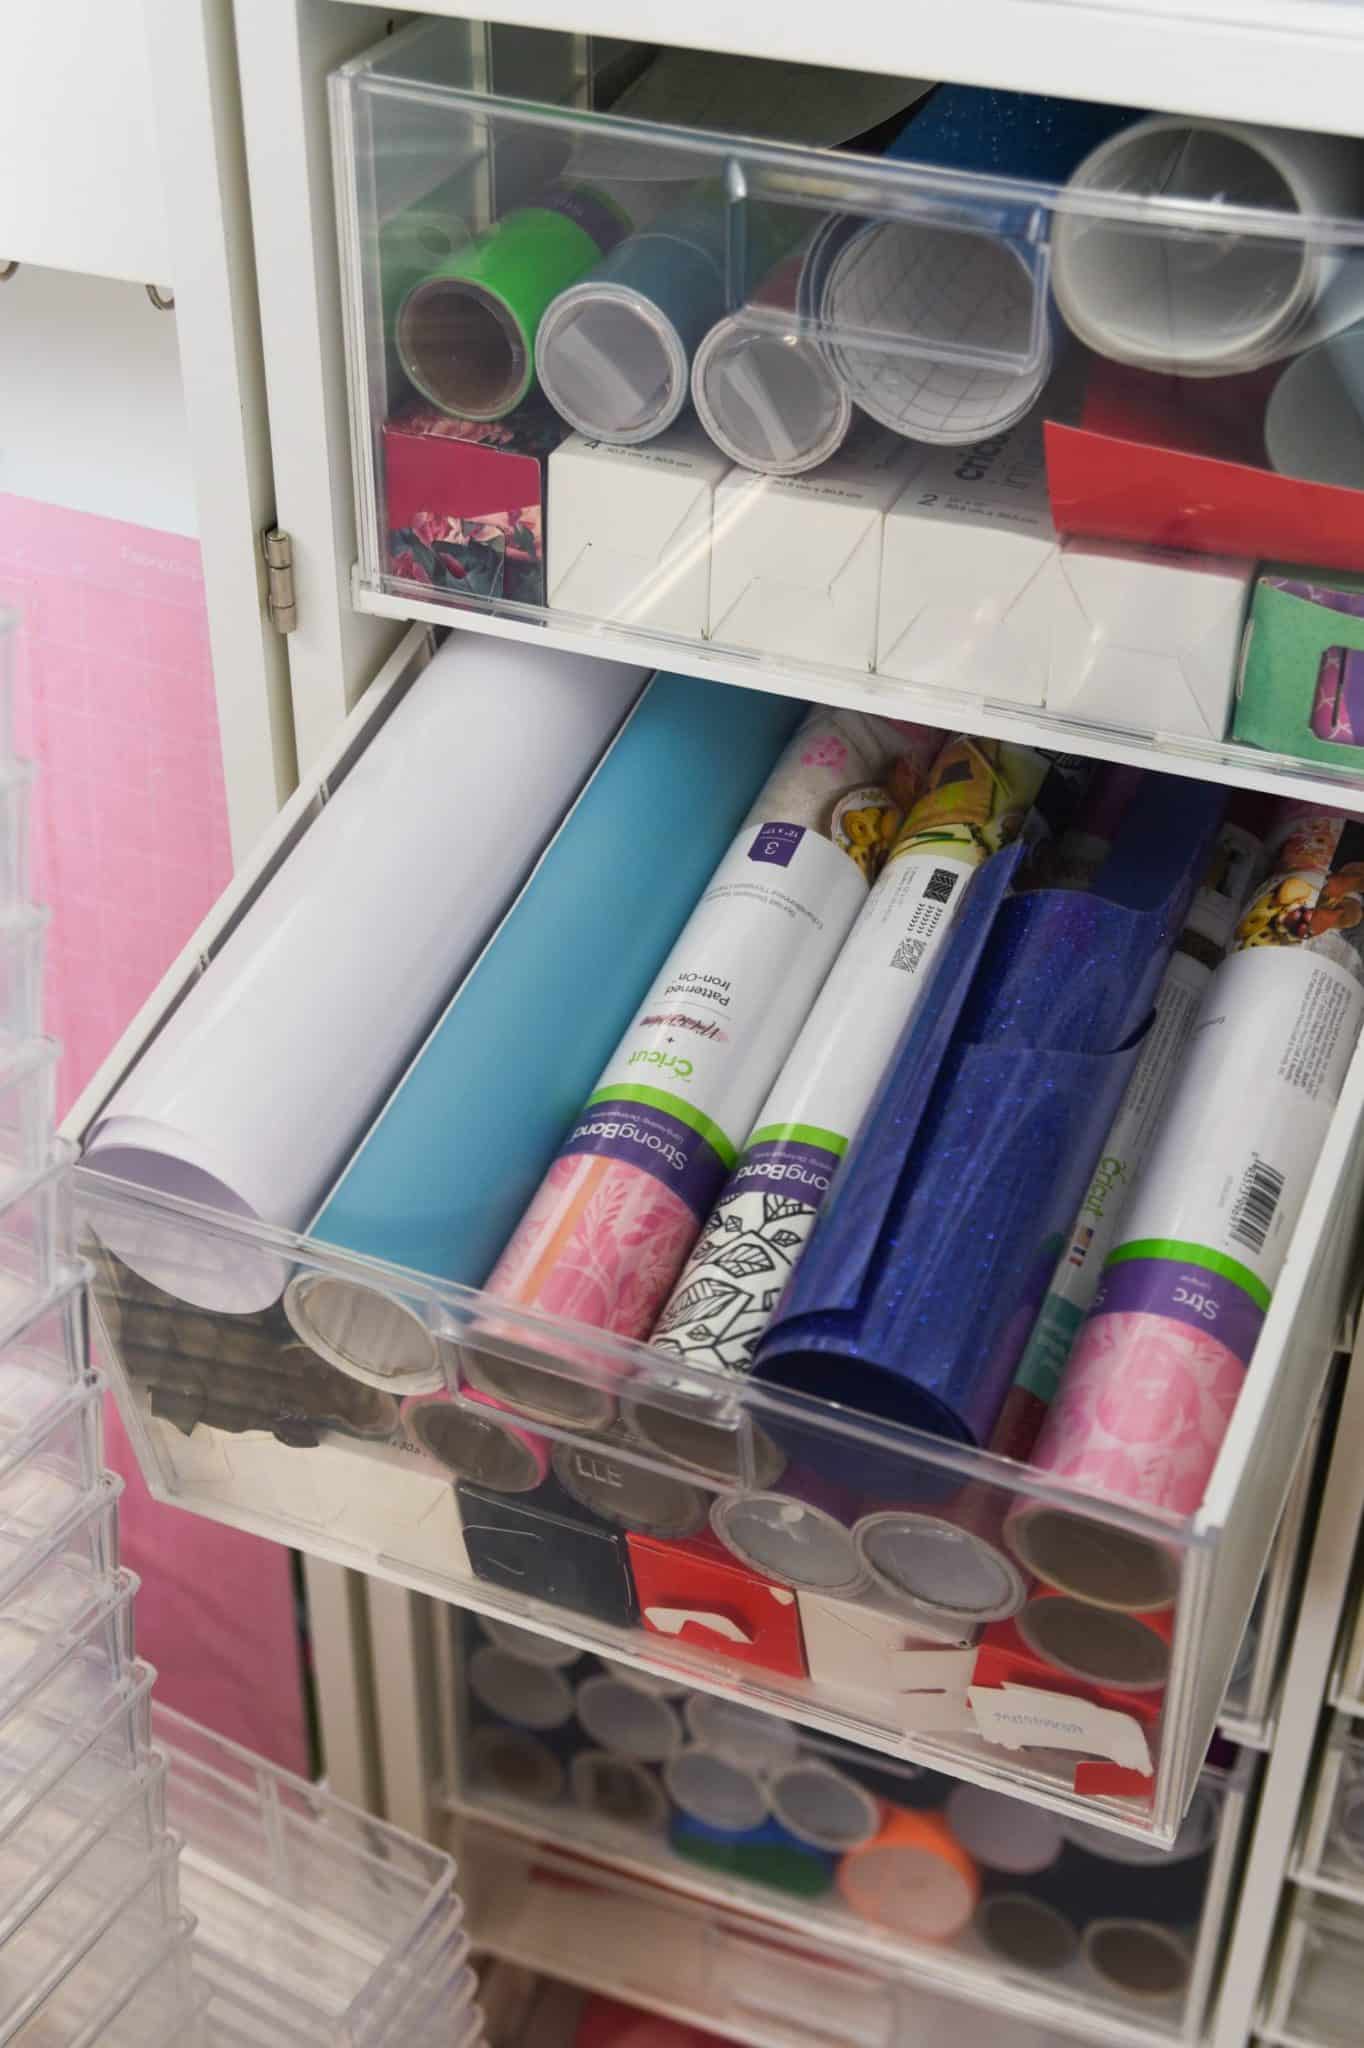
Before you get started with making your t-shirt, it’s a good idea to gather up all the supplies you’ll need to make your project. To make a t-shirt, you’ll need a handful of basic supplies.
- T-shirt: You can use any type of t-shirt with heat transfer vinyl, but for best results, it’s a good idea to choose a shirt made of cotton or a cotton/polyester blend. Other fabrics may not be able to withstand the heat needed to transfer the vinyl to the fabric, causing issues when you try to place the vinyl on the shirt.
- Heat transfer vinyl: To create a t-shirt design with your Cricut, you’ll need to use heat transfer or iron-on vinyl. This type of vinyl is different than everyday vinyl because it is designed to be transferred from an attached transfer sheet onto a secondary material through heat.
- Cricut: You can use any model of Cricut to make your t-shirt. But if you plan on creating a t-shirt design that is bigger than 4.5 inches wide, I wouldn’t suggest using your Cricut Joy. Instead, use a Cricut Explore or Cricut Maker to cut the design for your shirt.
- Design Space: To create the design for your t-shirt, you should install Design Space on your computer. This design program is compatible with your Cricut, allowing you to create your own design or upload an SVG file to cut using your Cricut.
- Weeding tool: To remove the excess vinyl from around your design, you’ll need to use a weeding tool. This tool features a sharp, fine tip at the end that makes it easy to pull the extra vinyl away from your design without damaging the design itself.
- Easy Press: The best way to transfer your vinyl to your fabric is with an Easy Press. While you could use a household iron to transfer the vinyl to the t-shirt, an Easy Press will provide you with more even heat, which helps the vinyl adhere to the fabric.
Heat Transfer Vinyl/Iron On
This is the most common material to use when you are making a shirt. Cricut’s brand is called iron-on vinyl, but most other companies refer to it as heat transfer vinyl or foil.
There are SO many varieties available. One of my favorite places to get HTV is from Expressions Vinyl. If you are looking for Cricut brand, they have tons of styles, colors, and textures, including:
- Foil Iron-On
- Glitter Iron-on
- Holographic Iron-On
- Mesh Iron-On
- Mosaic Iron-On
- Patterned Iron-On
- SportFlex Iron-OnPatterned Iron-On
Here is some additional guidance on using iron-on vinyl – How to Use Vinyl Iron on for Cricut: Everything You Need to Know.
Infusible Ink
Infusible ink is another medium that you can use to create shirts with your Cricut. It using ink sheets or special infusible link pens to make a more permanent and professional design for shirts. We won’t be discussing this type of shirt making in this post, but it’s a great option. You can learn more in these posts:
- Cricut Infusible Ink: What Shirts Can I Use?
- 45+ Infusible Ink Blanks to Try – Cricut & Non-Cricut
- Cricut Infusible Ink: Everything You Need to Know
- Cricut Infusible Ink Pens: Tips and Tricks for Getting Started
How to Make a T-shirt with Cricut
Now that you have your supplies ready, it’s time to start crafting!
Create your Design
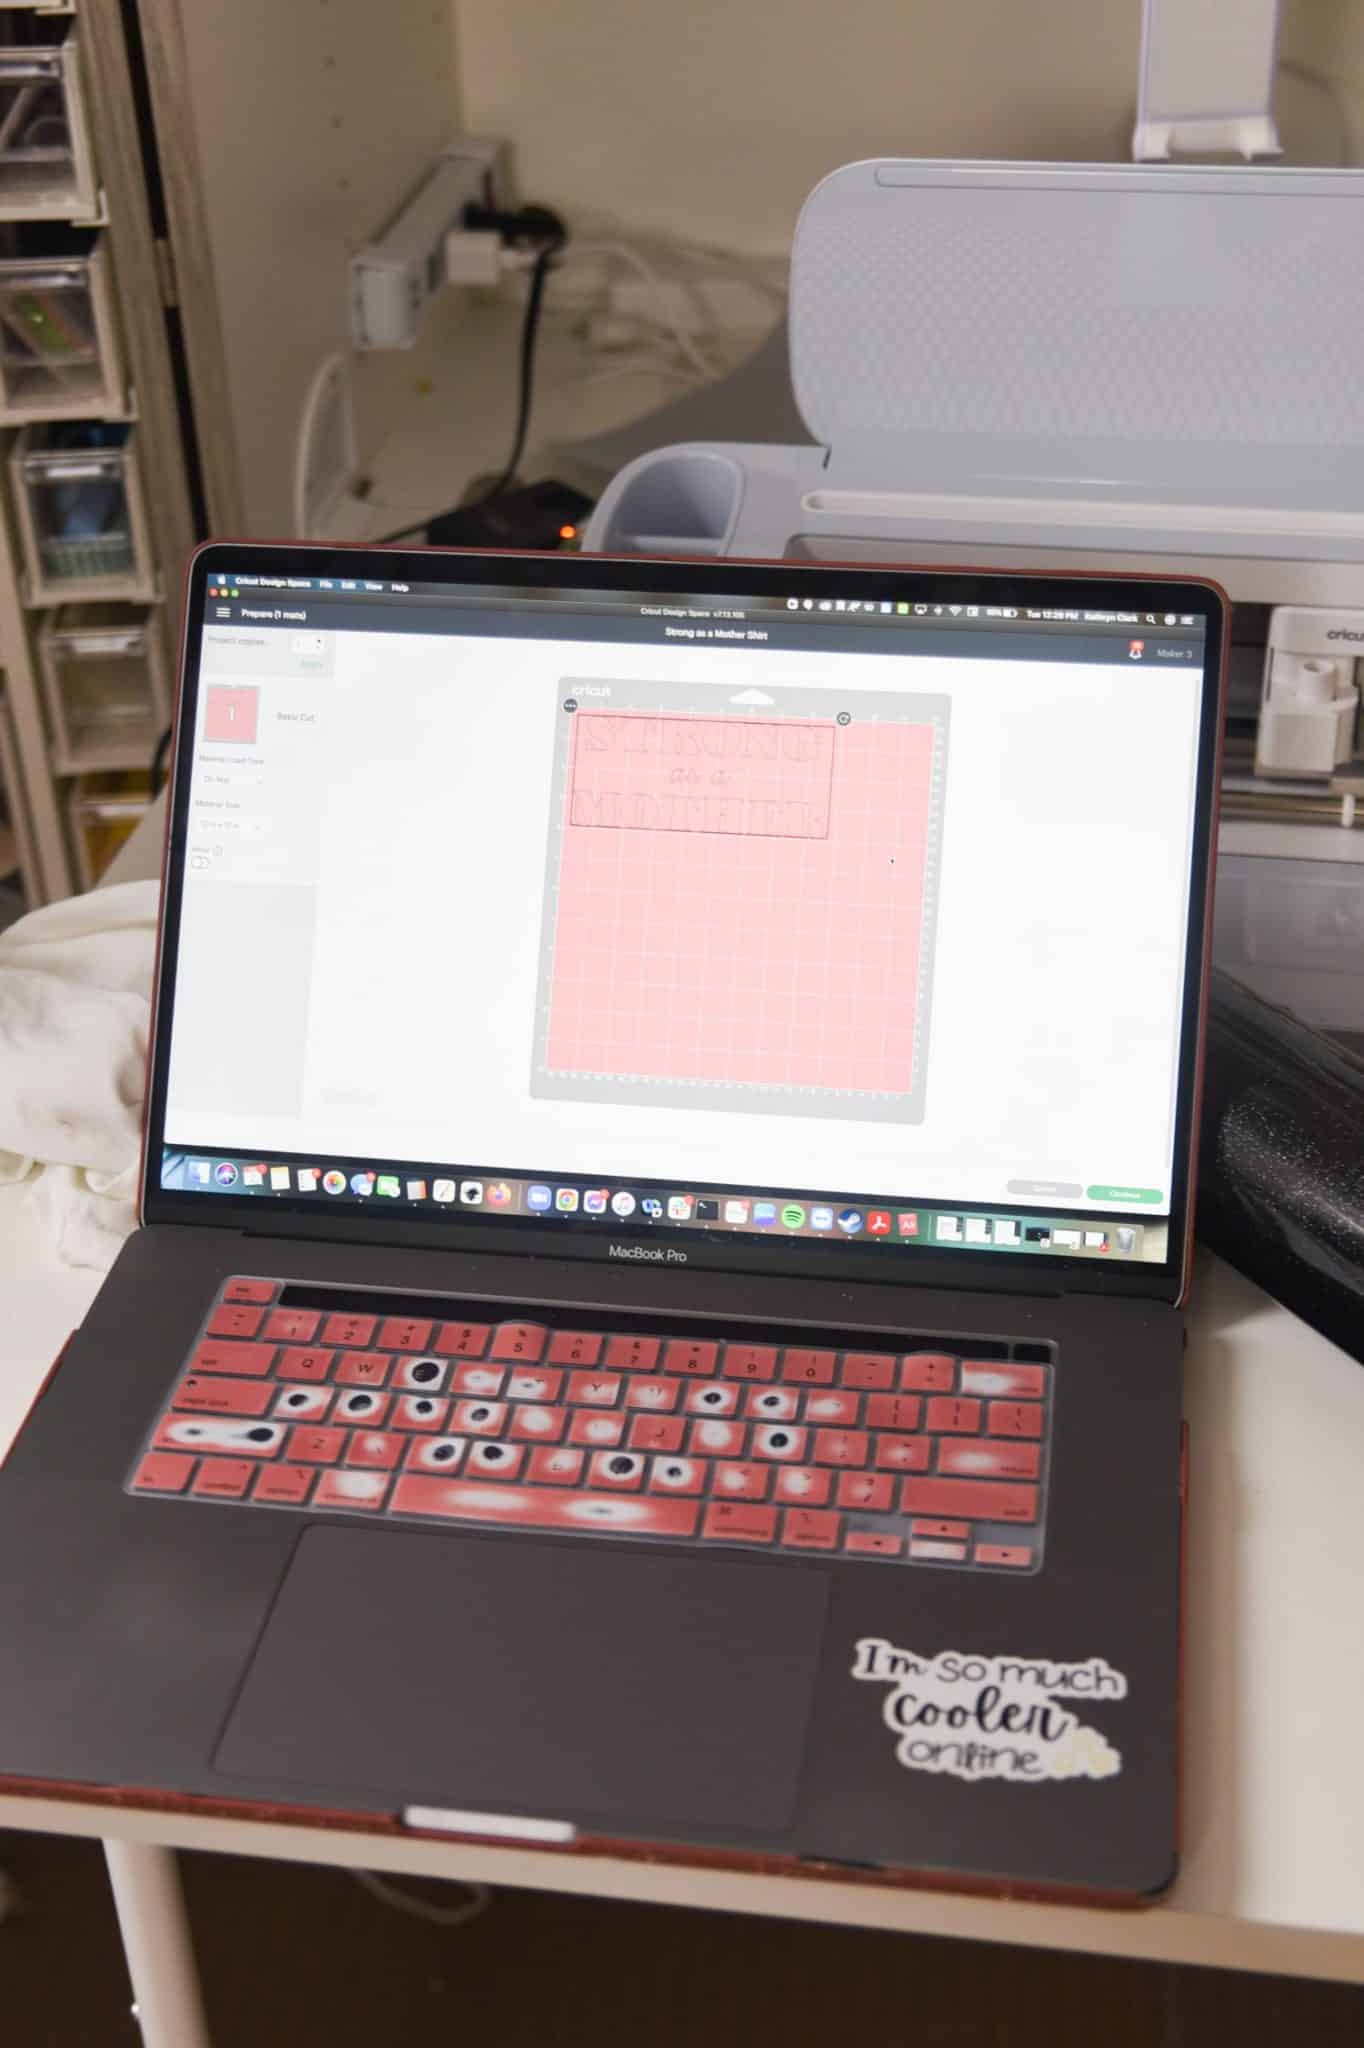
The first step to making your t-shirt is to open Design Space and create your design. You can use the design tools available in the program to create a design for your t-shirt, choose from the available designs within the program, or upload your own SVG file to create your shirt.
Measure
Once you have your design finished, take a second to measure the area of the shirt you would like the design to appear. Remember that your Cricut cannot cut designs wider than 12 inches (or 4.5 inches if you’re using a Cricut Joy).
Keep that in mind when planning the size of your design. If you’re unsure about how big your design should be, consider these general guidelines for sizing designs for t-shirts based on t-shirt sizes:
- Infant clothing: between 4 and 6 inches
- Youth clothing: between 6.5 and 8.5 inches
- Adult clothing: between 8.5 and 10 inches
Use these general guidelines to help you determine how big to make your design, then measure the shirt you’ll be using to make sure the design will fit. Resize the design to fit in the designated space on your shirt, if needed.
Cut your Design
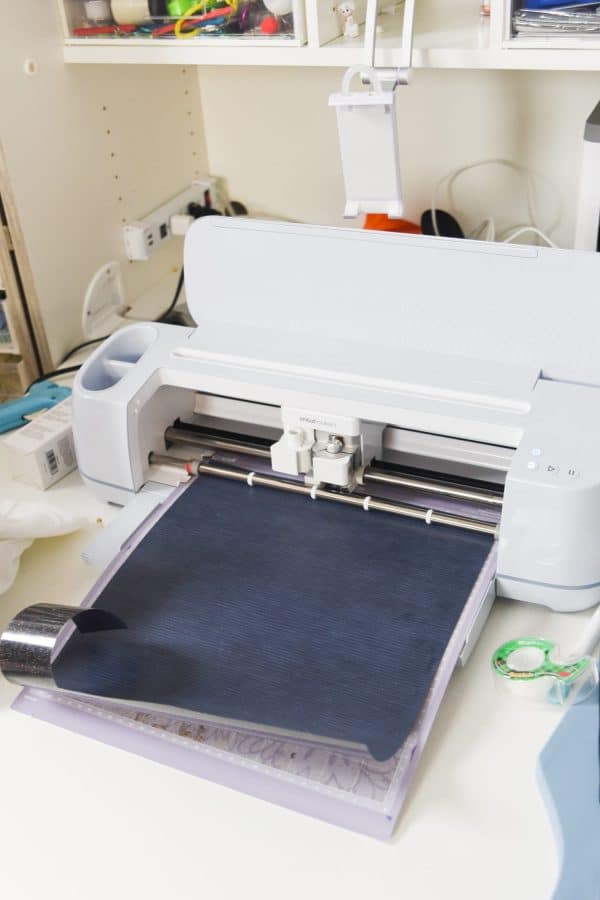
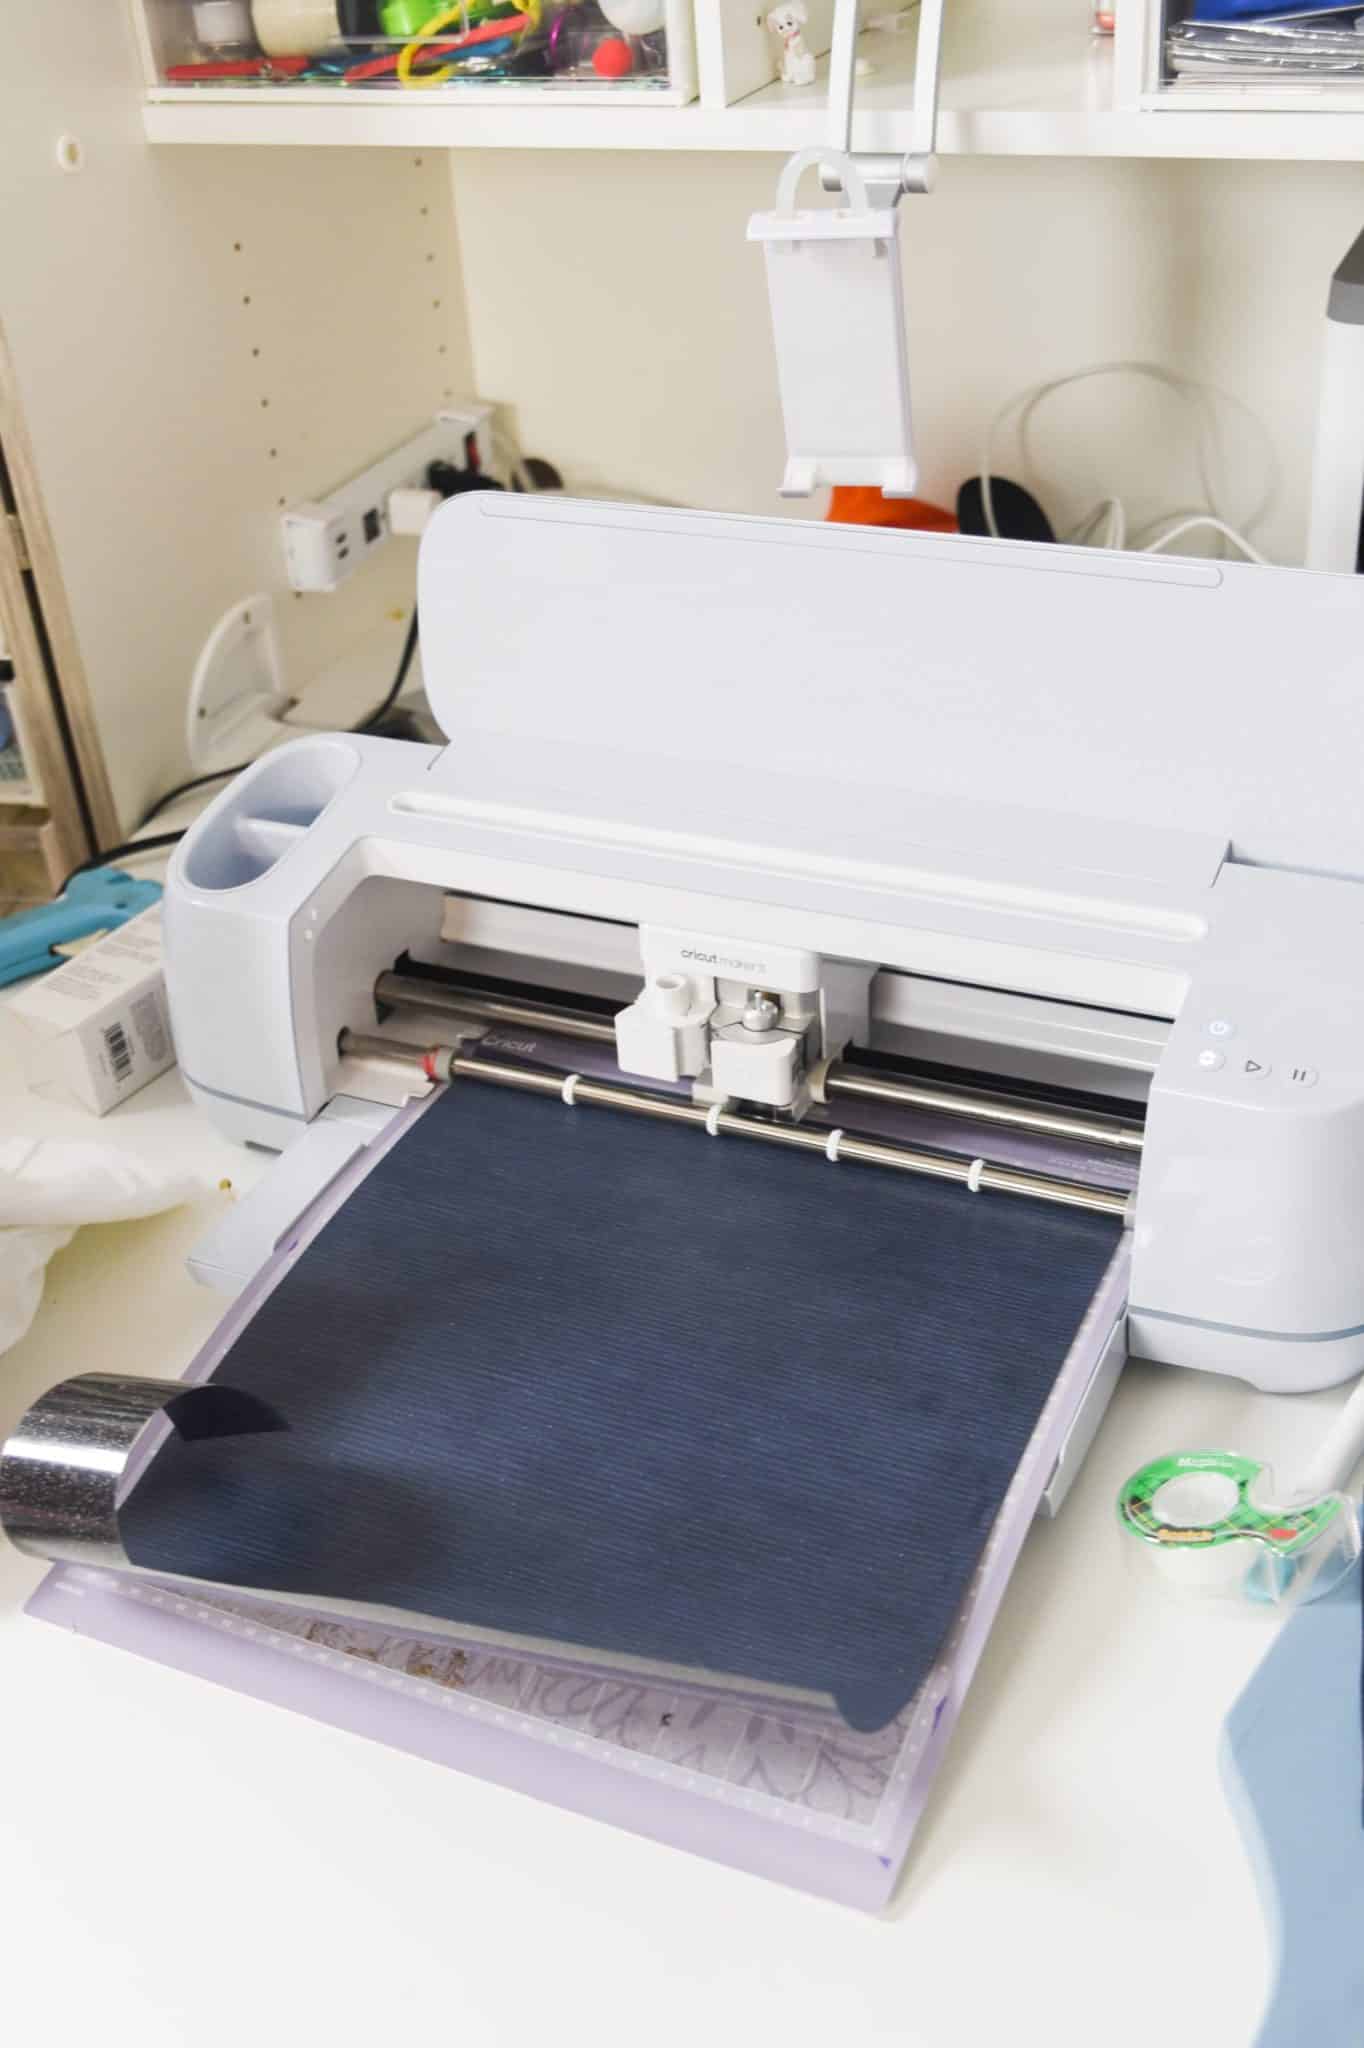
- When your design is sized and ready to be cut, make sure your Cricut is turned on and the dial is set to “iron-on” if you are using a Cricut Explore (otherwise, you’ll just set this in Design Space!)
- Then, hit the Make It button to preview your design
- Before you begin cutting, make sure to set the toggle switch to “mirror” in the left menu of the Design Space screen.
- This will flip your design so the letters are cut backward. When you transfer your design to your shirt, they will appear correctly.
- You will be prompted to select your material, and you can also adjust different settings. Usually I don’t mess with the settings too much unless my blades are dull!
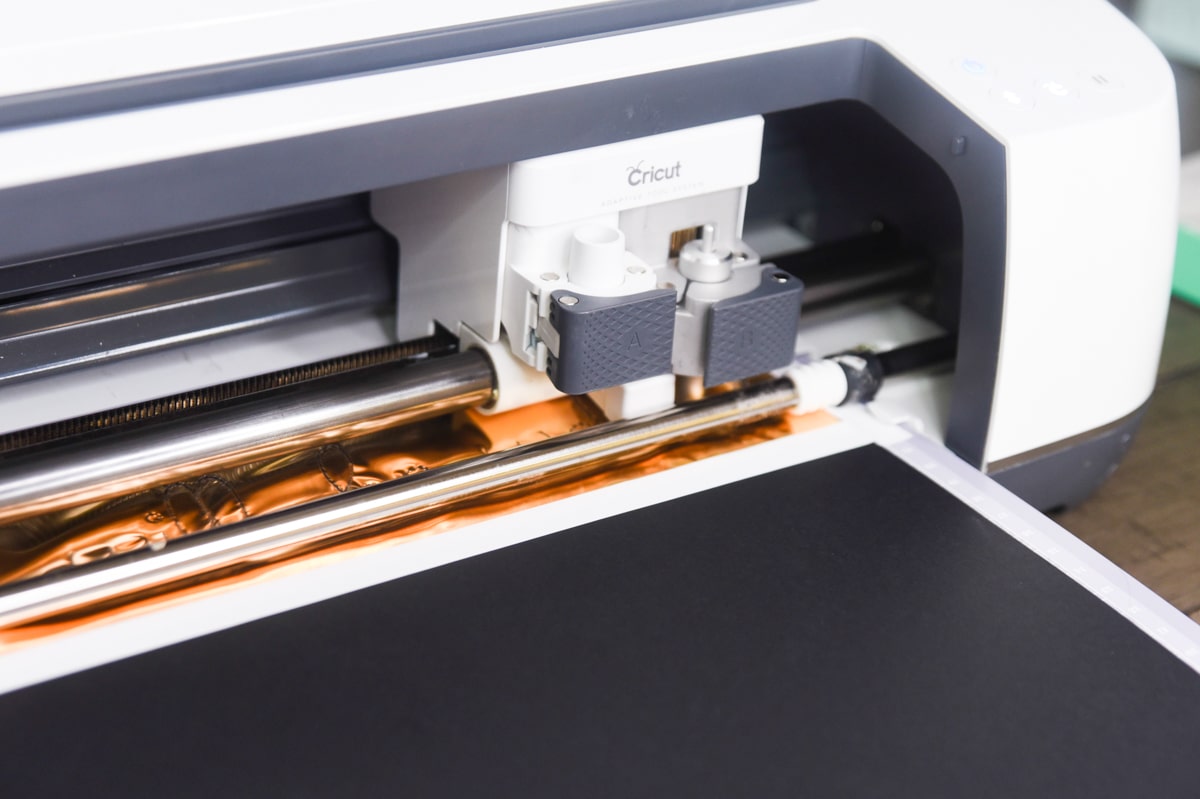
- Place your vinyl with the shiny side facing down on the cutting mat, then load the mat into the machine.
- Press the start button to allow your Cricut to begin cutting.
- When the machine has finished cutting, use your weeding tool to remove the excess vinyl from around your design.
Press your Vinyl
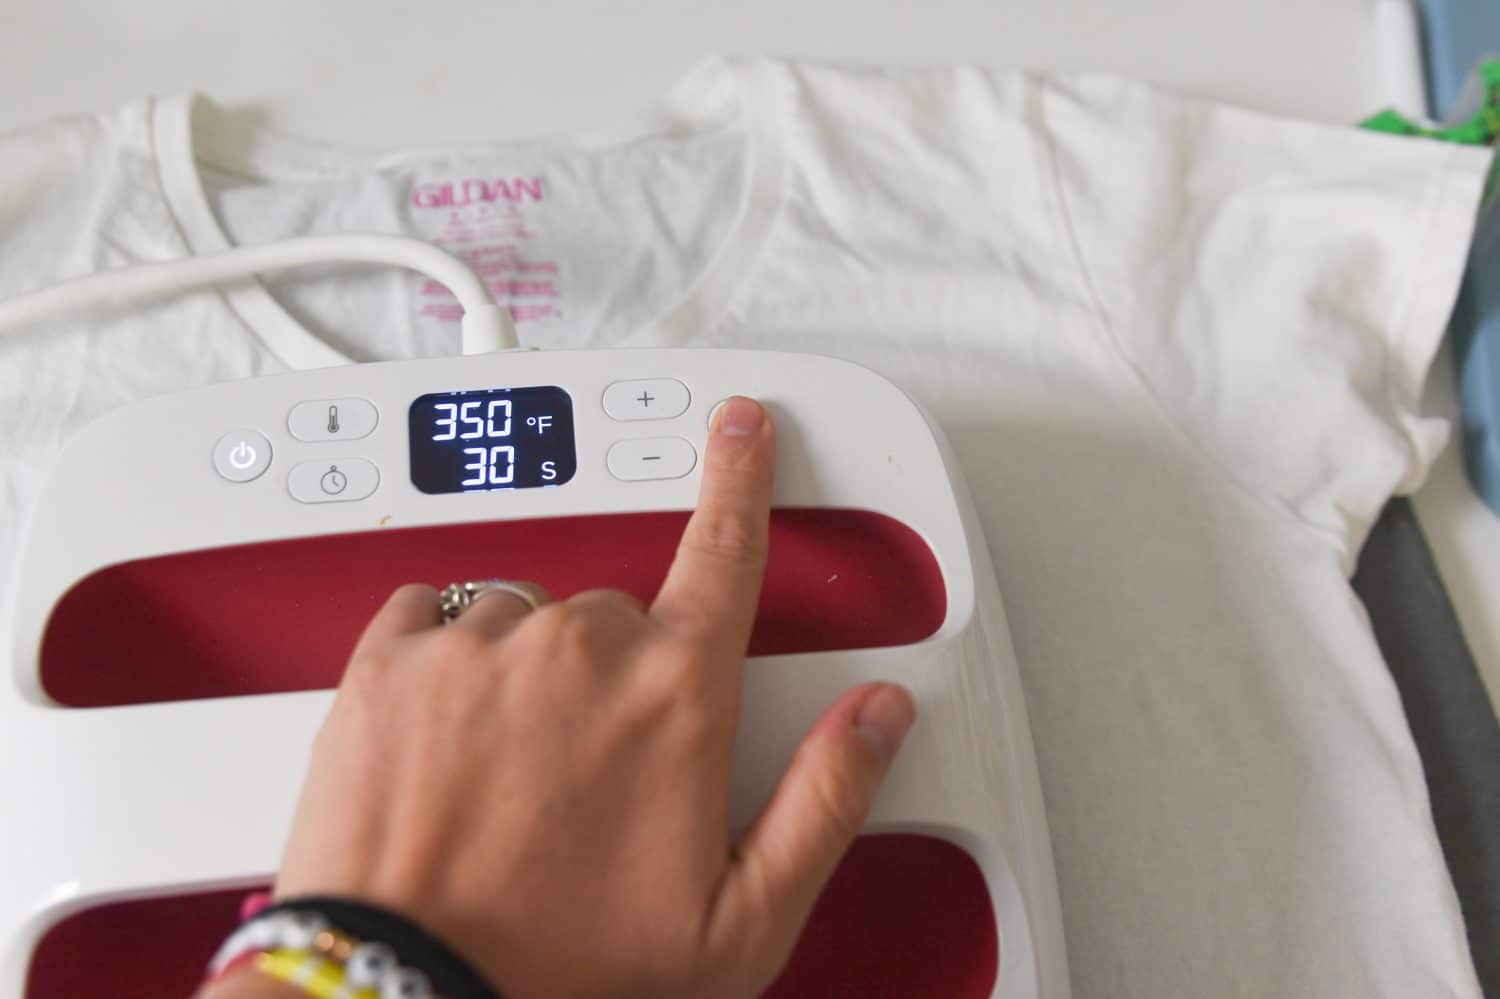
You can use an iron, Easy Press, or regular heat press for heating your design. We personally love our Easy Press and use it with ease for all our iron-on projects. If you are using an Easy Press, make sure to get the specific settings for your material with the Easy Press Heat Guide. You can use this as a point of reference for your iron as well.
- Prepare your t-shirt for transferring the vinyl by warming the shirt with your Easy Press (or iron, or heat press) for a few seconds.
- Then, place the design on the shirt, making sure to center and straighten the design.
- Place the Easy Press on top of the vinyl and push firmly on top of the press for 30 seconds (unless otherwise indicated).
- If your design is larger than the press, move the press to the area of the vinyl that has not been heated and repeat the process.
Finish Up
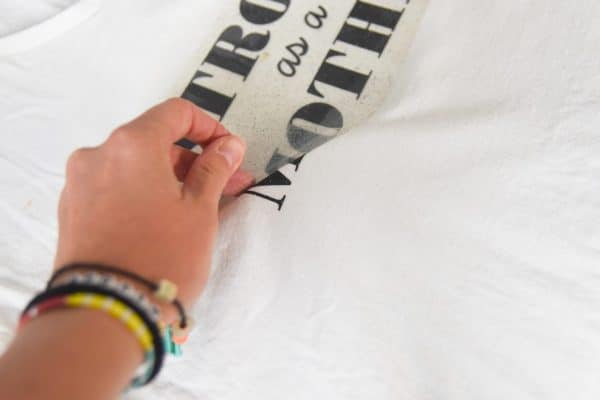
- Allow the vinyl to cool according to the Easy Press instructions
- Then remove the plastic backing to reveal your design
- After the vinyl has completely cooled, your new shirt is ready to wear!
Can Cricut Make Shirt Designs?
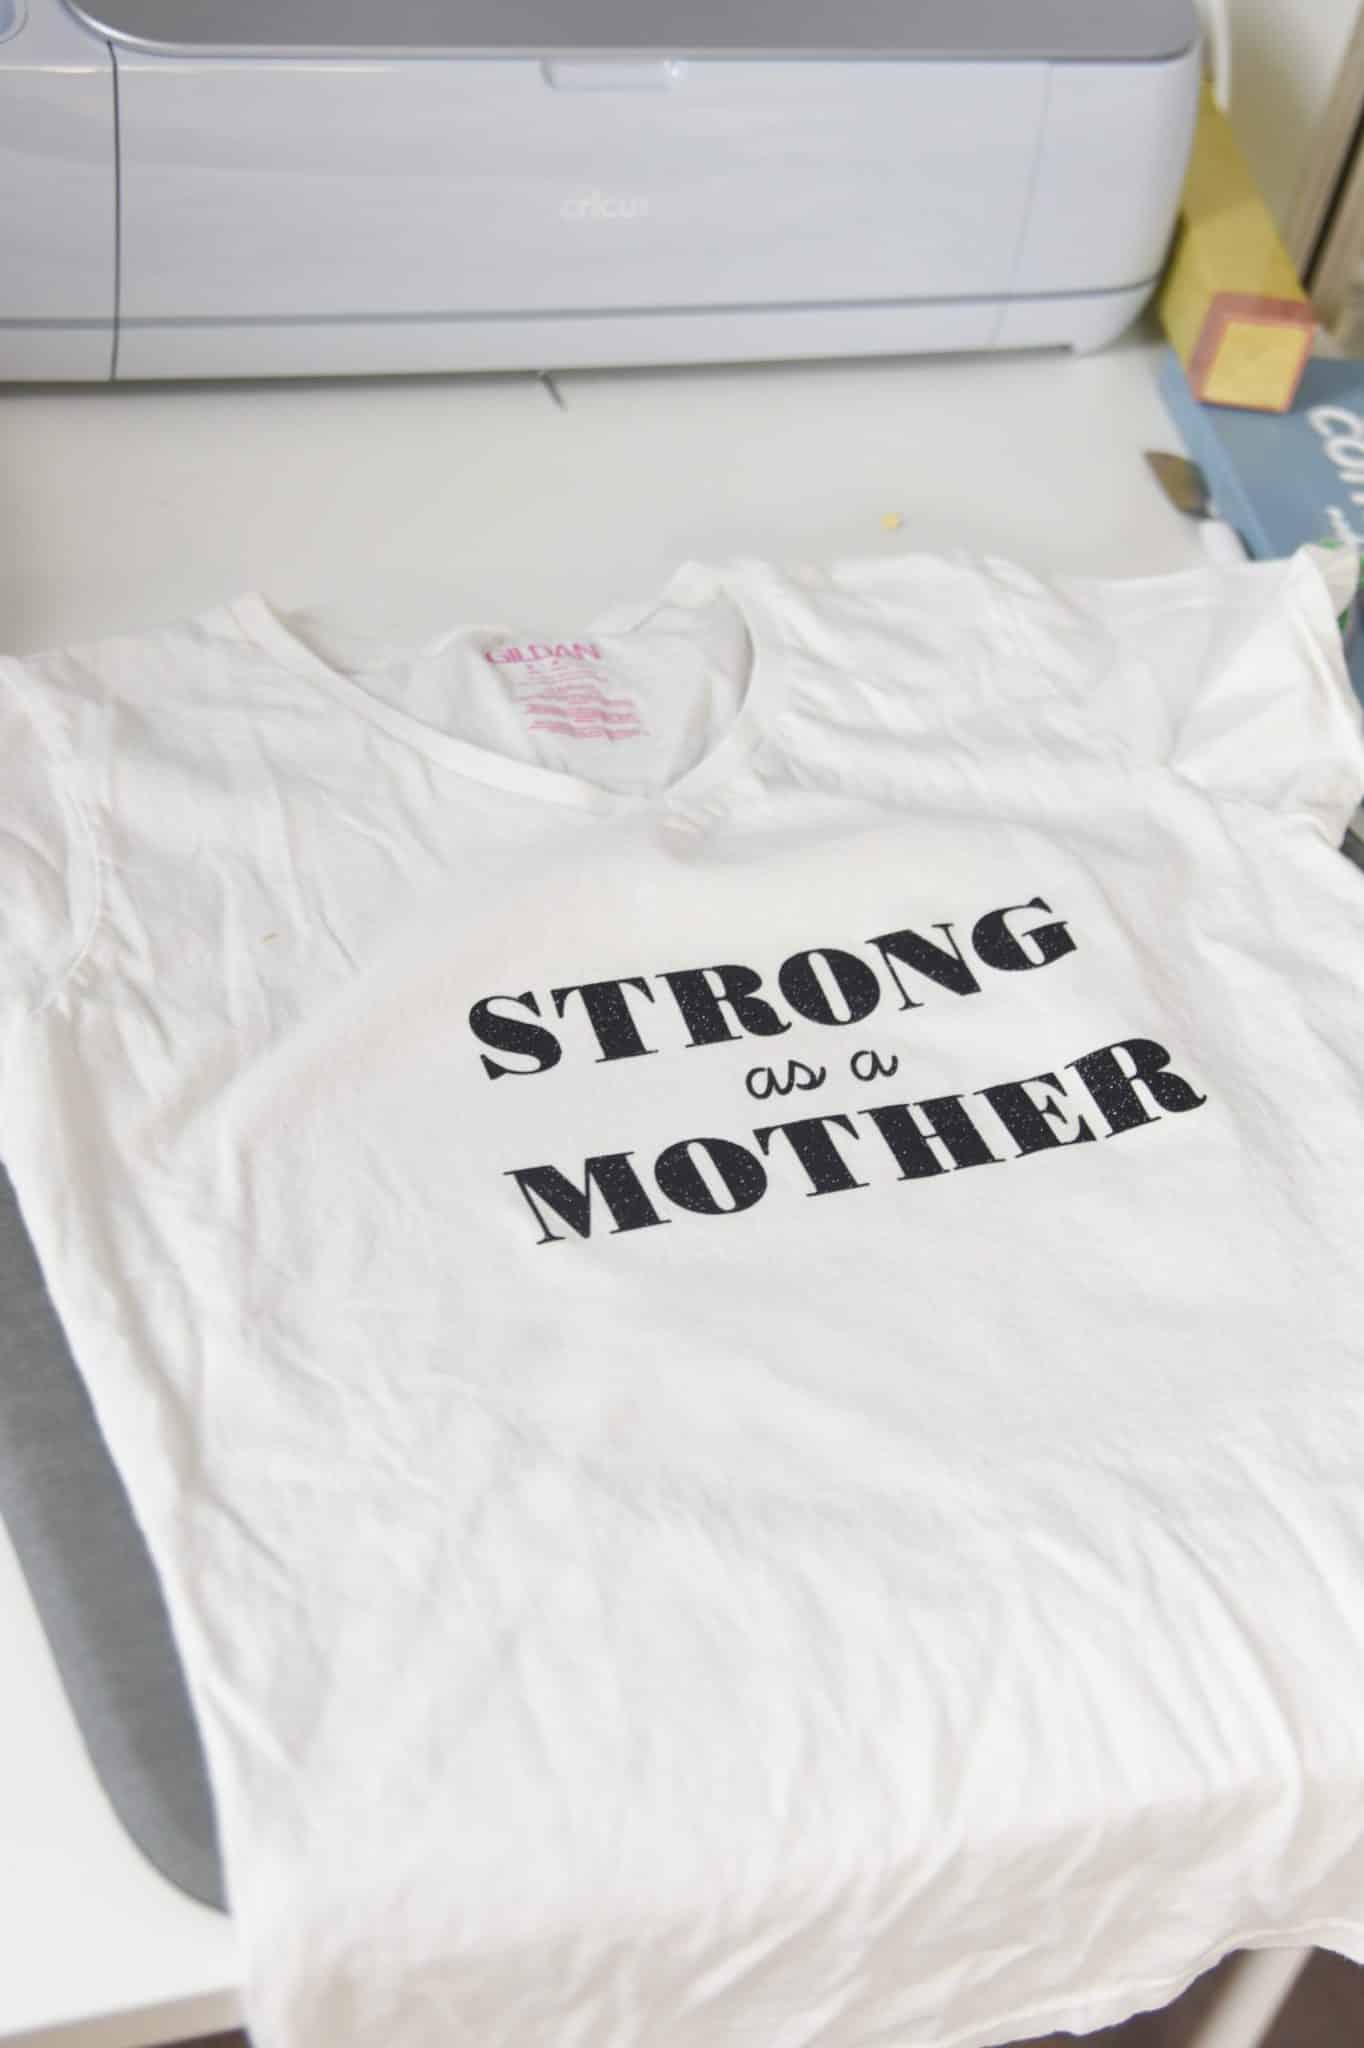
Yes! You can make shirt designs in Cricut Design Space using your own images, projects that were created by the Cricut design team, or using images available through Cricut Access. I think it’s one of the easiest programs to make shirt designs with!
Places to find Cricut Shirt Designs
There are lots of designs all over the Internet that you can use if you choose not to use designs within Design Space. Etsy is always my go-to, but there are places like Design-Bundles and So Fontsy.
If you are planning to sell the shirts you make, make sure you have the right license to do so. Most designs within Design Space can be used for commercial use, though you should definitely review the Cricut Angel policy.
Should I use an EasyPress, Heat Press, or Iron for Cricut
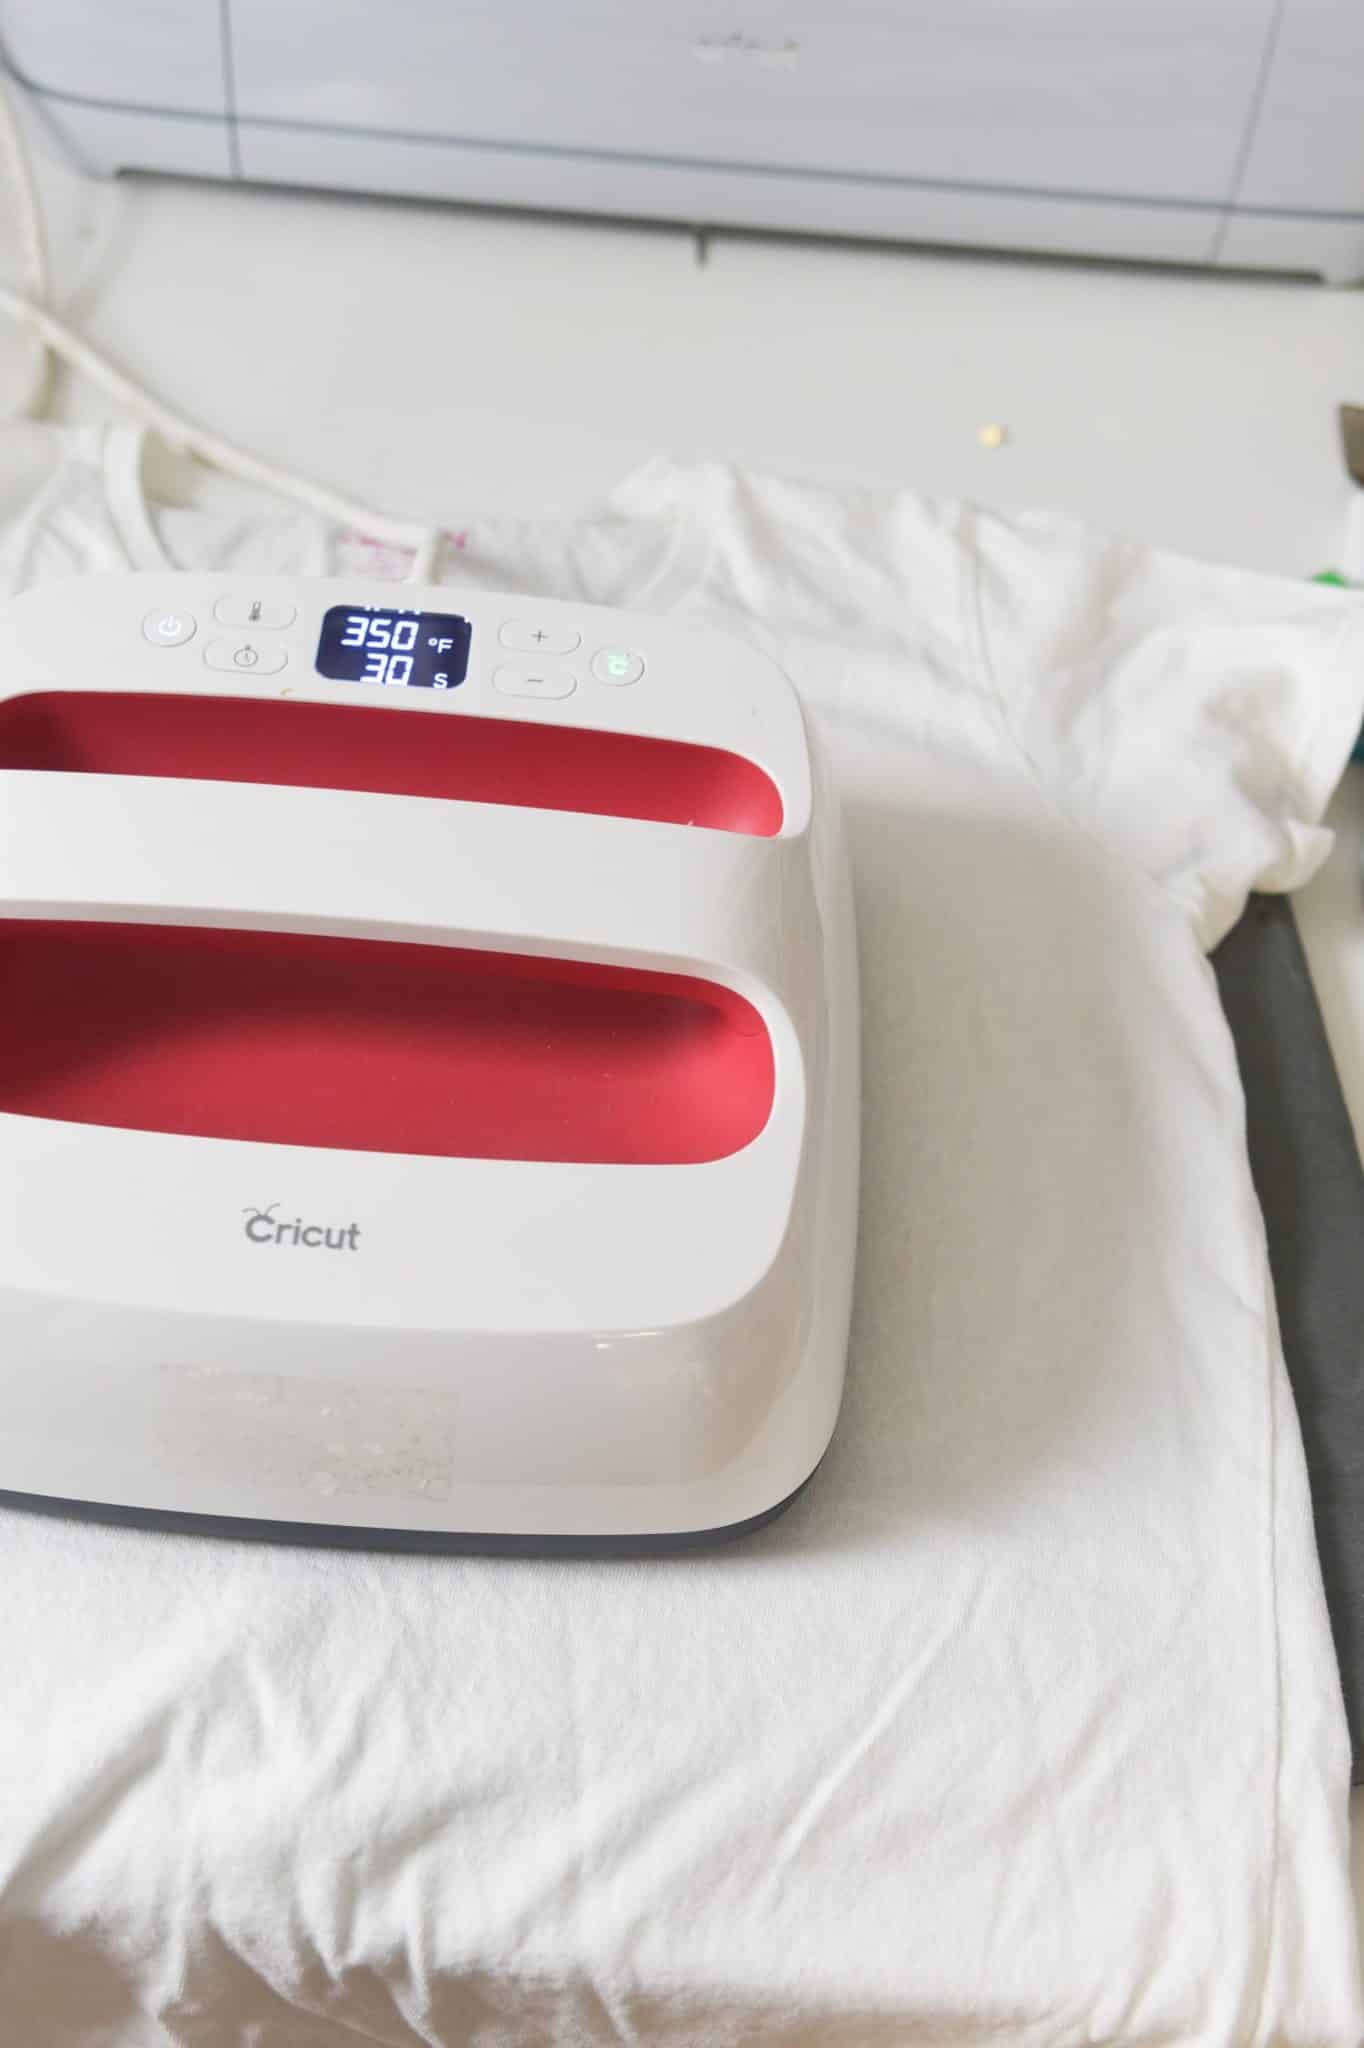
All of these are great options – it just depends on what you have available to you! If you are making designs in high volume, I probably would use an EasyPress or a traditional heat press. However, if you are just making a couple, a regular household iron will suffice.
I personally have been using the Easy Press since it was first released, and it never lets me down. I have them a variety of sizes, which does come in handy.
- EasyPress Small (9×9)
- EasyPress Large (12×10)
- EasyPress Mini
EasyPress Large (12x10)EasyPress Large (12x10)
There is a small learning curve, but it’s really quite easy to use, especially compared to a regular heat press.
This article might be helpful for you as you make this decision – Cricut Iron Press, Easy Press, and Heat Press Shirt Comparison.
Best Cricut for Making Shirts
Honestly, any of the Cricut Maker or Cricut Explore machines are going to be great for making a t-shirt – they just require a fine point blade. If you want the fastest machine with the most versatility, the Cricut Maker 3 is going to be your best choice. I do really like the matless cutting, which is great if you are creating a high volume of shirts.
Best Vinyl for Making Shirts
I think most of Cricut’s iron-on is pretty good, but Expressions Vinyl is definitely my preferred vinyl.
Best Shirts for Iron on Vinyl
There are a lot of shirts that work well with iron-on vinyl. My friend, Sydeny, put together this great post with her preferred options after trying over 100 shirts.
Here are two options I personally have used and loved:
- Bella + Canvas Unisex Jersey Shirts
- Gildan Adult Soft Style Shirts
Honestly, though, I often get the Giladan shirts that go on sale all the time at Joann’s and Michaels. THey arent’ he softest but they are cheap and get the job done. The ones listed above are definitely higher quality.
How Much to Sell Shirts Made with Cricut
This can depend on a variety of factors:
- Cost of materials
- Compelexity of design
- If it was a custom design
- Shipping (if necssary)
Looking at Etsy is a good place to start. I would say an average custom shirt is between $15-25. Our craft pricing calculator can help you figure out a price you feel comfortable with.
More Cricut Posts You May Enjoy:
- 14+ Awesome Dollar Tree Cricut Hacks
- Cricut Crafts to Make and Sell – Cricut Business Ideas
- 15 Creative Cardstock Cricut Ideas For Beginners
