How to Make Car Decals with Cricut 101
Making your own car decals is one of the most popular projects to make with your cutting machine. You can do it with the Cricut Explore Air, Cricut Maker, Silhouette Cameo, and the Cricut Joy! They aren’t hard to make, but it’s important to make sure you do it the right way. Keep reading if you want to learn how to make your own vinyl decals!
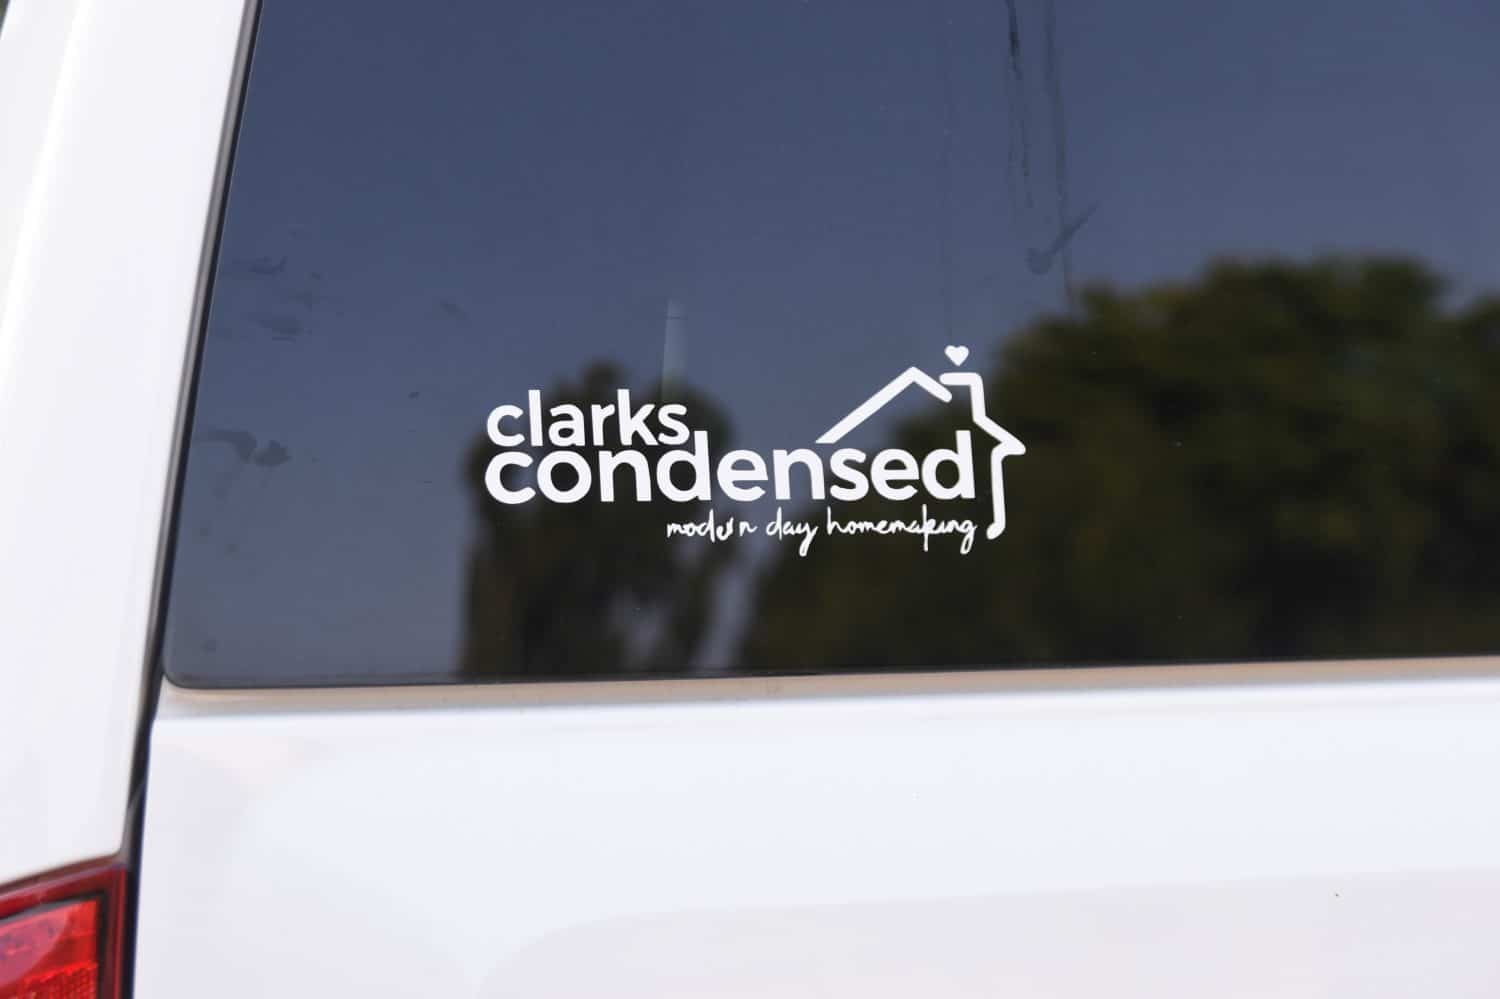
In this blog post, you will learn how to make and apply vinyl decals with a Cricut machine. You can use these car decals for anything from branding your company on the side of your vehicle to adding personalized messages on your laptop or tablet screen! This is an inexpensive way to add some personality while also protecting what’s important. Also, you can check out our post on how to make stickers with Cricut.
One of the most popular projects for Cricutters is making vinyl decals for cars. They are generally pretty easy to make, and they are hot sellers for those who want to make money with their Cricut machine.
While they may seem simple, there are a lot of fines details you need to keep in mind. Below, I’ll share step-by-step instructions on how to create, cut out, prepare, and apply a window decal, along with some FAQs. This is your ultimate guide to making custom car decals with your machine!
- Materials
- How to Make a Vinyl Decal Design in Design Space
- How to Cut Car Decals with Cricut
- Applying Transfer Tape to Car Decals
- Applying Vinyl Car Decal to Car Window
- What kind of vinyl decals can I make for cars?
- What machines can I make car decals with?
- What else can I make a decal for?
- What is the best scraper tool for decals?
- What type of vinyl can I use on car decals
- What type of transfer tape should I use?
- How can I make my design?
- Can I just use window cling?
- Can I use different colors of vinyl
- Tips for Making Decals Last Longer:
- More Posts You Might Enjoy:
Materials
- Permanent adhesive vinyl (NOT HTV/Iron on)
- Transfer Tape
- Cricut Machine
- Fine Point Blade
- Vinyl Squeegee
- StandardGrip Mat
How to Make a Vinyl Decal Design in Design Space
- Before you get started, make sure you measure the area that you will be putting the car decal on to make sure you get the right size
- To create your design in Design Space, you will need to either have the image file (SVG, PNG, or JPG is preferred) to upload to Design Space, or you can create your decal within Design Space using their fonts, images, and designs.
- If you have a design you want to upload – for instance, a logo, you will go to the upload section of Design Space. From here, you need to upload your design and remove any of the background that you don’t want to have cut out.
- Once you’ve removed any background, you will save it is a cut image. Make sure to label it so you can find it later.
- Add the image to a blank canvas and resize to the size you want it to be. If there are multiple elements, make sure you’ve attached them to each other so it’s a more even cut and you don’t want to piece things together later.
How to Cut Car Decals with Cricut
- Press “Make it” and preview the mats to ensure they are how you want them. If you are doing multiple cuts of the same design, you can duplicate it here.
- Select the material you are you using from the different options.
- Carefully apply your vinyl to your StandardGrip mat. The color should be facing up. You do not need to mirror your image.
- Press Go and watch the magic happen!
- After your design is done, remove the mat and carefully take the vinyl off of it.
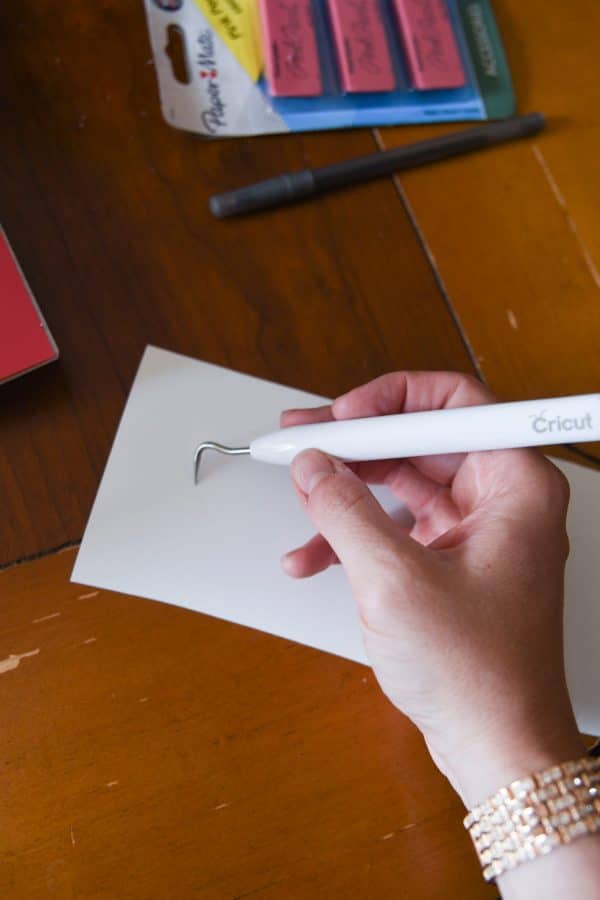
- Carefully weed any of the excess material, leaving just the vinyl attached to the backing paper.
- Now you’re ready to apply the transfer tape!
Applying Transfer Tape to Car Decals
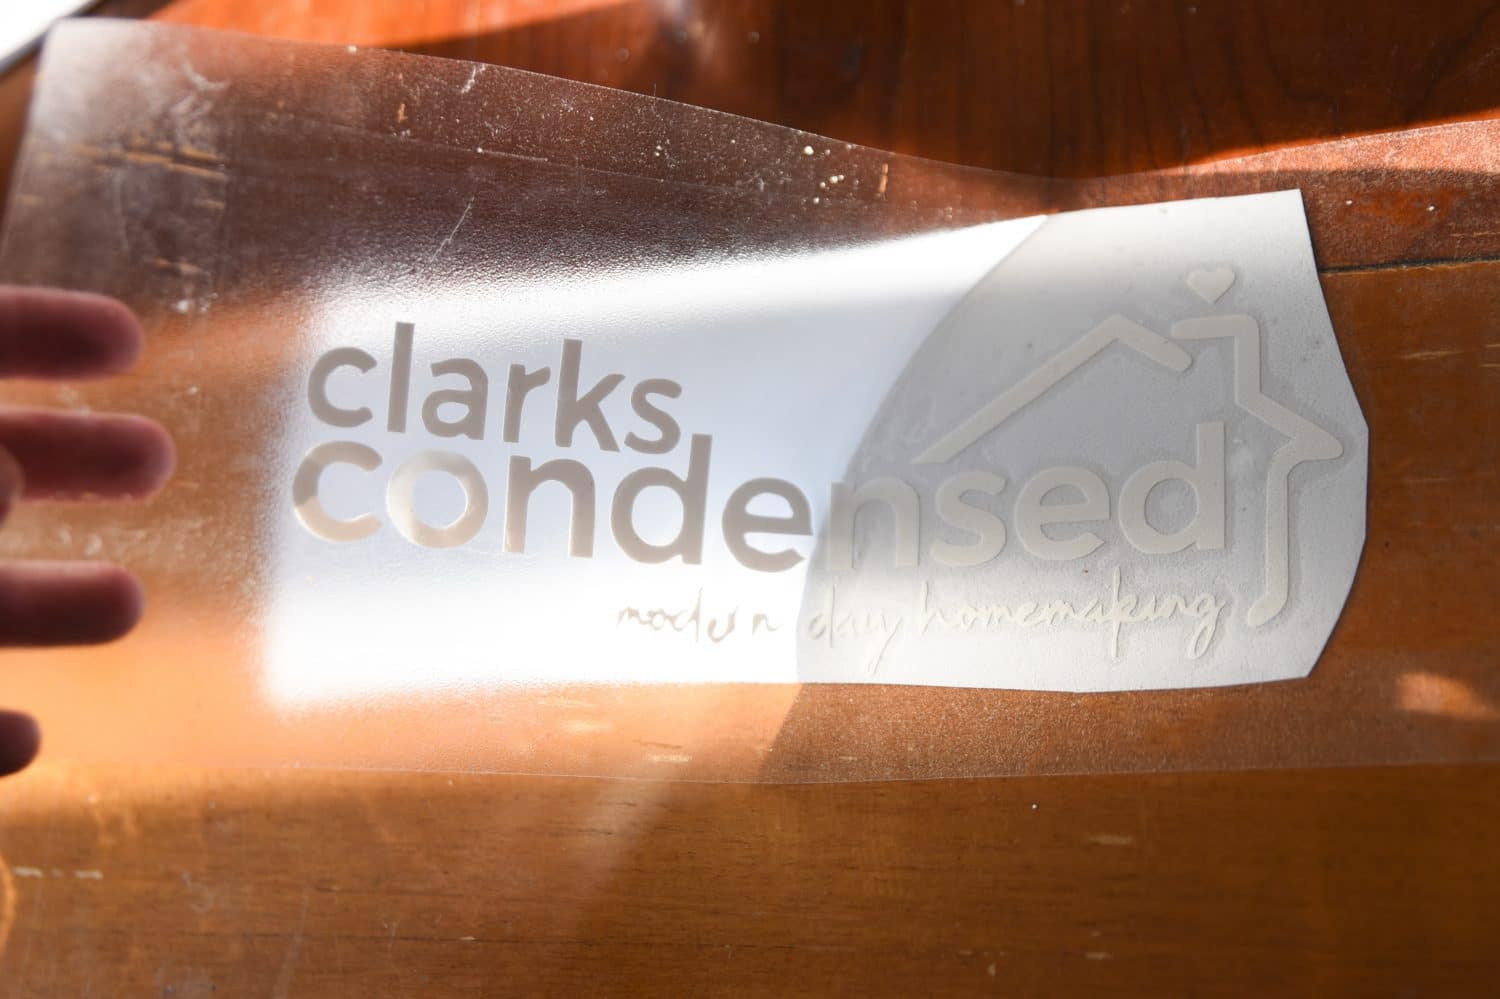
- Remove any dust that may have accumulated on your decal.
- Cut a piece of transfer tape that is bigger than the car decal (I usually go for about 1″ on each side)
- Be careful as you handle the transfer tape, as it can easily pick up fingerprints, dust, and other debris. This is especially important if you are making these for clients!
- Carefully lay the transfer tape on top of the vinyl decal, ensuring that there are no air bubbles
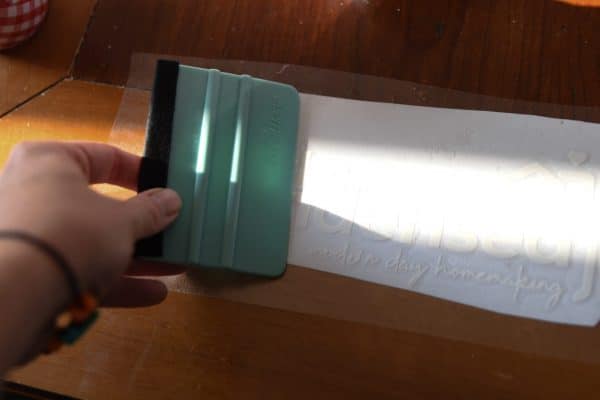
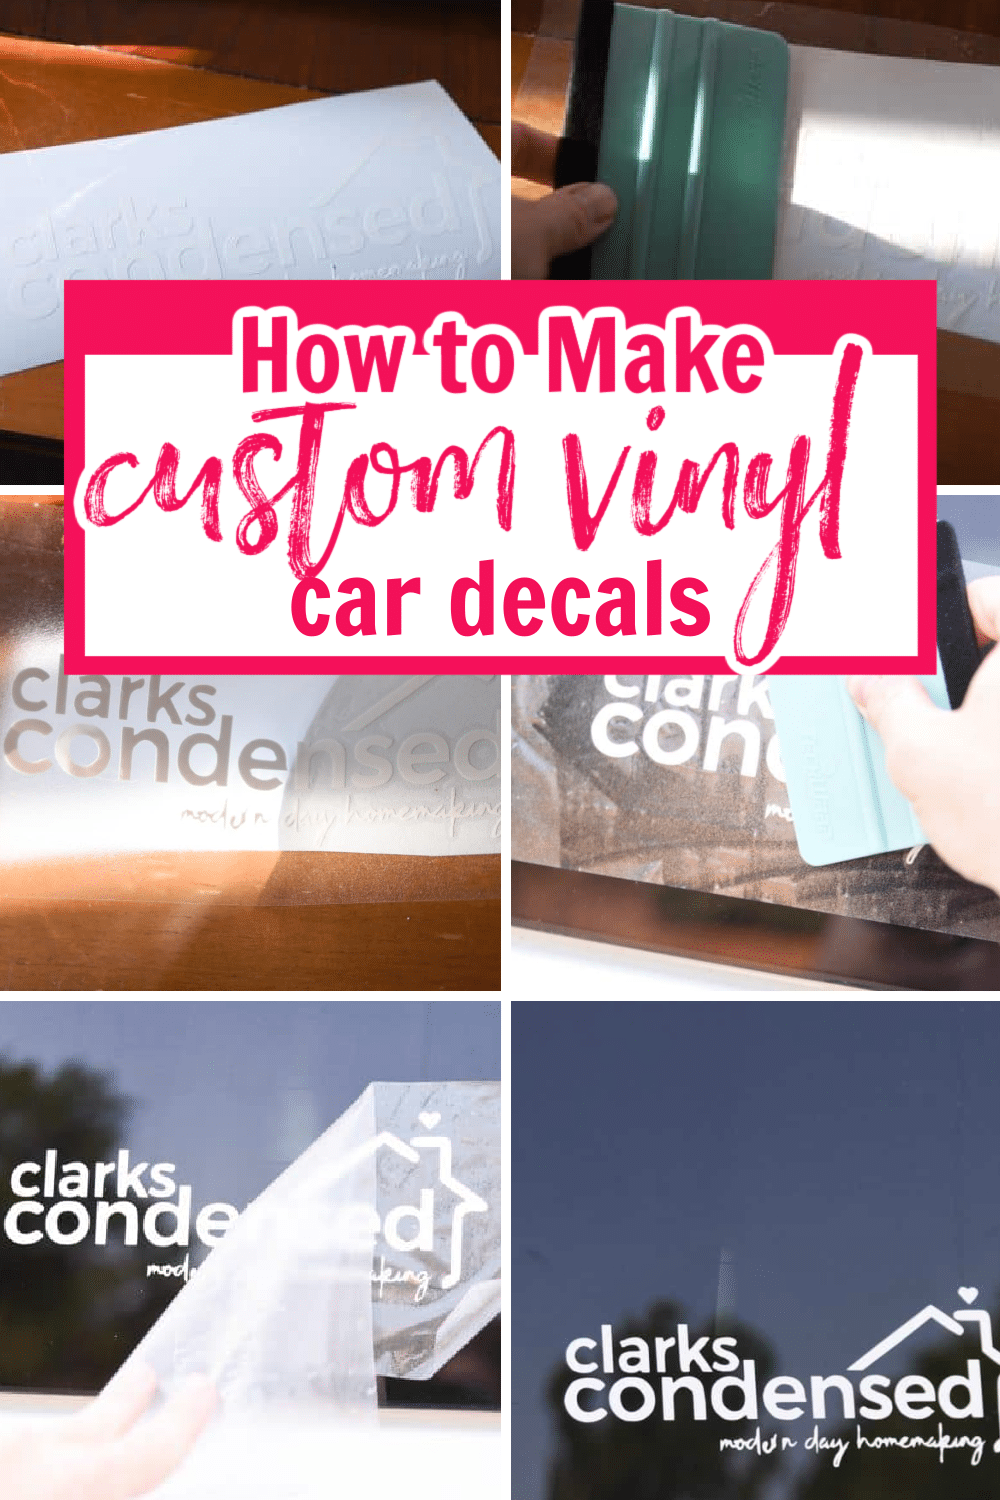
- Using a vinyl squeegee, apply firm, hard pressure across the entire design. Take special care to apply extra pressure to smaller pieces of vinyl, corners, and more rounded letters or images.
- Once you’ve done this, it’s time to peel up the decal. This is where a lot of people run into trouble – so do it carefully. Try peeling it up from different edges and corners if you are having issues. You can also try and peel the backing away from the transfer tape rather than the other way around.
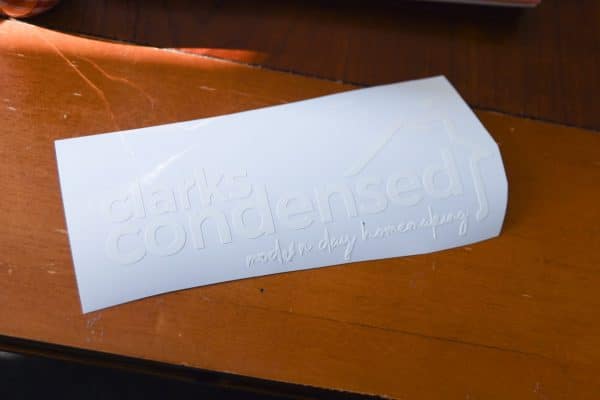
- After you’ve successfully peeled up the decal from the backing, I would put it back on the backing until you are ready to apply it to the car or until you ship it. It should stick back pretty easily. If you are shipping them, you need to ship it with the backing on it.

Applying Vinyl Car Decal to Car Window
We’re almost there! Phew!
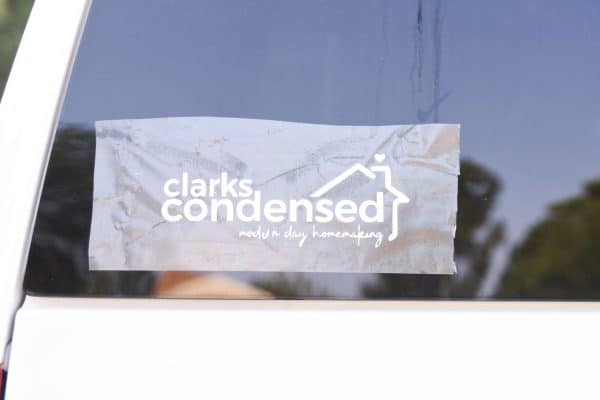
- Clean the surface where you will be applying the decal with rubbing alcohol or window cleaner. Let it dry completely. If it’s really dirty, you may want to use soapy water.
- Carefully peel the clear liner with the decal away from the backing.
- Place the decal on the surface, triple-checking that the location is correct.
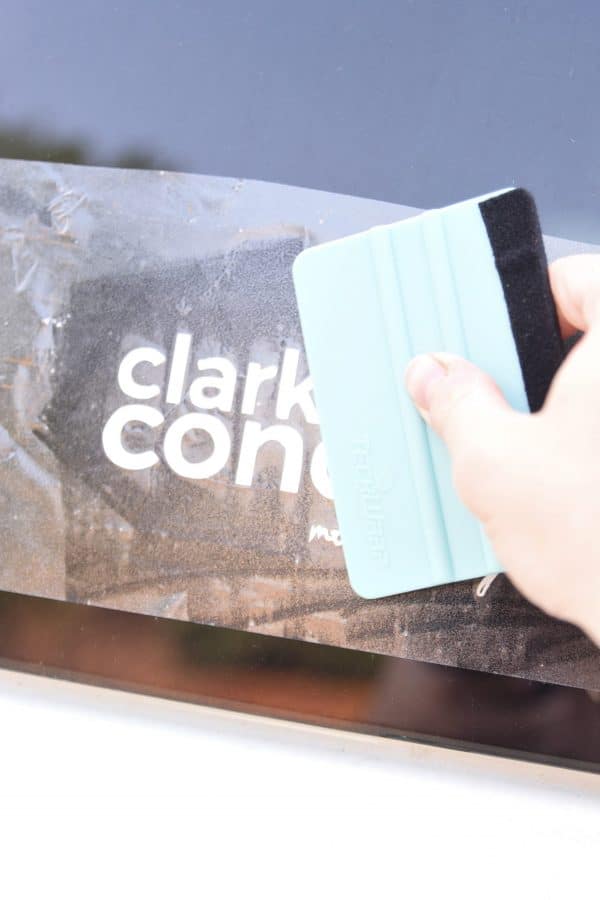
- Using a squeegee or credit card, apply pressure on top of your vinyl car decal, moving over the entire decal several times in a rolling motion.
- start from the top and work your way down one side of the decal at a time.
- Once you’ve smoothed out all sides, use an air blower (either canned or pump) to blow away extra adhesive that may have been left behind.
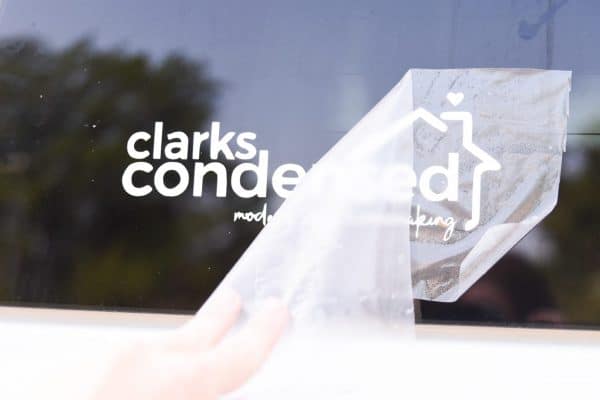
- Slowly peel the plastic liner up and enjoy!
What kind of vinyl decals can I make for cars?
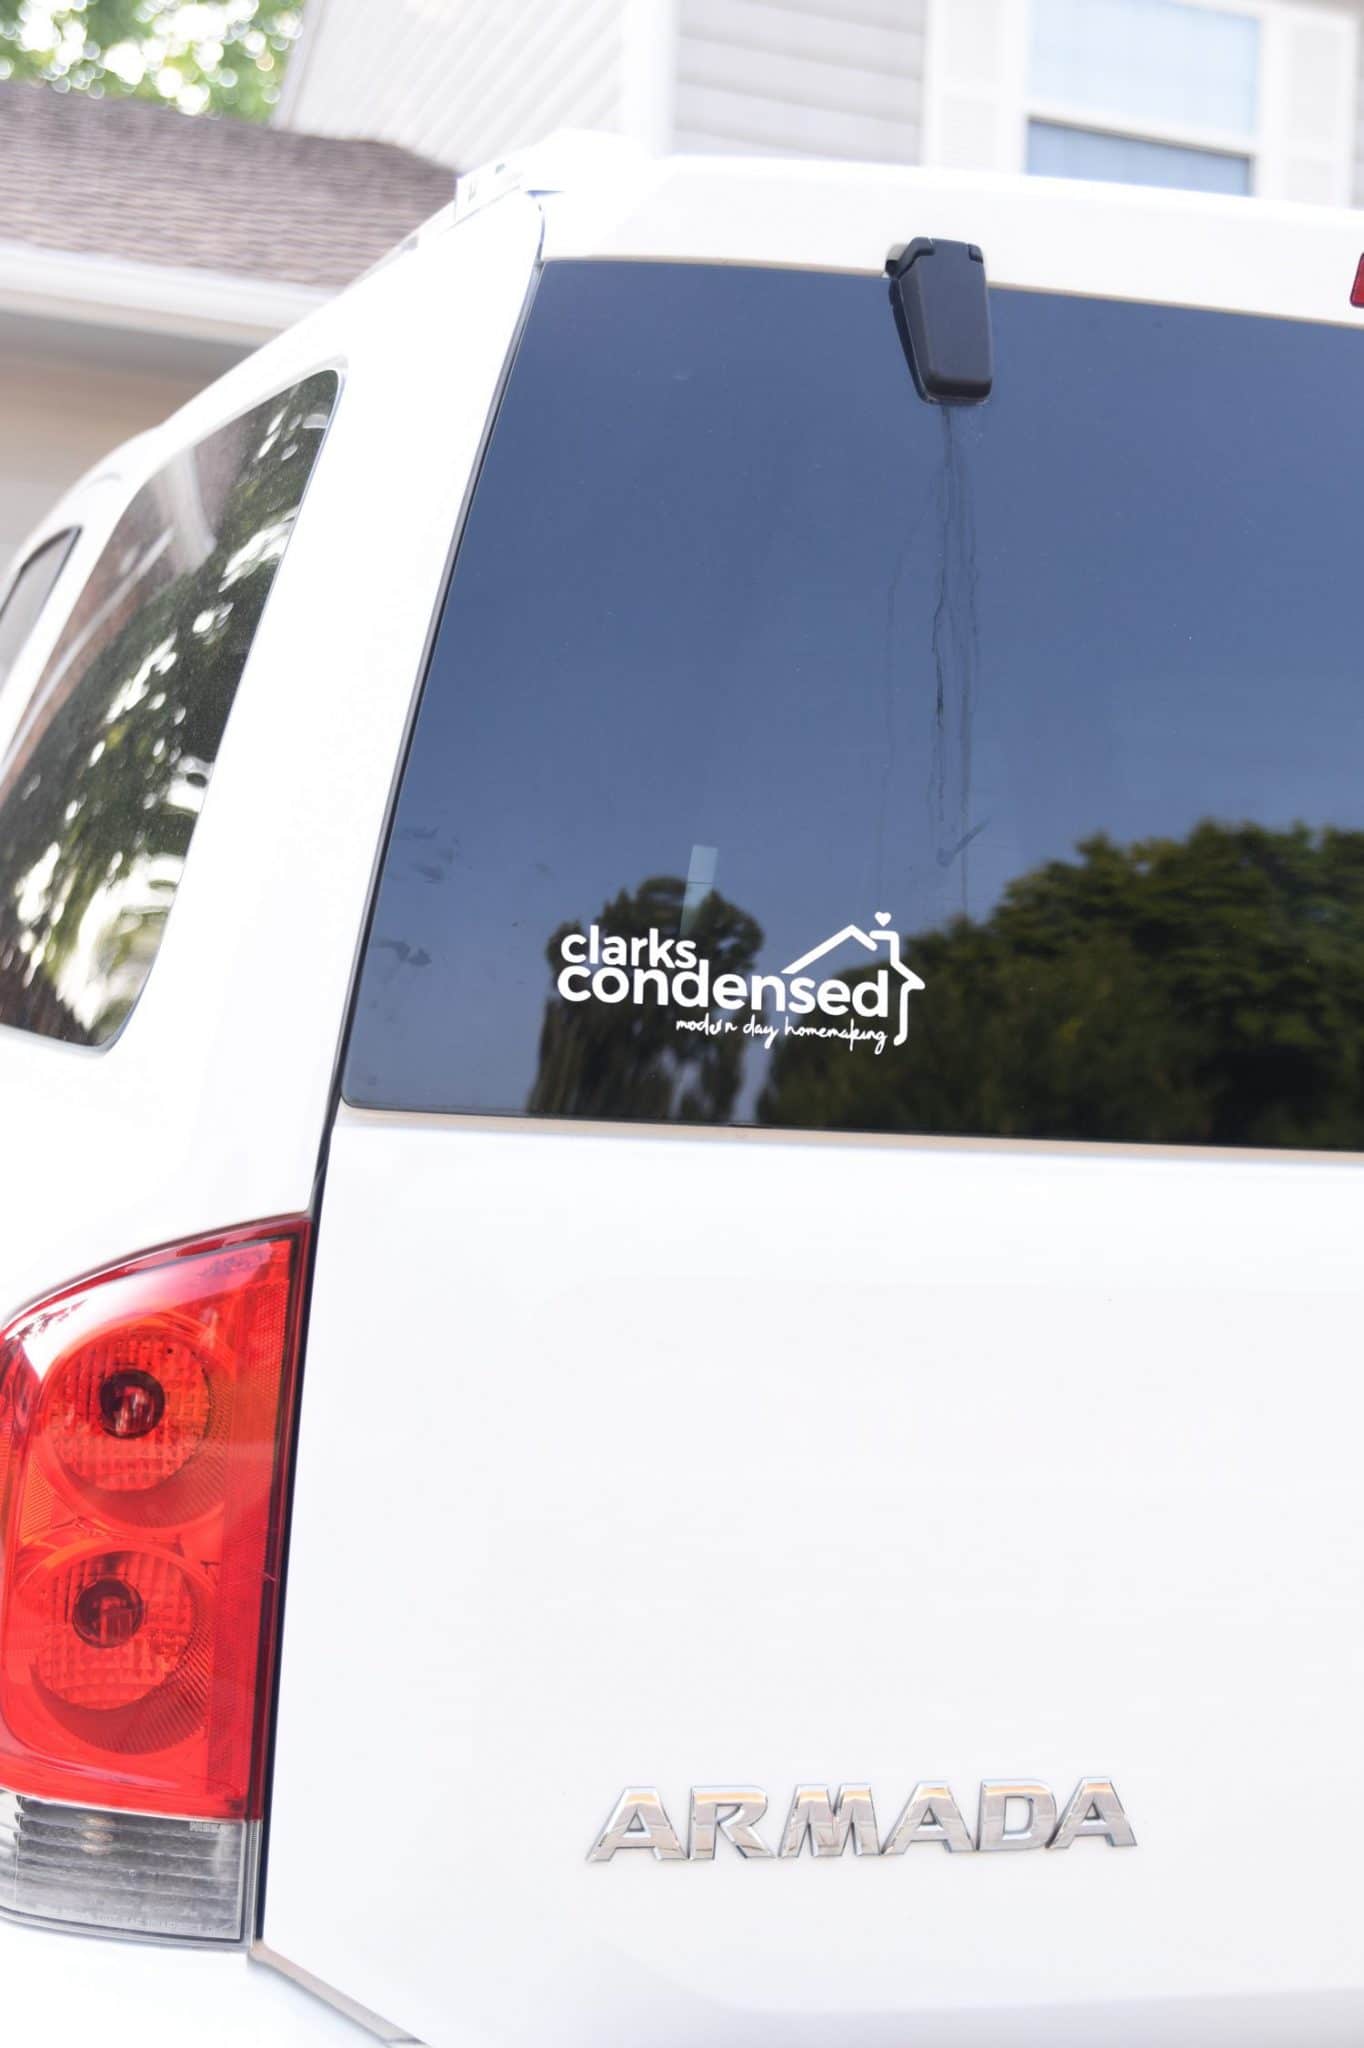
The sky is truly the limit. You can upload your own cut file, your own image, designs, logos, names, etc. to Design Space, or you can make a decal using elements in Design Space. Here are a few popular ideas:
- Business Logo
- Instagram logo + Business name (to encourage people to follow)
- Stick Figures
- Baby on board sign
- Just Married (for this, I would probably just a removeable vinyl, since they probably won’t want it on there forever!)
- Fun phrases and quotes
- Monograms
- Picturesque (mountains, waves, woods, etc)
- Find inspiration from other bumper stickers you see on cars – just go search “cricut car decal” on Google, and you’ll find dozens of ideas.
- A simple car decal
What machines can I make car decals with?
You can make car decals with pretty much every Cricut machine. All it needs to be able to do is cut vinyl, and thankfully, that’s what all the machines can do on the very basic level.
What else can I make a decal for?
While I have specifically focused on car decals in this post, you can make decals for anything your heart desires using similar methods. Here are some popular items people like to make customized decals for.
- Water bottles
- Note books
- Tumblers
- Cell phones
- Laptops
What is the best scraper tool for decals?
When you are applying the transfer tape – and then, after, applying it to the car – you will need to use a scraper tool to do so.
These are the most common ones that people use:
- Cricut Scraper
- Vinyl Squeegee
- Credit Card
Most people seem to prefer a vinyl squeegee. I did get one, and I think it worked well, but I honestly am not 100% convinced it was better than the Cricut scraper.
For people who don’t want to go out and get a specialty tool, a credit card can get the job done. If you are shipping decals to people, some sellers like to include an inexpensive vinyl squeegee, like this one, that you can buy in bulk!
What type of vinyl can I use on car decals
The best kind of vinyl for car decals is permanent vinyl. Cricut calls this premium outdoor vinyl, while you might see it referred to as Oracle 651 on other websites.
This type of vinyl allows the car decal to withstand weather conditions during to its strong adhesive and ability to be outside. Of course, you should only use this is you want to decal to be on the vehicle for a longer period of time.
If you are looking for a more temporary decal, you might want to consider indoor/removable vinyl or Oracle 631 – or even window cling if you can get the right colors!
I primarily just use Cricut’s outdoor vinyl, however, I really love Expressions Vinyl when I buy it. They have tons of variety at a good price, and it’s really great quality.
With the new Cricut Maker 3 and Cricut Explore 3, you can use Cricut’s smart vinyl. I found this to be really nice for making a larger decal, since these machines can cut matless and longer.
What type of transfer tape should I use?
You want to use something with a medium-tack – nothing too strong or too light. I used both Cricut’s transfer tape and this kind from Frisco. While I found them both to have about the same level of difficulty when it came to adhering to the vinyl, I felt like the Cricut transfer tape kept the vinyl attached to it better. With the Frisco kind, I found some of the vinyl seemed attached but after sitting for awhile, it wasn’t.
How can I make my design?
You can get designs from Etsy or create your own using your preferred design software (I like to use Canva to make designs for Cricut). You can also create the design directly in Cricut Design Space. Your designs will eventually need to be uploaded there either way in order to cut it out.
If you are uploading an outside design or someone’s logo, make sure you are careful to remove all the little tiny pieces when you upload it to Design Space that need to be cut out. I made this mistake once and ended up messing up someone’s logo because I didn’t pay close enough attention.
Can I just use window cling?
Window cling has its limitations as it really is very temporary and has a limited number of colors. However, for a temporary design, you could use window cling.
Can I use different colors of vinyl
Yes! You can definitely use multiples color. Just make sure you layer them correctly when applying to the vehicle. Using the knock out method is probably the best option.
Tips for Making Decals Last Longer:
- Use a squeegee or credit card when applying it to the surface, starting from the top with one side at a time (and blowing away extra adhesive)
- Make sure you use matte vinyl rather than sheen because that is more durable
- Clean your surface (car or laptop) with rubbing alcohol and dry it off completely before you apply the decal
I hope that this cleared up all the questions you’ve had about how to make car stickers with your vinyl cutter. It is a fun project for person use to make your own decals, but they are also easy projects that you can sell.
More Posts You Might Enjoy:
- 30+ Blanks for Vinyl Projects You Can Buy on Amazon
- How to Use Vinyl Iron on for Cricut: Everything You Need to know
- How to Layer Heat Transfer Vinyl
- The Best Cricut Machine for Beginners (2021)
- How to Make Stickers with Cricut: Step-by-Step Tutorial


Finally got something really useful to read. I was searching for a long article which fully explains Blog Commenting and I think My search is finally over ! It will surely help me 😀
I LOVE that you have this on your car! And I have always thought about making my own Deathly Hallows sticker. Now I have no excuse!