How to Make Dipped Candles (EASY TUTORIAL!)
If you are looking for a simple and fun activity for children and adults alike, look no further than hand-dipping candles. In this tutorial, we walk you through the easy steps on how to make dipped candles. This is a skill that should be passed on for generations!
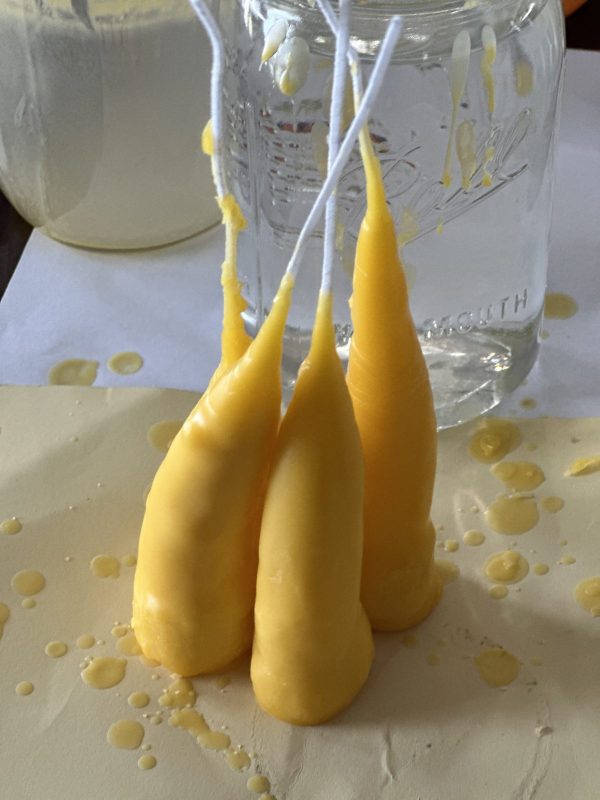
Learning how to make hand-dipped candles is a fun and useful skill. Our kids thought this was the most fun activity ever! There are a lot of tutorials out there, and some are more complicated than others. However, we’ve simplified the steps to make it even simpler!
The process of making dipped candles involves repeatedly dipping a wick into melted wax until the desired thickness is achieved. It can take some time and patience, but the end result is well worth it. In the following sections, we’ll go over each step in more detail to help you create your own beautiful dipped candles.
Materials Needed
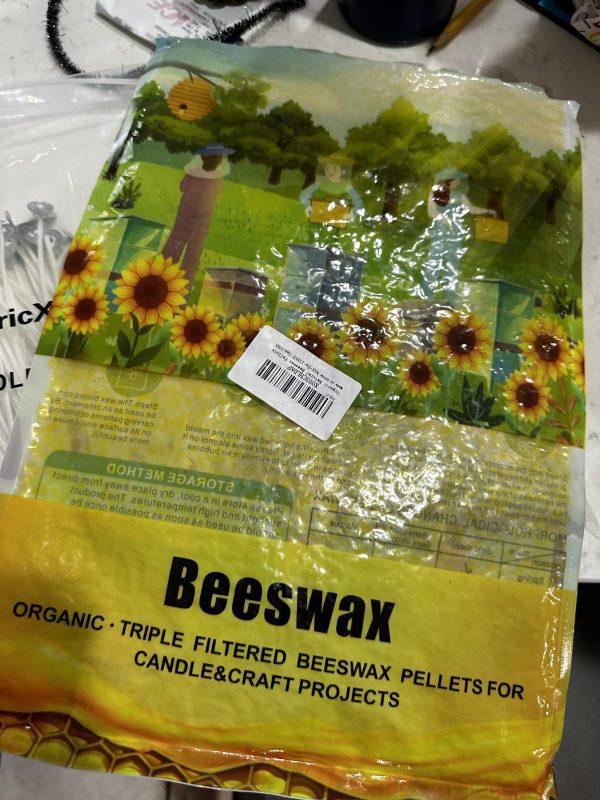
To make dipped candles, you will need the following materials:
- Wax: Choose the type of wax you want to use based on your personal preferences and the type of candle you want to make. We recommend using beeswax pellets, which are generally pretty inexpensive. You can also repurpose old candles!
- Weighted Wick: You will need a length of wick that is longer than the height of the candle you want to make. Getting a weighted makes it much easier to dip and you don’t have to worry about using an old screw.
- 2 Quart Sauce Pan: You will need this to help melt the wax
- 2 Large Mason Jars: This is where you will put the wax as well as cold water.
- Candy Thermometer: You will need a thermometer to monitor the temperature of the water in your saucepan to make sure it doesn’t get over 200 degrees F.
- Tongs or pliers: You will need tongs or pliers to hold the wick while dipping it into the wax.
- Fragrance Oils: This can be a great way to make a fragranced candle.
- Dyes or Crayons: If you want to make your candle another color, you can add in old crayons while you are melting or add candle-safe dyes.
With these basic materials, you can start making your own beautiful and unique dipped candles.
Instructions
Workspace Prep
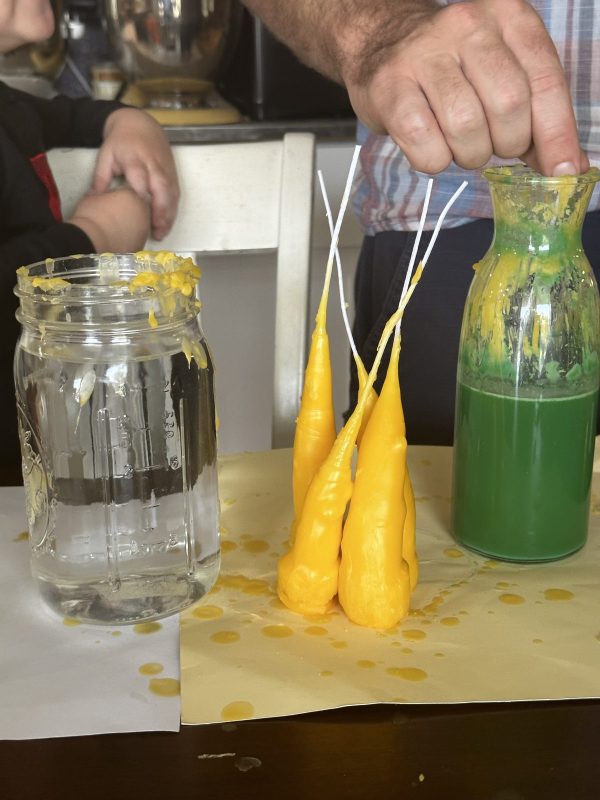
Before diving into the candle-making process, it’s important to prepare your workspace and wax properly. This will ensure that your candles turn out beautifully and that you have a smooth experience making them.
Setting Up Workspace
First, choose a workspace that is clean, flat, and free of clutter. Cover the surface with newspaper or plastic tablecloth to protect it from any wax spills or drips. Make sure that you have enough space to move around and work comfortably.
Next, gather all of the necessary tools and supplies. Place everything within arm’s reach so that you don’t have to constantly move around while working.
Preparing the Wax
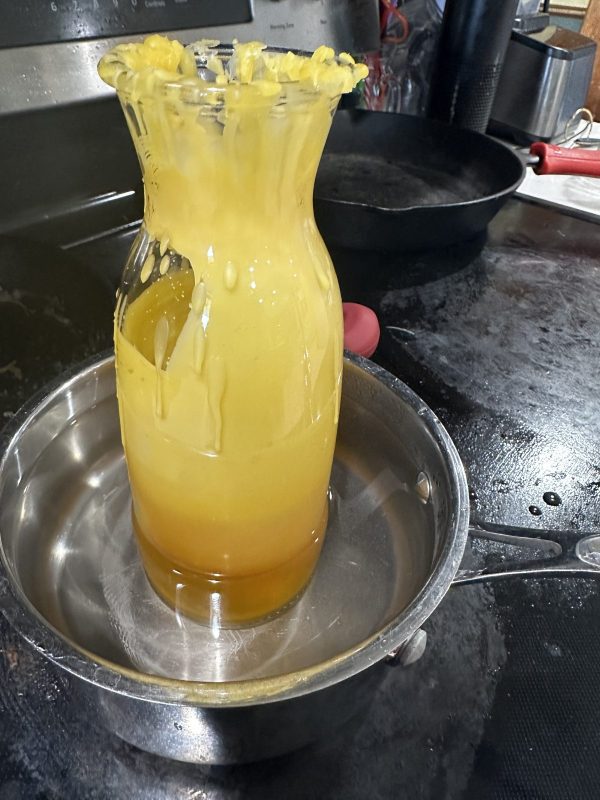
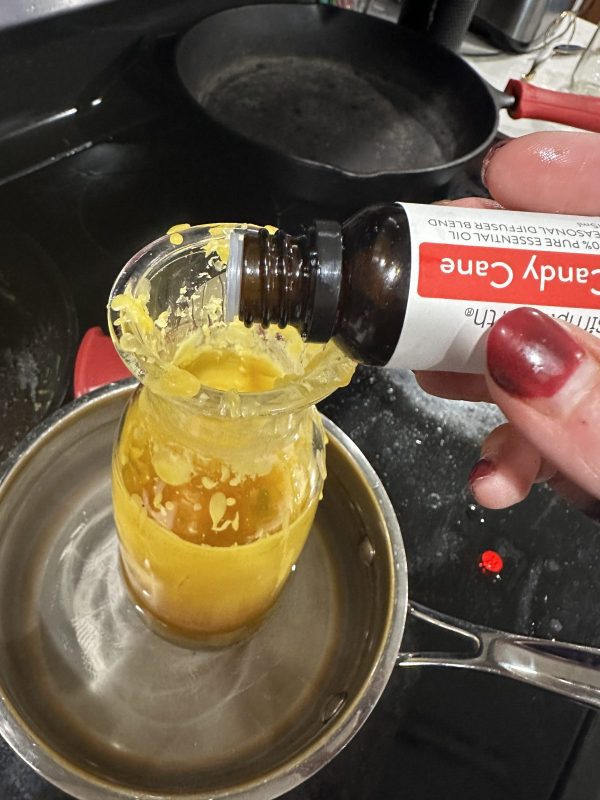
Put a pot of water on the stovetop and bring to a boil. While it starts to boil, fill a large glass jar with your wax beads at the top.
Once the water has started boiling, place your large glass jar into the pot. Be sure to keep the temperature below 218 degrees Fahrenheit on a candy thermometer to prevent the wax from overheating and catching fire.
If you want to add coloring from crayons or dyes, add them at this time. After the wax is melted, you can add in drops of fragrance if desired.
Dipping Process
Once your wax has melted, it’s time to start the dipping process. This section will guide you through the steps of dipping the wick, creating layers, and cooling and drying the candles.
You will want to get a jar of cold water ready to go before beginning.
Dipping the Wick
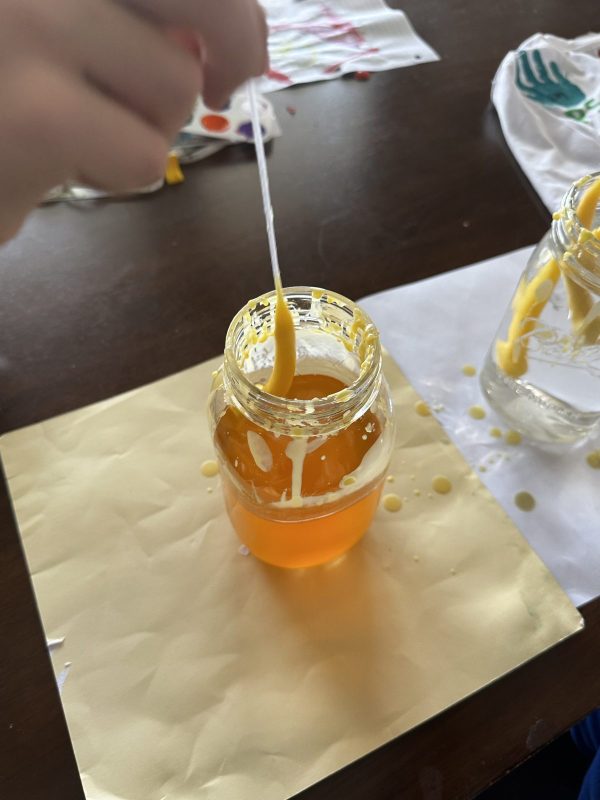
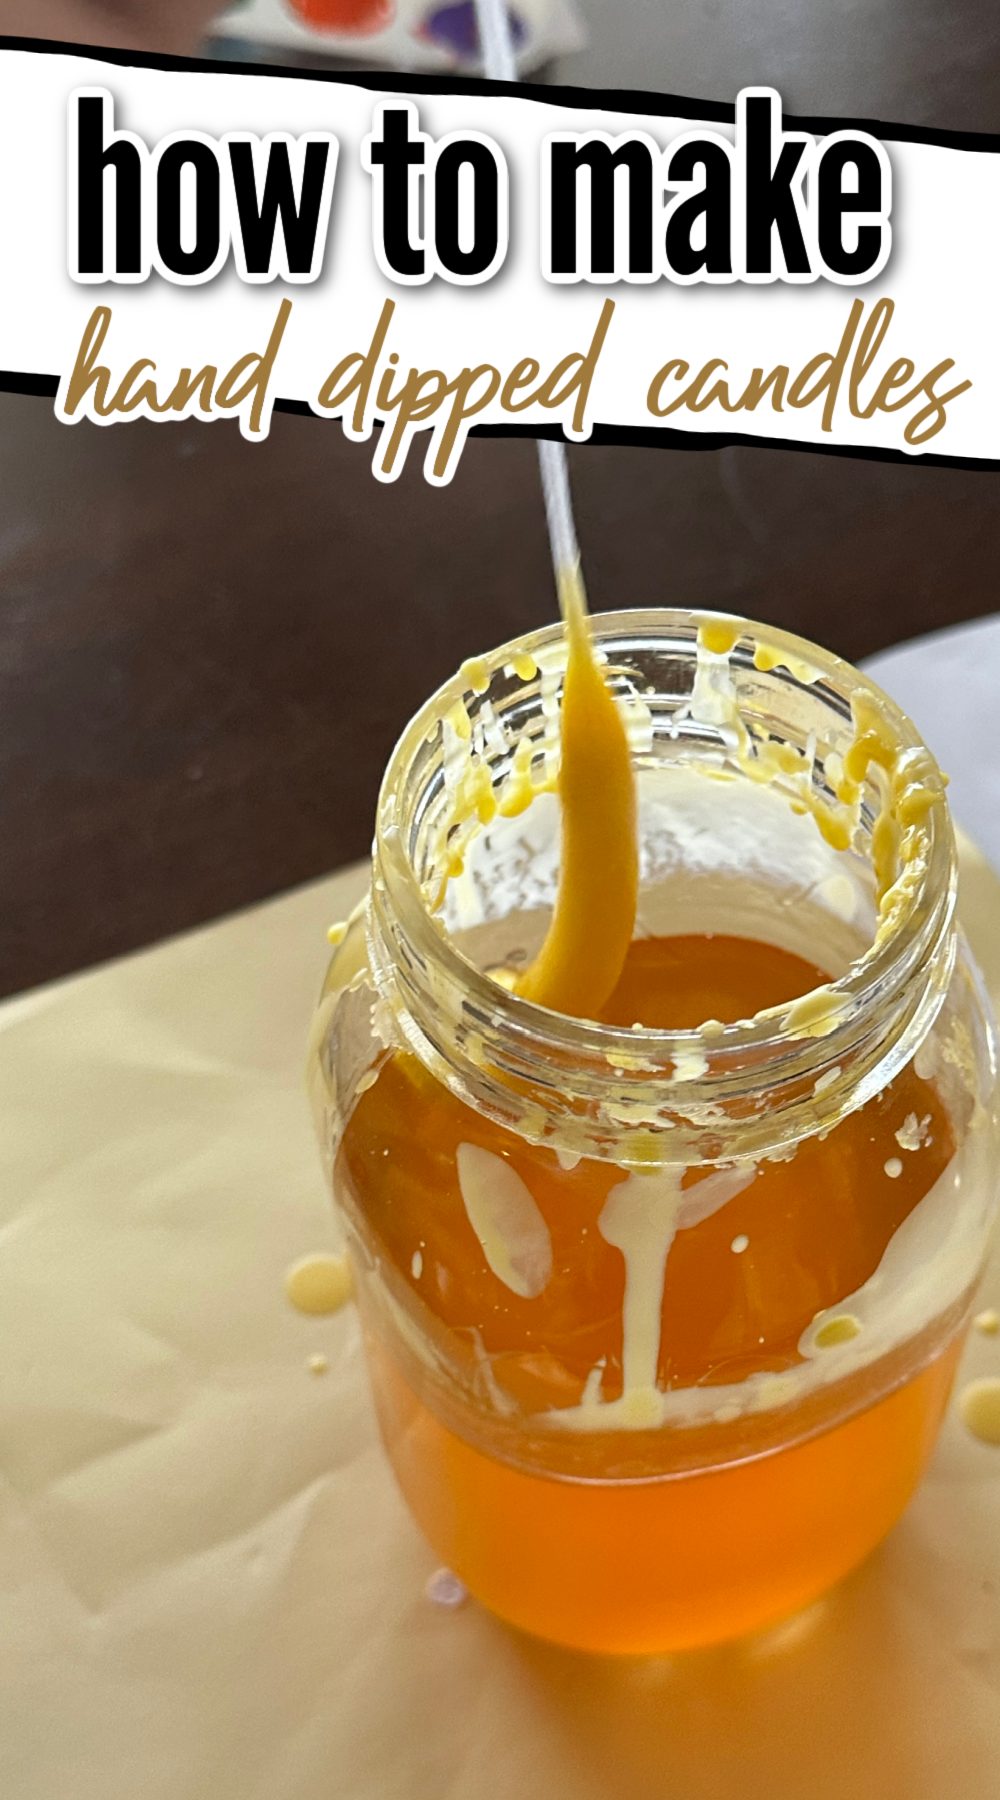
To begin, hold the wick by the top (weight at the bottom) and dip it into the melted wax. Make sure to hold the wick straight and centered as you dip it. Slowly lift the wick out of the wax and let the excess wax drip off.
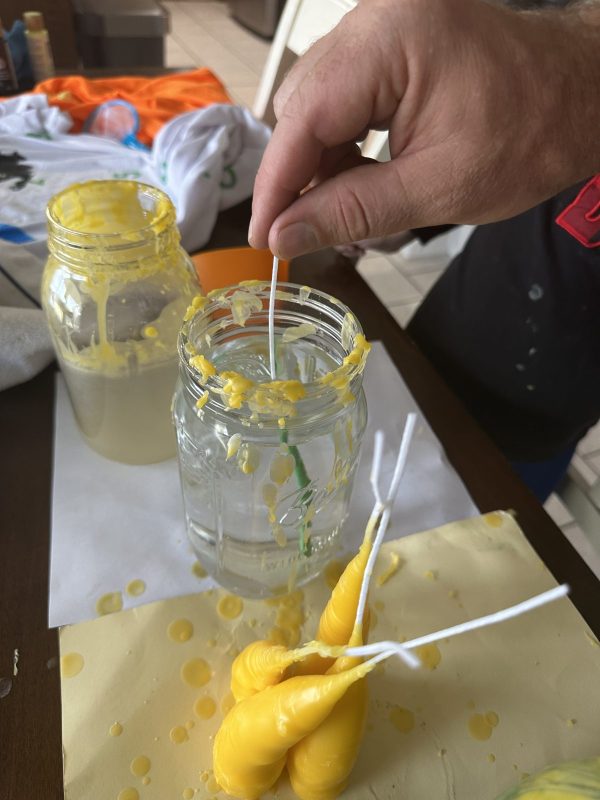
Next, dip the wick into the mason jar with cold water for a few seconds to help the wax harden. Then, dip the wick back into the wax, repeating the process until your candle reaches the desired thickness.
Cooling and Drying
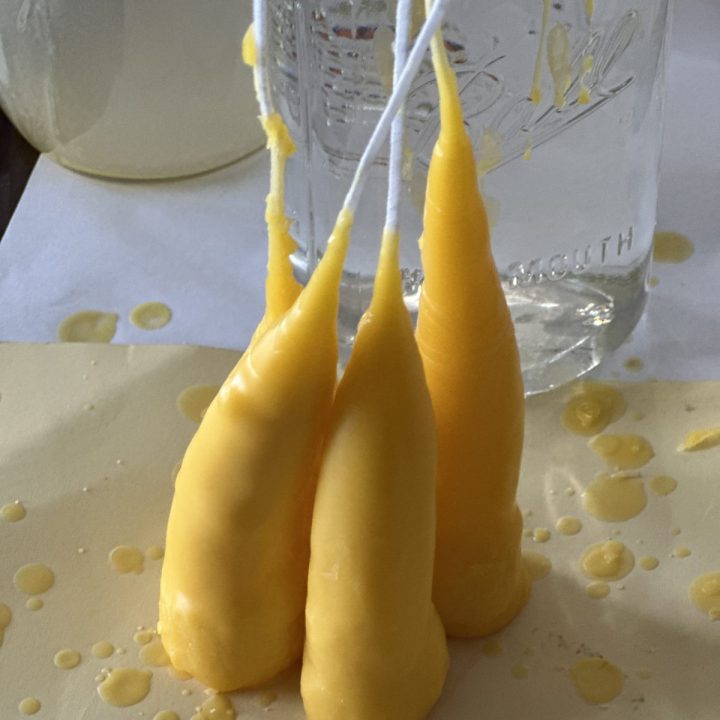
After you have reached the desired thickness, let the candle cool and dry completely. You can hang the candles upside down to prevent any drips or unevenness in the wax using a wire hanger and clothes pins.
Once the candles have completely dried, trim the wick to the desired length and they are ready to use or decorate.
Remember to always take safety precautions when working with hot wax and never leave it unattended. With practice and patience, you can create beautiful and unique dipped candles.
Finishing Touches
Once you have finished dipping your candles, it’s time to add the finishing touches. This step is essential to ensure that your candles look professional and are ready to use.
Trimming the Wick
The first step in finishing your candles is to trim the wick. You want to make sure that the wick is the appropriate length to prevent excessive smoke and uneven burning. Use a pair of scissors to trim the wick to ¼ inch above the wax surface. Be careful not to trim the wick too short, as this can cause the candle to burn too quickly.
Storing Your Candles
After trimming the wick, you can store your candles until you are ready to use them. It’s important to store your candles in a cool, dry place away from direct sunlight. Avoid storing your candles in a hot or humid area, as this can cause them to melt or warp.
If you plan to give your candles as a gift, consider wrapping them in tissue paper or placing them in a decorative box. This will not only protect your candles but also make them look more attractive.
In conclusion, finishing your candles is a crucial step in the candle-making process. By following these simple steps, you can ensure that your candles look and perform their best.
How to Make Dipped Candles
Making candles isn't hard to do! This tutorial will teach you how to make dipped candles easily from home.
Materials
- 1 lb Beeswax Pellets
- 6-8" weighted candle wicks
- Essential oils
- Candle eyes or old crayons
Tools
- 2 quart sauce pan
- 2 large glass mason jars
Instructions
- Bring a pot of water to about 200 degrees.
- While you wait, place wax pellets in a large mason jar
- Place jar in water and melt - stir occasionally. You can add colors at this point.
- While wax melts, setup your work space with newspapers or a plastic table cloth
- Once wax is melted, place on a heat resistant surface on the workspace.
- Fill another mason jar with ice cold water.
- Take one candle wick and carefully dip into the wax.
- Remove from jar and palce in cold water to set wax.
- Go back and forth until you have reached the desired thickness.
- Let candle dry completely before use.
Understanding Candle Making
The Basics
Making dipped candles is a fun and rewarding activity that anyone can do. You don’t need any prior experience or special skills, just a few basic materials and some patience. The process of making dipped candles involves repeatedly dipping a wick into melted wax until the desired thickness is achieved. The wax hardens between each dip, creating layers that build up over time. The result is a beautiful and unique candle that you can enjoy for years to come.
There are many different types of wax that can be used for candle making, including beeswax, soy wax, and paraffin wax. Each type of wax has its own unique characteristics and benefits. Beeswax is a natural and sustainable option that produces a warm, honey-like glow. Soy wax is a renewable and eco-friendly option that burns cleanly and evenly. Paraffin wax is a more affordable option that is easy to work with and produces a bright, long-lasting flame.
Safety Tips
When making dipped candles, it is important to take safety precautions to avoid accidents. Here are some safety tips to keep in mind:
Fire Safety
- Always work in a well-ventilated area and keep flammable materials away from the candle-making area.
- Keep a fire extinguisher nearby in case of emergency. Do not use water to put out a candle-making fire as it may cause hot wax to splatter.
- Never leave melting wax unattended on the stove or in a double boiler. Always keep an eye on the melting wax.
- Avoid using high heat when melting wax as it may cause the wax to catch on fire.
Handling Hot Wax
- Wear appropriate clothing, including shoes and long pants, to avoid burns from droplets of hot wax that may fall. Avoid loose clothing when working around open flames.
- Use a double boiler to melt wax instead of directly heating it on the stove to avoid overheating and potential fires.
- Use a candy thermometer to monitor the temperature of the wax. The temperature should remain below 200 degrees Fahrenheit.
- Always handle hot wax with caution, using heat-resistant gloves or potholders to avoid burns.
By following these safety tips, you can ensure a safe and enjoyable candle-making experience.
Frequently Asked Questions
What kind of wax do you use for hand dipped candles?
The most commonly used wax for hand dipped candles is beeswax. It is a natural wax that burns cleanly and has a pleasant honey scent. However, you can also use other waxes such as paraffin wax or soy wax.
Some people like to melt old candles to repurpose them.
How do you make old-fashioned dipped candles?
To make old fashioned dipped candles, you will need a dipping rack and a large pot of melted wax. Dip the wick into the wax and let it cool before dipping it again. Repeat this process until the candle reaches the desired thickness. You can also add color or fragrance to the wax for a personalized touch.
Are dipped candles better than poured candles?
Dipped candles and poured candles both have their advantages and disadvantages. Dipped candles have a rustic, handmade look and can be made in a variety of colors and scents. Poured candles have a more uniform appearance and can be made in complex shapes and designs. Ultimately, the choice between the two depends on personal preference and intended use.
What is a candle dipping rack?
A candle dipping rack is a tool used to make hand dipped candles. It consists of a frame with hooks or rods to hold the candles while they are dipped into the wax. Dipping racks can be purchased or made at home using materials such as PVC pipe or wire.
Where can I find a candle making activity near me?
You can find candle-making activities near you by searching online or checking with local craft stores or community centers. Many places offer classes or workshops on candle making, which can be a fun and educational activity for individuals or groups.
We hope that this guide was informative and helpful in helping you learn how to dip candles. Let us know what you think in the comments!
More Tutorials You May Enjoy:
- Dollar Tree DIY Peppermint Wreath Tutorial
- Dollar Tree Balloon Arch DIY Tutorial
- How to Make a DIY Pallet Garden Bed for Under $30
