Making Labels with the Cricut Joy for Home Organization
Do you want to learn how to make labels with your Cricut? Here are a few tips and tricks on how make your machine into a Cricut label maker!
This is a sponsored post written by me on behalf of Cricut. All opinions are 100% mine.
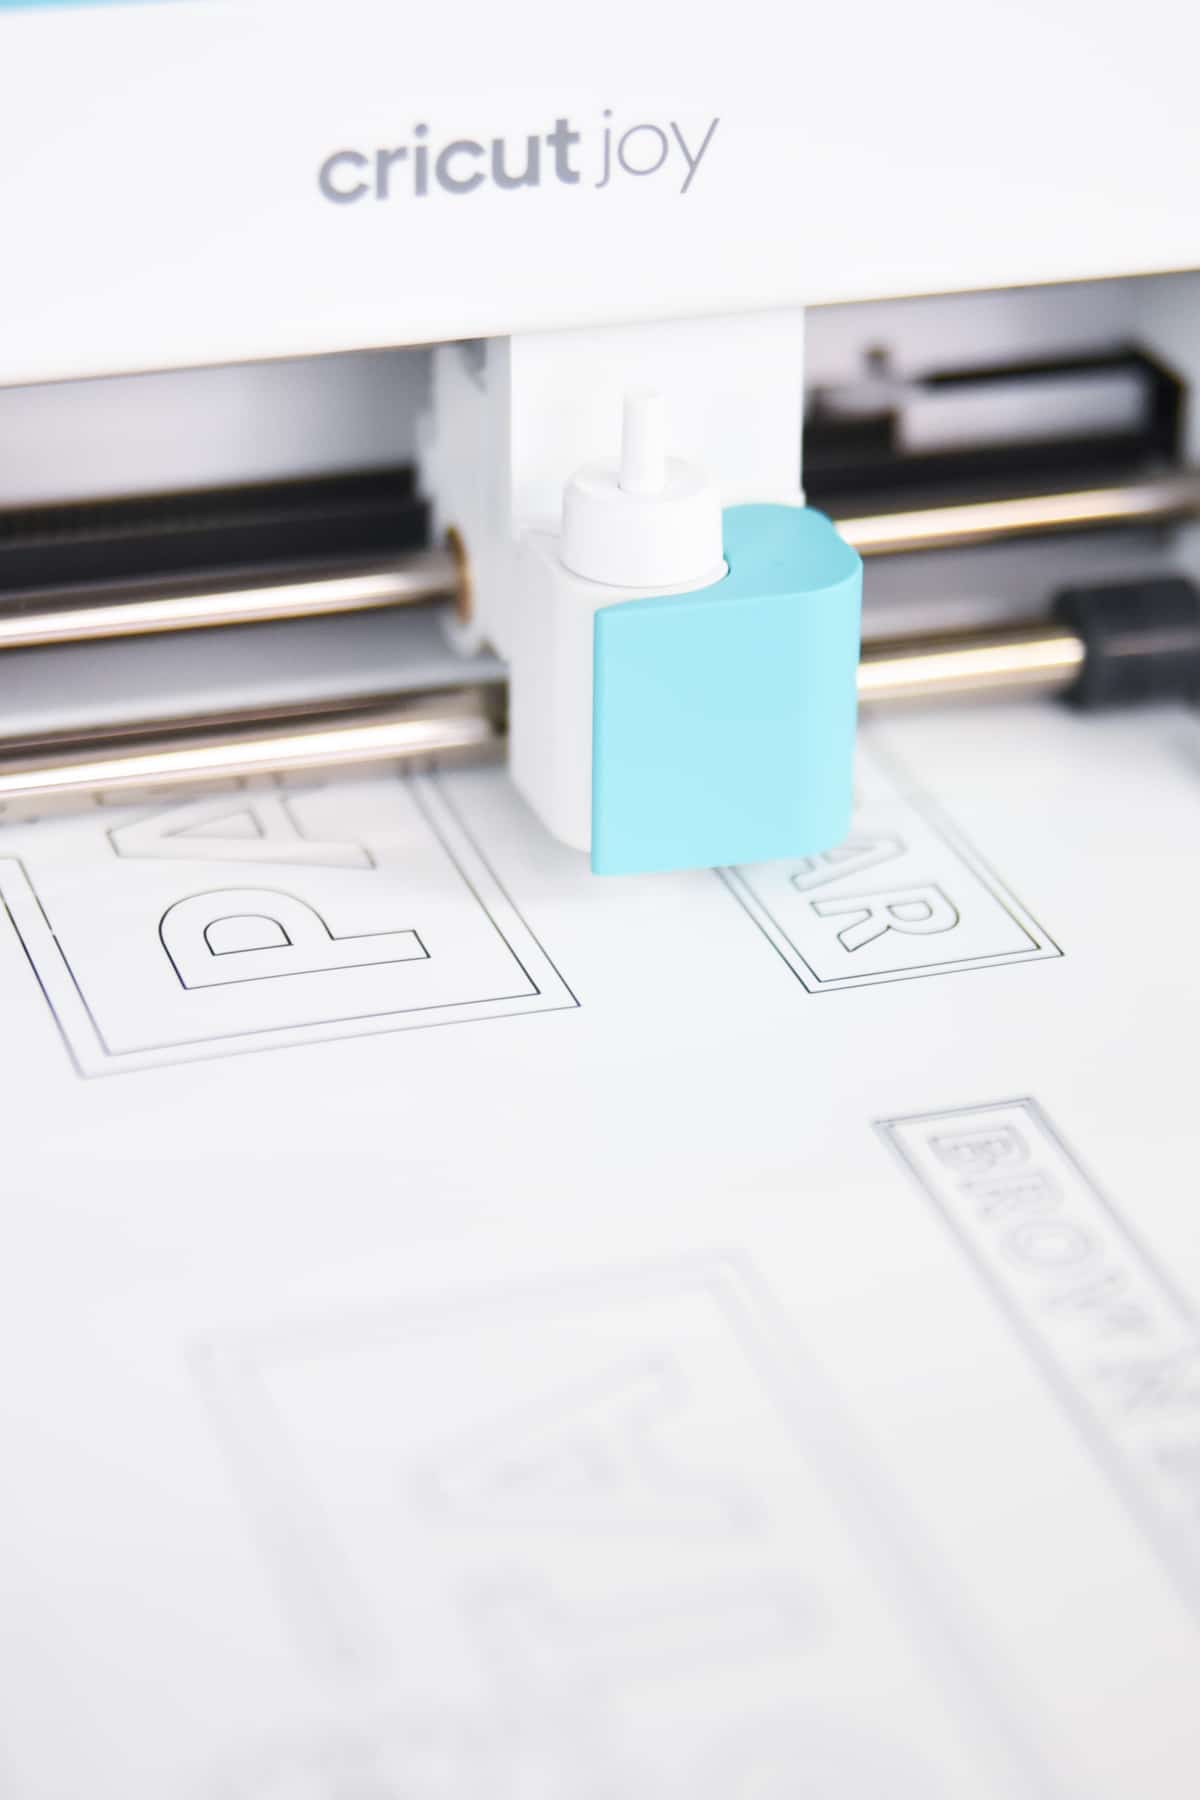
One of my favorite features of the Cricut Joy is how easy it is to make cute labels.
It’s no secret that organization is not one of my strengths. However, I have been trying to make things a little bit less chaotic – and labels can help with that.
Today I am going to share just how easy it is to make labels with the Cricut Joy and five simple ways to organize your home using them!
First off, if you aren’t super familiar with the Cricut Joy, I would highly recommend checking out these posts:
BE SURE TO JOIN OUR CRICUT JOY CREATING GROUP!
Why the Cricut Joy?
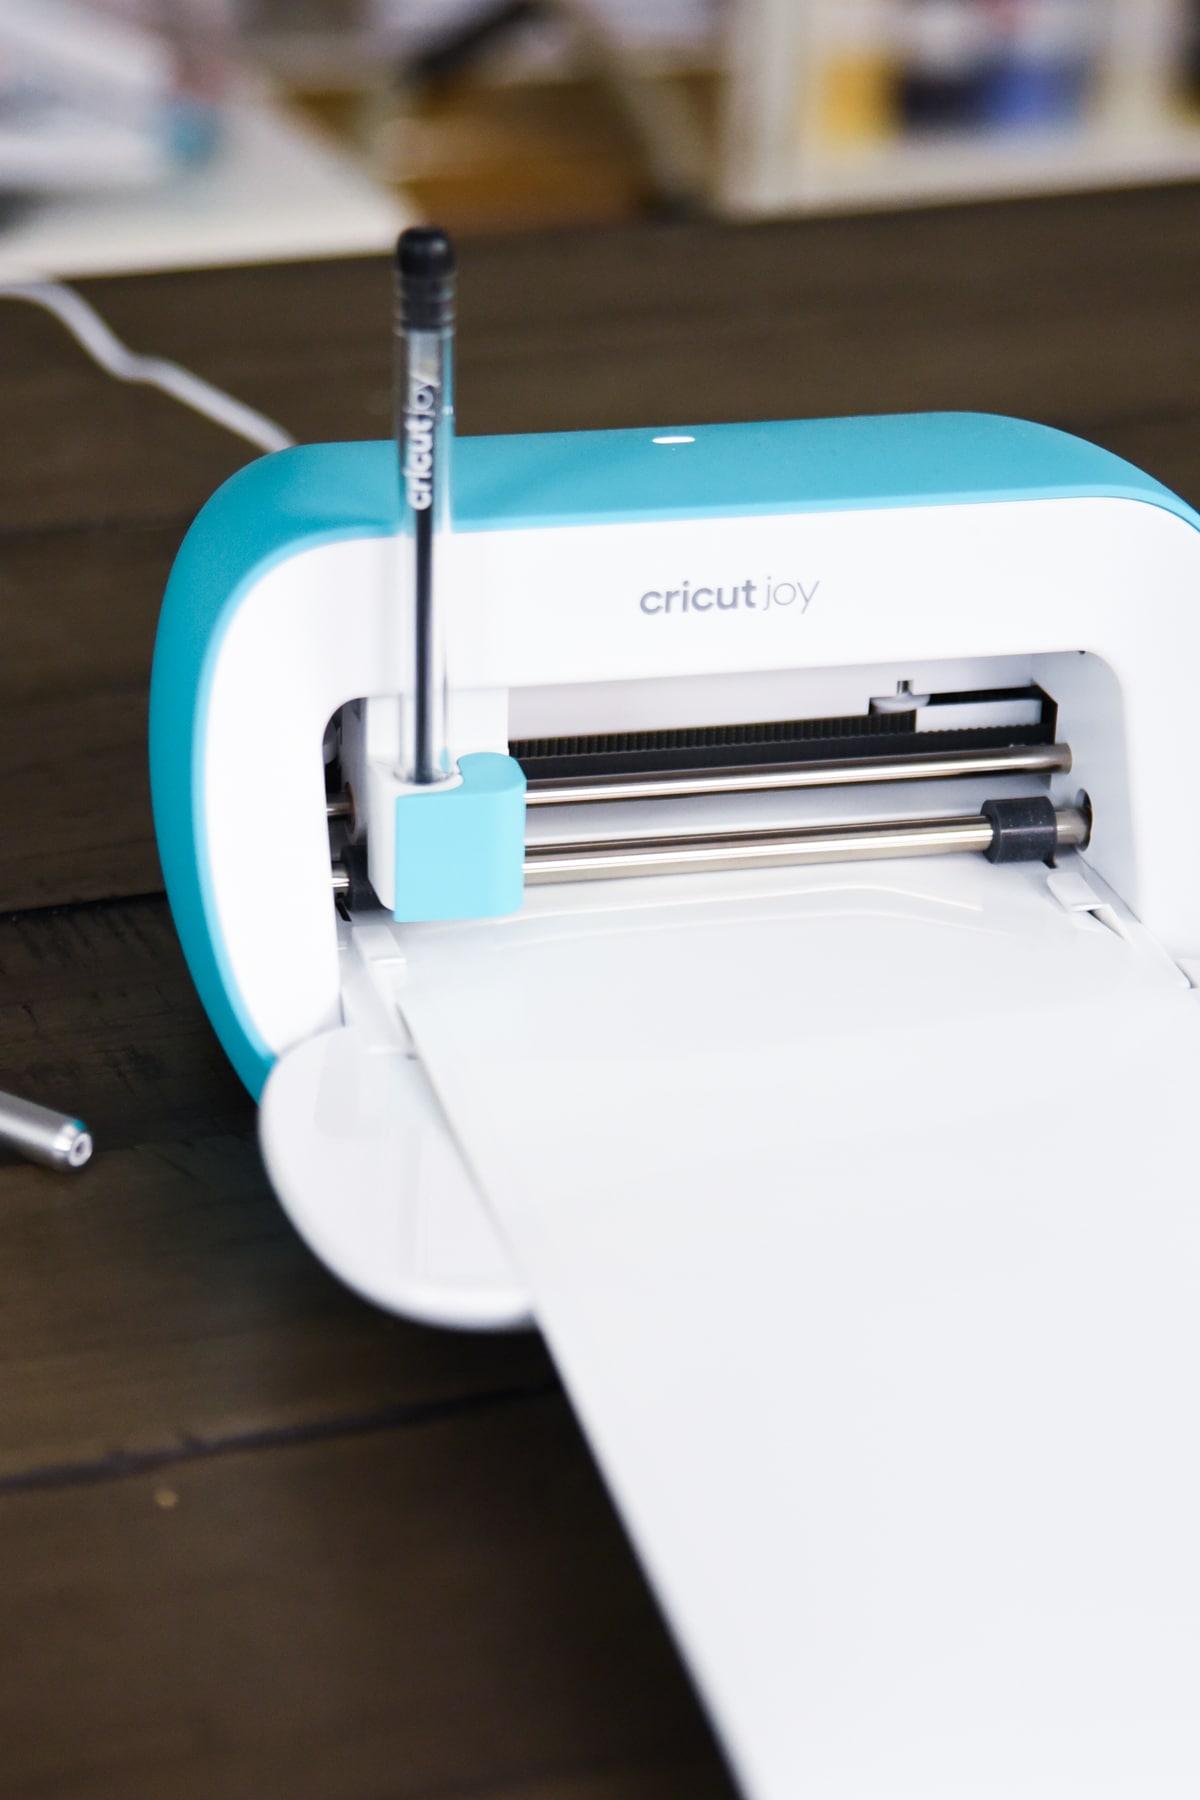
You may wonder – why the Cricut Joy? Well, it’s a pretty handy little machine, and I LOVE mine. I am constantly using it – probably more so than my other machines lately.
Here are a few things I love:
- Portable – This is the best part. I am constantly taking mine around the house. As much as I love my craft room, I don’t always like holing myself up down there, and the Joy allows me to easily craft at my kitchen table, or I can take it with me to church or friend’s houses.
- Card Making – This is my most used feature. I am constantly making cards now that I have my Joy and can use the card inserts. In fact, I just made two today while I was writing this post. I hated card making until I got my Joy.
- Mat Free Cutting – Love that you are no longer tied to the limitations of a mat with the Joy!
- Labels – And of course, labels. The Cricut Joy is basically the cutest label maker ever! And this is what we will focus on in this post.
Now I’m sure people are wondering – Can you make labels with the Cricut Explore Air 2 or Cricut Maker?
Absolutely! However, there are a few reasons why. I prefer Joy for label making over my other machines:
- Portability – it’s so easy to take this wherever you need to make the labels. For instance, you could take it into your kitchen or into your toy room, measure the spaces you need a label for, and quickly design the label you want in Design Space. No need to go back to your craft room. This would be awesome to take into an office space or classroom (remember – I think Cricut machines are AWESOME for teachers. I think the Joy would be my machine of choice for educators).
- Smart Labels don’t smear – to make labels with the Joy, you will use their special “smart label vinyl”, and even though it writes on the vinyl with the pens, it does.not.smear. I touch it the second it writes, and it hasn’t smeared yet. A-M-A-Z-I-N-G.
The main time I would recommend using the Explore Air 2 or Maker for label making is if you are doing print and cut so you can have more complex pictures on the labels. The Joy is not compatible with print and cut, so you wouldn’t be able to do those types of labels.
How to Make Vinyl Labels with Cricut
Video

Cricut Joy Label Making Tips and Tutorial
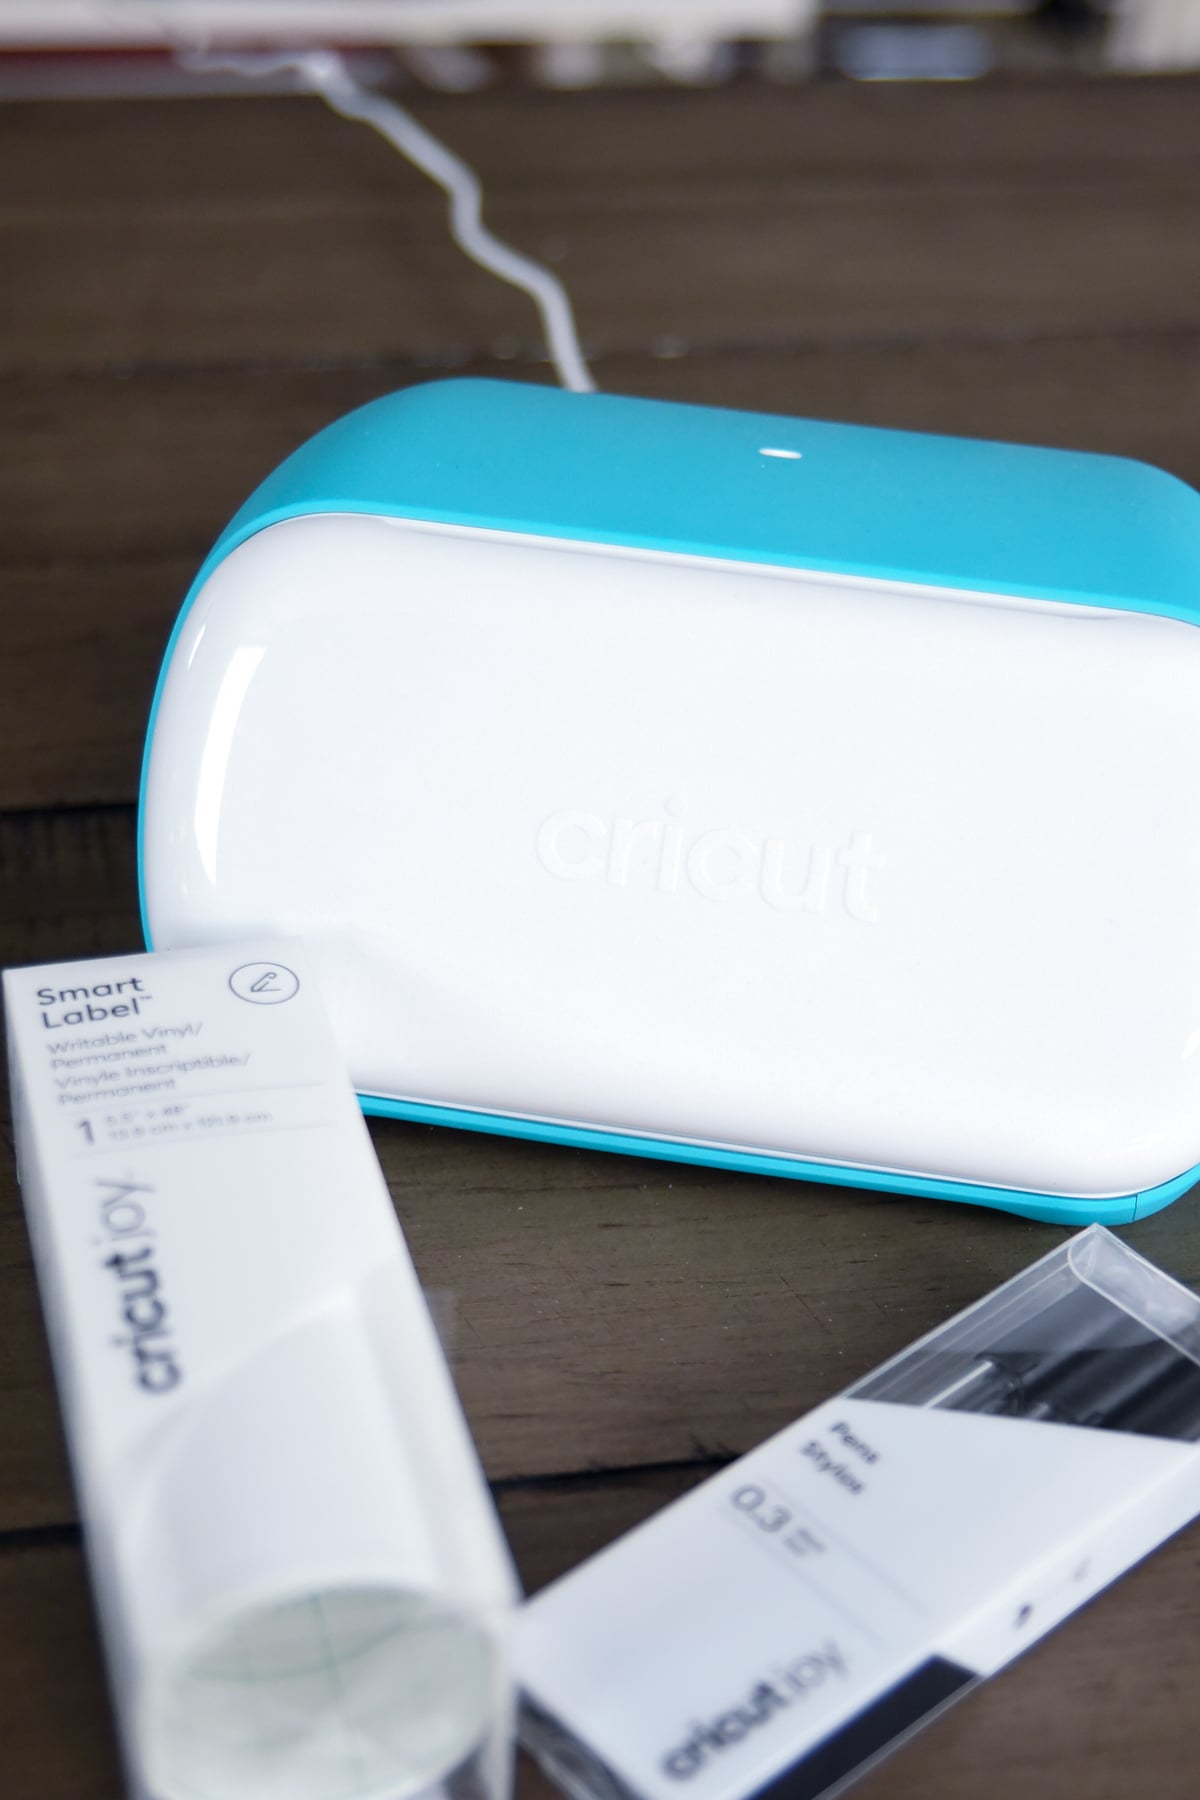
What do you need?
- Cricut Joy (obviously!)
- Smart Label Writable Vinyl or Smart Writable Paper
- Cricut Joy pens
- No mat required!
Keep in mind that they only recommend using Cricut Joy specific pens for best results. I just have black, but I can’t wait to get some other colors. Here are the different options (all come in three packs):
- Fine Point Pens, .4mm – Red, Green, and Violet
- Fine Point Pens, .4mm – Black, Brown, and Gray
- Extra Fine Point Pens, .3mm – Black, Red, and Green
- Gel Pens, 1.0mm – Teal, Purple, and Pink
- Extra Fine Point Pens, .3mm – Black
- Glitter Gel Pens, .8mm – Black, Gold, and Silver
- Glitter Gel Pens, .8mm – Pink, Blue, and Green
- Gel Pens, 1.0mm – Black, Gray, and Blue
Tips for Success
There are a few things I would recommend doing to ensure the best results with your labels:
- Keep in mind that these labels are written with the Cricut Joy pens. I was actually quite amazed with how professional they ended up looking – they looked like I had printed them off.
- Make the label that’s being cut out as simple as possible. I did a cut label with scalloped edges for the spice jars I will talk about below…but it was tricky to peel them up without tearing. The fewer edges you have to worry about, the better.
- Make sure that the label shape you use is a solid background – NOT transparent.
- The Smart Label material IS permanent, so I would make sure you are doing this on projects you don’t want/need to remove from any time soon.
- The text needs to be attached to your solid label shape
- Make sure the text has been set to draw, not cut. The solid shape needs to be set to cut, not drawn.
- Make sure you have enough of the Smart Writeable Vinyl. It tends to require you have a few inches more than your design. If you end up with some scrap pieces, just slap it on a mat!
Designing Labels
Now for the fun part – designing your labels!
This is really quite easy to do. You just design them directly in Design Space on your phone, tablet or computer.
I prefer to design on my computer, just because I feel like it goes faster, and I have more control. But you can easily do it on your phone or tablet in the app as well!
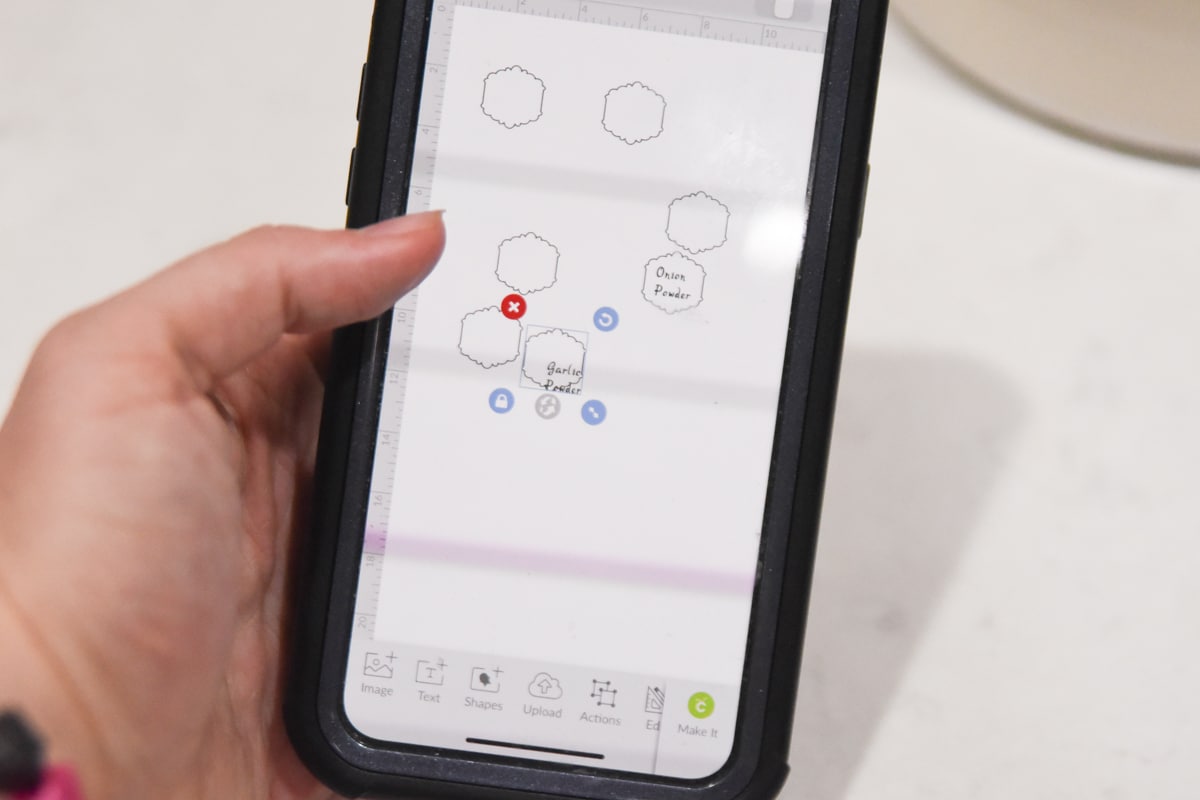
Just open up your project and start by finding what shape you want your label to be. If you go into images, you can search “label” and find some cute options.
However, you can just be super simple and go with the basic shapes that you can grab from the left side panel. A circle or square are great options to start with (you can easily manipulate the size and shape of them by unlocking the proportions).
Make sure the shape you choose is not just an outline with a transparent background)- it should be solid. I suggest making the shape white (and it will show a black outline) so it’s easier to edit. You aren’t printing anything, so the color doesn’t really matter…it just makes it easier to design.
Make sure the line type that is selected for the image shape is cut.
Once you have your label shape ready to go, it’s time to put in text and/or images!
For text, create a new text box. Go up to the font panel and under “filter” select “writing”. This will automatically make the font show up as a writing font. You must make it writing! In the upper design panel, with your font selected, change the line type to draw.
You can also make images on these! Just select the image you want, insert it into your canvas, and change the line type to draw. It looks pretty cool on a lot of designs, and it can make your labels even more customized.
Once you have selected your image and text, it’s time to put them on your label. Put them on top of your shape, and with them selected, press “arrange” in your upper panel. Make sure you’ve moved them to the front as much as they will go.
Once everything is lined up correctly, select all the elements and press “attach” at the bottom of the right hand panel.
Now it’s time to cut! Go through the prompts in Design Space. I sometimes had luck with rearranging the designs on the mats so I used less material, so play around with this.
You will select “Smart Writeable Vinyl” as your material, and you will be prompted to load the vinyl. Put it in with the writable side facing up.
You will then be told to put the pen in. Drop it in, press go, and the magic will start to happen.
Once everything is written, you will be prompted to put in the blade. It will cut out the material, and voila!
Now you will simply peel up the label and place it on your project. Easy as pie!
Card Game Organization
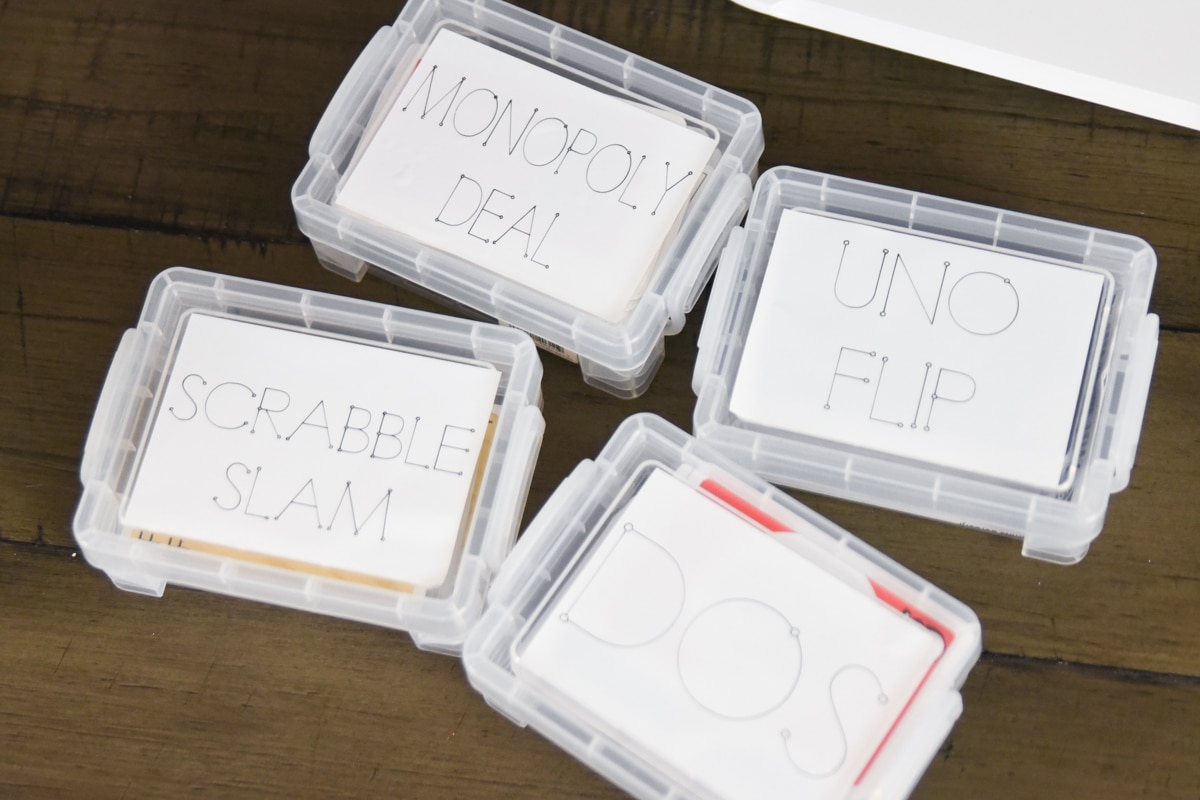
This was my favorite project. There are few things that drive me more crazy than broken board game and card boxes. You end up losing the pieces, and it’s just annoying.
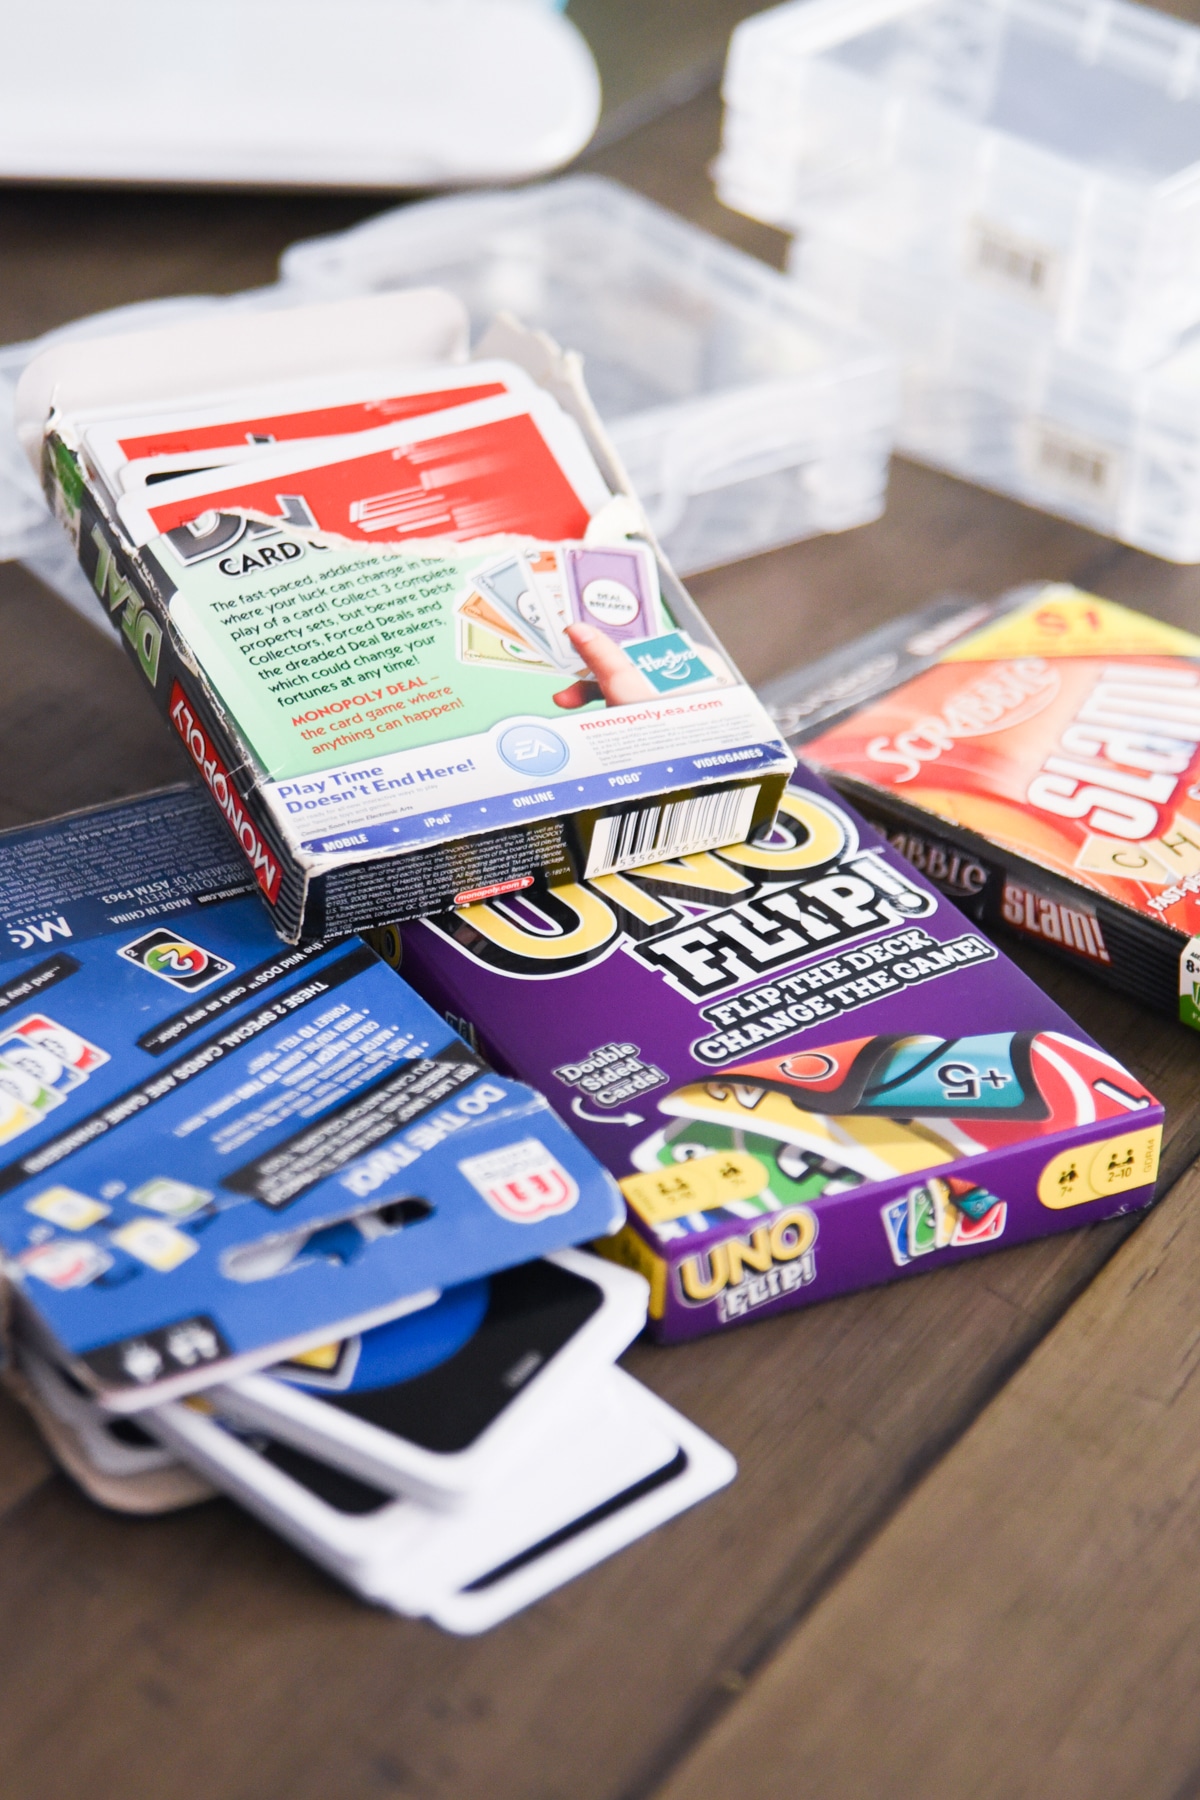
While this solution doesn’t help with the larger board games (still working on a solution for those), I am loving what I was able to do for card games.
My sister-in-law gave Jack a little plastic box to put his Pokemon cards in a while back, and it turns out…they are perfect for most card games!
So I bought some more of the boxes, made some labels – and viola…way better storage for them.
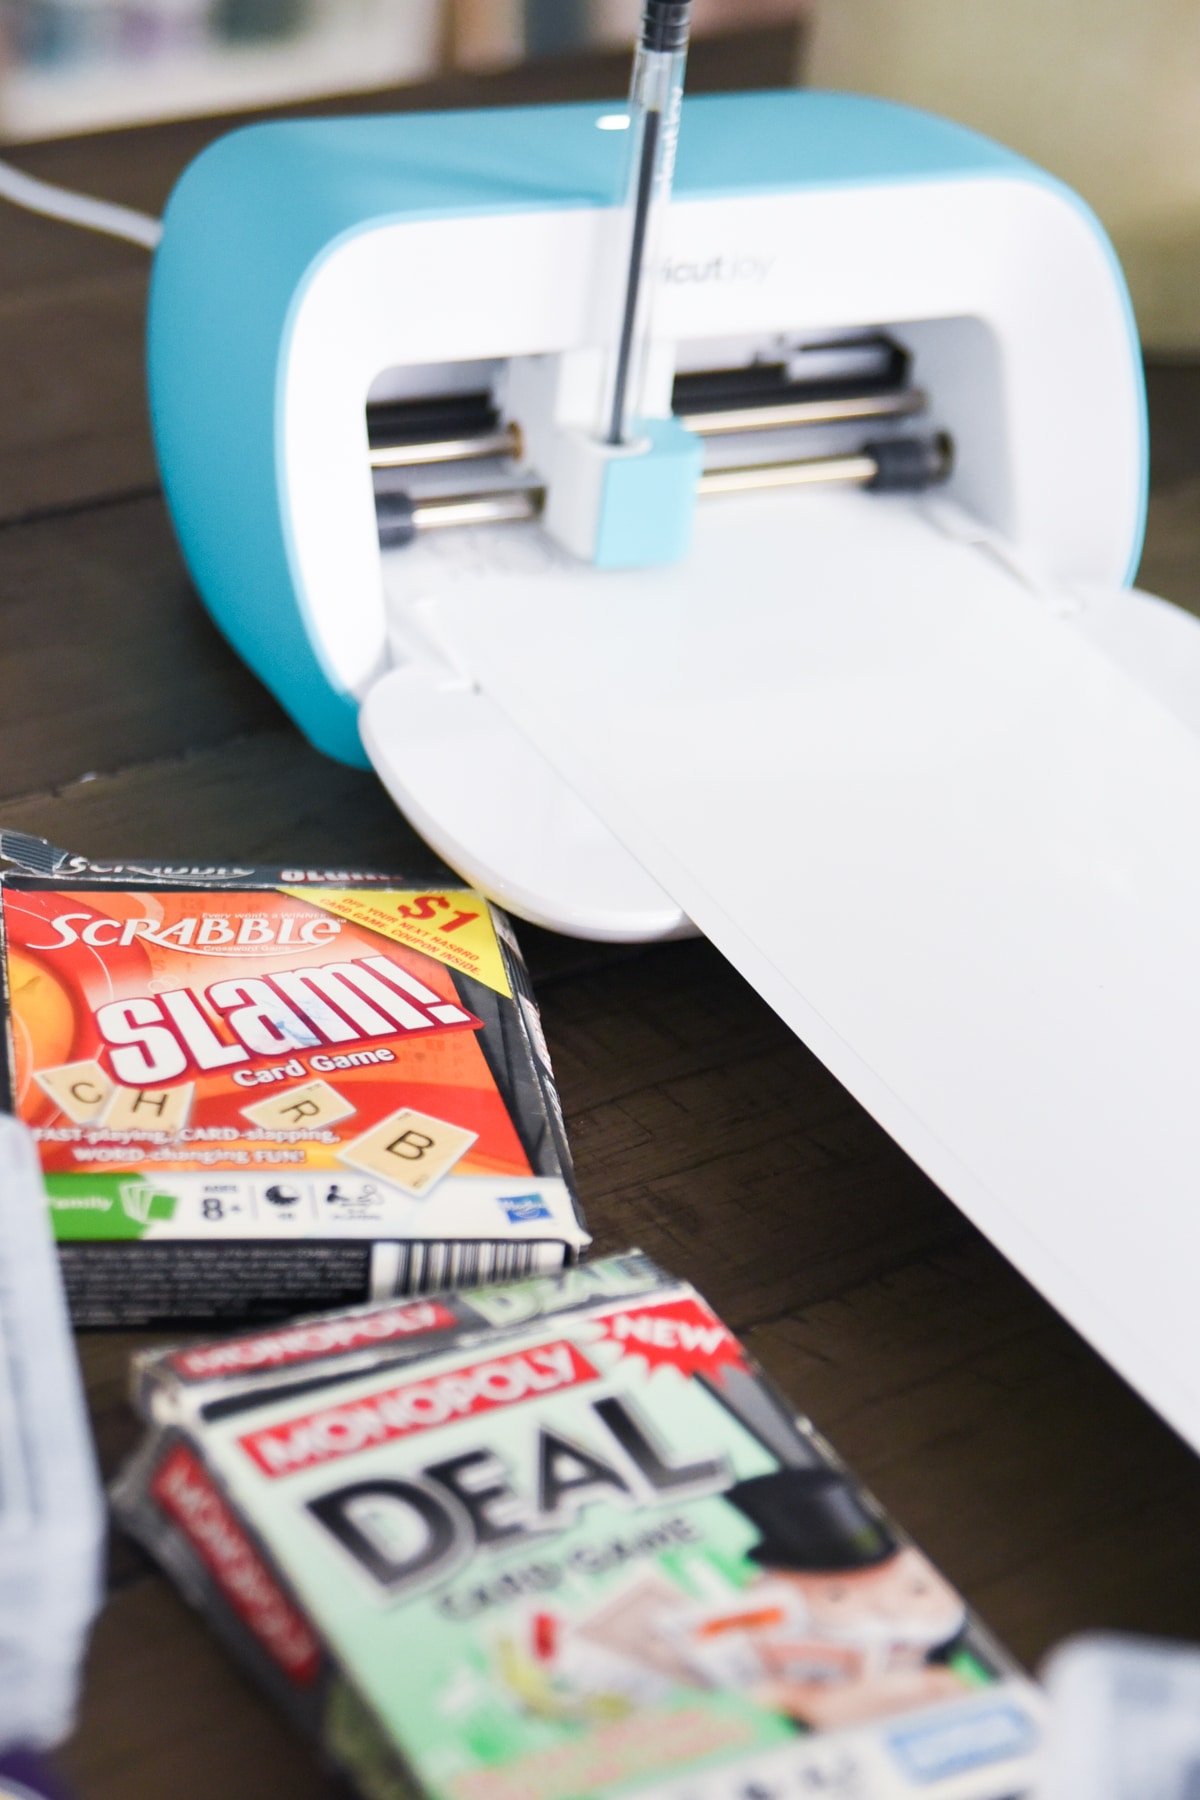
I love that these boxes stack and have nice clasps on the outside, which makes them not open quite as easily.
I made the labels in Design Space to be the perfect size for the boxes.
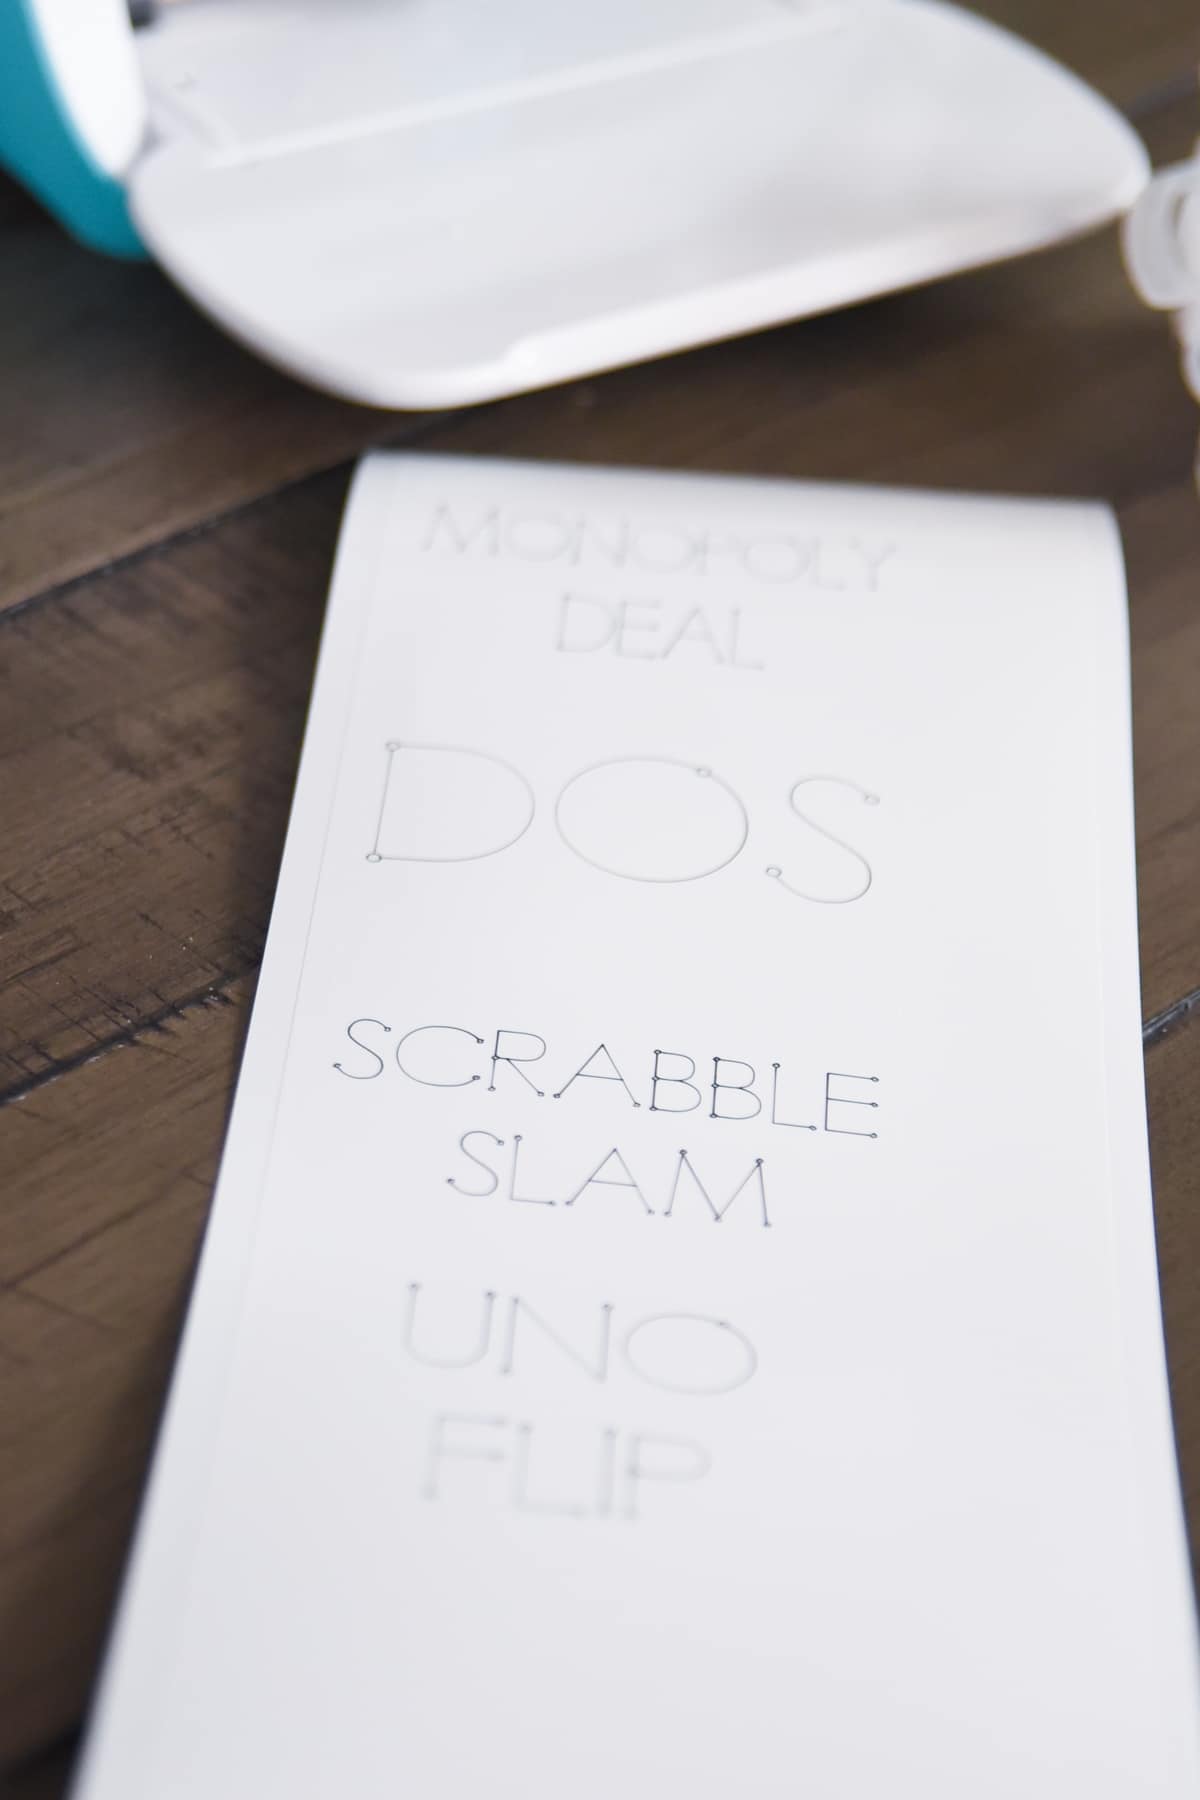
You can buy these crayon boxes at places like Target and Joann’s for like $1-2. They are available on Amazon but are more like $3-4. So definitely go in store if you can.
Here are the details you need for completing this project:
- Plastic Crayon Boxes
- Smart Label Writable Vinyl
- Cricut Joy Pen
- Design Space File – You can easily go in and edit these to be the names for the games you are using. Just un attach the text I have from the image shapes, and you can edit the text and reattach. Feel free to resize to whatever size you need.
Follow the instructions I have listed to create.
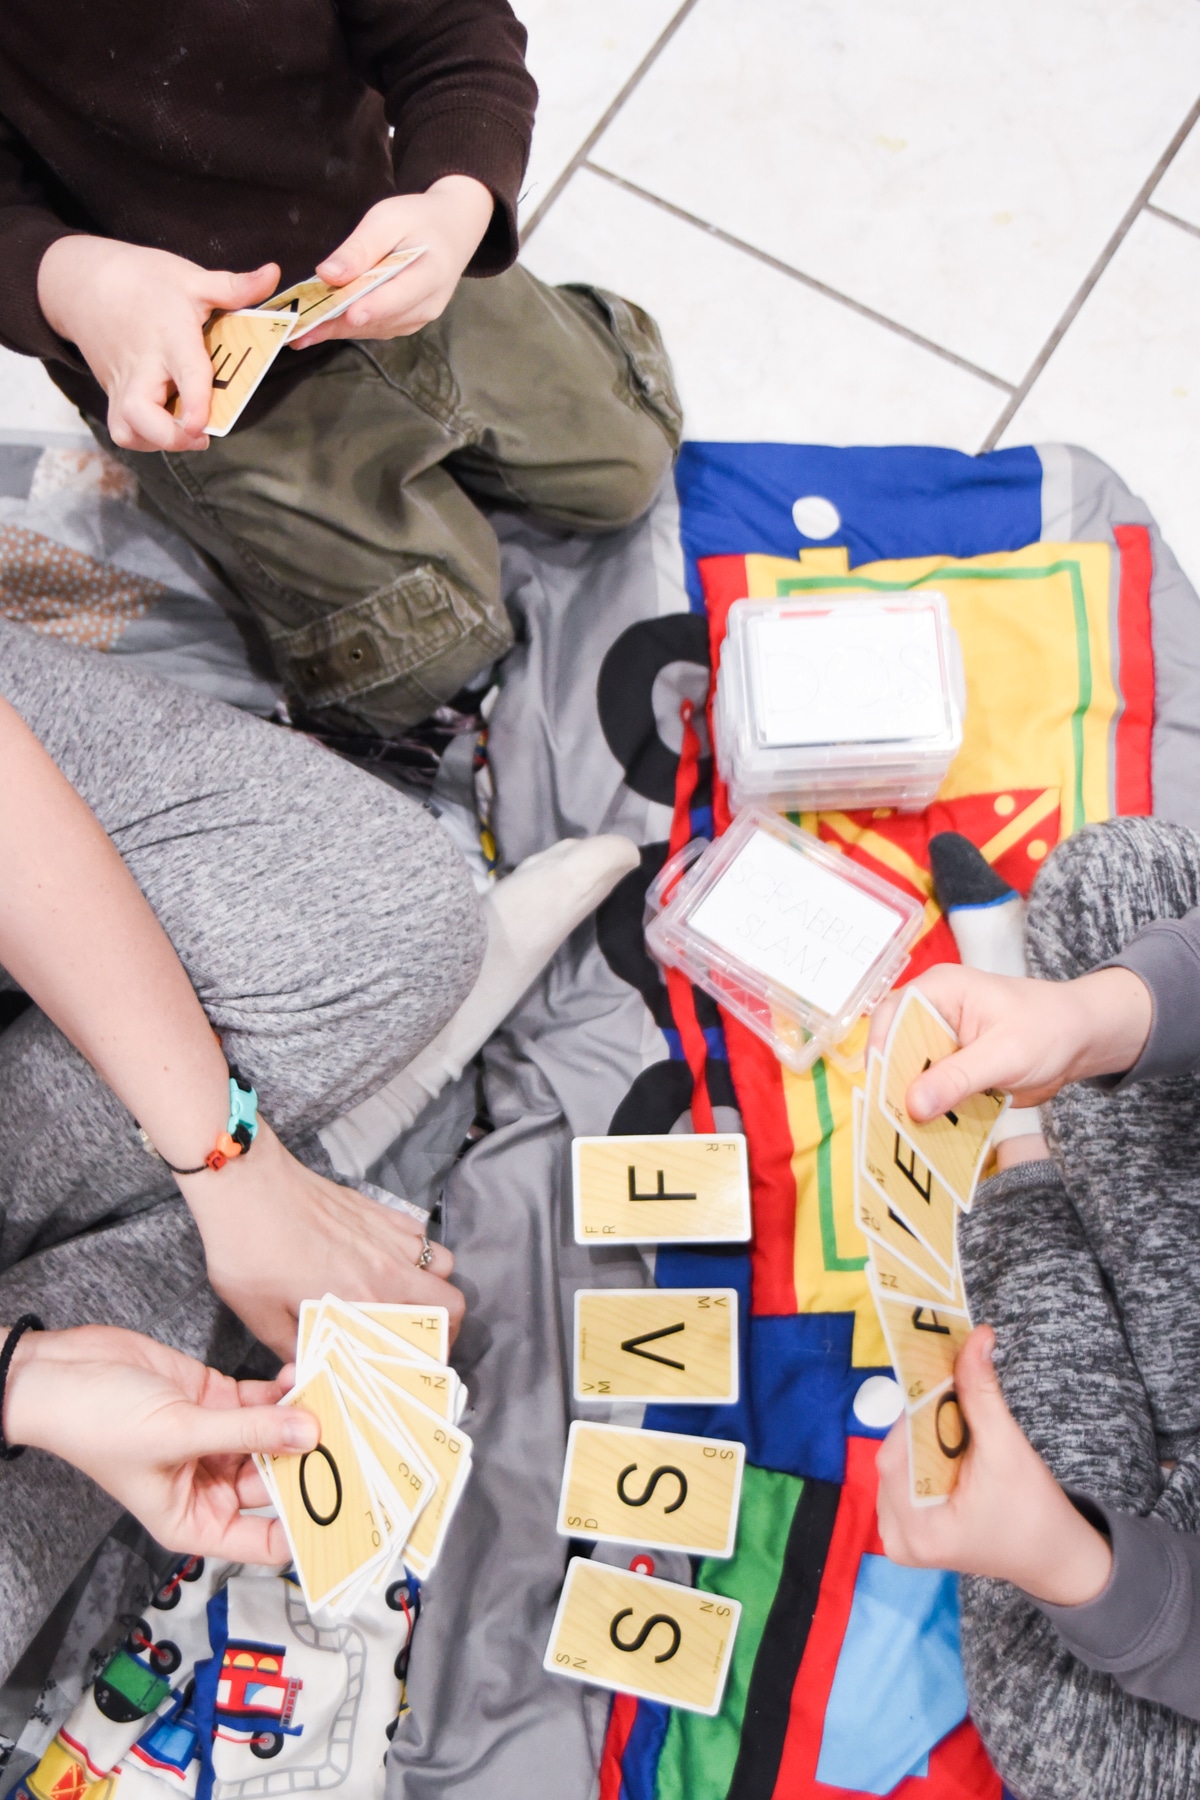
It’s a lot more fun to play now with them not falling out of the boxes!
Pantry Organization
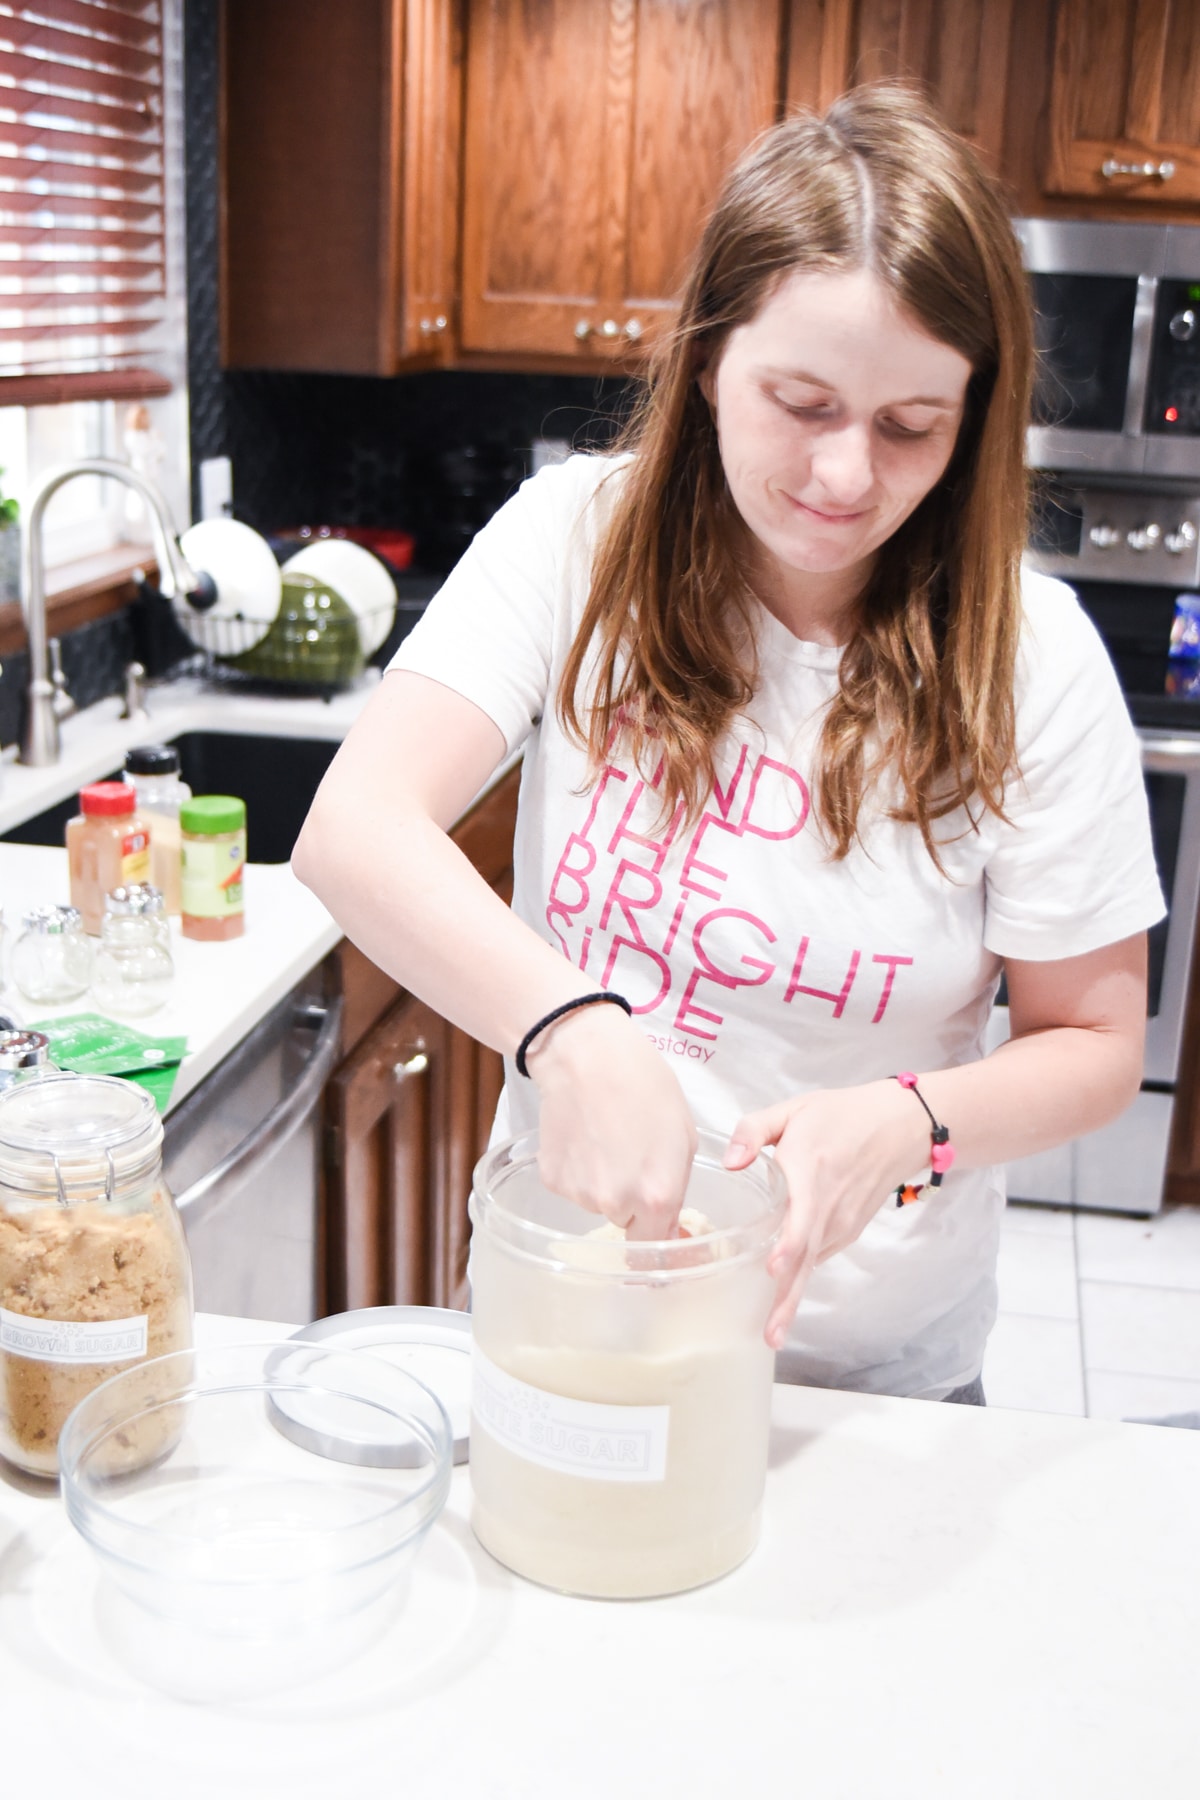
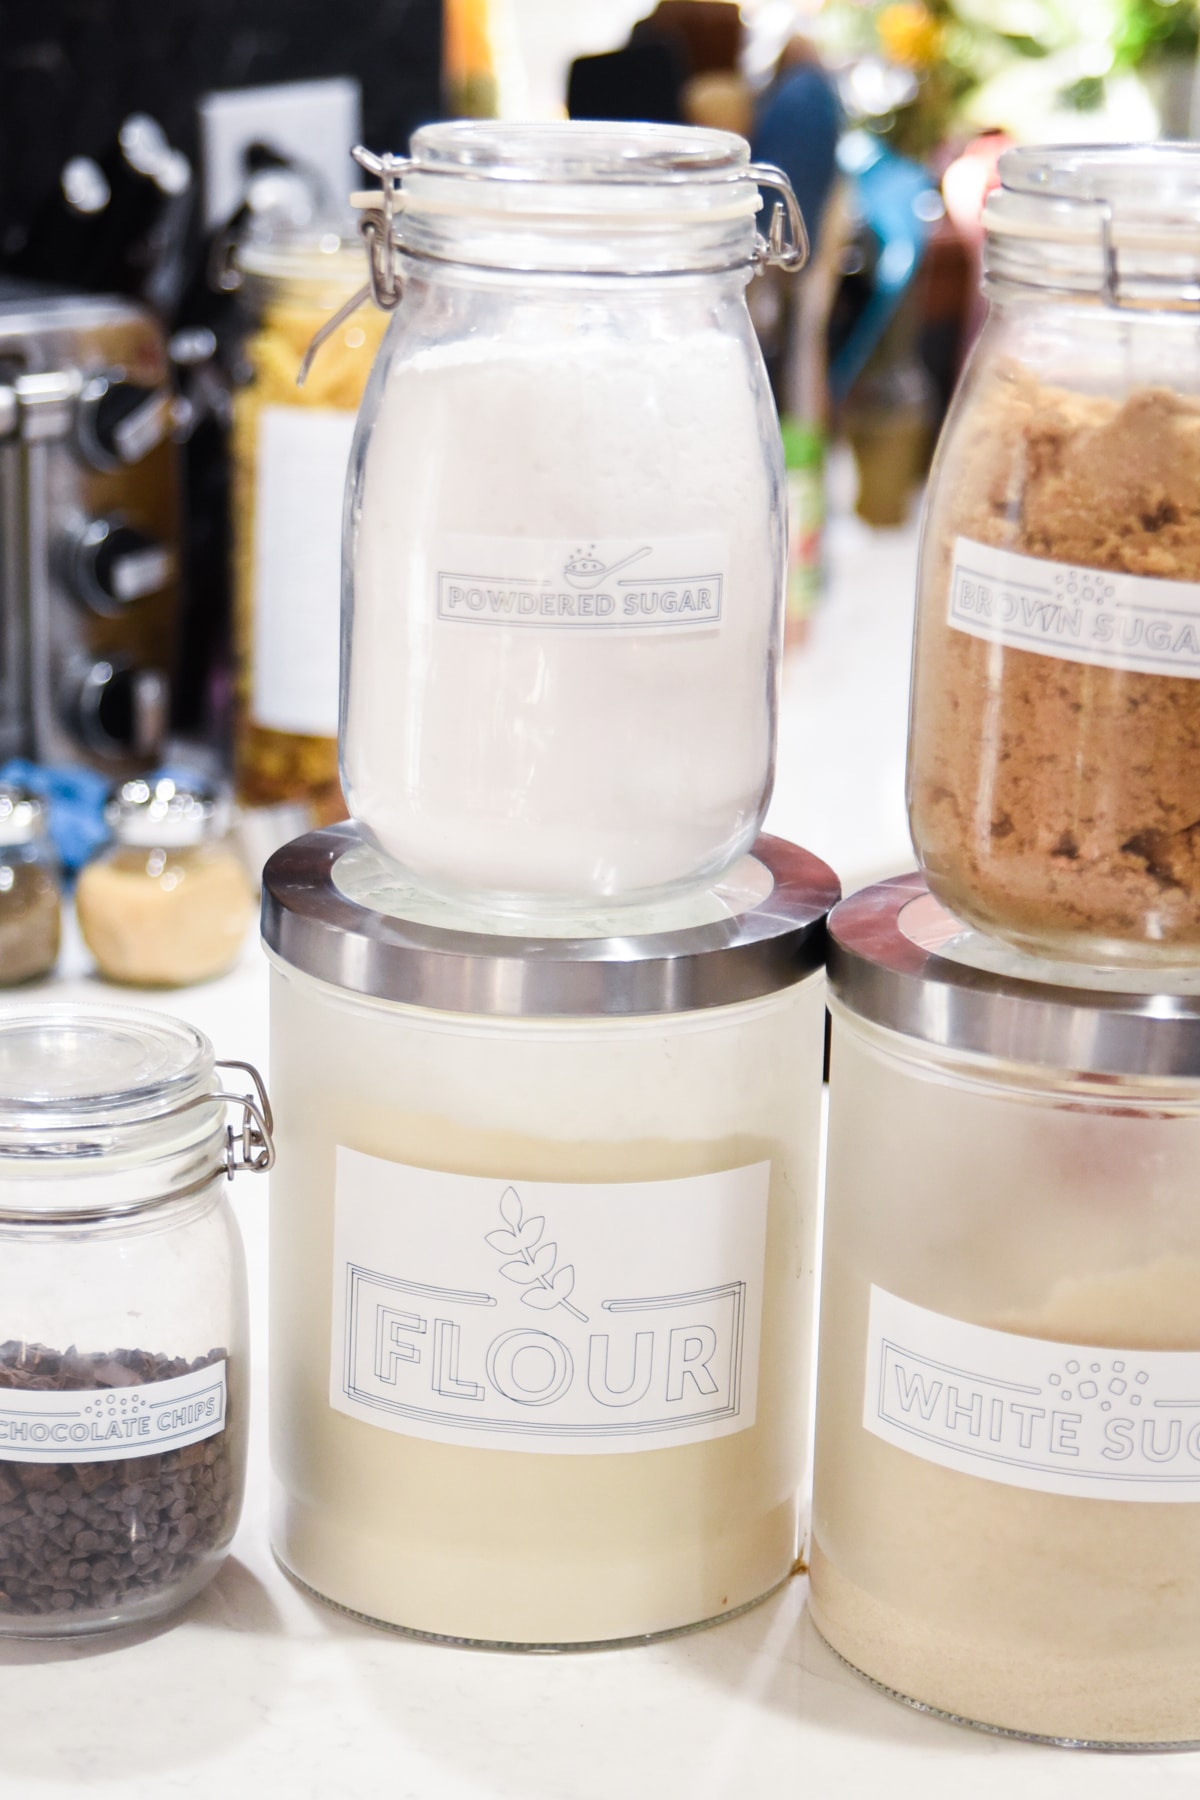
This project was long overdue. My pantry is such a disaster, and it’s just filled with random bags of flour, sugar, etc. I definitely want to just have containers with what we are using, and then bags stored elsewhere that we could just use to refill later.
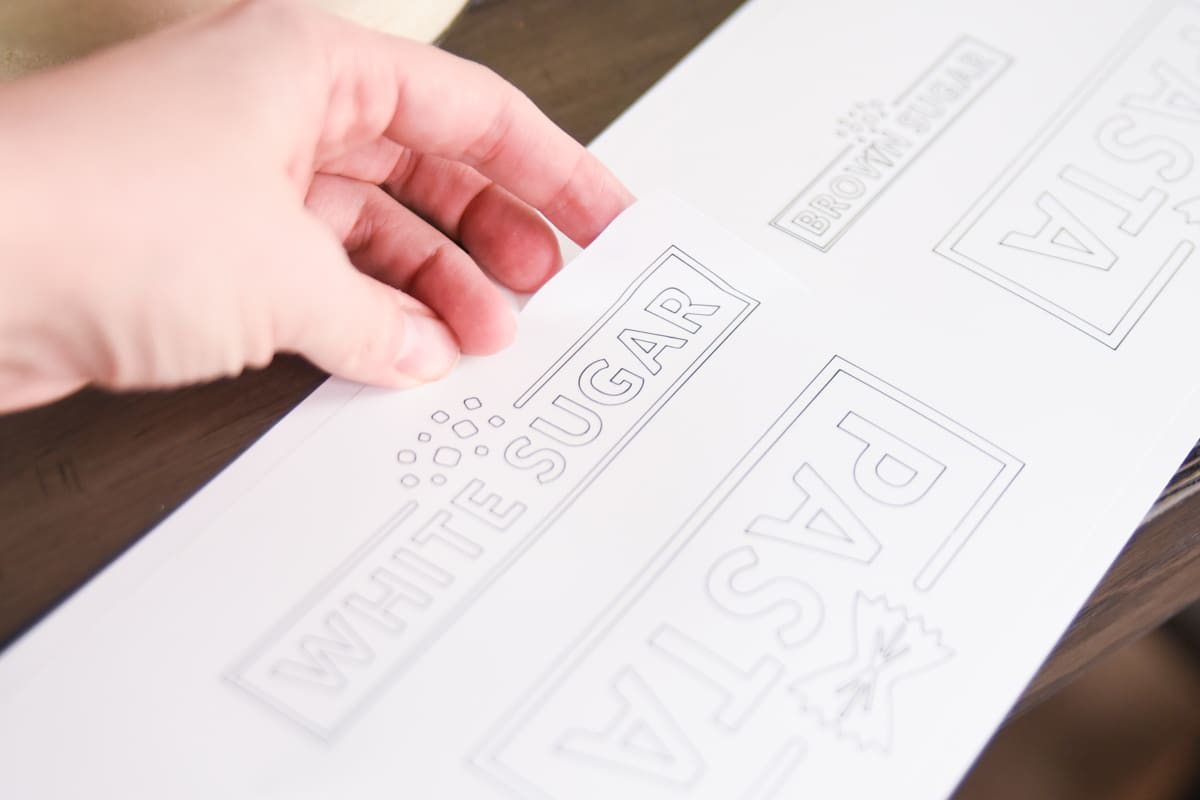
I really loved the labels I made for these. In Design Space, I searched the names of different ingredients, and I was pleasantly surprised to find some really cute images for all the common pantry items I could think of.
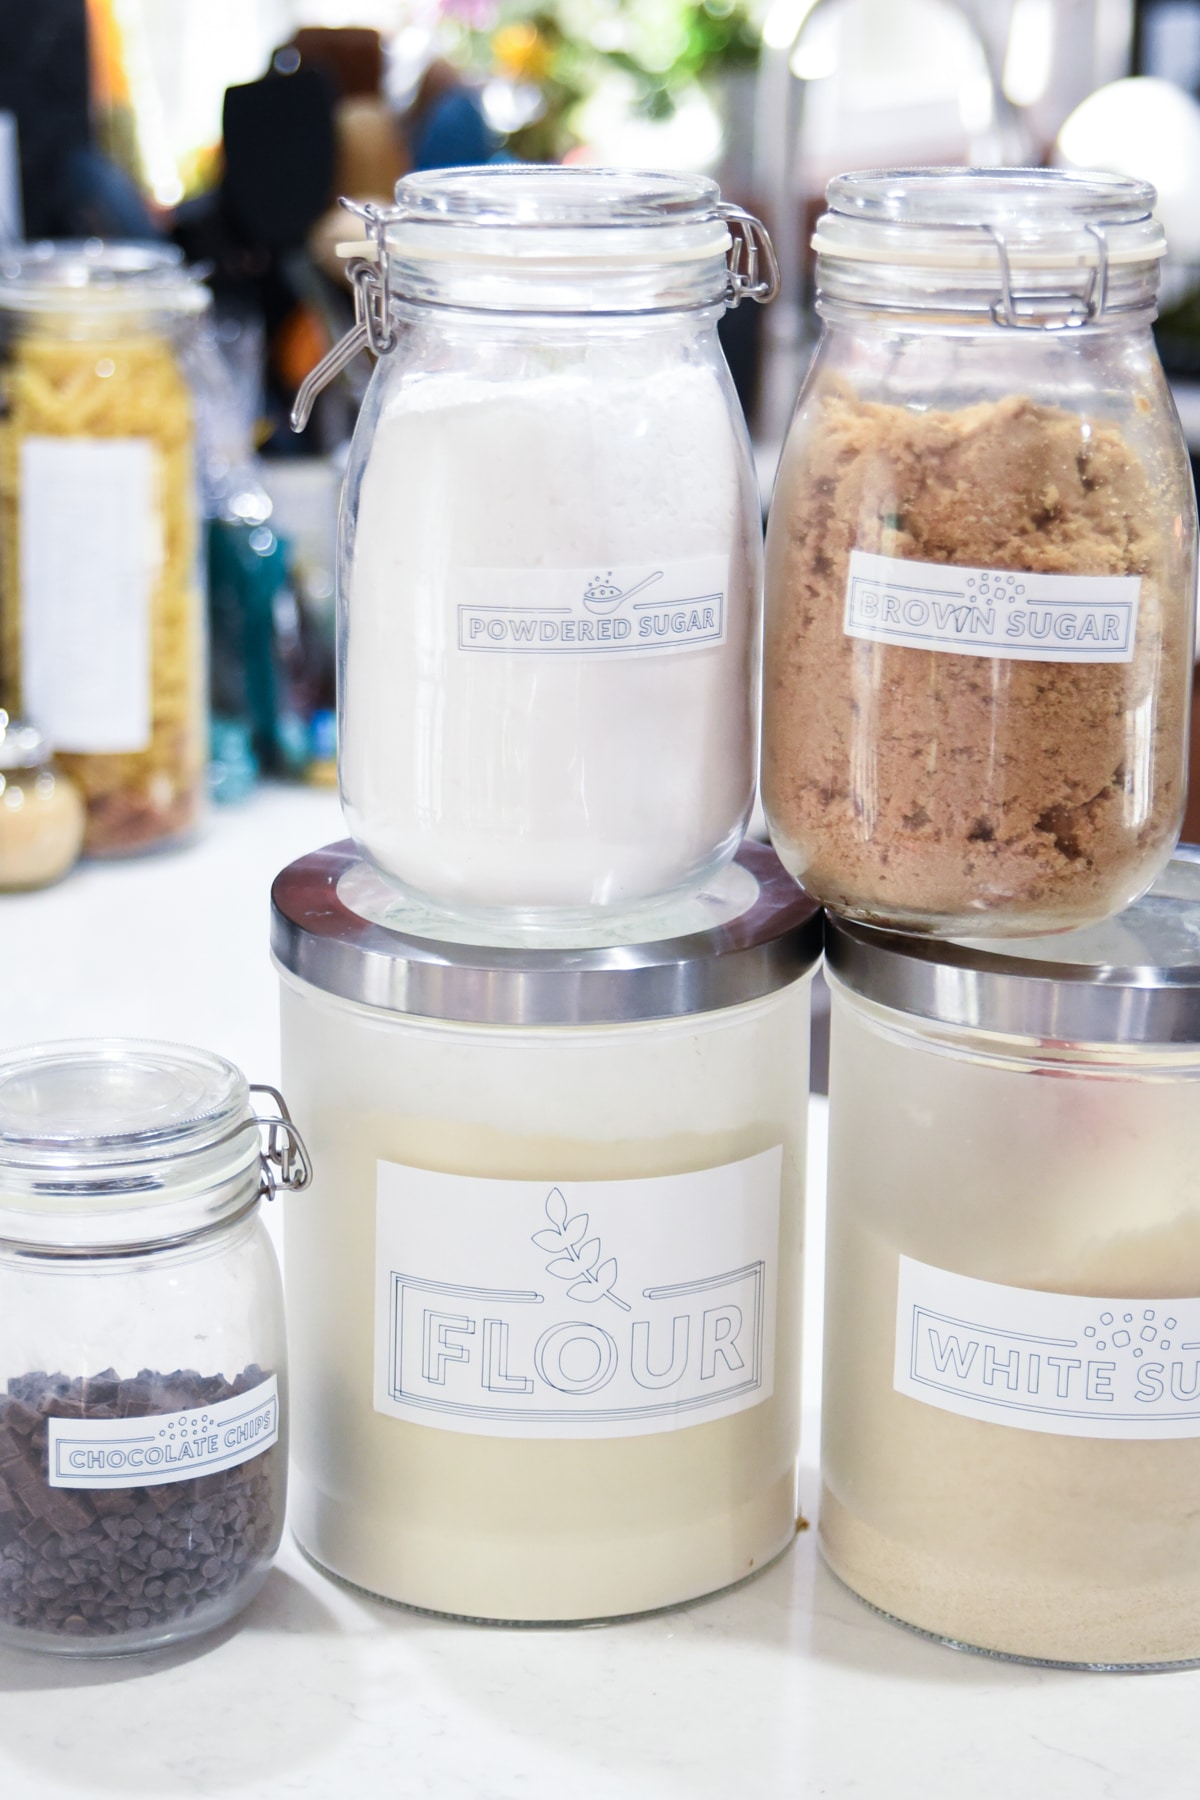
I put the images into a canvas and centered each one of the images on a white rectangle and attached them together.
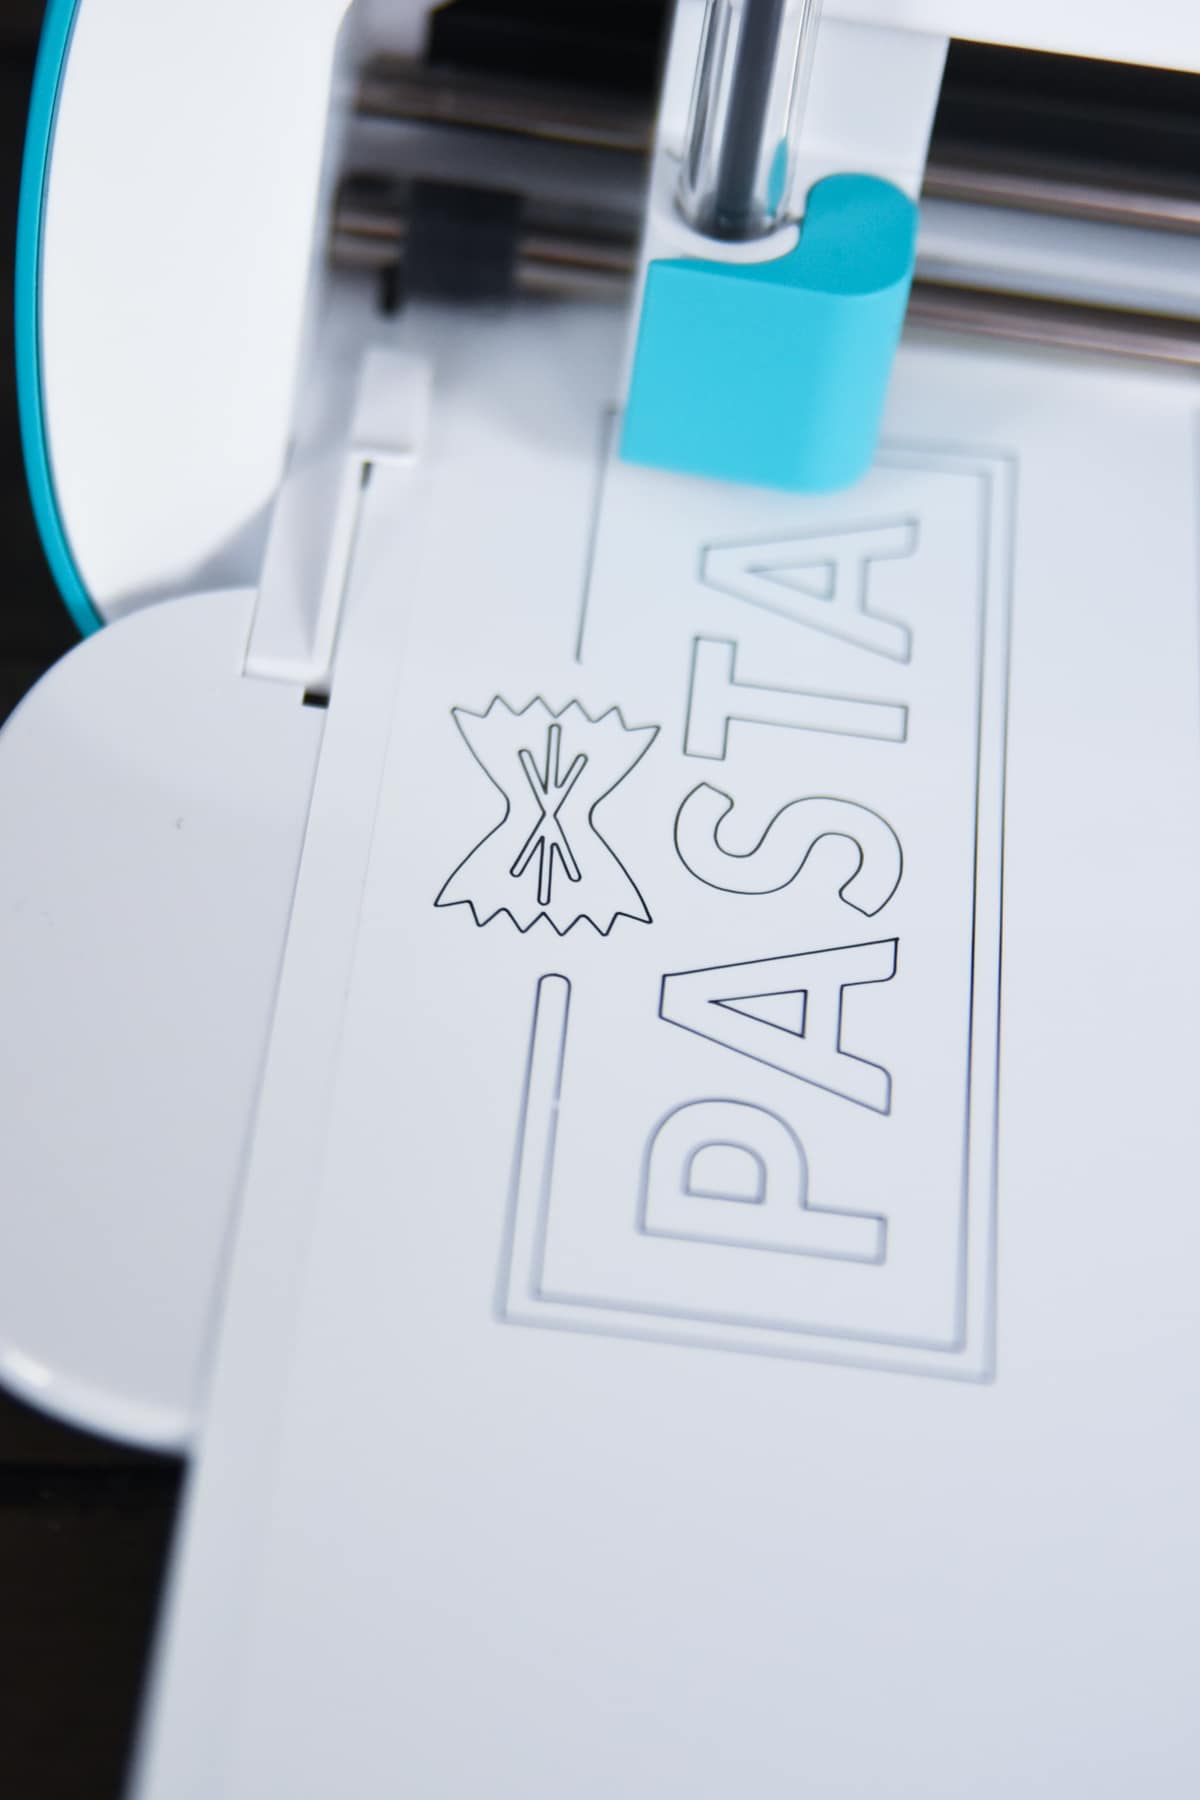
Here are the details for completing this project:
- You will need the Smart Label Writeable Vinyl, Cricut Joy pens, and the Cricut Joy
- Here is the Design Space file. I’ve included all the pantry images I can, so feel free to browse them. You can delete the ones you don’t want, and if you want a different shape for the background, just unattach the image from the rectangles and reposition them on the shape of choice.
- Make sure you measure your containers and resize the images in Design Space to make sure they are the right size.
- Cut and apply with instructions above.
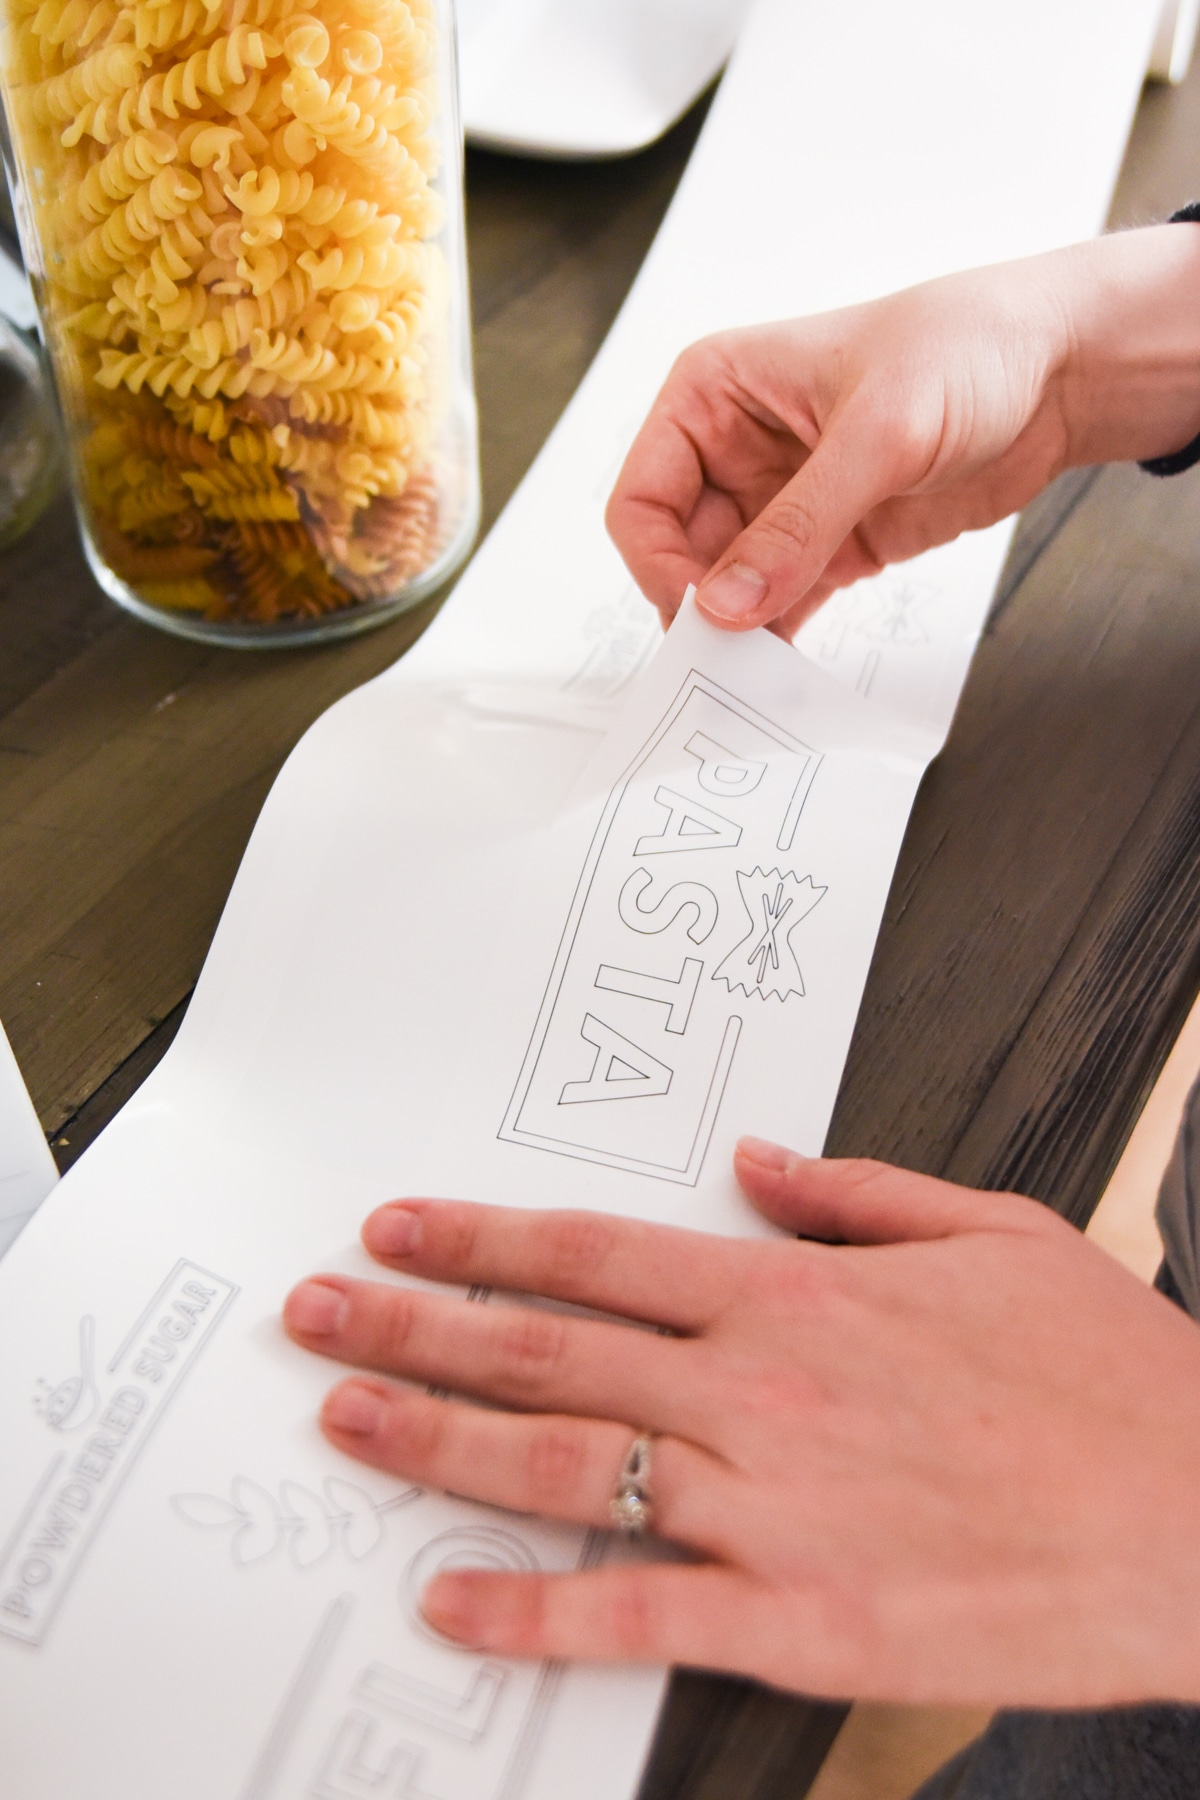
You will see that my “Flour” is a little messed up. This is because I had a mini freak out when it started writing, and I thought it was writing the label shape instead of cutting it…so I stopped the Joy, unloaded it, and reloaded it (I was wrong).
I didn’t have enough material to redo it….and I thought about omitting it from this post. But I have a lot of people say they appreciate seeing the mess-ups, so here it is in…in all its glory. Let’s just say I took some creative license with it 🙂
Spice Jar Organization
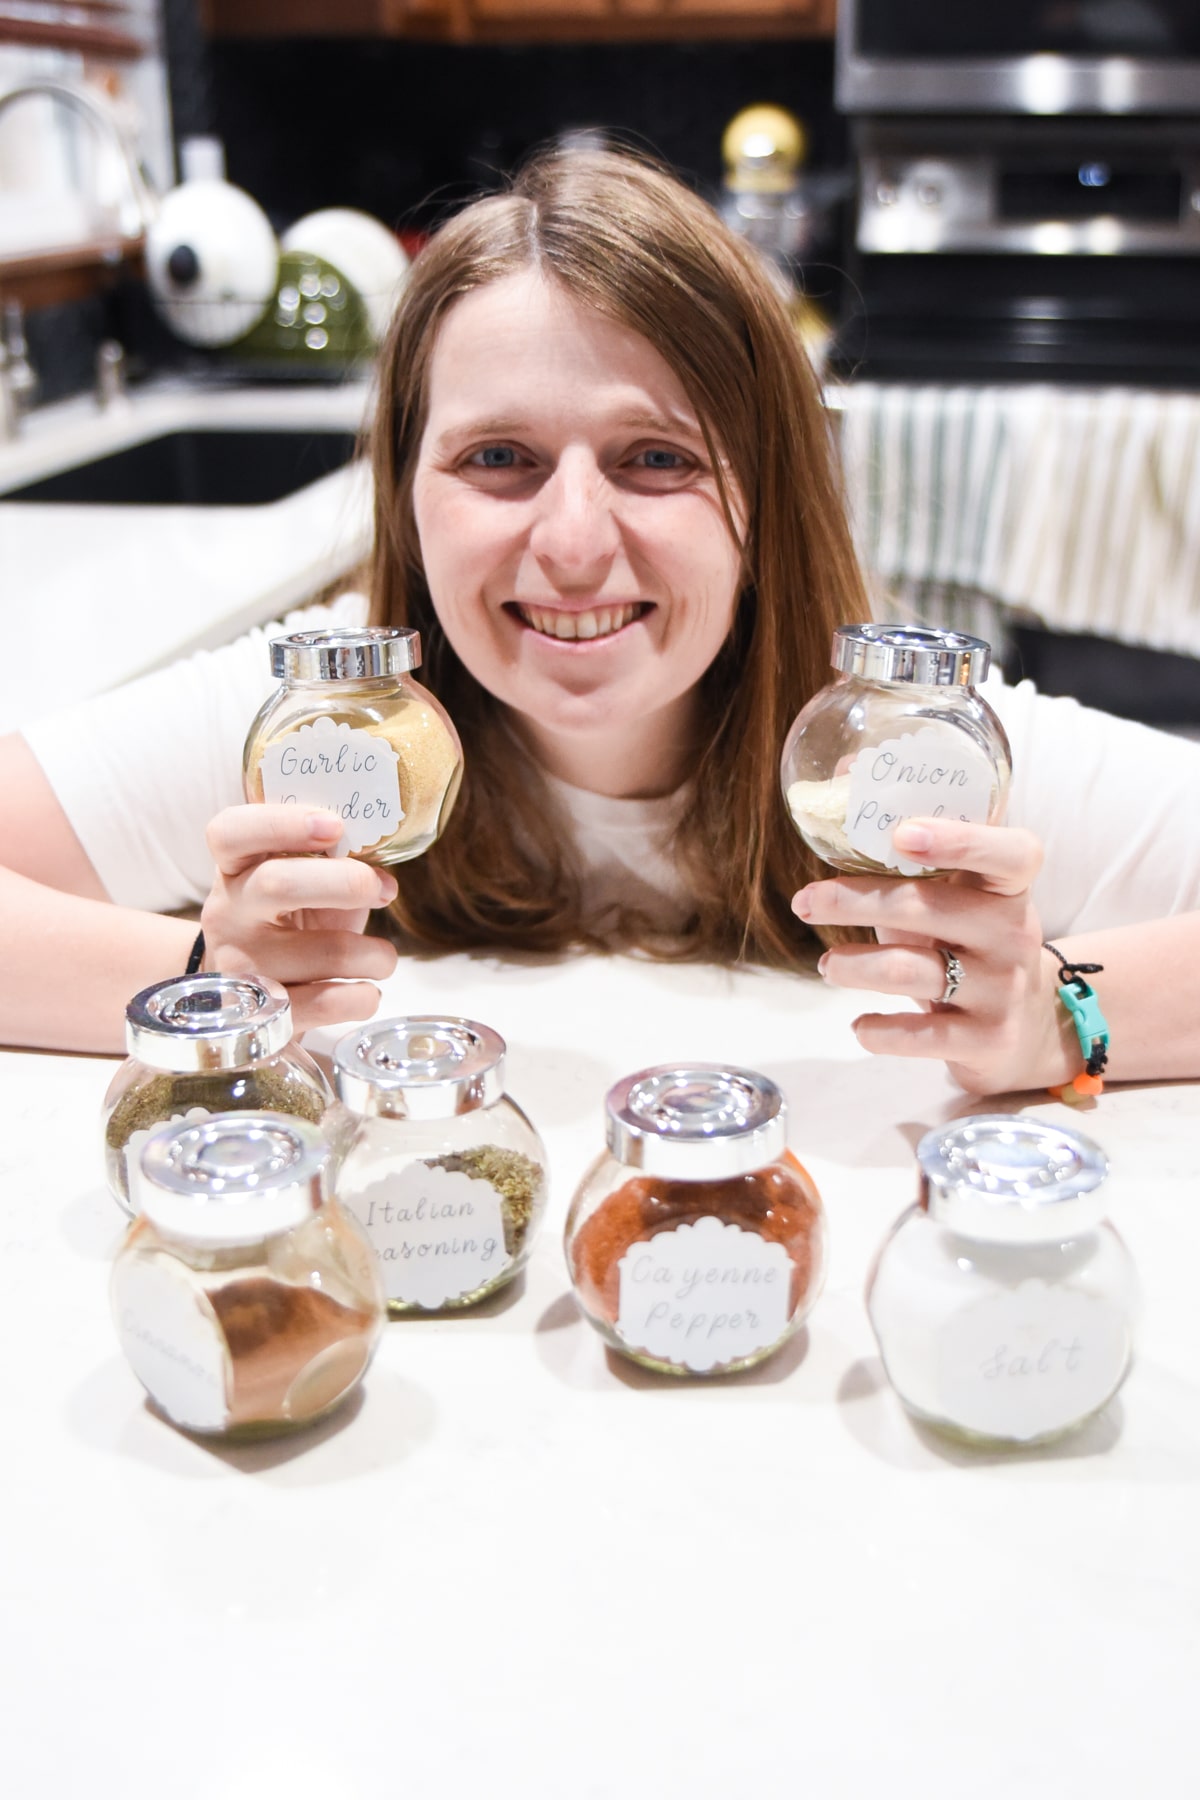
Surprise, surprise….my spice jars are a disaster, too! I often buy multiples of spices, because I can’t find them when I need them. And I never know when I’m about to run out of something.
I wanted to get more of these spice jars, but I wasn’t able to go to my favorite place to buy inexpensive storage containers (including where I got these spice jars). So I just made labels for the seven most used spices in our pantry (I would have done eight, but one of the lids fell off and broke. Oops!).
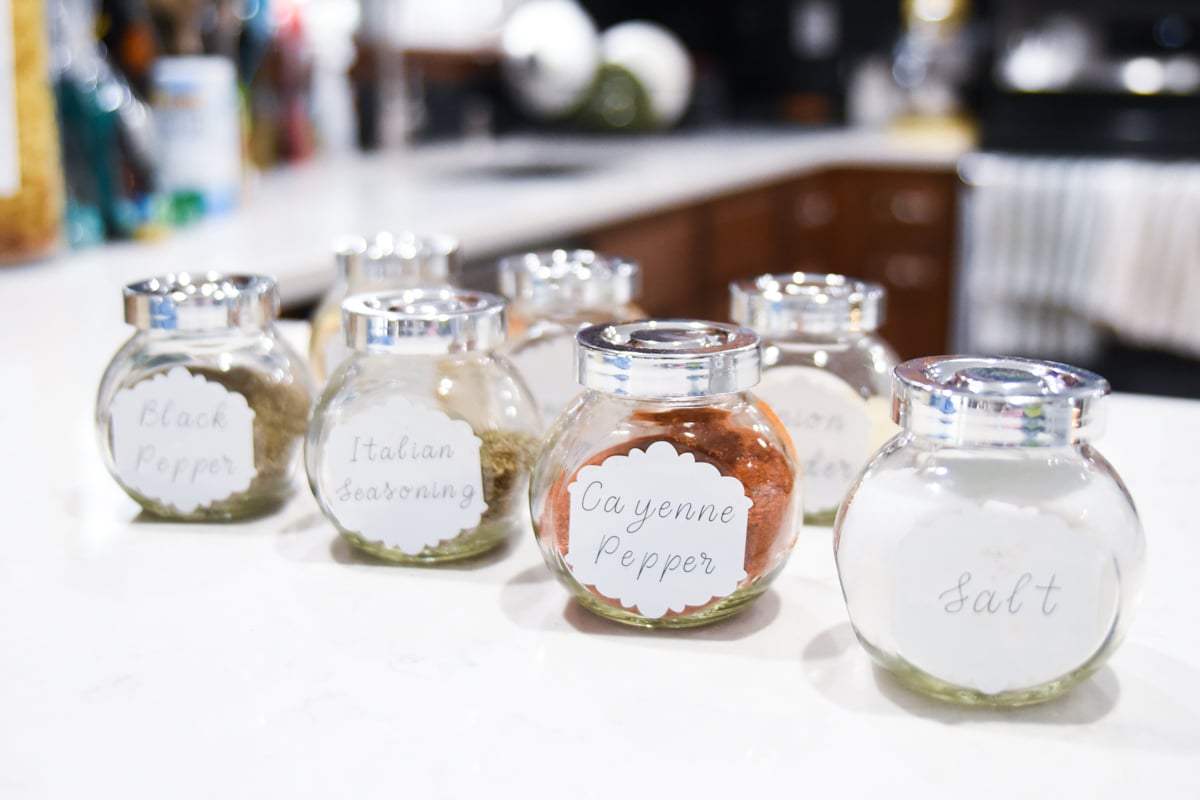
However, I did make the Design Space file have a bunch of different spices so you can pick the ones you want (or edit them to your liking).
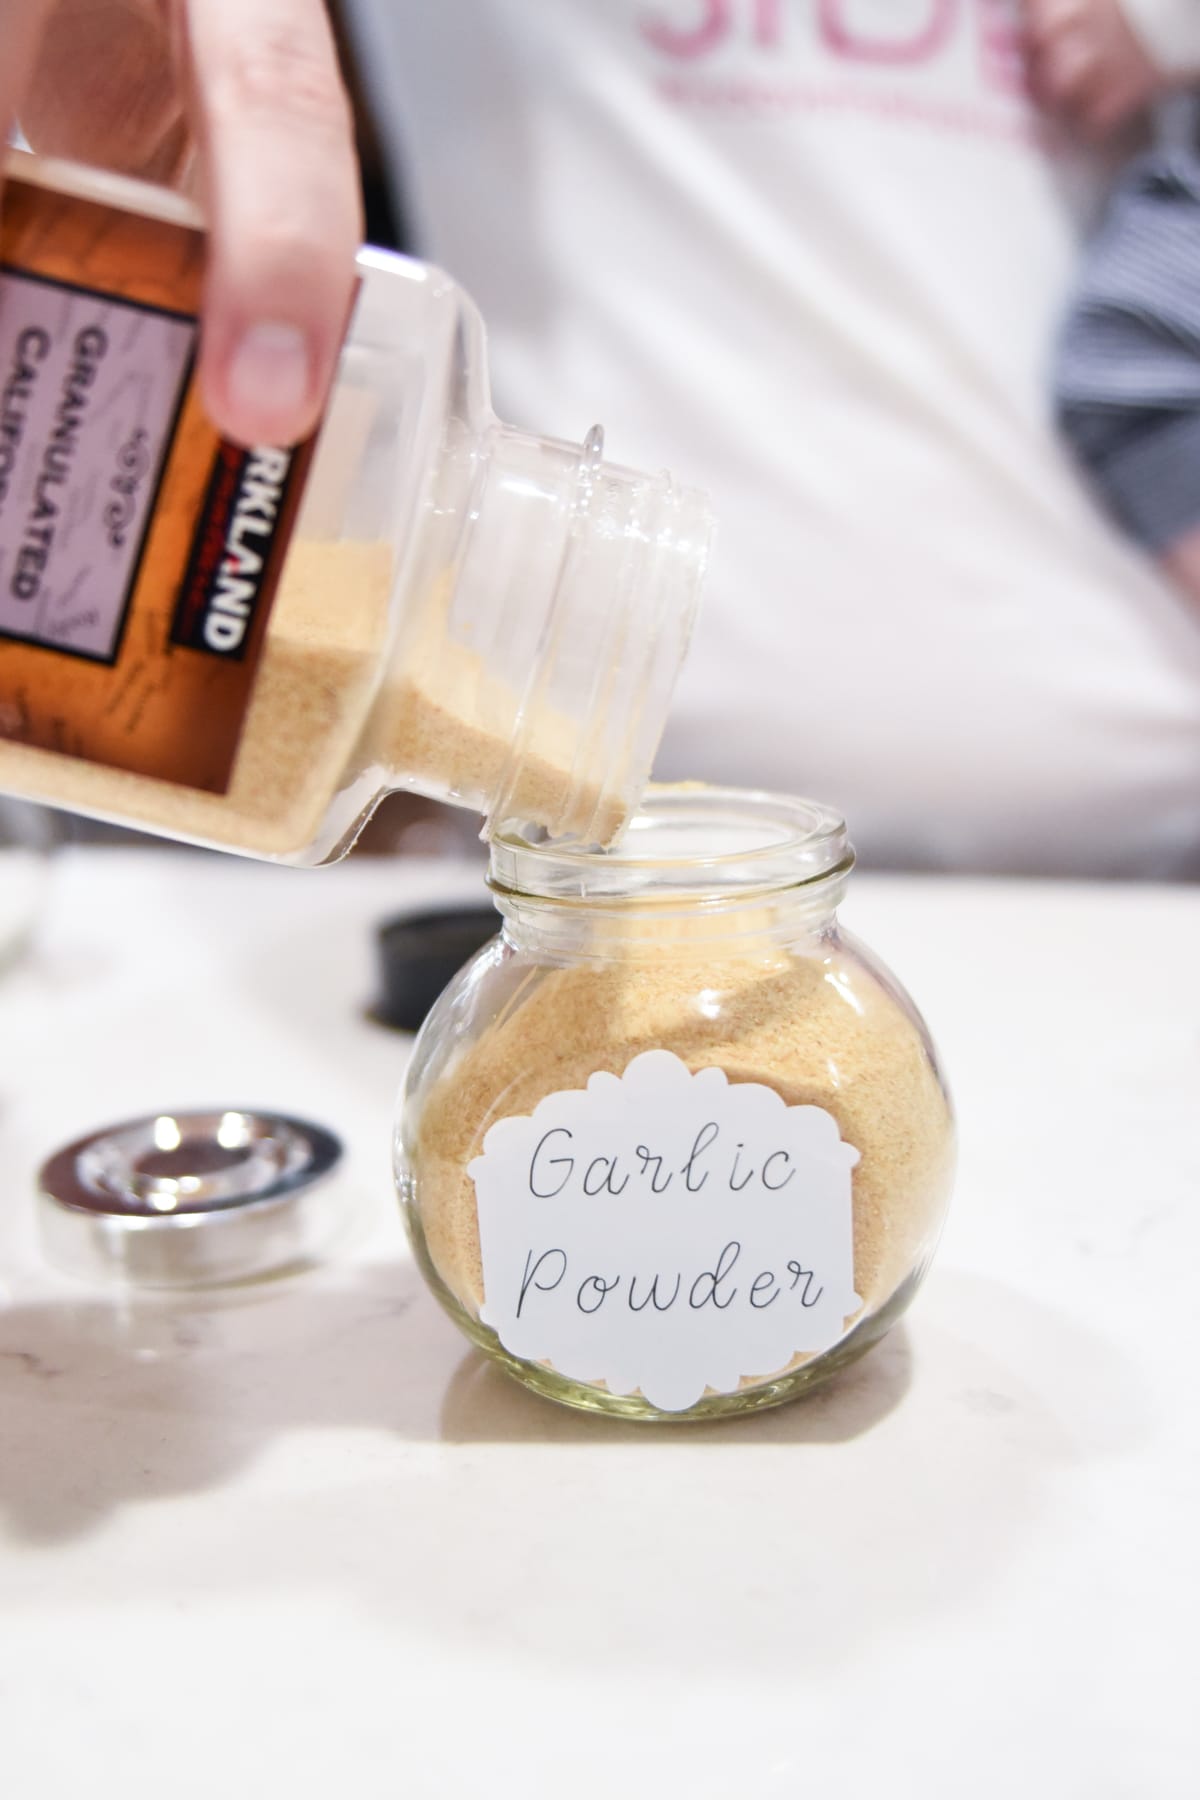
I really loved how these turned out, though be very careful when you take the labels off the paper. The tight edges made a few of them tear, so I had to go very slowly.
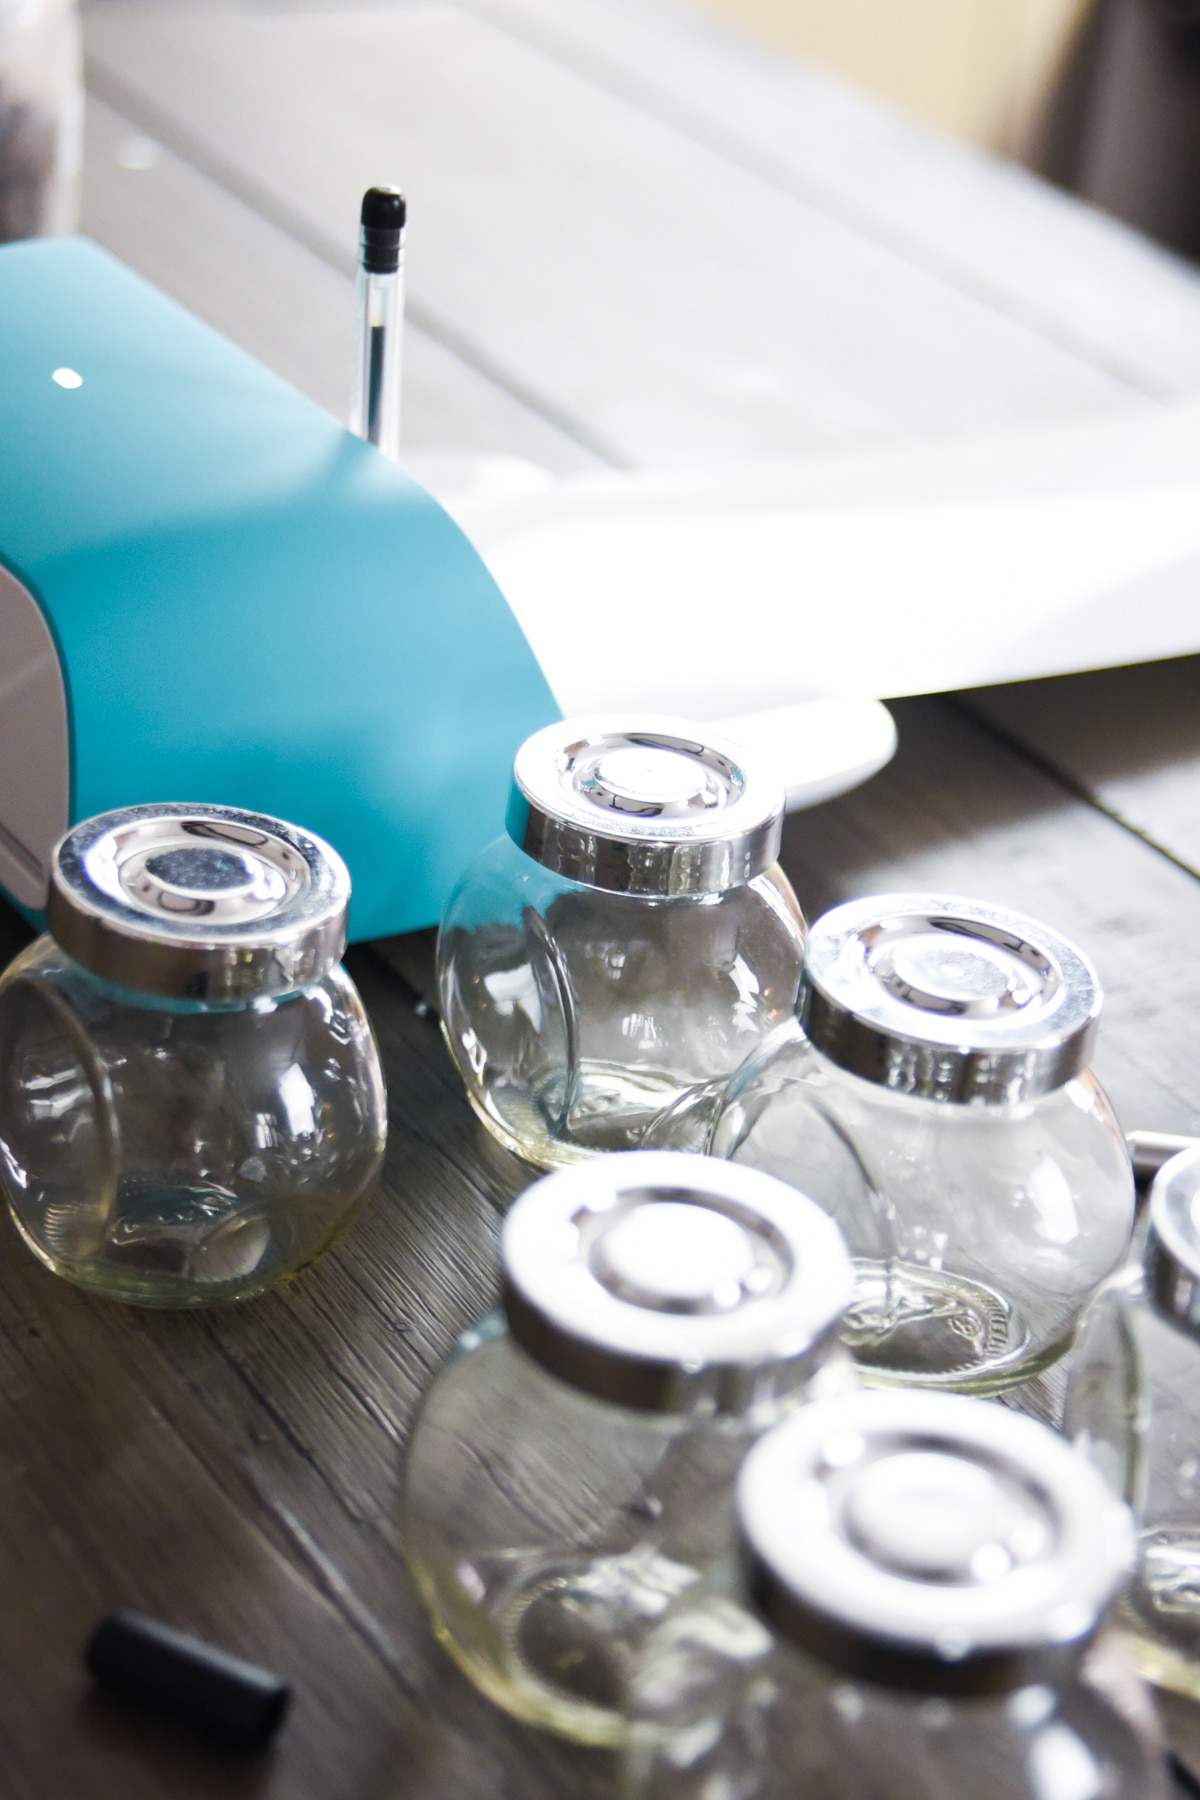
Details for completing this project:
- You will need Smart Label Writeable Vinyl, Cricut Joy Pens, and the Cricut Joy
- Use whatever spice jars you want. I got mine from IKEA, but there are a lot of fun options on Amazon.
- Here is the Design Space file for the spices. Feel free to edit as needed!
More Cricut Joy Organization Ideas
Now the rest of these I wanted to do for this post, but I ran out of Smart Writable Vinyl. Since none of my local craft stores are open, I wasn’t able to get any in time for this post.
However, I hope that these other ideas will help you to find ways to organize your home a little more effectively as well.
Craft Room Organization
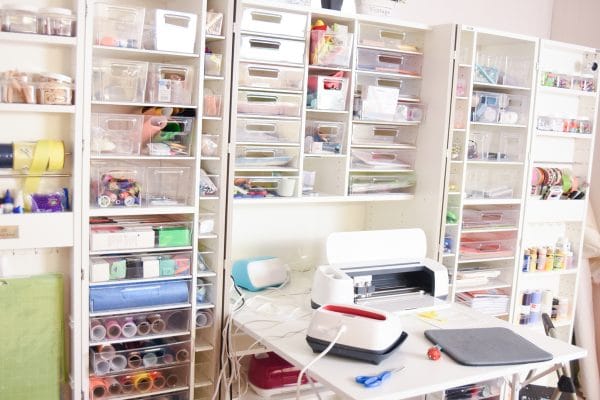
I have some great craft storage furniture which has made my crafting a lot more organized.
It has clear totes, which are easy to see in, but sometimes I still go and pull them all out trying to find exactly what I’m looking for.
Once I get more label vinyl, I am going to make labels for all of the different drawers.
Toy Room Organization
This is another one I plan to do soon. I almost did it for this post, but then I looked at all the toys in random toy boxes that needed to be organized…so I decided to wait until later.
However, I’ve started creating the labels! And I will update this post with the final project when I’m done. I might even recreate my LEGO labels, as they’ve started falling off of our LEGO shelves.
Linen Closet Organization
Finally, my last idea is to do our linen closet. I want to make it easier for my kids to know where essentials are (towels, cleaning supplies, etc.), so I plan to create labels to easily sort and organize here.
I’m especially excited about my plans to make our medicine cabinet, which is in our linen closet, more organized. I feel like I’m always running around trying to find infant Tylenol or our at-home otoscope in the middle of the night. So having this more organized and everything having a “home” will be so crucial.

