How to Make Stickers with Cricut: Beginner-Friendly Guide
Whether you’re a seasoned Cricut crafter or just starting out, this article will guide you through the process and answer the question of how to make stickers with Cricut. I will also be sharing some of the tips and tricks I have learned from my years of using a Cricut.
Are you ready to learn how to make stickers with Cricut? Let’s get started with a little background on sticker making, including what Print then Cut means.
What is Print Then Cut?
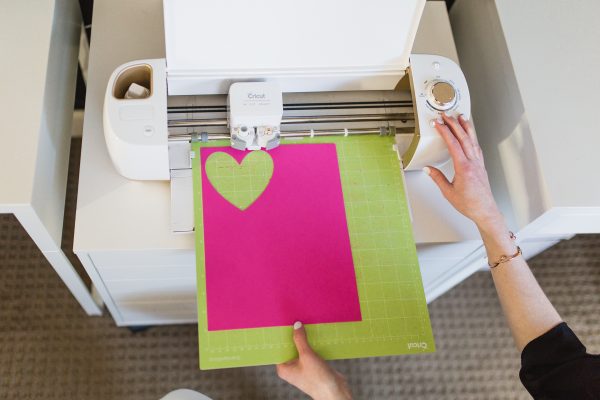
Print then Cut is a feature or process commonly used with Cricut machines. Print then Cut allows you to print a design or image on your home printer and then use your Cricut machine to precisely cut around that printed design. Remember, the Cricut does not do the actual printing step.
This is particularly useful when you want to create intricate, full-color designs for projects like stickers, labels, or other detailed paper or vinyl crafts. The Cricut machine uses special registration marks printed on the sticker sheet along with a scanning element on the machine to accurately cut around the printed image, ensuring a clean and precise result.
What You Need to Make Stickers
Now let’s talk about the supplies you need to make stickers with a Cricut. First you will need a Cricut machine. You can make stickers with any of the Explore or Maker machines, the Cricut Venture or the Cricut Joy Xtra. You cannot make stickers with the original Cricut Joy because that machine does not have the ability to scan the registration marks that are printed out for accurate cutting.
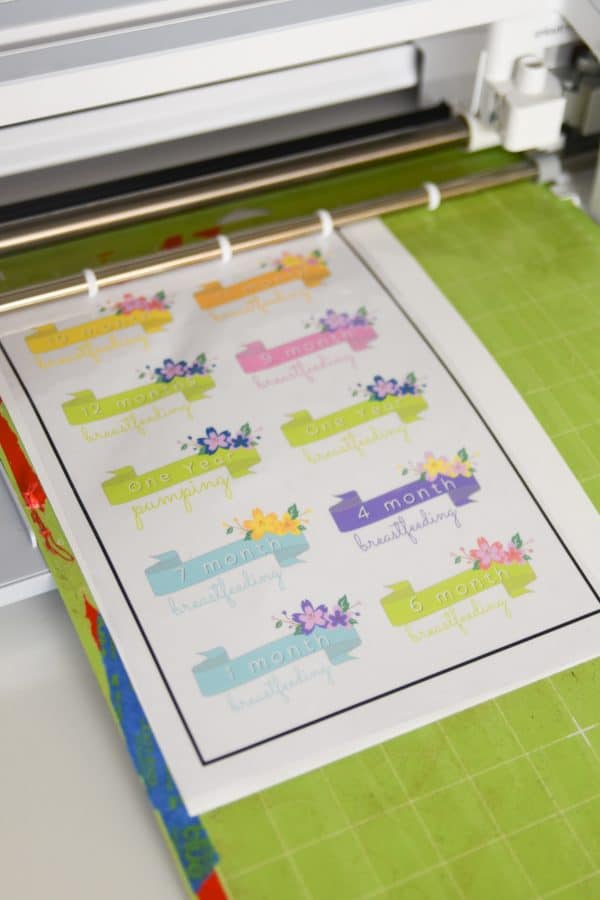
You will also need a Cricut cutting mat to place your printed out sticker sheet on. For printing the stickers, you will need an inkjet printer. Last but not least you will need sticker paper. There are a wide variety of sticker papers on the market, and we will dive into those in the next section.
Best Sticker Paper for Cricut
To me, the best sticker paper is the one that fits your personal needs. If you need a sticker that is waterproof then make sure that you are looking for that feature to be listed in the sticker paper information.
I have used many different sticker papers over the years, and out of all of the brands I have used the standard Cricut brand sticker paper actually performs the worst. For me, the backing is too thick to nicely feed through my home printer. I have had much better success with the Cricut Printable Vinyl for Decals and the Clear Cricut Sticker Paper.
I have also use Neato brand sticker paper. Neato has a line of waterproof sticker paper that I really like. I have also used the Koala brand sticker paper. You might need to test out some options and different brands to find the one that is best for you.
I do recommend only placing one sheet of sticker paper into your printer at a time. This will allow the printer to catch the one sheet more easily when sending it through the printer.
Inkjet Printer for Stickers
The question of what is the best inkjet printer for making stickers with a Cricut is one that comes up time and time again. Any good quality inkjet color printer will work. I use an Epson printer that I have had for years. I actually had this printer before I started making stickers with my Cricut.
Read the reviews online for inkjet printers in your price range to help you determine which one is best for you. Make sure that the printer has a tray for the sticker paper and has a high quality printing feature.
Once you have a inkjet printer selected, it is important to determine which direction the paper will feed through the printer. This will determine which way you place the sticker paper into the paper tray.
I like to do a test print with regular copy paper. I put a big X on the paper, place it in the tray with the X up and then print a simple image. When the paper comes out of the printer if the X and the printed image are on the same side of the paper, then I know I need to place my sticker paper in the tray with the printable side up.
Best Cricut Machine for Making Stickers
As I mentioned before you can make stickers with any of the Explore or Maker machines, the Cricut Venture, or the Cricut Joy Xtra. You cannot make stickers with the original Cricut Joy because that machine does not have the ability to scan the registration marks that are printed out for accurate cutting.
When purchasing a Cricut you should think about all of the things you might want to make with it, not just stickers. For me I make stickers, cards, scrapbooks, and home décor and I also cut vinyl to put on clothing, tote bags or drink ware. I use my Cricut Explore for all of these projects.
The one drawback to sticker making with the Explore is that it does need to be either white or very light-colored paper. The Explore needs a high contrast between the color of the paper and the color of the registration marks to read them clearly.
The Maker machines do have a stronger and more improved scanning feature, and people have reported that they can use a wider variety of colors of sticker paper with the Maker machines.
Where Can You Find Sticker Designs?
I really feel like there is no limit to the places you can find designs for your stickers. You can use images in Cricut Design Space. You could design your own stickers using fonts and shapes. You can even use images you find on the internet, but be aware that if you want to sell your stickers you do need to get a commercial license to sell them directly from the person that owns the image. This means that if you wanted to sell Mickey Mouse stickers, you would have to get permission from the Disney company.
Numerous websites offer free printable sticker designs. These can be a great option if you’re looking for specific themes.
How to Make Print Then Cut Stickers – Calibration
The first step in how to make stickers with Cricut would be to calibrate your machine for Print then Cut projects. For this you will go to the upper right side of the screen and click on the arrow under your name, and then choose Settings. I have Setting pointed out with a blue arrow in the image below.
Once you click on Settings a new window will pop up. From there, click on Machines then in the Machine Calibration section choose the machine you will be working with. As you can see, the original Cricut Joy is not even on this list, since it does not have the ability to scan the registration marks.
Once you choose your machine a Start button will show up under the pull-down list. Click on that to start the Print then Cut Calibration process. Watch the prompts on the screen as the software guides you through the Calibration process.
You will have to print out a Calibration Sheet and place that on your Cricut cutting mat, in the upper left corner of the mat. I have a picture of my calibration sheet on my cutting mat in the next photo.
There are numbers across the top of the page, and letters down the side. The letters and numbers are part of the more fine tuning portion of the calibration process.
The Cricut will go through the process of scanning the outer border line on this sheet, and then cut in small inner square. After it does that, you will have to evaluate how close the Cricut cut to the lines of the square to determine the next steps. Do not worry, if you follow the prompts on the Design Space screen it will tell you exactly what to do.
Once you have completed the calibration process you are ready to start to design and make your stickers with Cricut! If at any time you find that the cuts seem off, you can go through the calibration process again to help make the cuts more accurate.
How to Make Print Then Cut Stickers – The Design
The second step in how to make stickers with Cricut would be to choose your image. For this example I am going to use an image from Cricut Design Space. To find an image you like click on the Image button on the left side, which I have circled in blue for you.
I am going to use the cute little frog image that you see on the right side of the picture above. Once you have your image selected, you can click the Add to Canvas button in the lower right corner of the screen.
For this next step you need to look at the image you picked and determine if it has a solid background. The solid background is what the Cricut will cut. If your design does not have a solid background, the Cricut could end up cutting elements that are on the inside of your design, which you do not want.
To determine if your image has a solid background, we will need to look at the layers panel on the right side of the screen. This frog image has 6 layers, which you can see in the image below. The very top line in the Layers Panel shows the fully grouped image, then below that you can see each individual layer.
If you click on one of the layers from the Layers Panel on the right, you will see an eyeball icon. You can actually click on that eyeball to turn layers on and off. I have circled the eyeball icon in the image above to help you find it.
This can help you to more easily look at indivitual layers. Take some time now to turn the eyeball icon on and off for each layer to see how that turns on and off the different parts of your image.
In my image of the frog, I am going to look at that sixth layer and turn off all of the other layers. When I do this I can see that this layer is just the outline of the frog. It is not a solid piece, because I can see the gridlines of the Design Space Canvas through the center of the image.
In order to make this piece a solid image, I am going to use the Contour function in Design Space. Contour allows you to turn on and off sections of a design. You can find the contour button in the lower right corner of the screen. I have it pointed with the blue arrow in the image below.
When you click on Contour a new window will pop open. This is where you can turn off sections of the design. You can either click on the pieces you want to turn off, or fill in solid, from the large area on the left or you can pick each piece from the smaller right side panel of this window.
For this frog, I turned off all of the pieces except for the one indicated with the purple arrow in the image below.
Once I close out of the Contour pop up screen, I can see that the frog shape is now a solid shape.
Next I can go to the layers panel and turn on all of the other layers for the frog image. When you do that, this little frog essentially looks the same as it did when we started, but now we know that he has a solid background shape.
This next step is where the magic happens. Select all of the layers for the frog design and then click the Flatten button in the lower right corner of the screen. I have the Flatten button indicated with the blue arrow in the image above.
Flatten will change any Cut design into a Print then Cut design. When you look at the frog image after clickin on the Flatten button you might not really notice any difference in the image, but let’s look at the layers panel.
When you look at the layers panel in the image below, you can see that now instead of having 6 individual cut layers, there is only one single layer. Additionally, the words in the layers panel tell you that this is now a Print then Cut image.
Now you are ready to make your stickers! Click the Make It button in the upper right corner and you will see the Mat Preview Screen.
In the upper left corner of the Mat Preview Screen you can see that you can set the number of copies. This makes sticker making so much easier because you can design just one sticker, then change this number and hit apply to fill up your page.
If you look at the actual cutting mat image in the center of the screen, you will notice four black marks in the corners of the page. These are the registration marks that the Cricut will scan to know where to cut. Do not cut these off of your page after printing otherwise the Cricut will not be able to cut your stickers.
When you load the mat into the Cricut it will first scan those lines. Then it will cut around the outer edge of your design. Depending on what brand of sticker paper you are using you might have to play around with the cut settings to get the perfect cut.
I have used the Vinyl + setting with the Cricut brand printable vinyl for decals and that gives me a wonderful result. This setting will cut through the sticker paper, but not through the backing. This is commonly called a Kiss Cut. This allows you to keep the stickers on one backing sheet and just peel away the excess sticker paper from around the completed stickers.


