How to Reverse Canvas: The Easiest Way
Reverse canvas art is such a fun way to work with canvas and get amazing results! Here are our best tips on how to reverse canvas the easiest way.
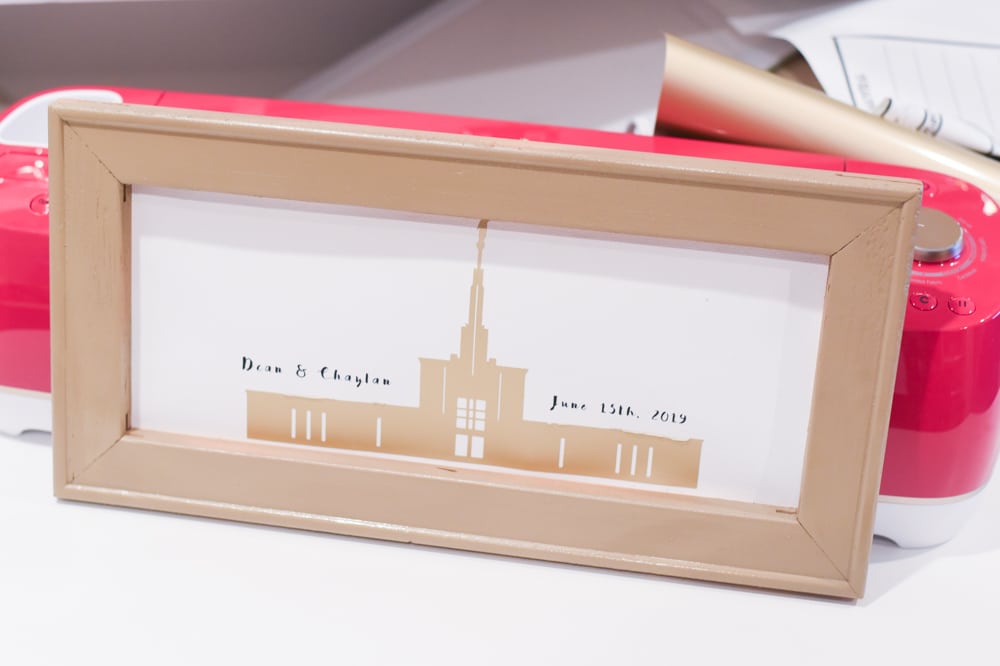
Reverse Canvas Art
Crafting is so fun – but it can get expensive fast.
So when I learn how to do something that can save you money and results in beautiful creations…well, I’m all over it!
Reverse canvas projects are ALL the rage in the Cricutting world right now, and I finally got around to trying it out and finding the method that I think is the simplest and most straight forward.
I love how you can turn an inexpensive canvas into a beautiful and rustic looking frame with just a few simple steps.
Personally, for the design that I put on my Reverse Canvases, I use iron on vinyl, which is what I will be talking about in this tutorial. With that said, you can absolutely use regular, permanent vinyl. I just find that I prefer the results of the iron on and feel it’s a bit more permanent.
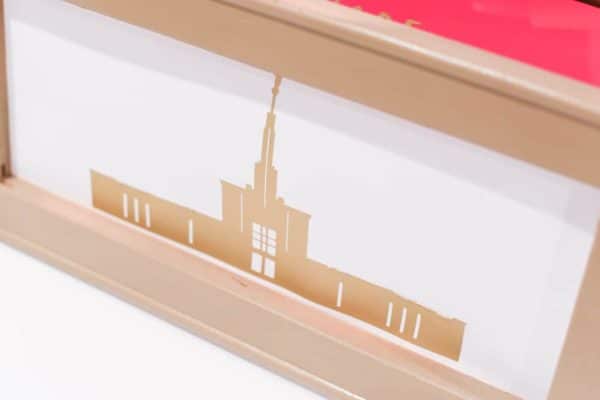
What is Reverse Canvas
If you are reading this post – you were either looking for this technique specifically or the title piqued your interest.
So if you are wondering what exactly a reverse canvas is…here’s your answer!
Reverse canvas is a technique where you, more or less, flip a canvas inside out and use the backing as a frame and the existing canvas as the background.
It’s a relatively simple process that has great results!
Reverse Canvas Tutorial
Materials
Canvas – any size. Keep in mind that the frame size is going to be smaller than the original canvas size.
X-Acto Knife (I actually use and love the Cricut True Control Knife instead)
Iron on Vinyl (or regular – I just prefer the iron on)
Instructions
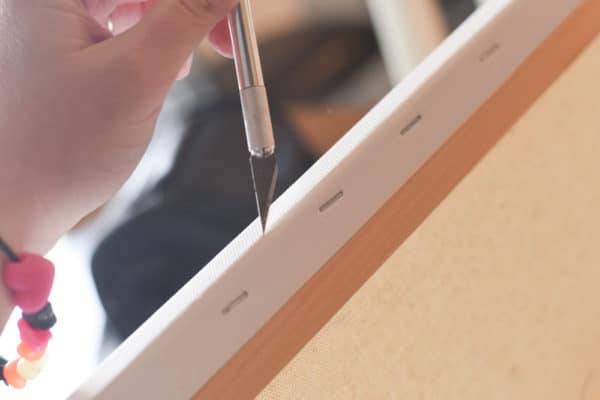
Flip the canvas over and cut around the edges with an X-acto knife to cut off the existing canvas layer. Set aside.
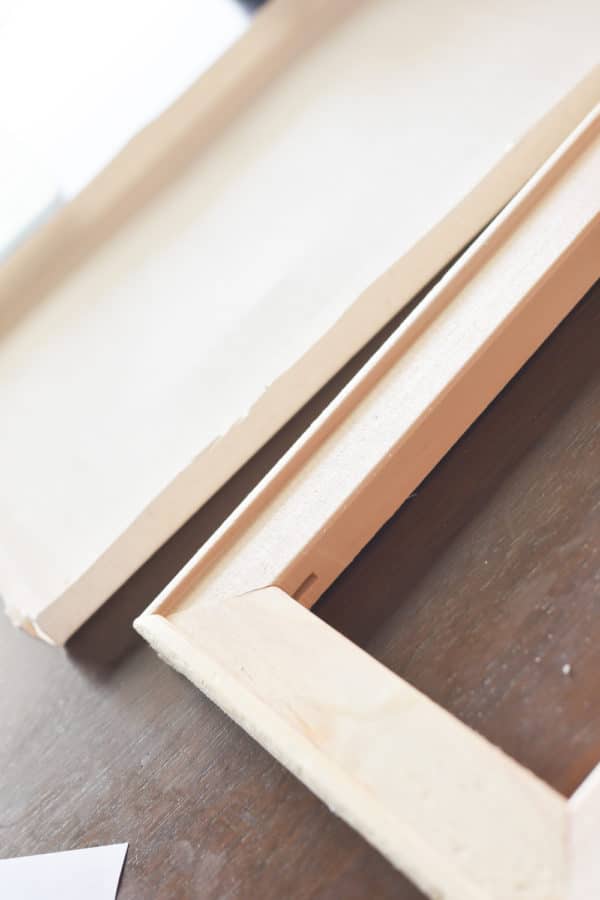
If there are any loose staples on the back, feel free to remove them. If not, don’t worry about it!
Measure the inside of the frame, which will be the size that you can create your design for.
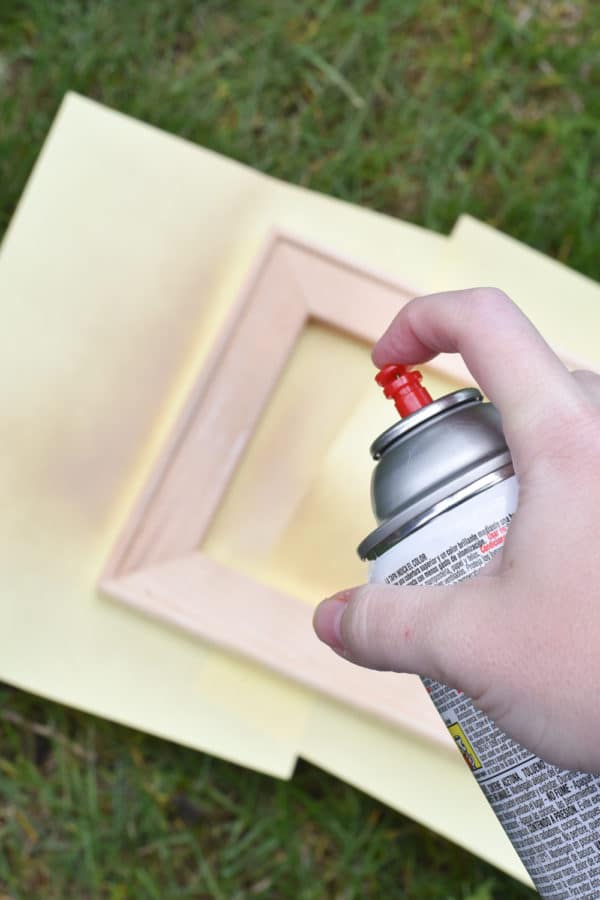
Paint or stain the frame with as many layers as you need. We used two layers of spray paint for this frame.
While the frame dries, create your design in Design Space. Make sure that it will fit on the new frame size – it will be smaller than the original size of the canvas.
Cut your vinyl out. If using HTV, make sure to mirror your design.
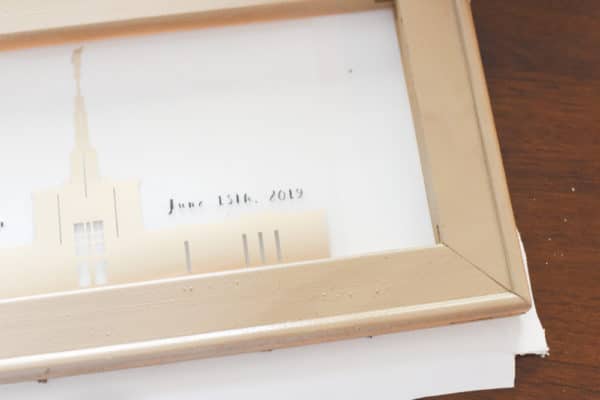
After your frame is dry, place the canvas underneath it to determine where your design will go. Make sure there is an equal amount of canvas on all sides of the frame.
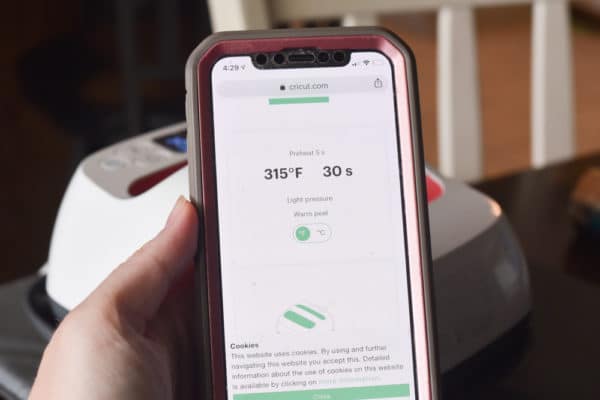
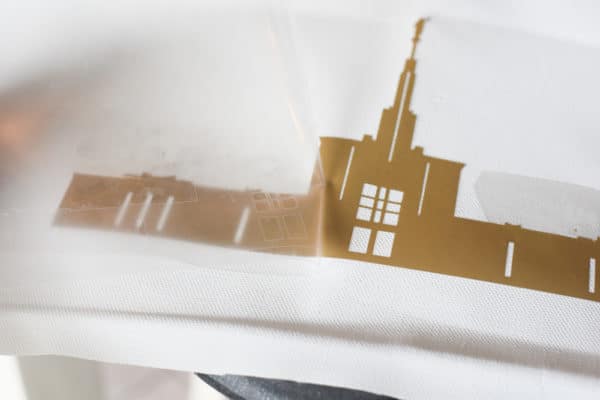
Using your EasyPress or Iron, press the HTV on in place using the recommended settings for your material.
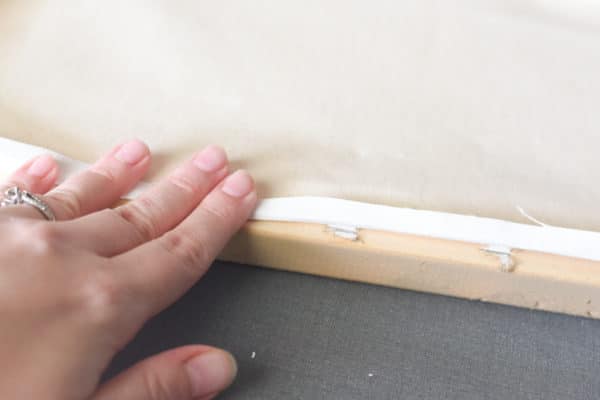
Once your design is in place, put the canvas behind the frame again. Trim excess canvas if necessary.
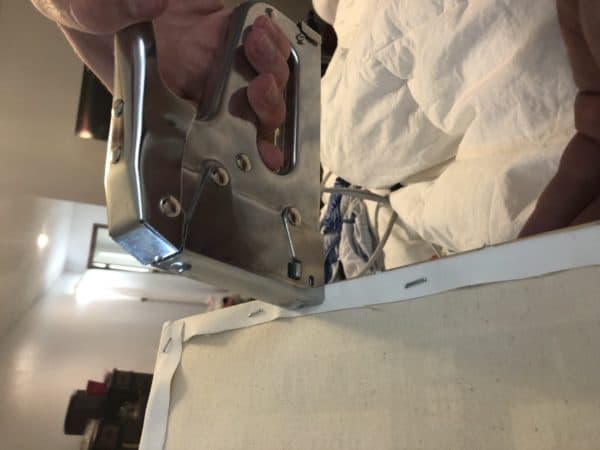
Using a staple gun, staple the canvas in place to the back of the frame.
Enjoy!




I would love to us my Cricut to make a little money for my family
This sounds awesome! I had no idea what reverse canvas was, but it is easy and looks great! Nice job!