How to Use Cricut Patterned Iron-On (and 20+ Fun Project Ideas)
Patterned Iron on can be a very versatile and fun material to work here. Here are our best tips for working with it, as well as over 30 fun projects using it!
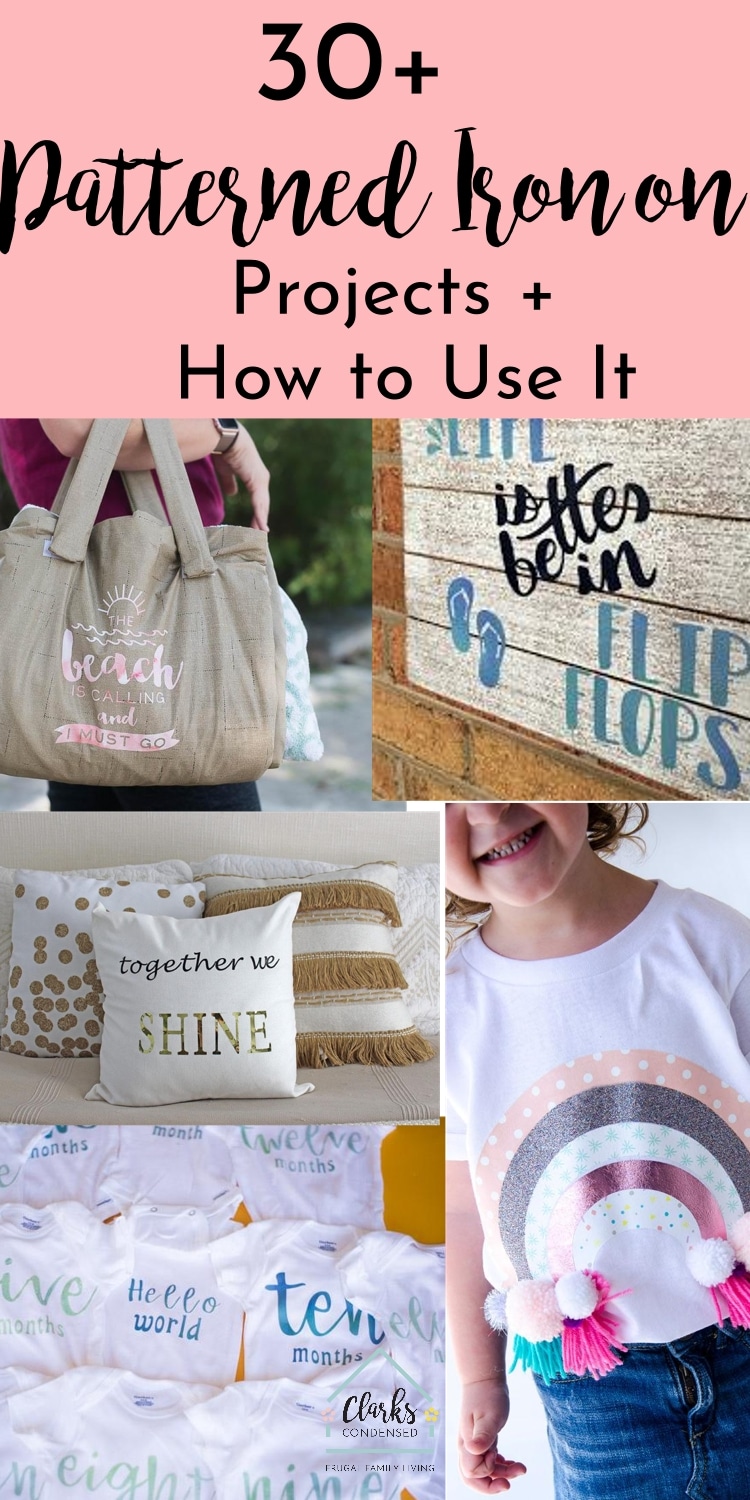
Patterned Iron on Projects
As I’ve mentioned in previous posts, I am totally obsessed with Cricut patterned iron on.
I don’t know what it is about it – I just love how it really kicks projects up a notch with the added colors and patterns.
Working with patterned iron on is a little bit different than traditional iron-on, so I thought it would be a good idea to share a few tips on working with it – along with some fun project ideas that we have created – and that other creators have shared as well.
There are a lot of similarities between regular iron on and patterned, but here are a few things to keep in mind:
- It’s not recommended to layer patterned iron on – whether it be with more patterned iron on or regular iron on. You can use the slice tool to create a layered look instead.
- It feels different. It’s hard to explain without feeling it yourself. This doesn’t really affect things, but I was a little bit surprised when I first worked with it. It just seemed a little lighter than regular iron on.
- All of the patterned iron on that is available through Cricut.com come in 12×17 sheets. They are sold in sampler packs, and the patterns in each sampler pack coordinate together
- You can use it with both the EasyPress as well as with a traditional iron (be sure to read this comparison if you are contemplating an upgrade – Iron vs Cricut EasyPress vs Heat Press: Which One Should YOU Get?).
- You will use the cold peel method when removing the plastic liner after you press it. This means you will wait until it’s entirely cooled down to remove
- Cricut recommends using the LightGrip mat with it. However, I used the green because I felt like it was kind of flimsy and needed a little bit of extra help sticking.
- As with all iron on projects, make sure you wash beforehand to ensure a clean surface and to preshrink the material.
- If you are using two different types of iron on with a project (not layering, but perhaps with using the slicing method), make sure you iron on the material with the lowest temp first. For instance, if your design has patterned and lite, iron on lite first.
How to Use Patterned Iron-on
- Create your design in Design Space. If you are creating other elements at the same design for your project, make sure you designate the pieces you want to be used with patterned iron on as a different color so it will be put on a separate mat.
- When you press the make it button, preview your mats. Toggle the little button that says mirror.
- After you are brought to the page where you select your options, if you are using the Cricut Maker, simply select “patterned iron on”. If you have the Cricut Explore Air 1/2, change the smart dial to custom, and then select patterned iron-on.
- Place your material with the liner/pretty side down on to your Cricut mat. As I said above, Cricut recommends the LightGrip mat. I used a StandardGrip.
- Load the mat into the machine and make sure you are using the fine point blade.
- Press go.
- Remove from mat and carefully remove the excess. This was another time that I felt a difference in the type of material I was working with as opposed to regular iron on. It felt very thin, and I felt like I had to weed things extra carefully so it didn’t just pull everything up with it. Your weeding tool will come in handy here.
- If you are using an EasyPress, I recommend using their Interactive Guide online to figure out what temperature to use with the material you are putting it on. With cotton, it was 340 degrees (right between the recommended temperatures for glitter and lite iron on).
- Place the EasyPress onto the surface you will be applying the iron on to for about 5 seconds. This is important.
- Place your material with the liner/pretty side up, and press for 50 seconds using firm pressure
- Flip the material and press for 15 seconds on the other side
- If you are using an iron, set it to cotton and turn off the steam function if it has one.
- Preheat for 15 seconds.
- Press material for 50 seconds with firm pressure, moving the iron around the whole time.
- Flip the material and press for another 15 seconds.
- Regardless of heating method, wait until the material has been completely cooled before you remove the plastic lining
- Wait 24 hours before washing
What Can You Put Patterned Iron on on?
Anything that you can put regular iron-on on, you can use with patterned iron on. T-shirts are obviously most common, but you can experiment as much as you like. I used chipboard, and it turned out really cute!
Where to Buy Patterned Iron on?
While there are other distributors of patterned iron-on, this tutorial is based on the kind that is produced by Cricut. I have gotten all of mine from Cricut.com – you can browse all the patterns here.
I have seen it for sale in store at Joann’s Fabric and Michael’s. The kinds they have may vary from what you find online.
If your order is over $50 on Cricut.com, make sure you use the code CLARK10 for 10% off and free shipping on all materials and supplies.
I have never bought the kind from Expressions Vinyl, but I have been really pleased with everything else I’ve gotten from them, so it might be worth looking to see what they have to offer as well.
Patterned Iron on Projects
And now it’s time for some different patterned iron on projects. First I will share a few projects I’ve done myself, and then you will find a roundup of different projects from other bloggers.
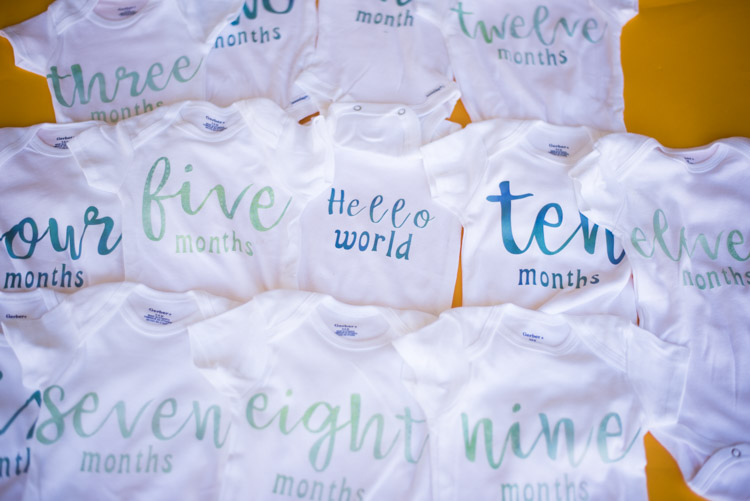
Monthly Onesies – I just LOVE these. So fun. I used the Natalie Malan Aquamarine set, and I think the Natalie Malan Sunset Blossom would be perfect for a baby girl
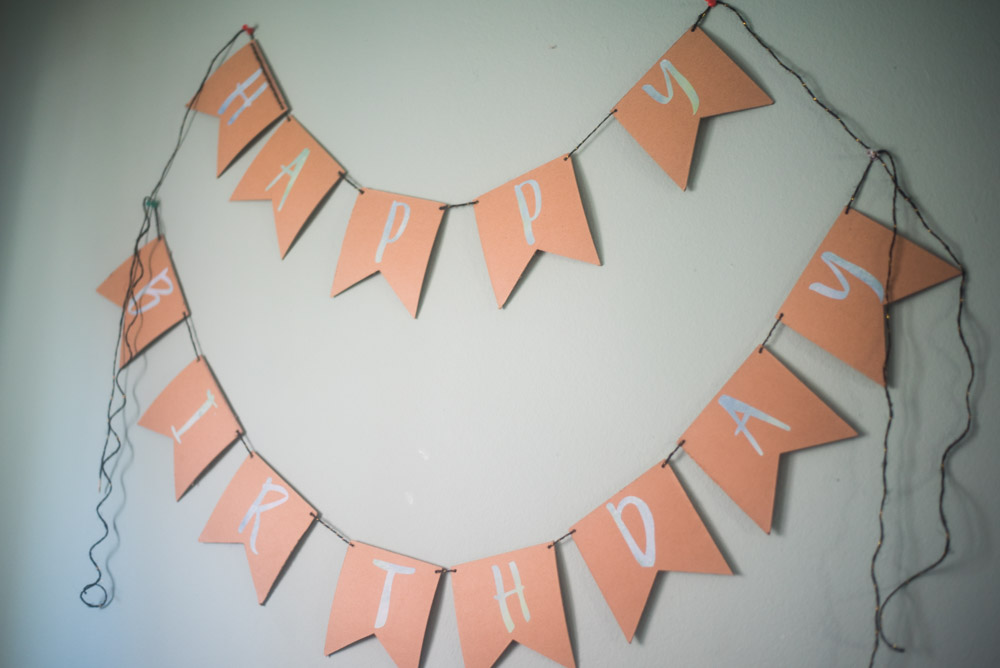
Birthday Banner – This is the project I did with chipboard! I wasn’t sure how iron on would work on chipboard, but I just followed the instructions on the Interactive EasyPress guide, and it worked out really well.
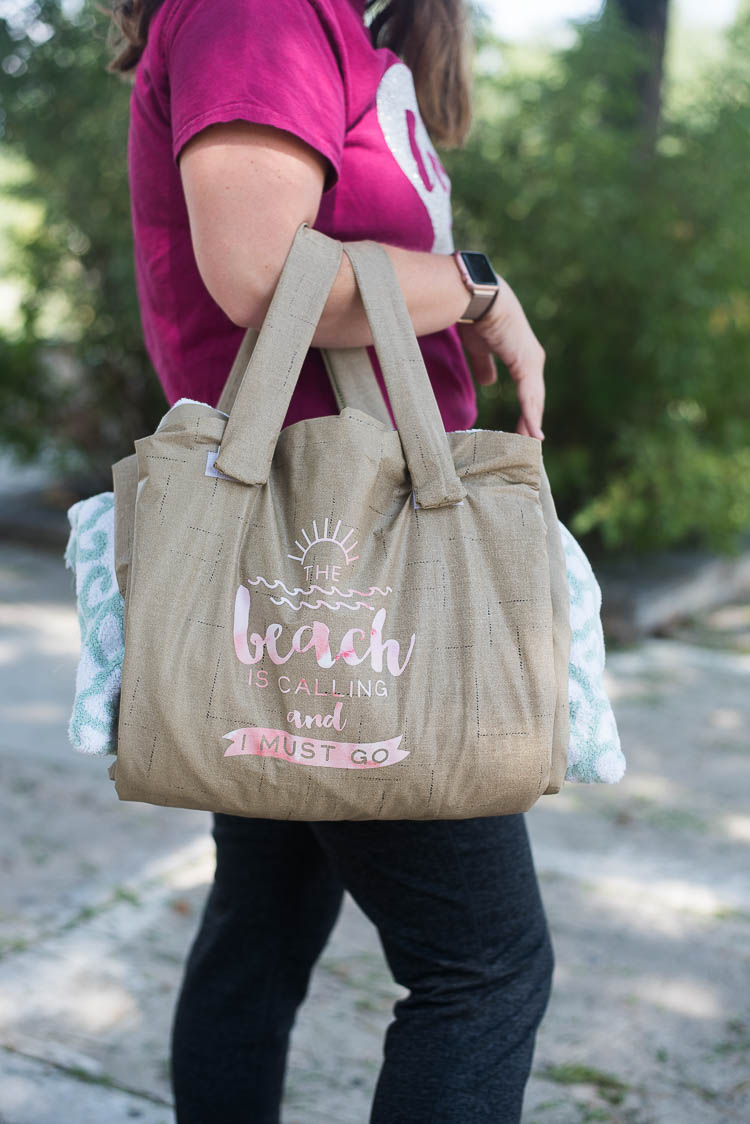
Beach Bag – I thought the color for this one was dreamy. This is perfect for the beach lover in your life.
Design Space has TONS of really fun patterned iron on projects. However, I haven’t found a good way to link to them in a blog post. So I just recommend going and search “patterned” and scroll down for a bit. The first 20 projects weren’t patterned, but then I ran into TONS of adorable ones.




This is good to know! I’m planning on using iron on for my runDisney costume, so I’ll have to remember these tips!