
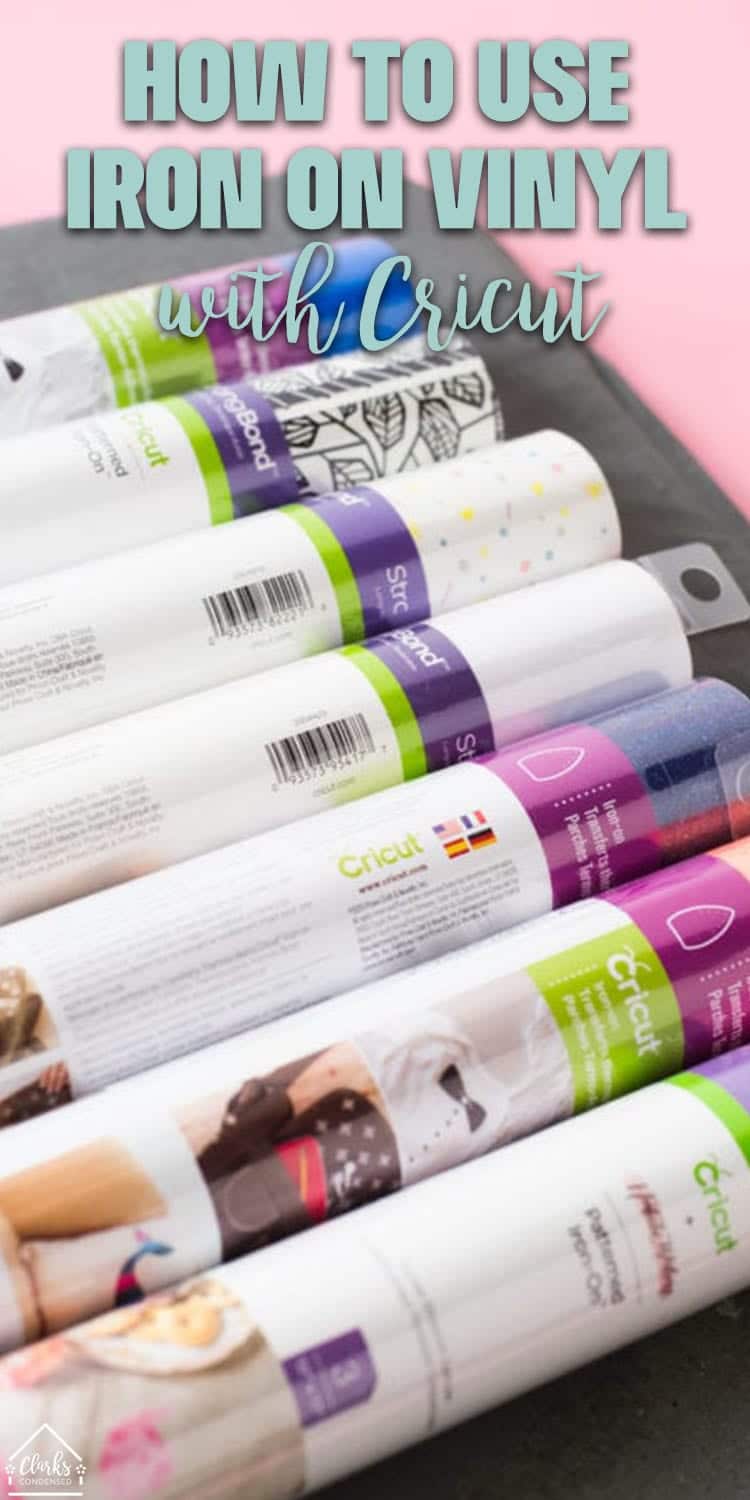
How to Use Vinyl Iron on for Cricut: Everything You Need to know
Iron on vinyl is a great tool for making custom t-shirts, bags, pillows, and more – but it can be tricky to work with. Here are my best tips for how to use iron on vinyl – specifically with Cricut machines, but these tips can be used for any and all iron on materials!
Vinyl Iron-on Cricut
One of my favorite things to do with my Cricut is making t-shirts!
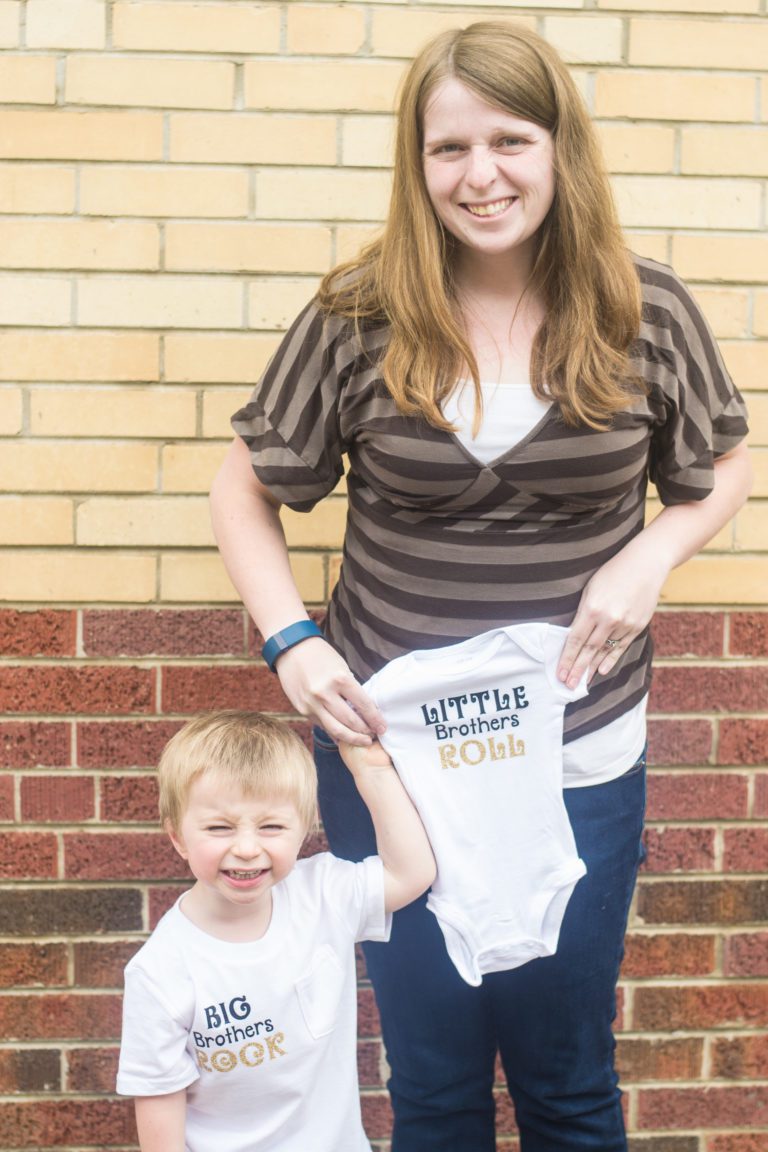
I made these gender reveal ones when we announced that Oliver was going to be a boy:
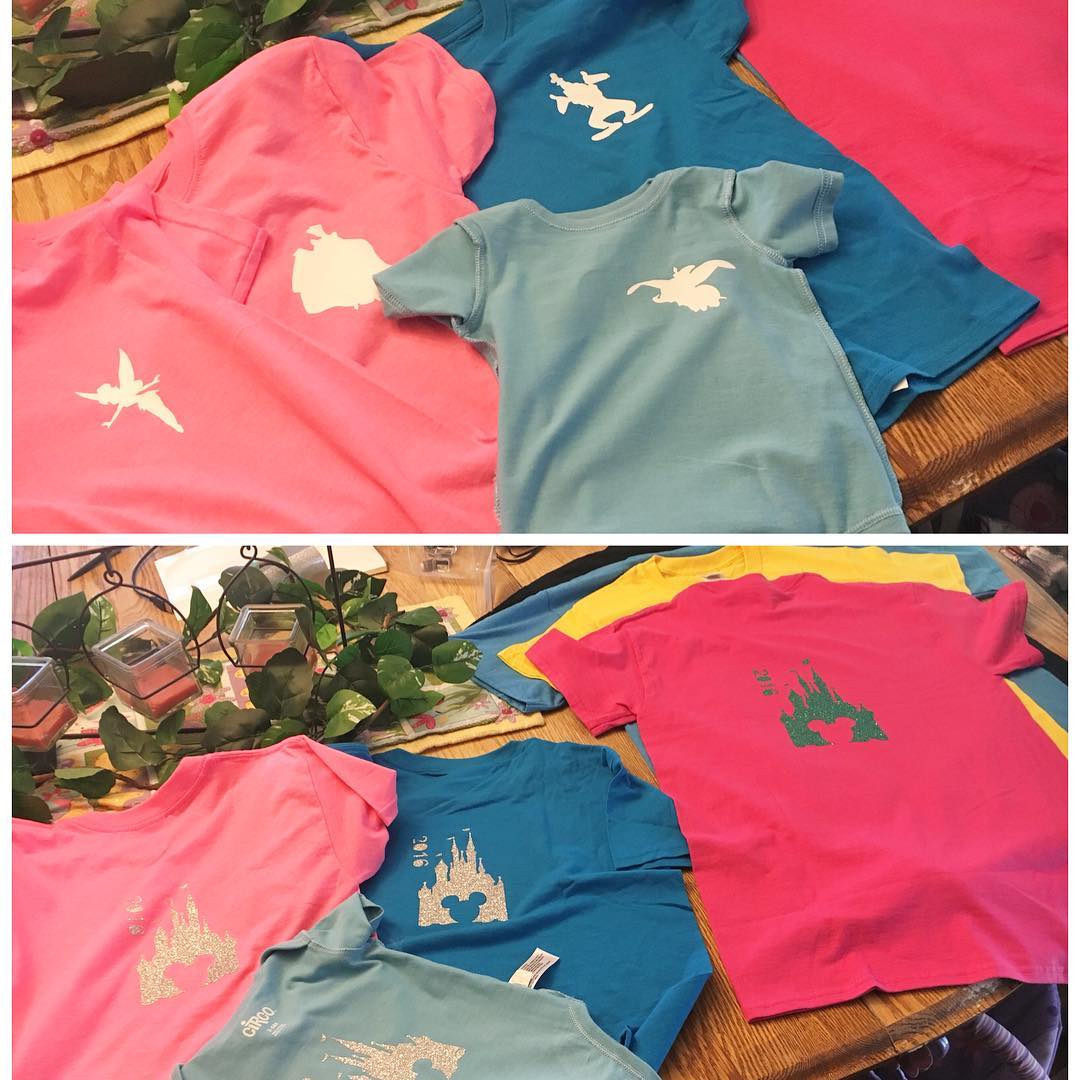
And then we made these fun Disney shirts when we went to Disneyland:
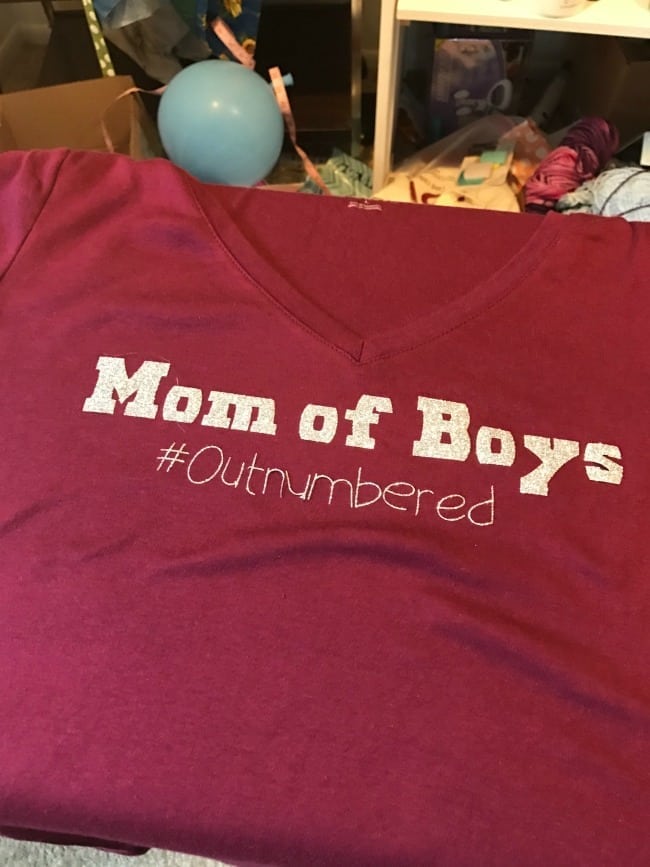
And today I made this fun t-shirt to show off my proud #boymom status:
There are so many options – I can’t wait to do some projects in the near future with some pillows. I love the different types of iron-on vinyl as well – I mean, foil iron-on?! SO FUN.
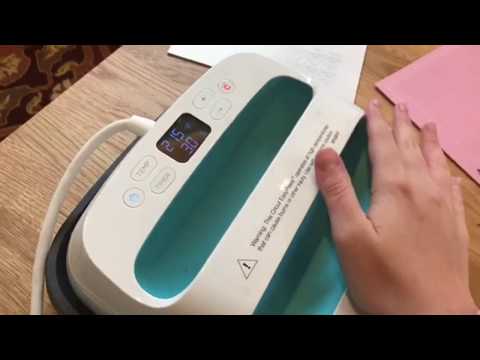
So, I thought this would be a great first tutorial to share with all of you. In fact, I even did a video tutorial – sorry it’s not the greatest quality!

If you aren’t a video person, though, here is a picture/text tutorial instead 🙂
[the_ad id=”90188″]
Iron-on Vinyl Tips
Materials:
- Iron On Vinyl
- T-shirt, pillow, or other fabric
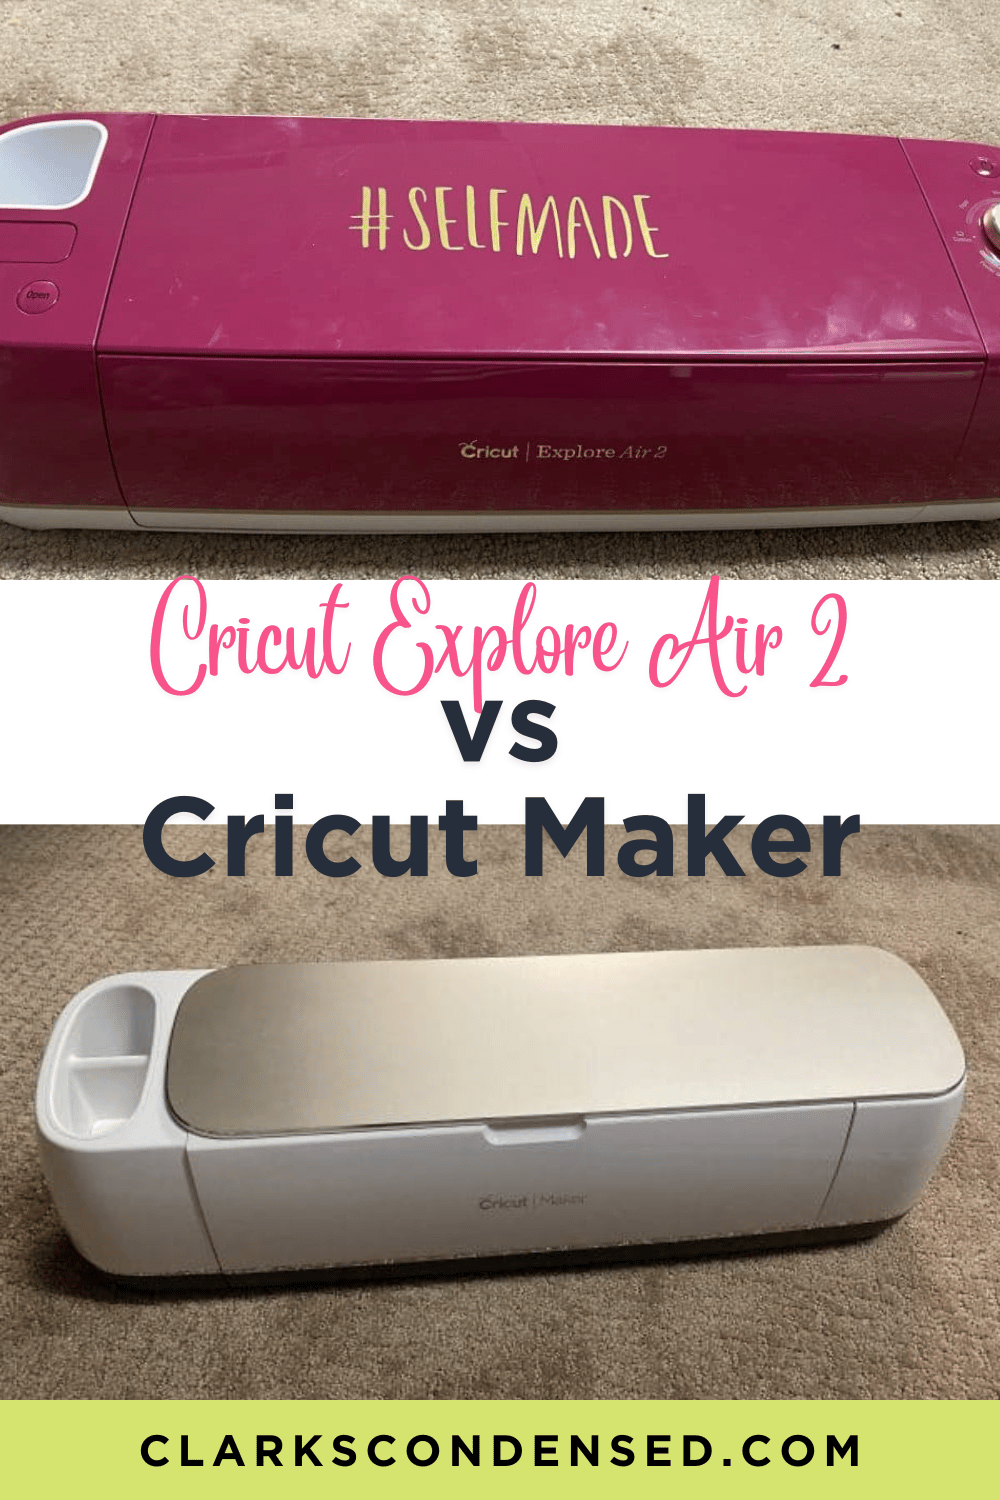
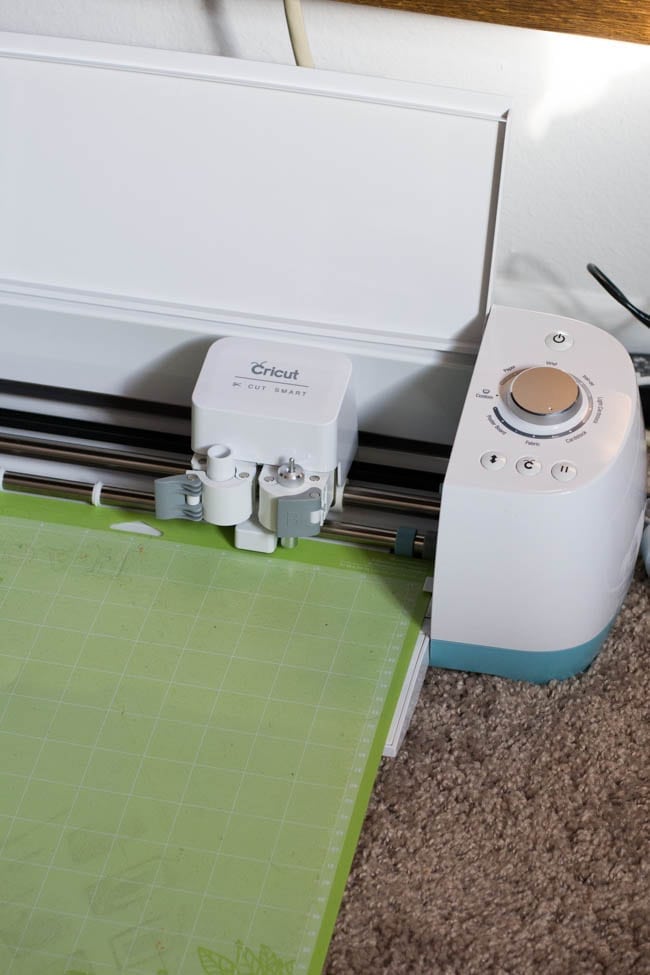
- Cricut Machine (I use the Cricut Explore Air in this post, but I also have a Cricut Maker).
- Cricut StandardGrip Mat
- Weeding Tool
- Iron or Heat press – Cricut recently released the EasyPress, which makes this process SO much easier. It’s small, portable, and works amazingly with heat press items! Here is a comparison of the EasyPress, a traditional heat press, and an iron!
Directions:
Step One:
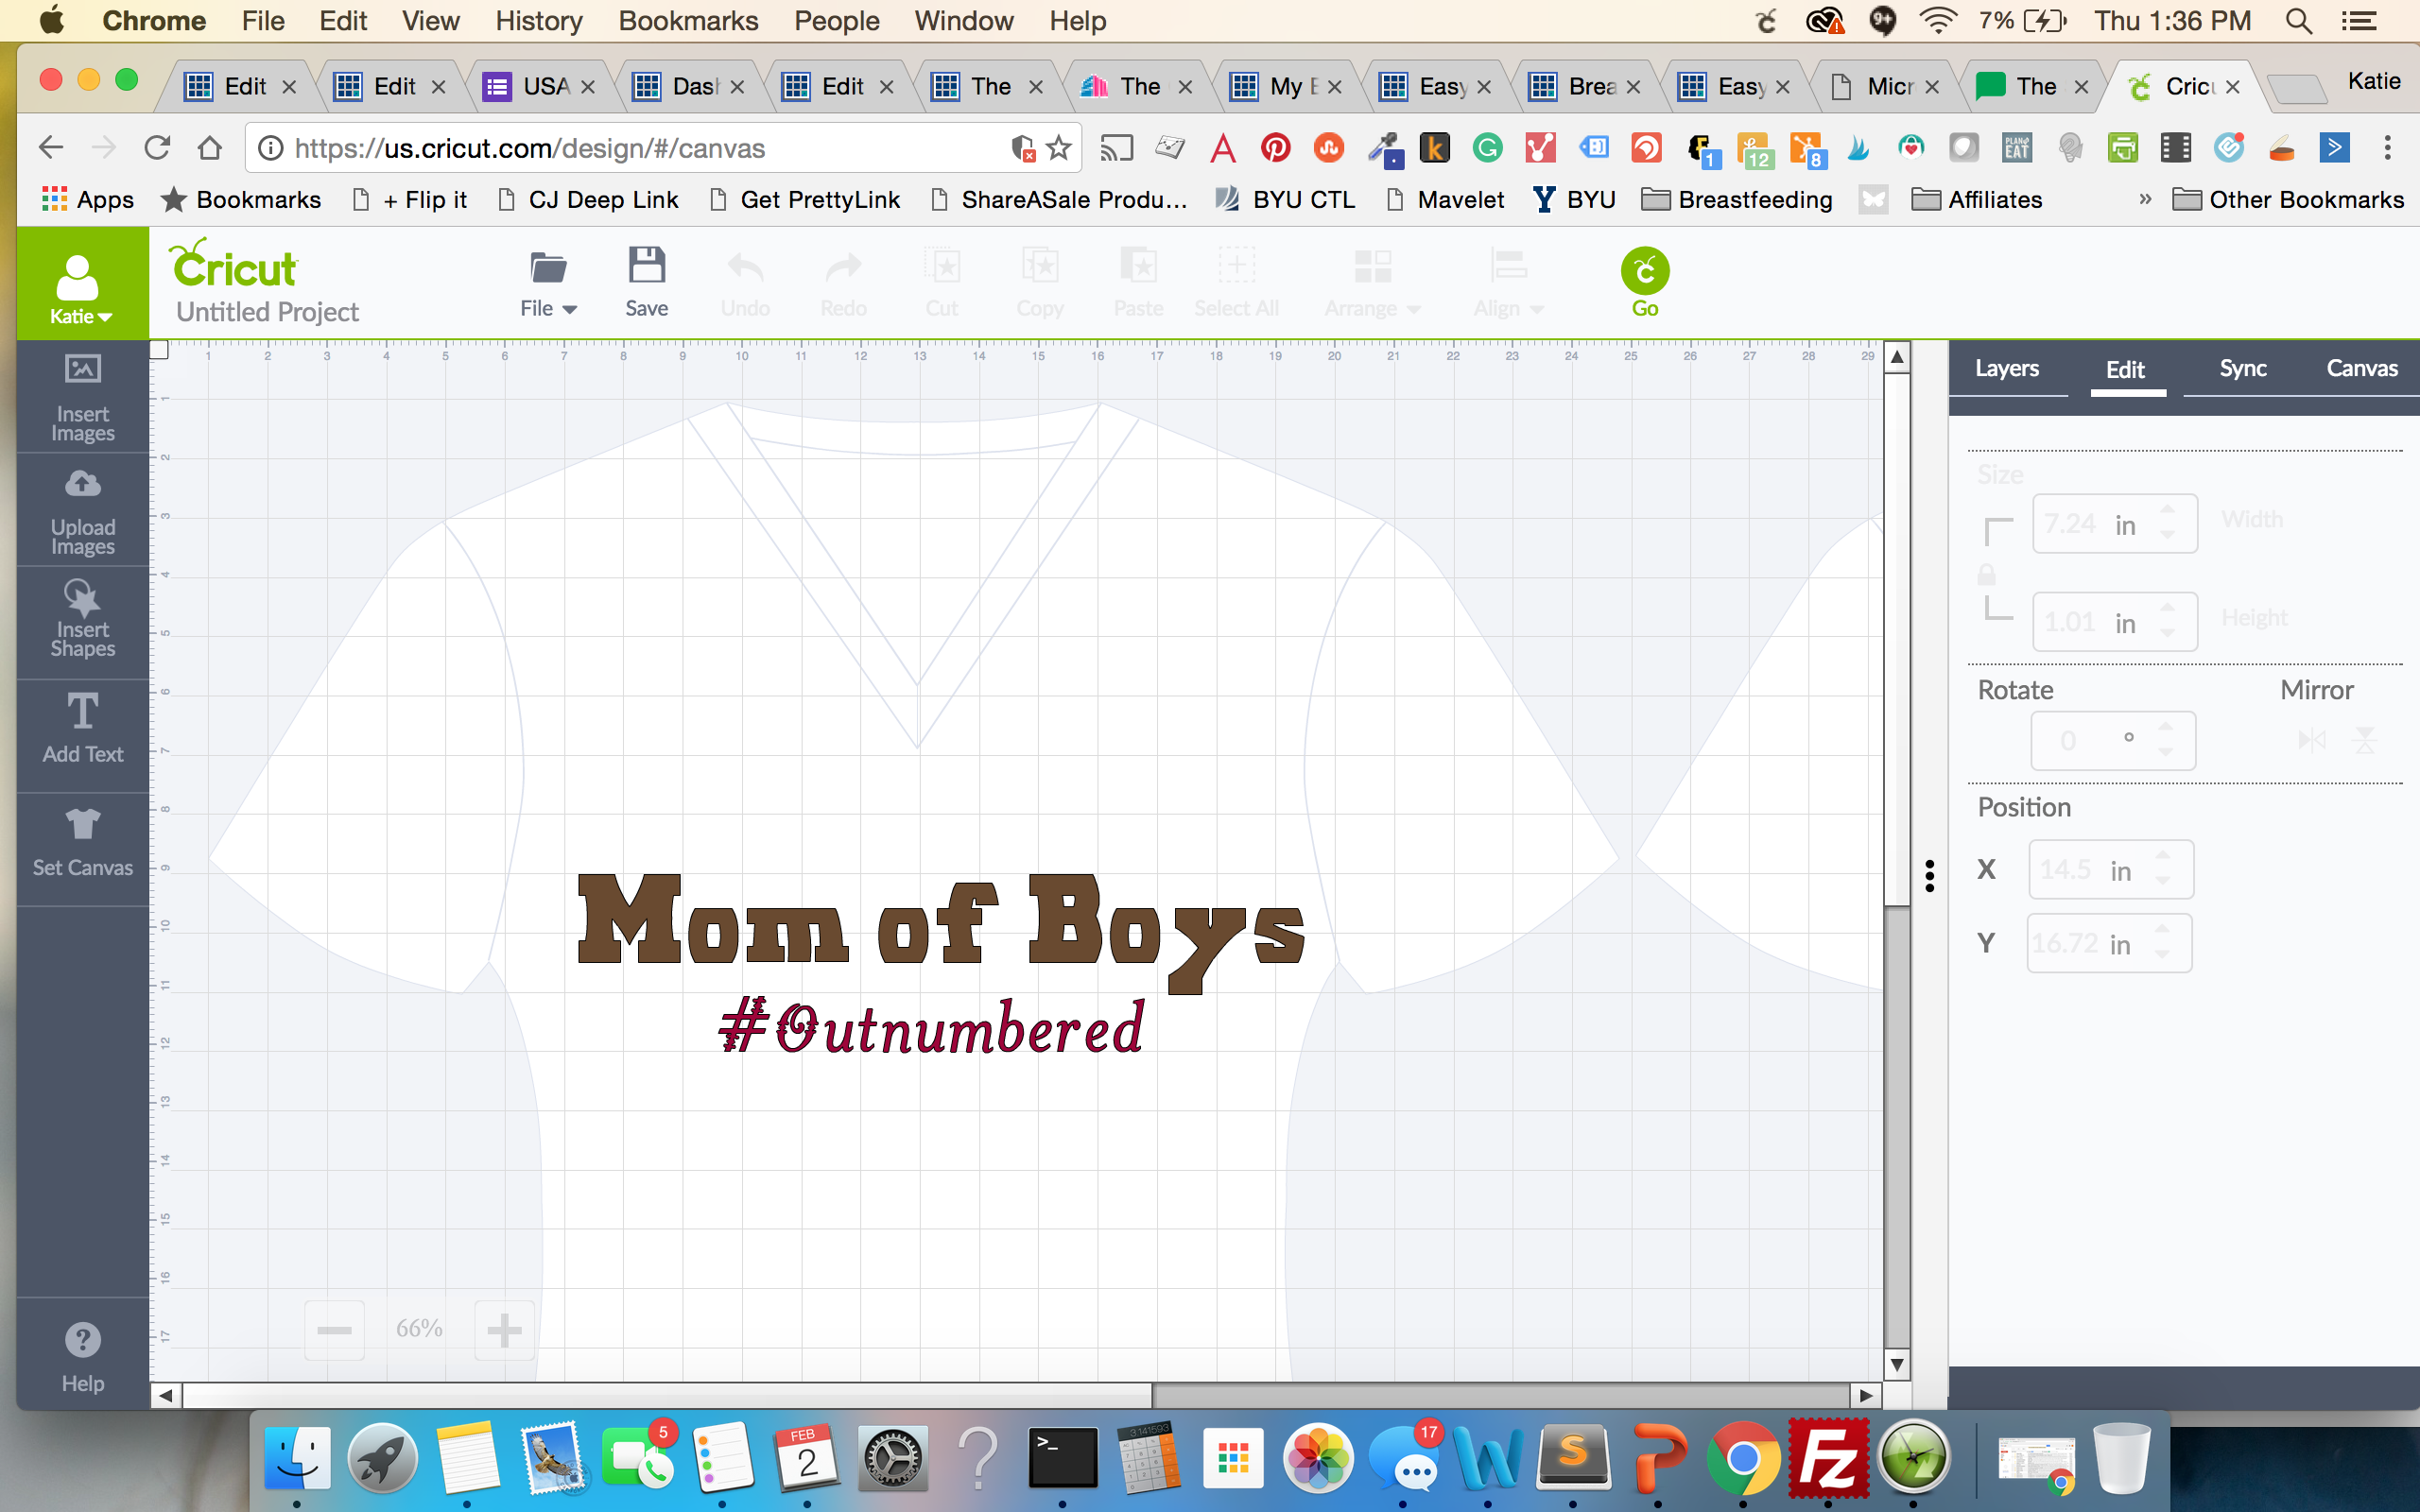
Create your design in Cricut Design Space – I recommend using a thicker font and pictures that are fairly simple.
I LOVE using the Canvas feature in Design Space for iron on projects. They have so many options. For this particular project, I selected the “V-Neck T-Shirt” option. It made it so I got the correct size and could visualize my project easier. The set canvas button is in the bottom left of the screen.
Step Two:
Determine if you want to use the same color vinyl for your project or multiple. If all of the parts of the project will be the same color, select each item (on a PC, hold down CTRL as you select each element; on a Mac, press command) and then select “weld” in the layers menu.
If you will be using different colored vinyl for different elements, just proceed on.
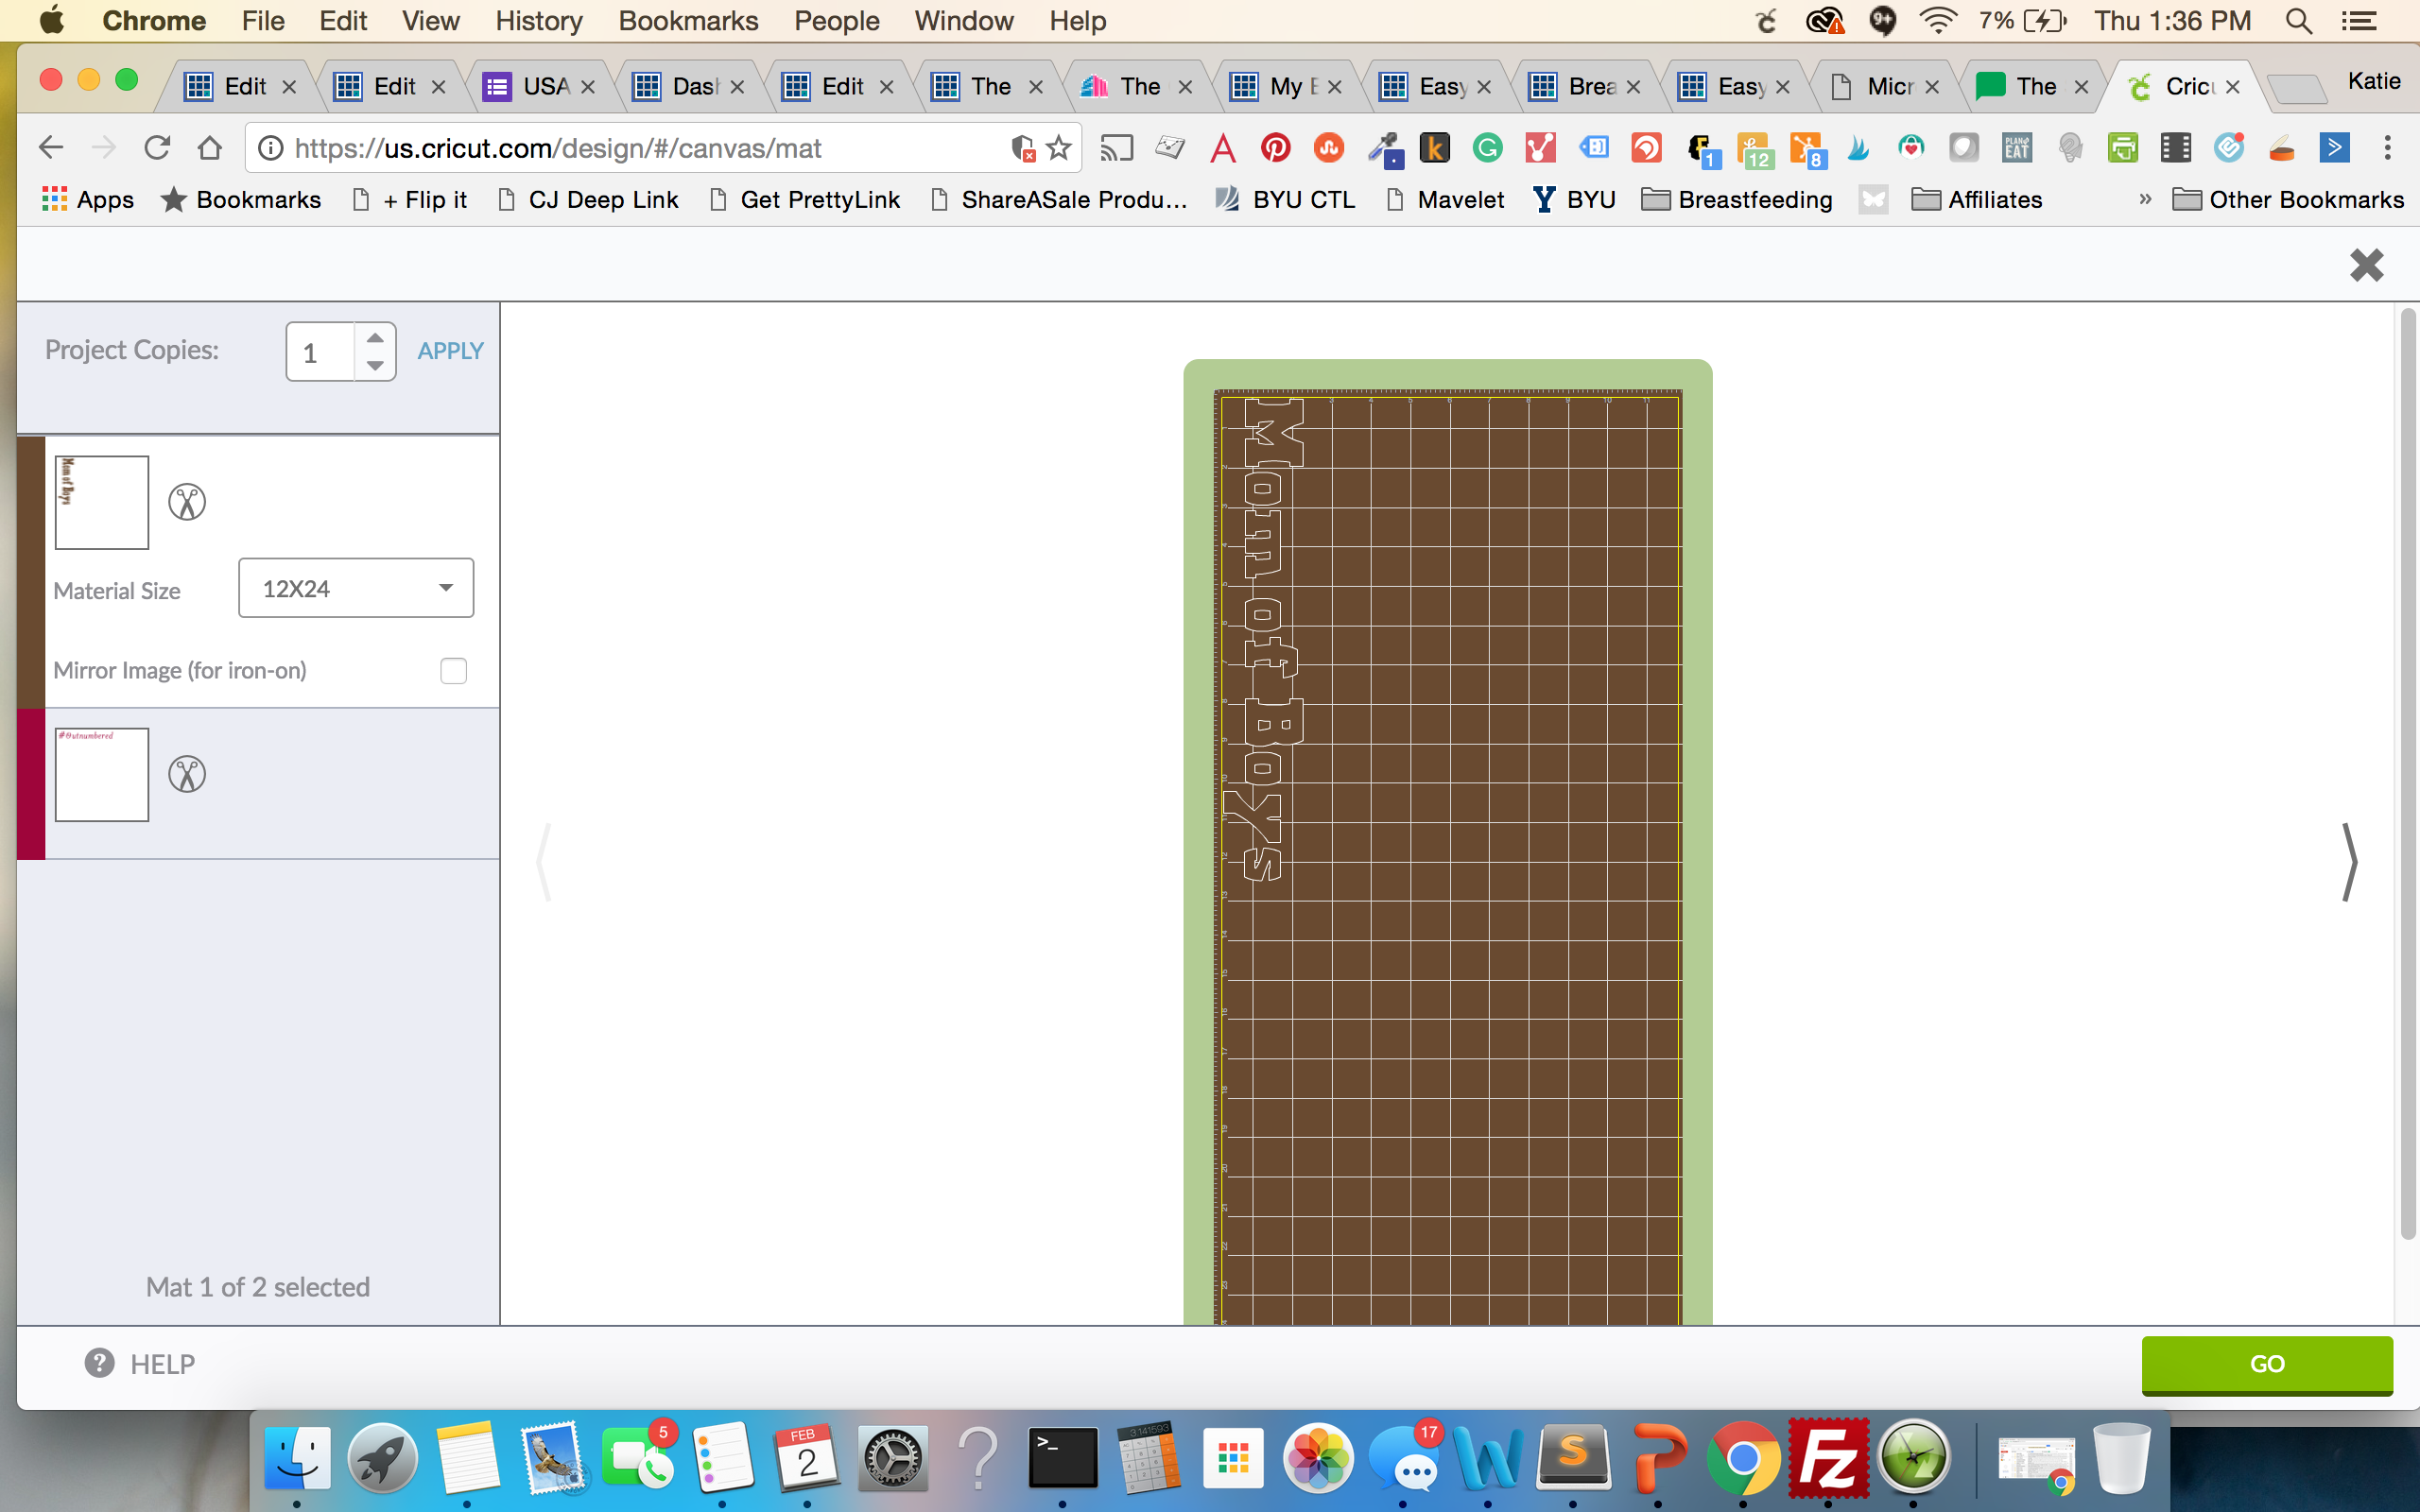
Step Three:
Press “Go”. You will be taken to a page where you can review the items about to be cut. If your elements aren’t welded together, you’ll see multiple cuts shown.
At this point, you will want to select “mirror image (for iron-on).” This is very important – unless you don’t mind your design being backward on whatever you are putting it on 🙂 Then press “Go” again.
Step Four:
Now, you are ready to cut! You will want to change the dial on your machine to “Iron On”.
Step Five:
One of the hardest parts when I first started cutting with iron on material was knowing which side to place down. It doesn’t seem like it would be hard, but it was a serious struggle! With iron on vinyl, there is a clear, smooth sheet on one side – this goes face down on the mat.
Step Six:
Put your mat in the machine and load it in. Once it’s loaded in, press the flashing Cricut button on the machine, and let the magic happen!
Step Seven:
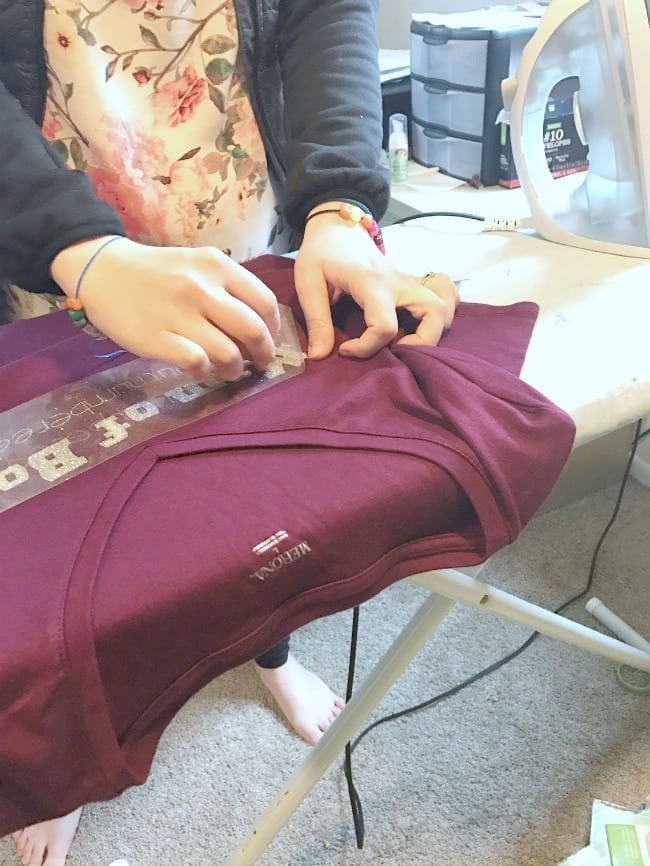
Once the machine is done cutting, cut off the piece of the cut vinyl. Then, weed out any small pieces from the design (carefully weed with thin fonts) and then pull the rest of the excess material up.
Step Eight:
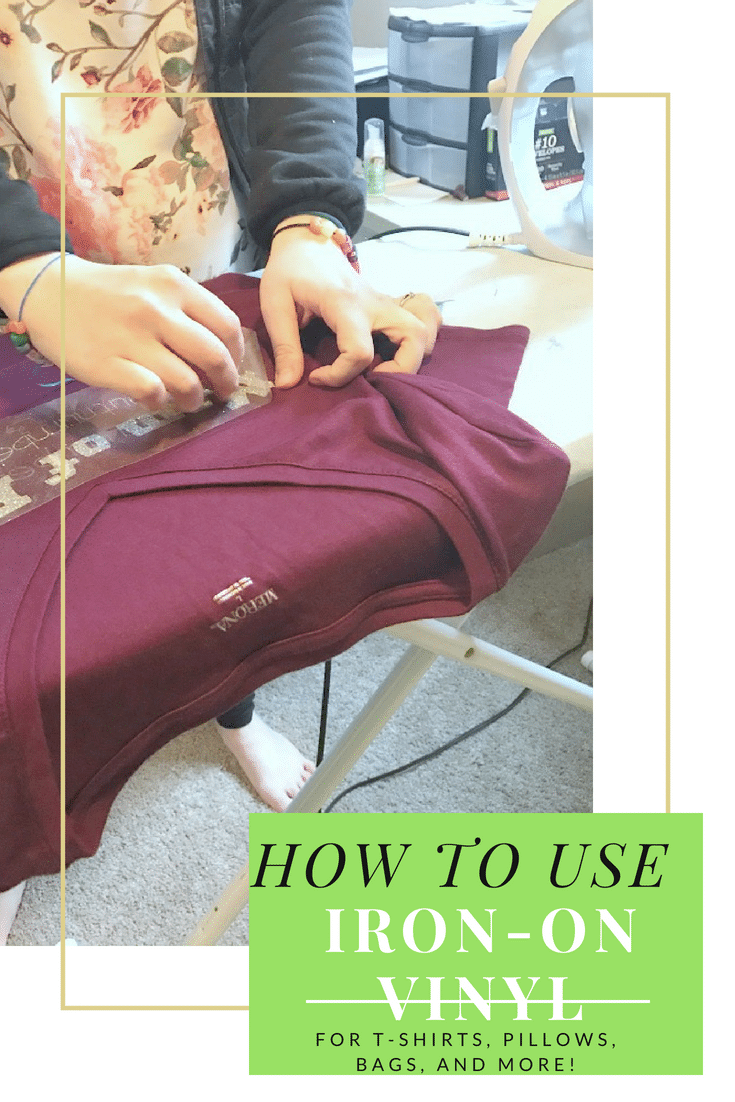
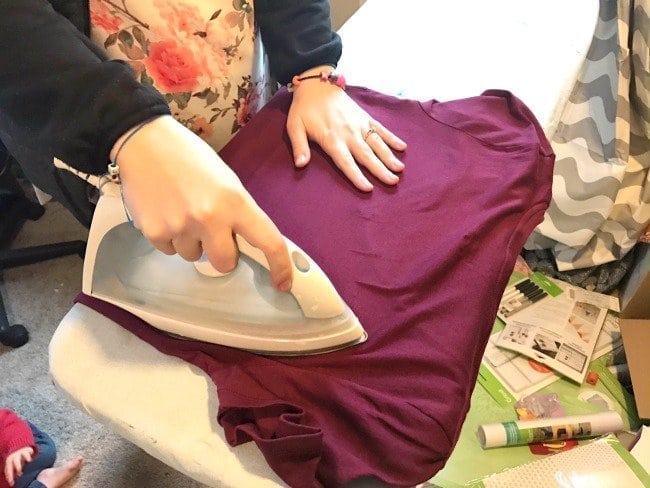
Now it’s time to iron the vinyl on! Make sure that you’ve pre-washed that material you will be adhering the design to.
First, you will “preheat” your material by ironing for about 15-20 seconds over the area that you will be adding the vinyl to. Your iron should be on the cotton/linen setting.
Step Nine:
Place your vinyl (vinyl side down) onto the preheated area and flip over your shirt. If you are ironing on to a pillow, you can place a piece of a thin fabric over the vinyl. Iron over the back of the shirt (or fabric) for about 20-25 seconds.
Step Ten:
Let the vinyl cool for about 20 seconds before flipping it back over. Very carefully remove the plastic from the vinyl. If you find that pieces are coming up, try and iron a bit more.
Enjoy!
Iron on vinyl rolls for Cricut are some of my favorites to work with. You can easily learn how to make iron on projects with the Cricut Explore Air 2 by following all of the advice in this post. If you are looking for tips for iron on vinyl – this post should definitely help you – make sure you read this post about Iron on Vinyl FAQ to learn even more!
Other Cricut Posts You May Enjoy:
- What Vinyl to Use for Craft Projects?
- How to Layer Heat Transfer Vinyl
- How to Use Cricut Foil Iron On; And a Few Things NOT to do!
originally written in Feburary 2017; updated in February 2019.


Do you pre wash the shirt first before applying the vinyl?
That is the recommendation, yes.
I just got cricut explore. A friend has helped set it up, and do a few things. But I am totally at a loss reading your tutorial was so nice, I prefer to read and do, rather than watch videos. Thank you
Hi Katie! Do you know how iron on material works with a spandex type of sweatshirt? I have a Lulu Lemon zip up that I want to put my logo on the back, but I am not sure how this heat transfer will work with that material. Any thoughts? Thanks!
hello! I would recommend using the sportflex iron-on. It should work well with spandex!
Thank you for sharing! This is very helpful to make your own DIY iron-on vinyl with Cricut.
How many rolls do you think it would take to make adult t-shirts hat say “believe survivors” in a font that’s on the thicker side? The would only say it on one side. (please provide me with roll dimensions I should look for any how many you’d think)
Hi, Lexa! How many shirts are you wanting to make? I think one roll of 12×19 (sometimes they will come in 12×24) would be plenty for at least one shirt – probably more than one. It would all depend on how large you want it to be.
What kind of vinyl do you recommend? Do you need to buy the transfer tape too? Any suggestions greatly appreciated.
I really like Expressions Vinyl, though I have had good luck with the different variety that Cricut offers. They’ve improved the design recently, and I like it a lot more!
Have you tried using the Iron on Vinyl on a Rayon/spandex blend t-shirt? Curious to see if anyone has any issues with using this material.
I haven’t! I’m sorry. What issue are you having? I can ask around.
How do you keep the vinyl in place when you flip the shirt?
You shouldn’t flip it until you’ve pressed the vinyl onto the front of the shirt, and it should be sticking around that time 🙂
Thanks for the awesome video and the steps were spot on. God bless.
Thank you, Michelle!
Thank you, thank you, thank you. I only wanted 1 sheet of iron on foil vinyl than fortunately found you and your tutorial. My tshirt came out great, I’ve followed you on Pinterest and look forward to seeing more ideas.
So glad! <3 Thanks for commenting, Kim!
My cut goes through the plastic how do I fix that? I am using the iron on cut
Hmm are you using Cricut iron-on? Or a different brand?
I have a very old Cricut. Can you cut vinyl with it? Or does it work only with the newer Cricuts?
I think all Cricut machines should be able to cut vinyl!
Thank you for the video tutorial. It was easy to follow. I am nww to cricut and i am anxious to learn as much as possible.
I’m so glad you found this helpful!
Hi Katie. I just received my cricut air explore 2 as a surprise for Christmas. I also received a cricut easy press. I’ve made several cute shirts using cricut iron on glitter vinyl for my granddaughters. How do you wash these shirts so the vinyl doesn’t come off, inside out and warm water and low dryer??? Thanks for answering:)
Hi! I would wash them inside out and then whatever the care instructions are for the shirt 🙂
Hello Katie,
I just watched your video with the iron on vinyl for the T-shirt. I was told about cricut by a friend. I am mainly looking to use the machine for say, iron on vinyl for bags and cards for my future business. If you do this sort of thing, will you be doing a tutorial for anything like this, would love to see this aspect in action. Thank you Cathy
I can definitely try and do this! I am hosting a Facebook Live around 2:30 PM MST on our Facebook page today at 2:30. Let me see if I can try and find a bag that I could demo. Feel free to join in – https://facebook.com/clarkscondensed
I love your Disney shirts. Where did you get the images to cut?
Google! 🙂
This may sound silly but I too am a newbie, how do you keep the vinyl in place if you’re applying heat actually to the back side of the shirt?
Not silly at all! Usually the HTV material should have a plastic sheet which is slightly sticky, so it should stick to the shirt enough for it to stay in place 🙂
I’m having trouble getting the vinyl to stay on after it gets worn its starts peeling. Any suggestions?
Thank you SO much, the video and written instructions are SO helpful. Thanks again.
So glad it was helpful! 🙂
Thanks for the video!! I was nervous at first but you made it look so easy. I made my first shirt today. Yay. Thanks so much for the tips.
What setting do you have the blade set to. Having a problem where it’s cutting through both layers. If the adhesive and vinyl.
For Iron on, I just select iron on in Design Space 🙂
Good tutorial.. Very helpful indeed.. I had to figure some things out and this really helped.. Thank you so much for sharing.
I’m so glad!
Can you tell us how it does in the wash? Will the vinal come off in the wash?
Mine usually doesn’t come off quickly. I have some Disney shirts we made last year that have had many, many washes, and it has yet to come off 🙂 This seems to be pretty similar with most of our items.
Once the vinyl is ironed onto the shirt does it hold up well to being machine washed and dryed alot?
I find that it lasts quite well!
I hav an old cricut expression. What can i design my projects with and how how to i transfer to my machine? Do you know???
I believe you will need to download Cricut Craft Room or use cartridges 🙂
Thank you so much. This video was great! You explained everything so clearly and had so many helpful tips. Best video I have watched!
I’m so glad that you found it helpful!! 🙂 That means so much to me.
Just got my Cricut and this tutorial is so helpful! I just have one question though, can I use a steam iron? Sorry total newbie lol
Yes! That’s what I use 🙂
Suggestions on the most affordable iron on vinyl
I love the kind from Expressions Vinyl!
I recently made shirts for disney but midday thru the park the letters started to come off. Did i do something wrong or is cricut vinyl not good quality?
Congrats! I can’t wait to try out your tips and I don’t even have a machine yet. :/
Thanks! I just got my Cricut on Mother’s Day and was apprehensive to try anything with it. I feel a lot more comfortable to try this after seeing your blog.
So glad <3 Let me know if you have any questions!
Thank you for you help. I have wasted so much vinyl because I didn’t know what I was doing.
I’m so glad you found this helpful!
Have you ever had a problem with the lettering peaking back up after washing?
Peeling not peaking
This is a fantastic tutorial – exactly what I was looking for. Thanks so much!! Xx
I have never used a Cricut and don’t know much about them. Can you use any model to make vinyl iron-ons or only the one you suggest?
I will have to try this, you made it sound so uncomplicated thank you for sharing
How does it hold up in the washing?
wow, look nice, but makes me uncomfortable how the machine is on the floor and the baby near the hot iron !!!
Haha, well, when you have a small office space, there’s not really a lot of other places to use it 😉 And don’t worry, the baby was fine. My husband was right next to me as well, and I would not have let anything happen to him. Thanks for the concern though!
Great tutorial! I can’t wait to get started designing!
I’d love to see what you create!