Top Tips for Using Vinyl on Wood with Iron-on Vinyl
Can you use vinyl with wood? YES! You absolutely can. This post will teach you everything you need to know about this technique – including our favorite method using iron-on vinyl. We have also included a front porch sign project as well.
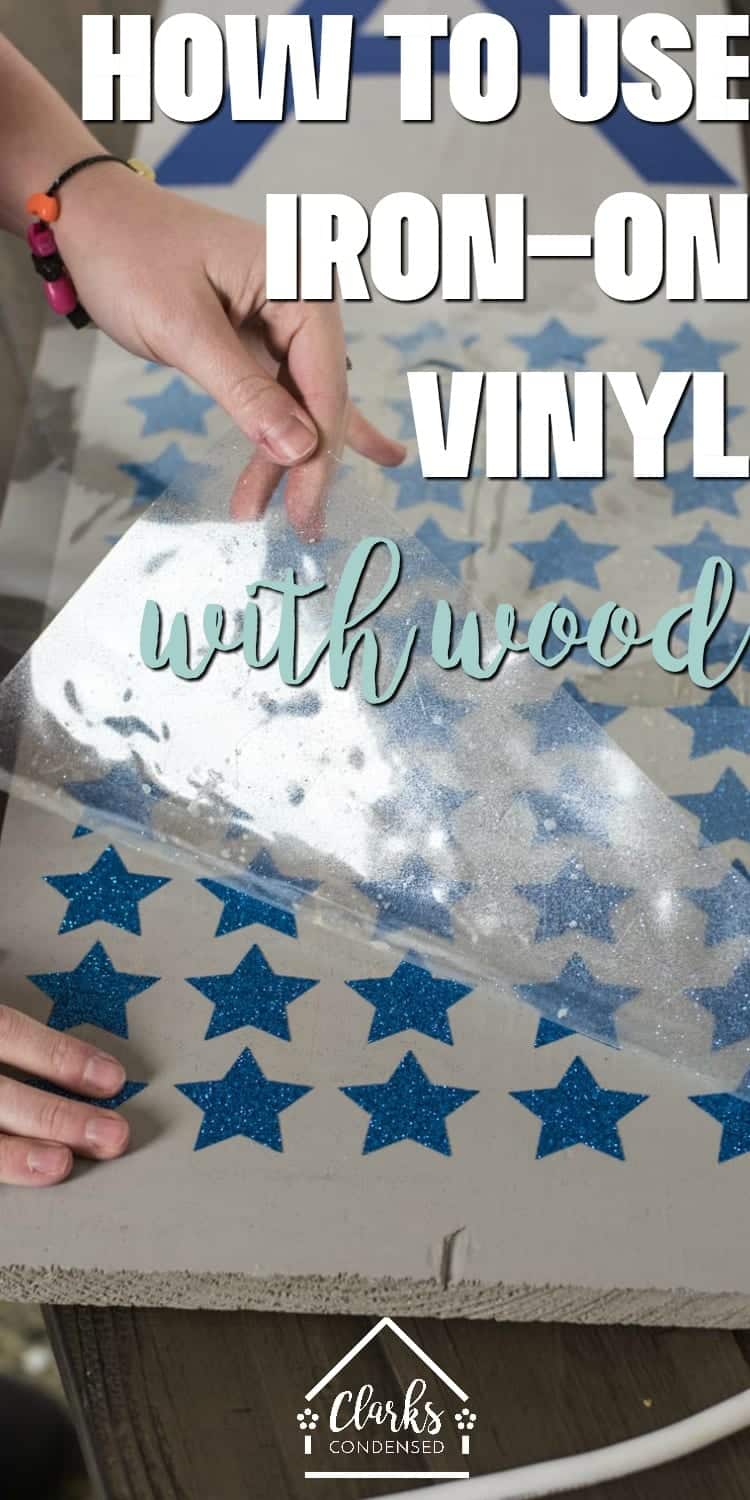
How to Get Vinyl to Stick to Wood
You guys, I have to be honest.
The past few weeks have been rough!
We recently closed on a new house and have been scrambling to do updates over there before we move in (because we all know if you don’t do them before…they probably won’t get done for another 20 years. Or maybe that’s just us).
And the sicknesses in our family have been neverending. I thought I’d escaped this horrible cold Oliver had, but sadly, I made the grave error of letting him drink from my water bottle when he was still a *little* bit sick…and oh boy, am I paying for it.
Anyways. I’m sure you’re thinking, “Okay, weirdo, let’s get to the tutorial.”
And that’s where I’m headed. Just wanted to give a little bit of background, because this project and tutorial took lots of different twists and turns as I was developing it -many of which were due to the things I mentioned above.
But that’s just how life goes, eh?
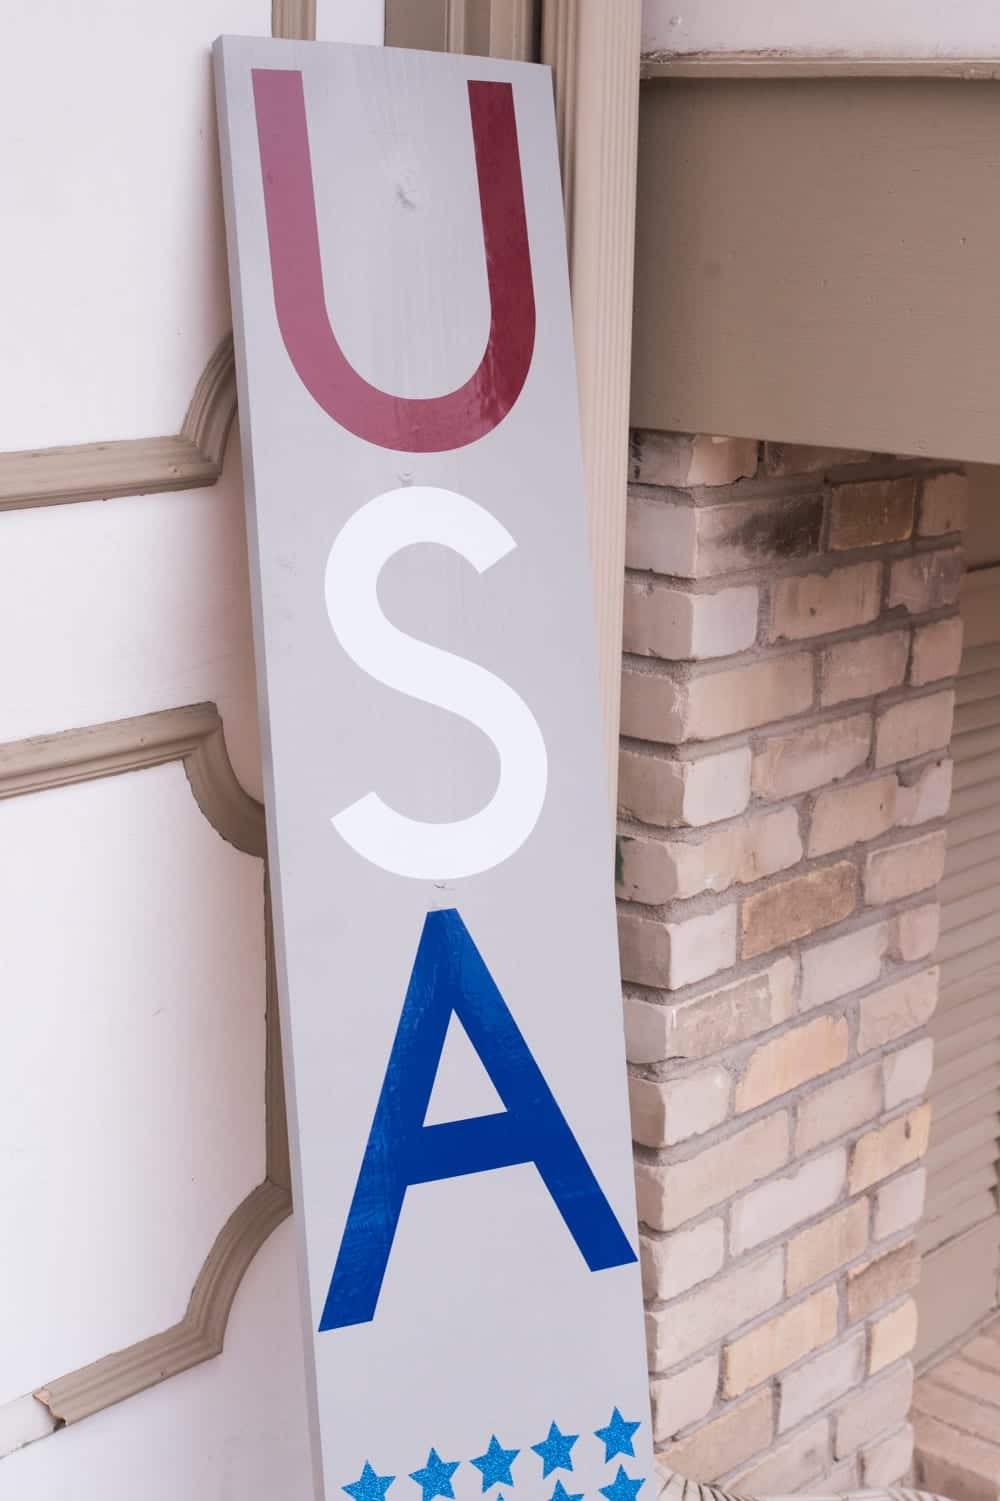
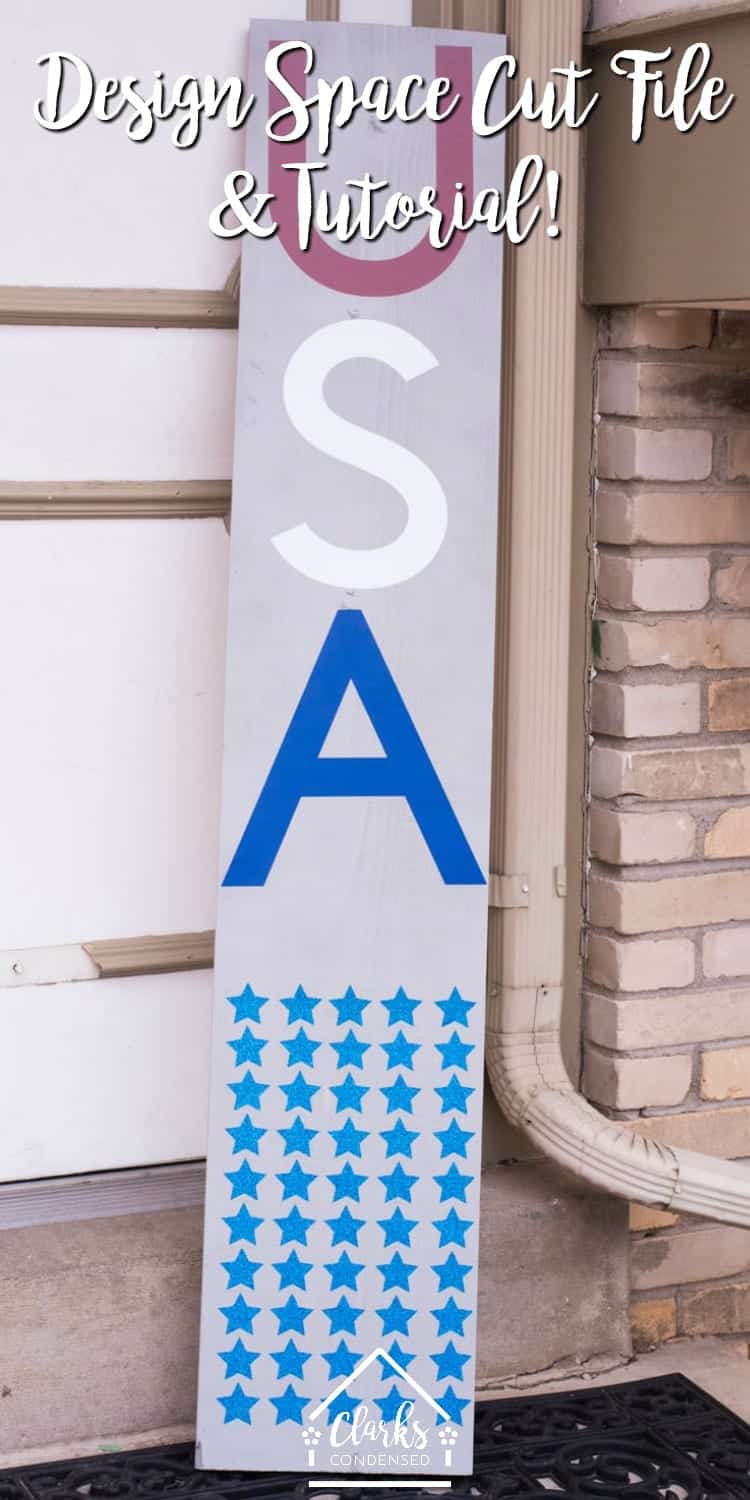
So today’s post is both a project and a skill – a fun front porch sign (it’s for the Fourth of July, but you can use these techniques for any front porch sign), as well as how to use vinyl on wood.
How to Apply HTV on Wood
Table of contents
Does vinyl stick to wood?
I think when most people think of putting vinyl on wood – especially for decor – they automatically jump to regular, adhesive vinyl (usually the permanent variety). I know I did! However, I recently discovered that you can use iron-on vinyl, and I LOVE it.
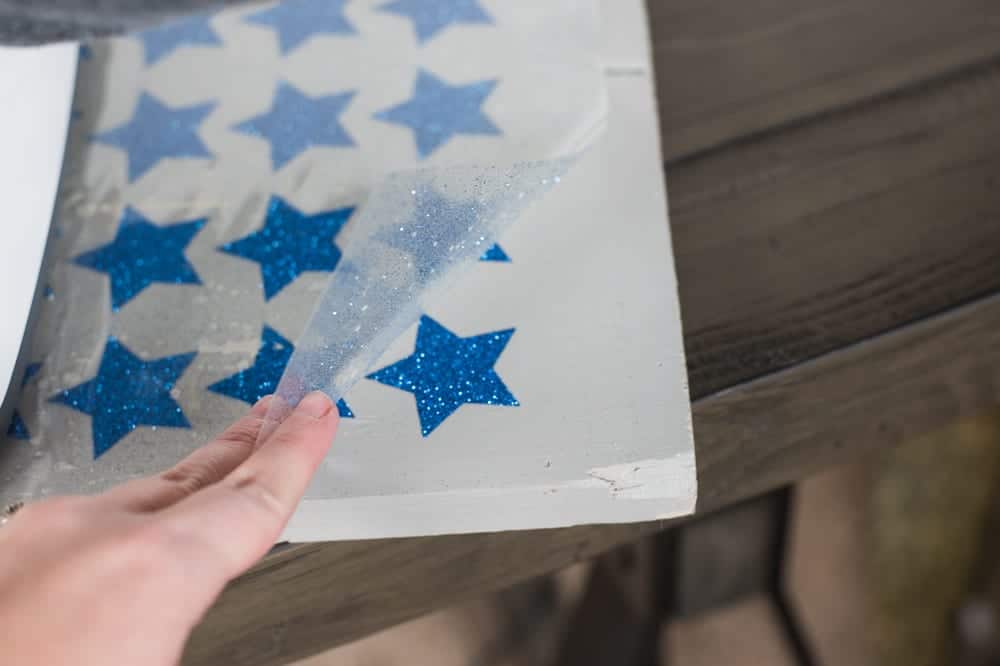
So, first, I’m going to share why I love it, then a little tutorial on HOW to use it, and finally, I will share the tutorial on the front porch sign.
Originally when I was making this sign, I was going to do a reversible one with a different seasonal sign on the back for the summer – but I just ran out of time. However, I plan to do it in the future, and I think it’s always wise to do reversible signs when you can for storage reasons!
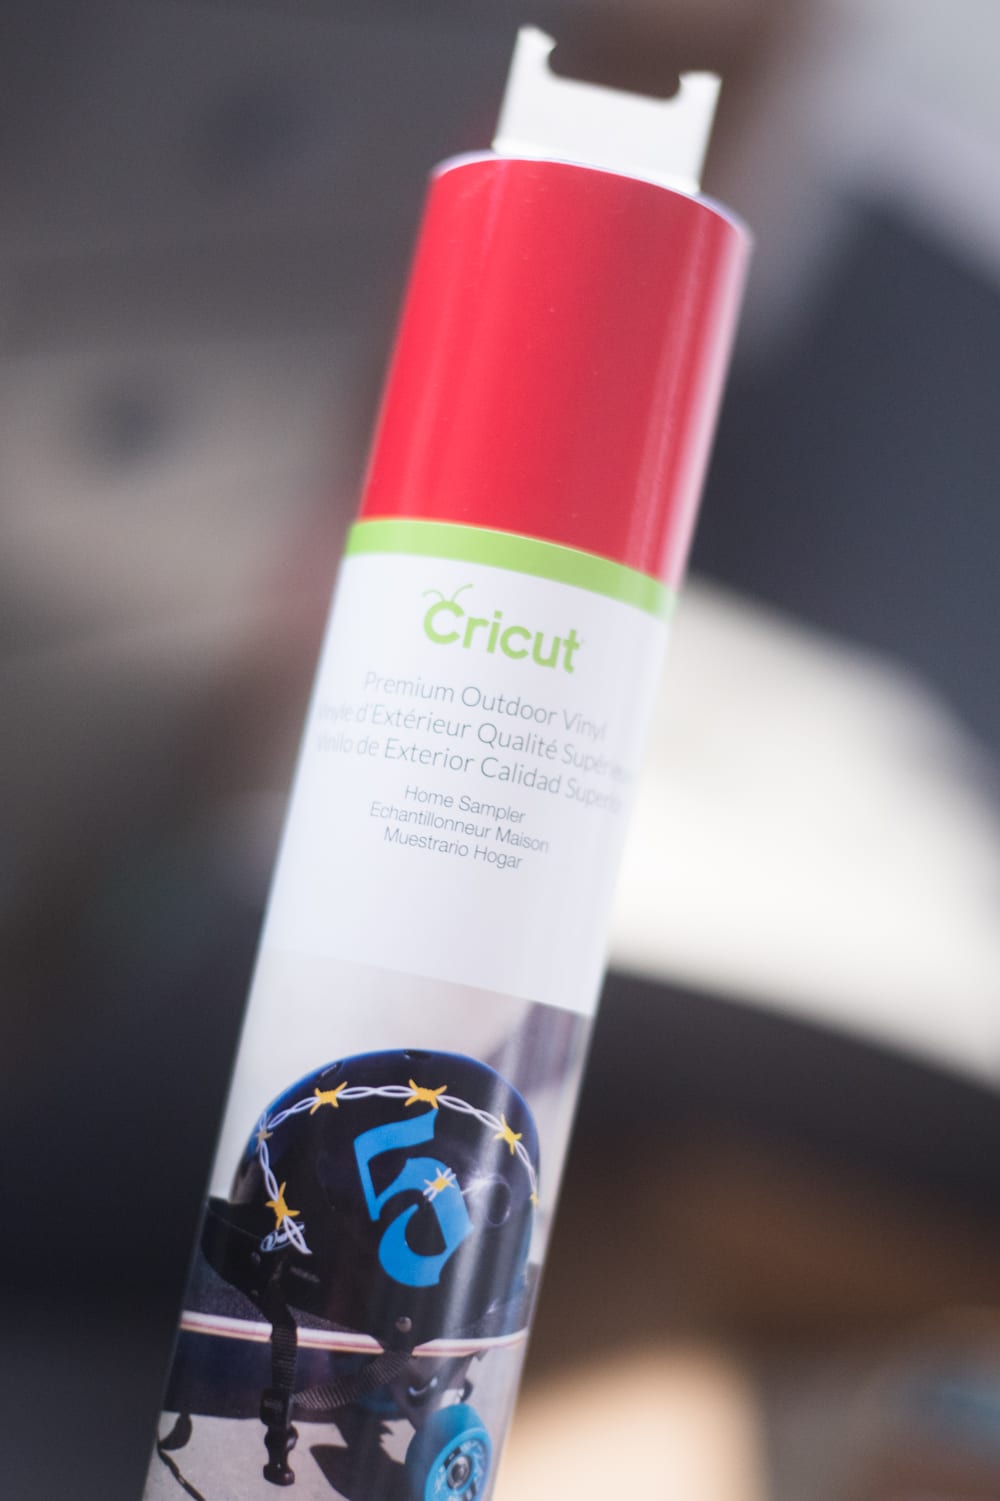
I also had planned to do iron-on vinyl for the entire project…but then I realized I didn’t have iron-on in all the colors I needed, so I decided it would be a good time to do a little comparison between using iron-on on wood and premium outdoor vinyl (I used this sampler).
Big shoutout to Forrest for helping a lot with this project. He’s the best.
Last week I wrote a post answering all of the most common questions about how to use iron-on vinyl, so make sure you review that post first!
Why I Prefer Iron On over Regular Vinyl
Whenever I have a choice, I will absolutely use iron on vinyl over regular adhesive vinyl.
Of course, there are certain things you can’t put iron-on vinyl on – so always make sure you actually can…but if you can use iron-on, it’s awesome.
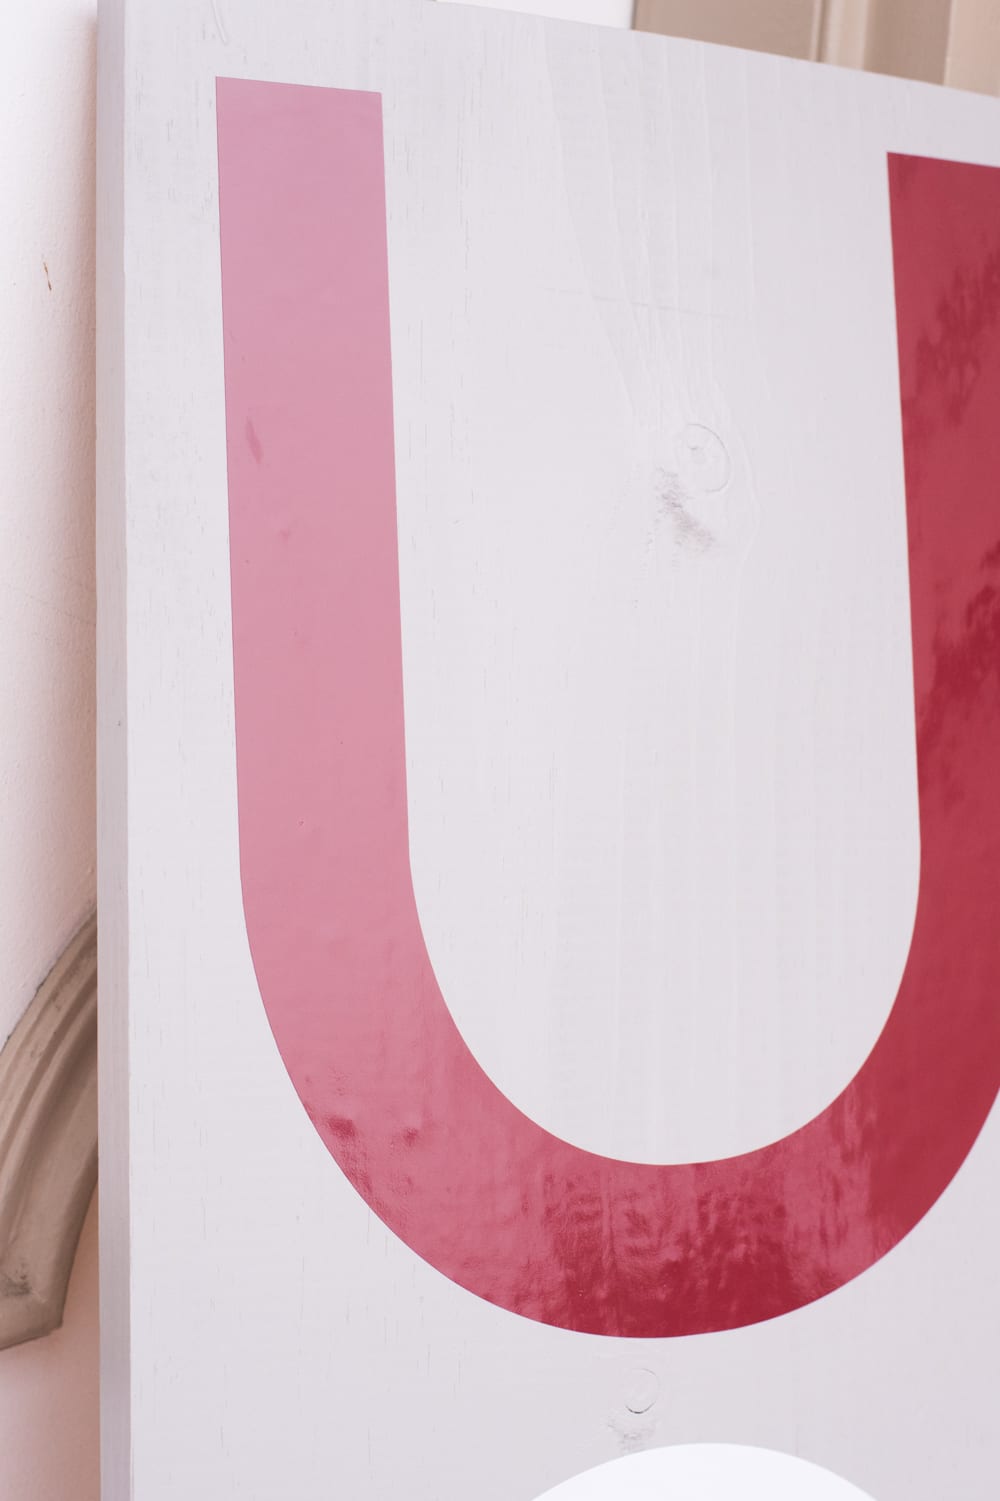
Before I get to the reasons why I like using it more, here is a little comparison on the wood so you can see the differences that I mention:
Outdoor Adhesive Vinyl
Iron-on Vinyl
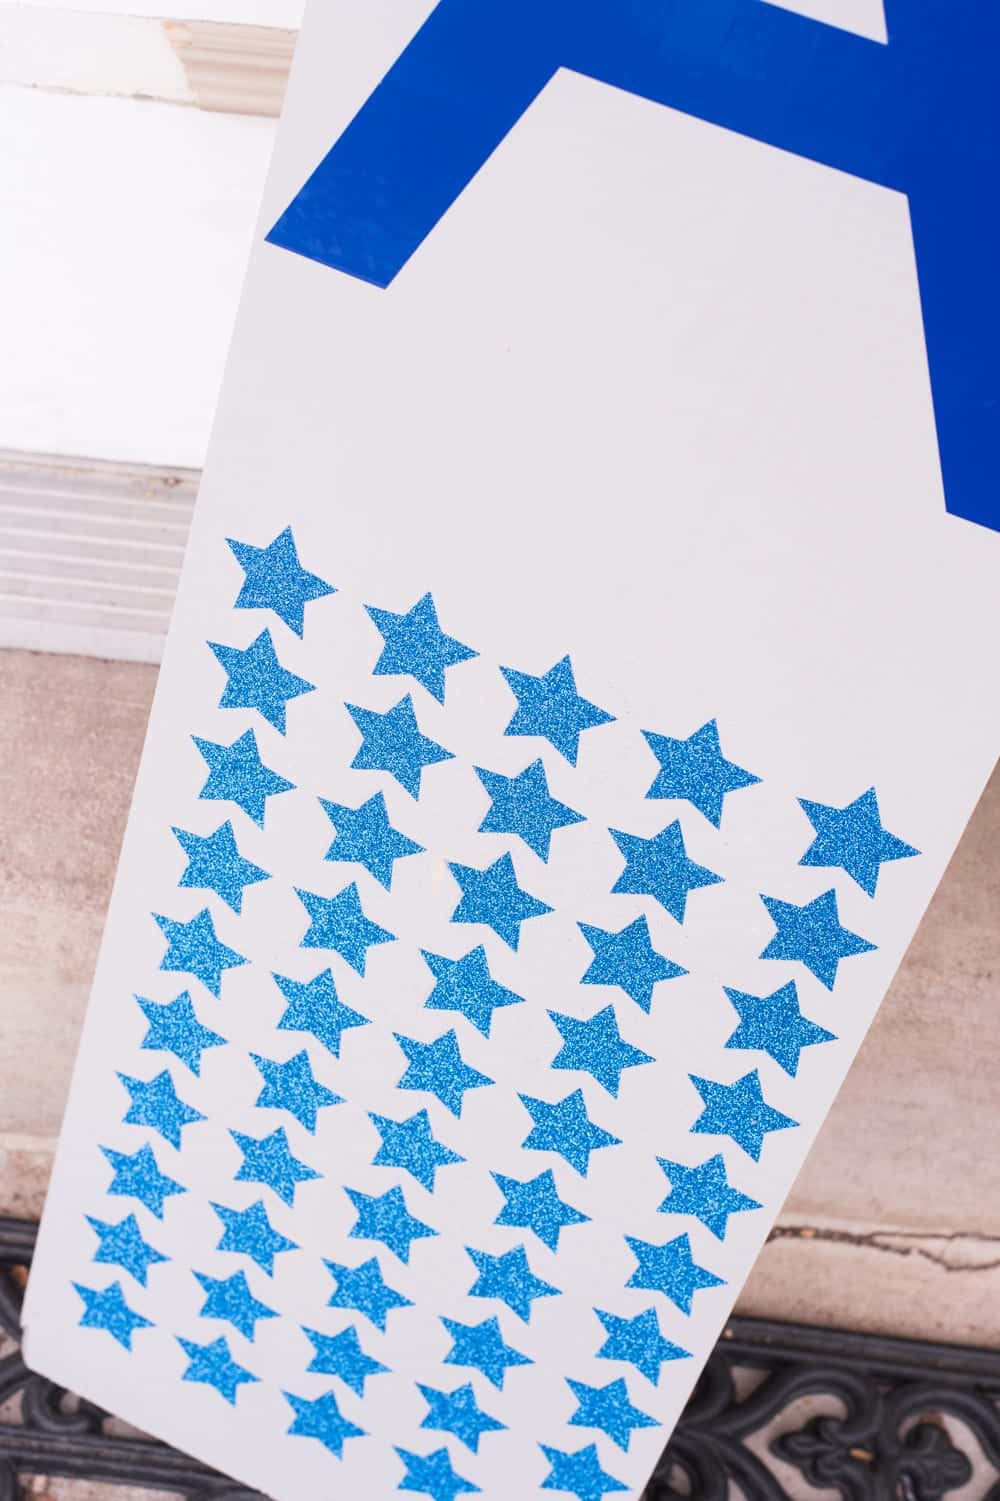
- Fewer bubbles – Despite my best efforts, I feel like I have a hard time getting adhesive vinyl to lay completely flat, without any bubbles, especially on wood. When I use iron on, i
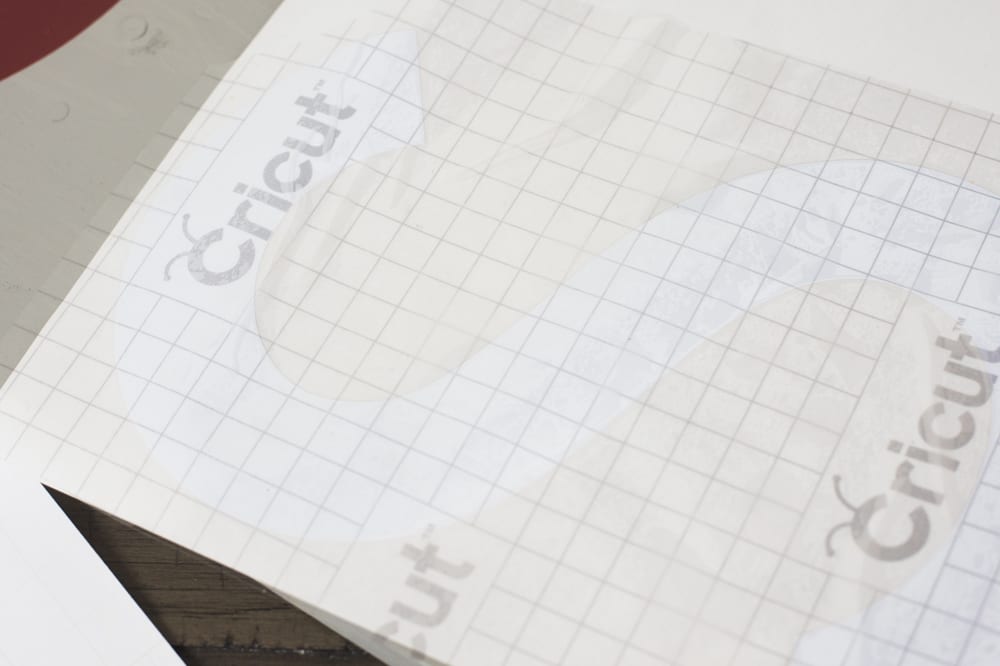
- You don’t have to mess with transfer tape – Can I just tell you how much I hate transfer tape? I feel like I always have issues with it – and with this project, I kept having it not adhere all the way (regardless of what I did), which was so annoying. With iron-on vinyl, you just put it down with the plastic covering it already has, and then you just iron it down.

- It goes on easier – So long as your heat settings are correct, iron-on typically goes on very easily.
- Looks more professional – When I did the comparison on this sign, I just thought the iron-on looked nicer on and like it would last longer.
- Typically less glossy – I just prefer the finish of iron-on more. Permanent adhesive vinyl typically is pretty glossy and looks an feels like a sticker. It doesn’t look horrible, but going back to the previous point, iron-on just looks more professional.
More of a Paint Like Finish – While adhesive vinyl goes on like a sticker, and, honestly, looks kind of like one, iron-on vinyl feels like it blends in a little bit more – it just seems to adhere easier to the wood as well.
More options – In most situations, you are going to use permanent or outdoor vinyl for wood. There is a limited selection of styles and selections in this category. With iron-on, there are SO many options…glitter, holographic, glow in the dark, patterned, tons of colors…I love it.
Better Precision – So as you will see below, I placed all the different pieces of vinyl on the board before I put them on permanently to get an idea of where I wanted them to be. With Iron on, you can just leave them right now and iron them directly on. However, with adhesive vinyl, you have to remove them, use transfer tape, and then get them in the exact spot you need them again. There’s a lot more room for error!
I mean, if you are careful with what you are doing, you can avoid some of the problems above. But I’m not known for being careful or perfectionism, so I prefer iron-on because it tends to be more fool-proof.
What Else Can You Use Iron-on Vinyl On?
I like to use the EasyPress Interactive Guide as a general guide on what materials you can use iron-on on vinyl on. They list the following:
- Burlap
- Cardstock – it is so hard to put regular vinyl on paper (impossible if you use transfer tape). Iron-on is SO much better.
- Chipboard (DIY Birthday Sign with Chipboard)
- Corkboard
- 100% Cotton
- Cotton Canvas/Muslin
- Cotton Poly Blend
- Faux Leather
- Felt
- Mesh
- Neoprene
- Nylon
- Polyester
- Silk
- Wood
How to Use Iron on with Wood
Now…how do you use it!
First of all, this works great with EasyPress 2. I used my larger size because of the size of the canvas, but it turned out wonderfully. You could use any size – and yes, you could use an iron. However, you have to use A LOT of pressure even with the EasyPress 2, so I can’t even imagine how much pressure you’d have to exert with an iron.
Before you start your project, make sure you have prepared your wood. You can use plain wood, painted wood, or stained wood, but I would make sure you have given it adequate time to cure and dry before you get started.
EasyPress 2 Instructions
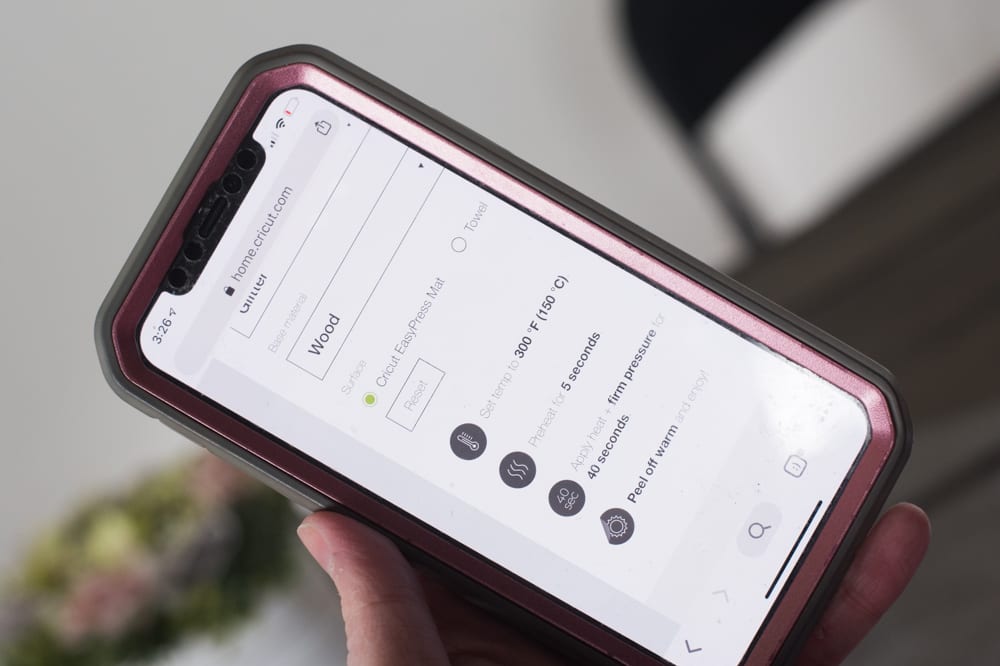
Once your wood has been prepared, if you are using an EasyPress 2, head over to the EasyPress Interactive Guide for settings for the material you are ironing on. For the purpose of this, these are the settings it gave me for wood and glitter iron-on:
- Set temp to 300 degrees F
- Preheat for 5 seconds
- Apply heat + firm pressure for 40 seconds
- Peel off warm and enjoy
The only thing I would be careful about is preheating. I tried preheating, and some of the paint came up. My board had been dry for about three hours – but perhaps that wasn’t long enough. Anyways, if you aren’t able to test it on a piece of test wood first, I would consider skipping the preheating phase.
- Let your paint/stain dry for 24 hours. I did not do this, but I think it would have been better if I’d let it set longer.
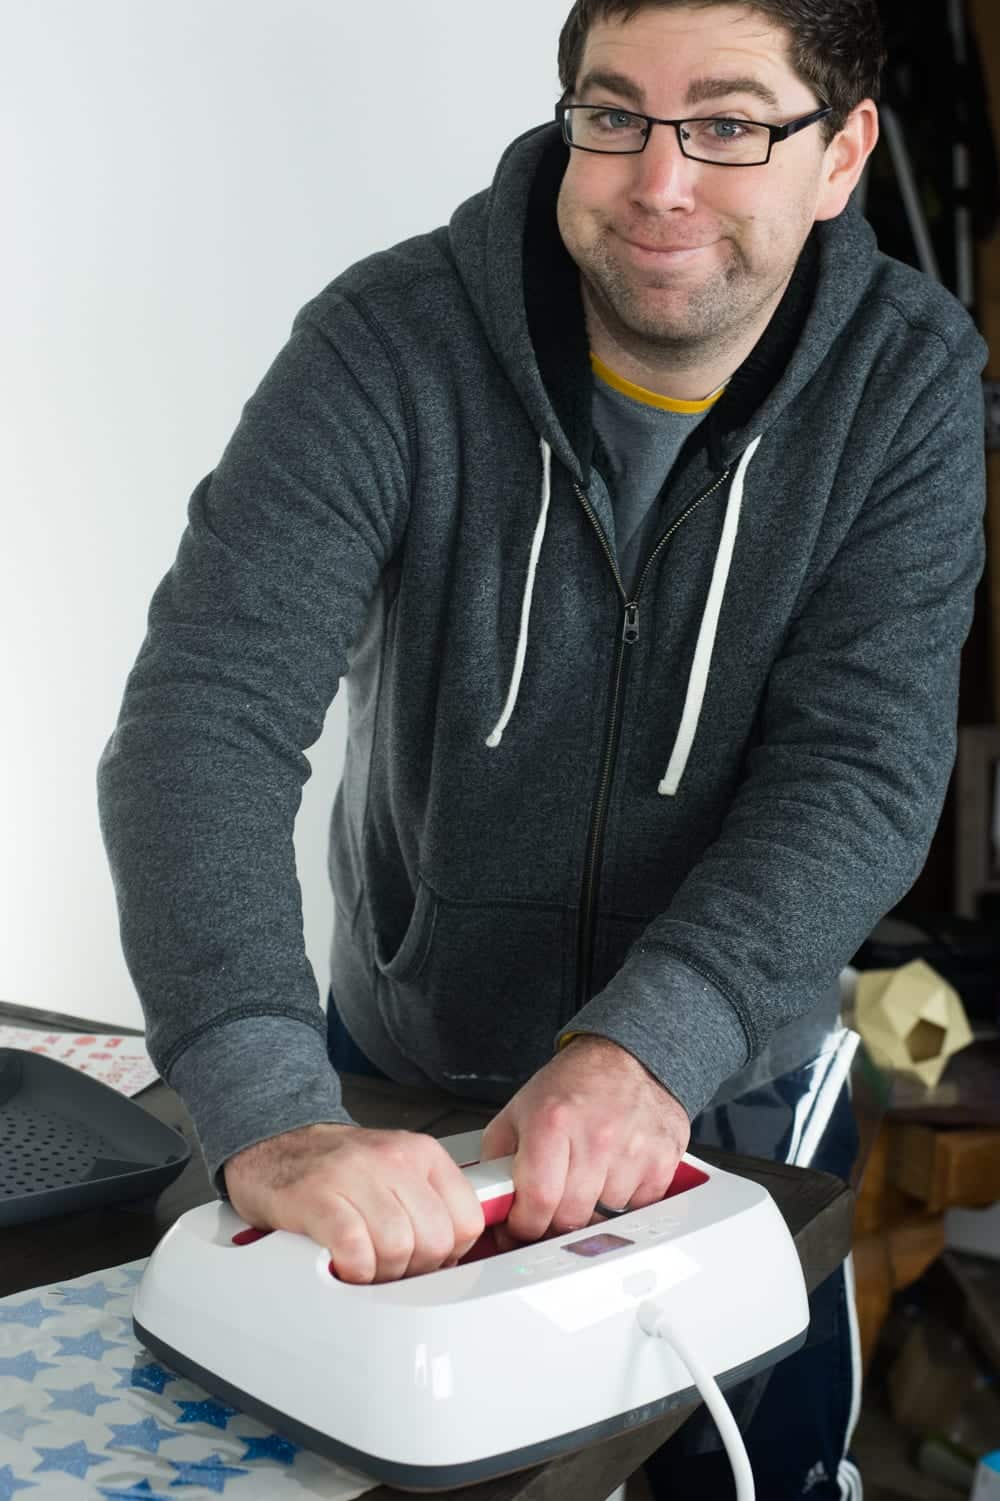
- Make sure you apply firm pressure. I had to bring Forrest in for this, because I wasn’t able to get enough pressure on it myself to get the material to stick.
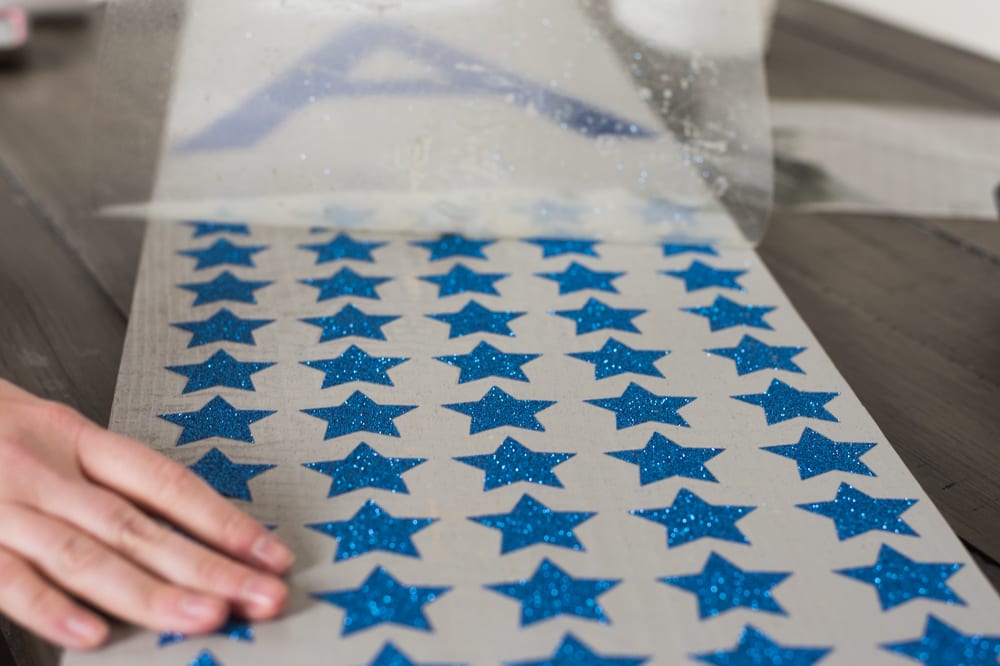
- Use smaller pieces of iron-on – I just used a BIG sheet of these stars, but because the EasyPress 2 (even if the largest size) didn’t cover it all the way, I ended up going over some parts more than once, and I didn’t get to peel it up as soon as I would have liked.
- Use an iron-on protective sheet or a thin, cotton sheet over to the material. Because of the high heat (and especially if you are using a painted surface), the more protection you can give to the surface, the better. This is another one of those “do as I say, not as I do” situations, because I obviously did not use this.
- Instead of preheating directly with an iron or an EasyPress 2, you could use a blow dryer to heat up the wood beforehand. This might be a less intense approach.
For an Iron
You can definitely use an iron – just make sure you use it on a firm and steady surface since you will be exerting a lot of pressure. You could use an EasyPress 2 mat on a table for good results.
You will need to use the cotton setting on your iron, and it will take about 40-60 seconds to adhere it completely.
DIY Front Porch Sign Tutorial
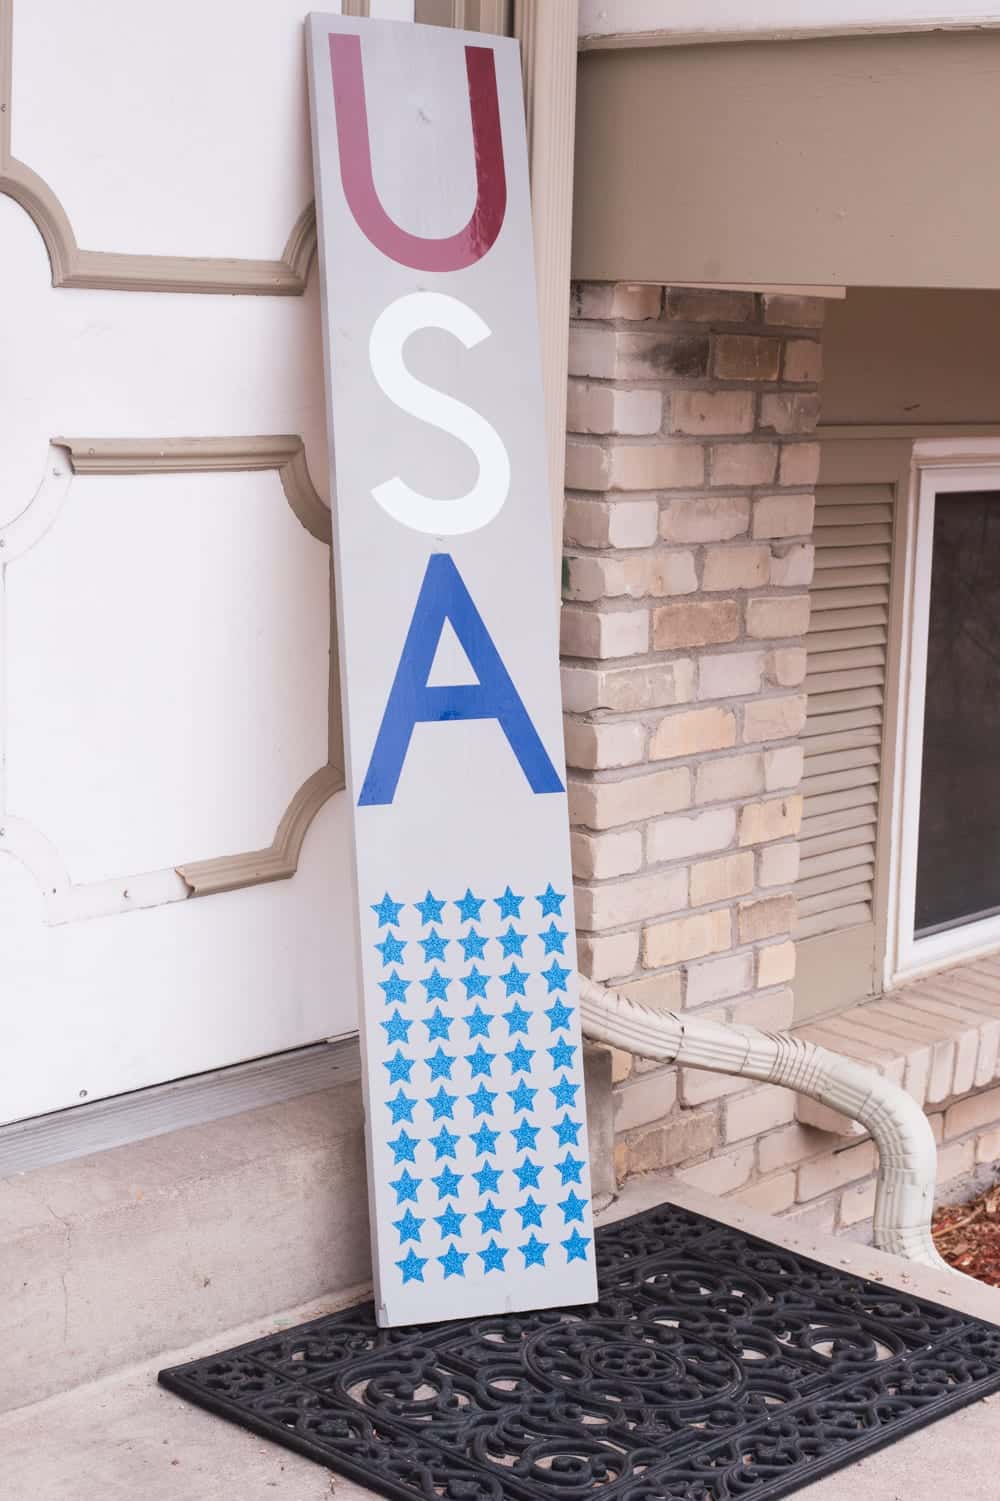
Now for the tutorial for the front porch sign:
Materials:
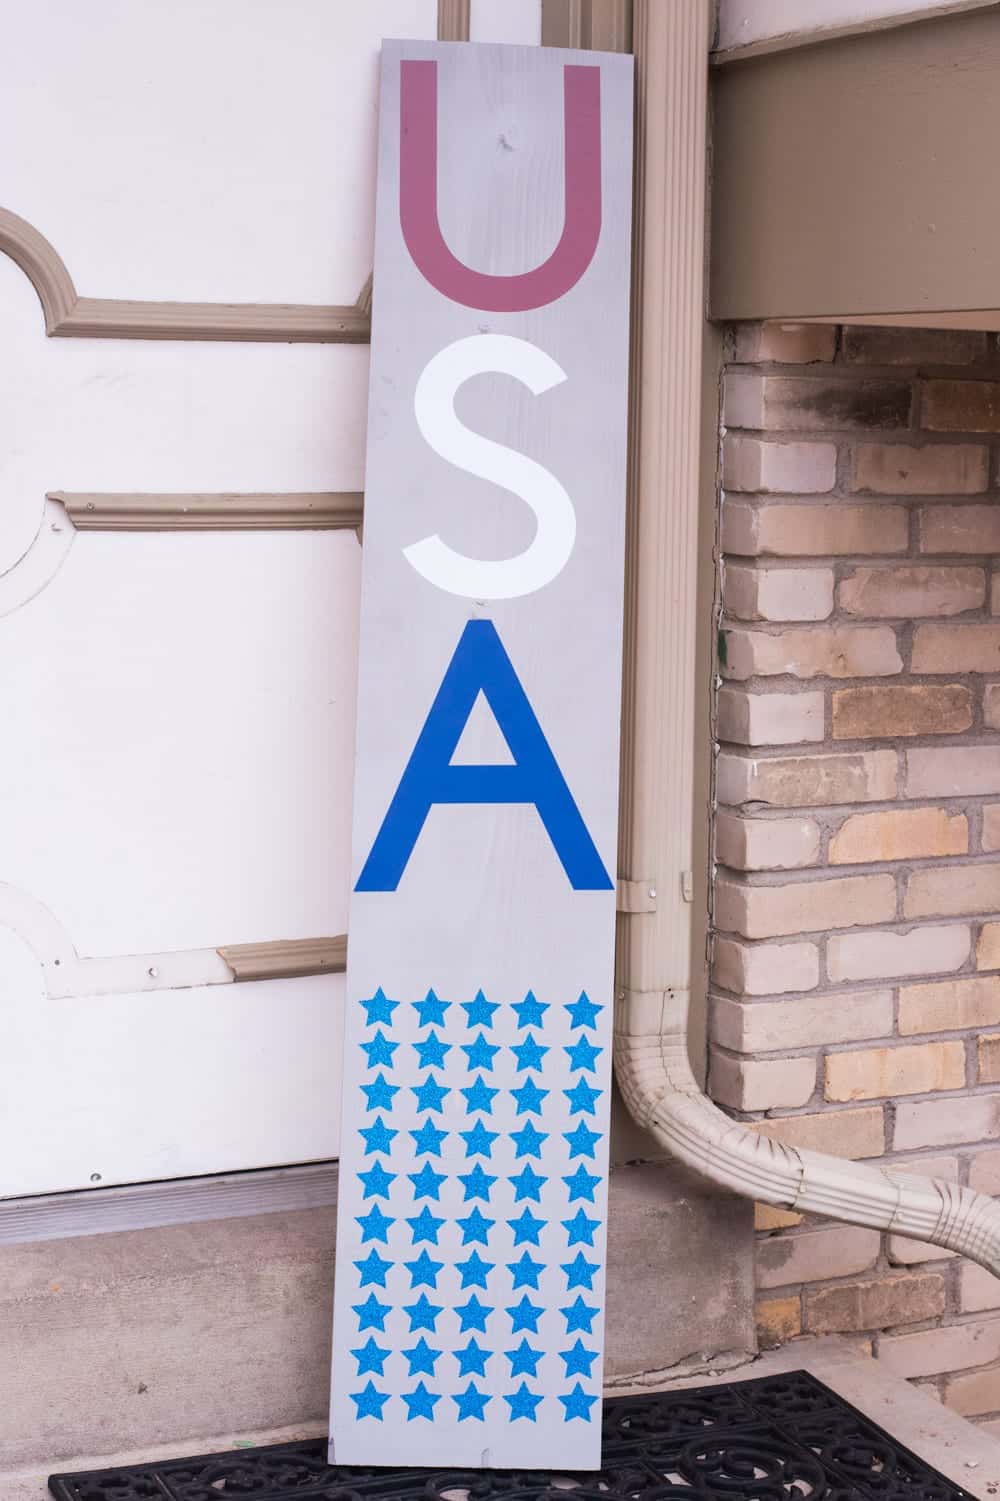
5 ft tall, about 12-inch wide board that’s 2 inches thick. We found on that was six foot at Home Depot, but we cut off about a foot to make it a little shorter. I think this is a perfect size.
Spray paint for the background color (if desired). We found this to be a much faster and smoother application for a large piece of wood. We used Rustoleum brand.
Iron-on vinyl on whatever colors you want. Obviously, in my finished project, I used outdoor premium vinyl and iron-on, but I would suggest just using iron-on (which is what the majority of this tutorial will focus on – however, I do tell you how to use regular if that’s all you have).
For the exact project I did, I used red, white, blue, and glitter blue. I liked having a different kind of blue for the “A” and the stars
Cricut Mats (Cricut.com / Amazon)
Fine Point Blade (Cricut.com / Amazon)
Weeding Tools (Cricut.com / Amazon)
EasyPress 2 or Iron
Instructions:
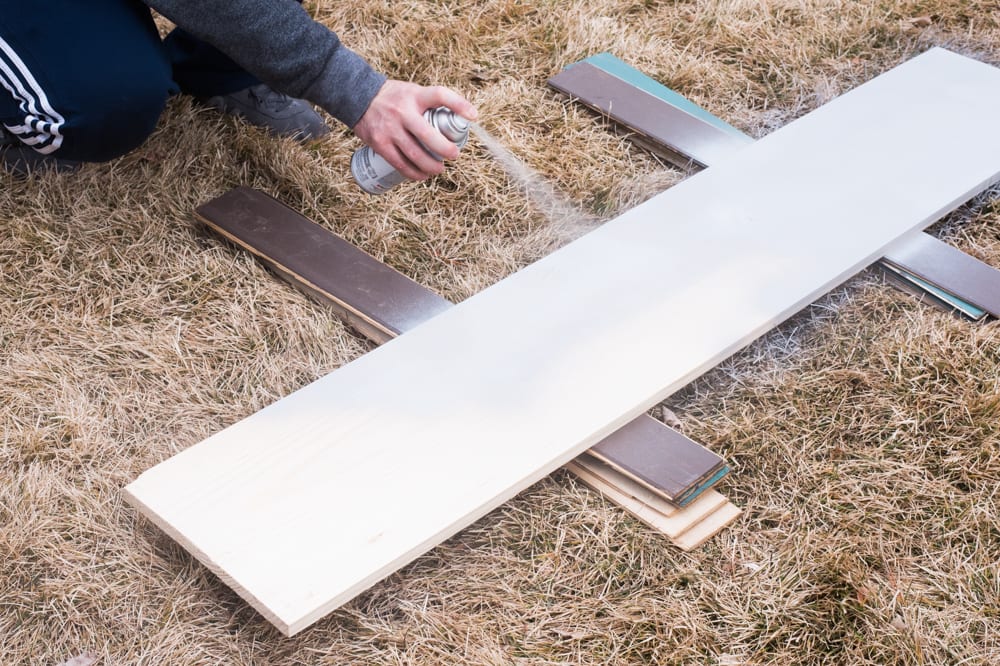
First, paint your wooden board whatever color you want. You don’t have to use spray paint, but we did find this easier than trying to paint with a brush.
Let it dry for about 24 hours.
Open up Design Space. If you are wanting to do our USA sign – here is the file. It is sized for a 5 foot long, 12-inch wide board.
If you have a different size board, create a rectangle for the size you need. You can make a rectangle by selecting the square shape and unlocking the dimensions and typing the exact ones in for your board. Just make sure you delete the rectangle before you cut it!
Once you have everything how you want it, press “Make It”.
Make sure your mats are exactly how you wanted them. Make sure you press mirror for iron-on vinyl. For instance, when I pressed make it, it had separated the stars into two separate mats.
However, I just turned one of those into a 12×24 mat, and I moved the stars over to it and then moved them up a little bit so they would fit onto my 12×19 sheet of glitter vinyl.

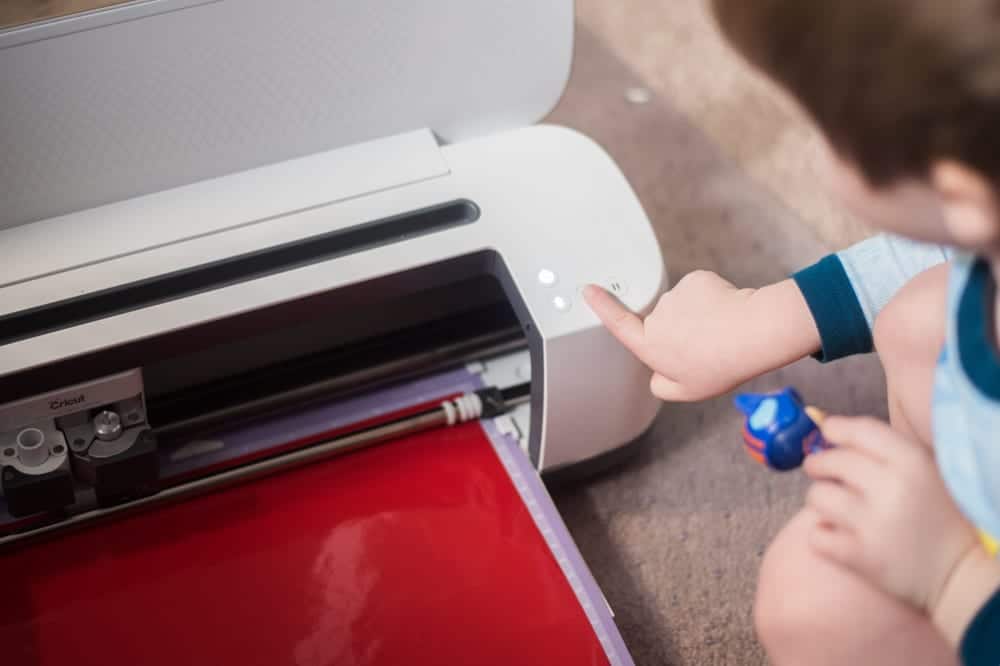
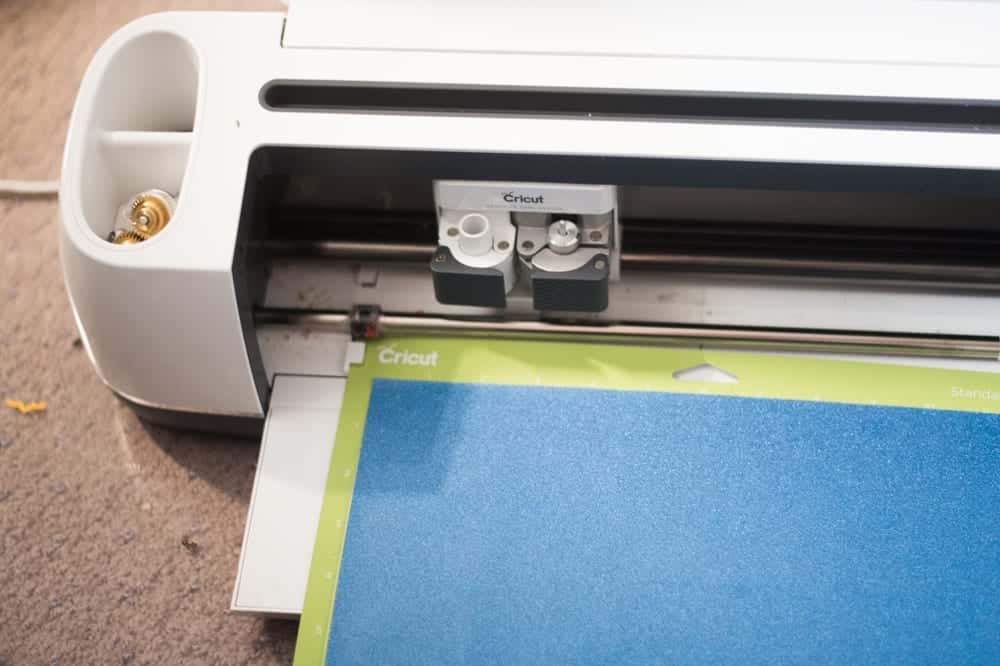
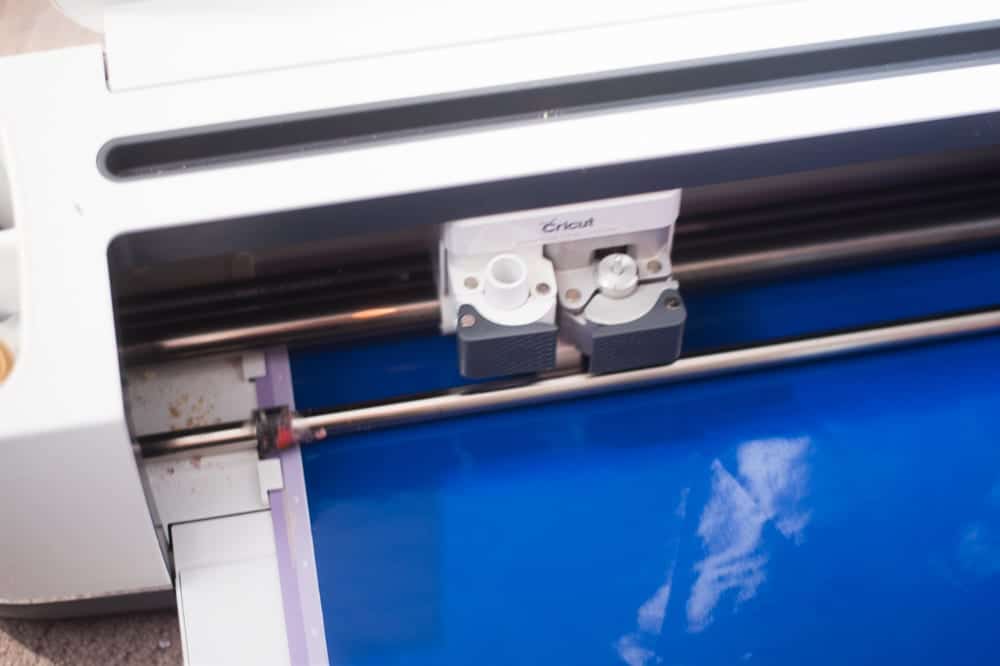
Connect your Cricut machine and select the material you are cutting first. Cut out all the materials.
Once you have your materials cut out, weed out the excess.
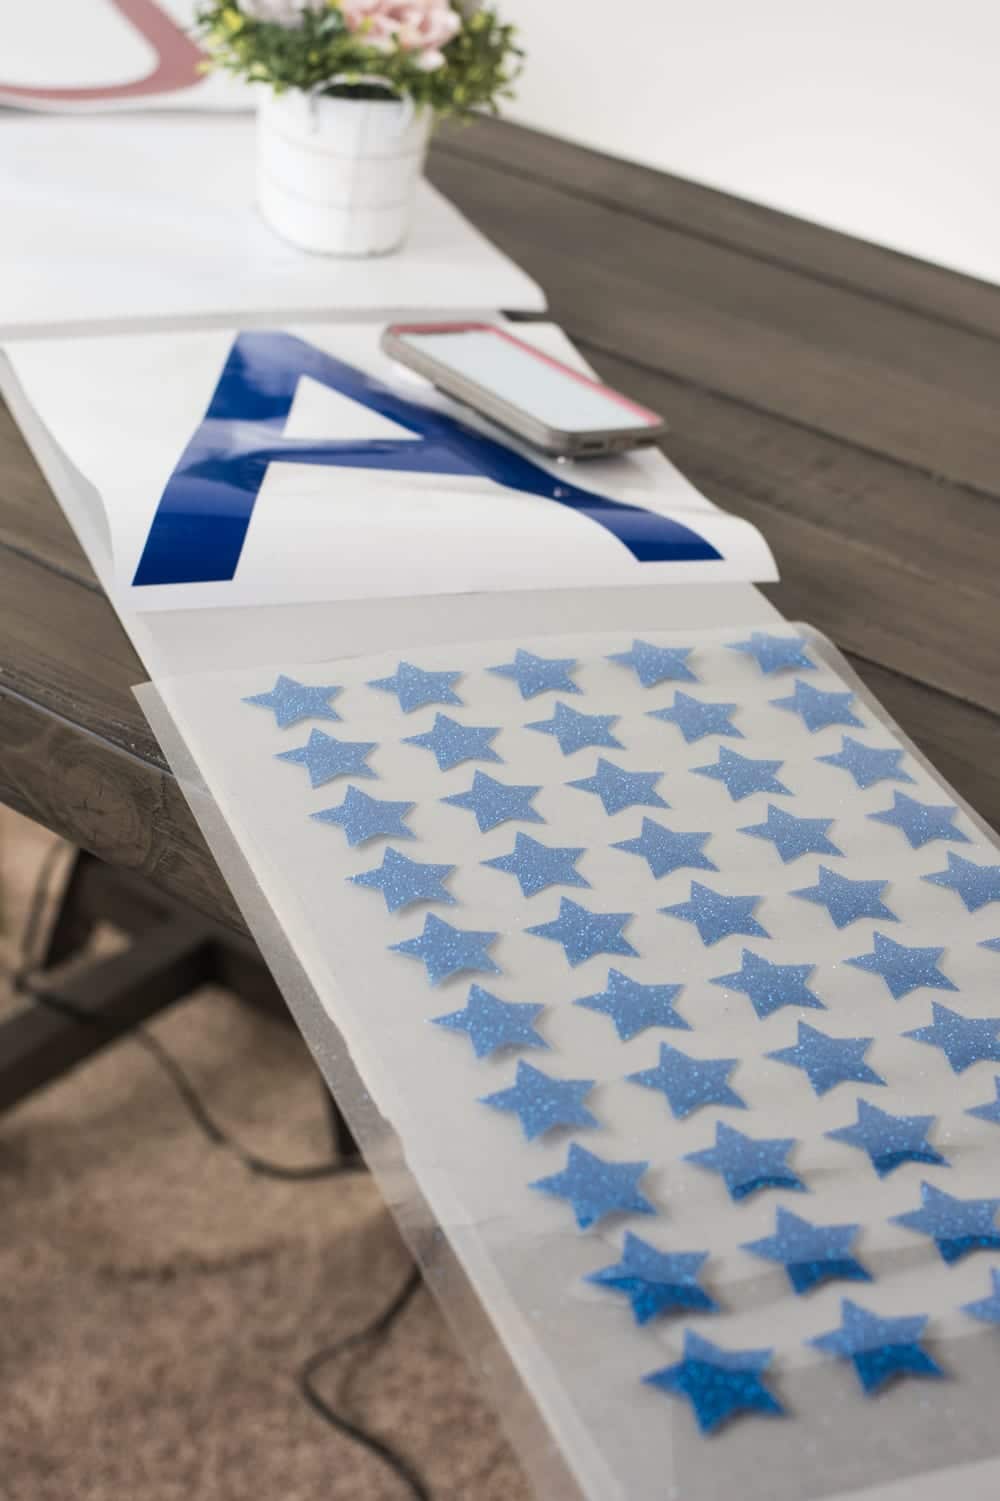
Put all of the different elements onto the board to make sure they are in the exact spot you want them.
Turn on your EasyPress 2 or Iron-on.
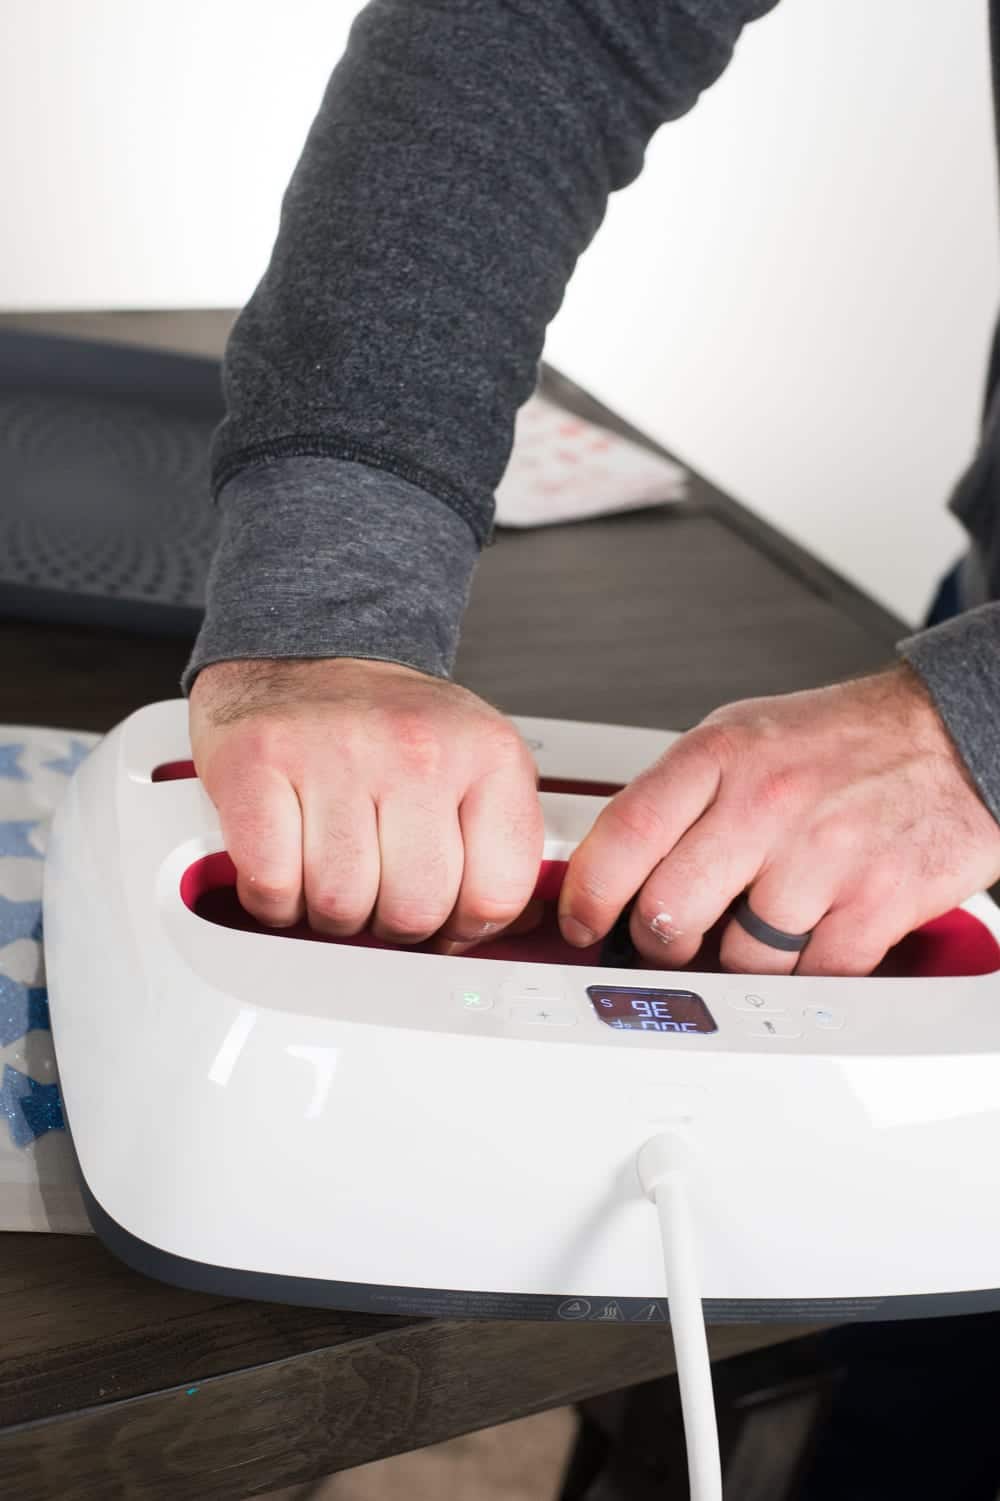
Iron each piece of vinyl on following the instructions from above on how to use iron on with wood. Make sure that the iron-on has stuck before you move on.
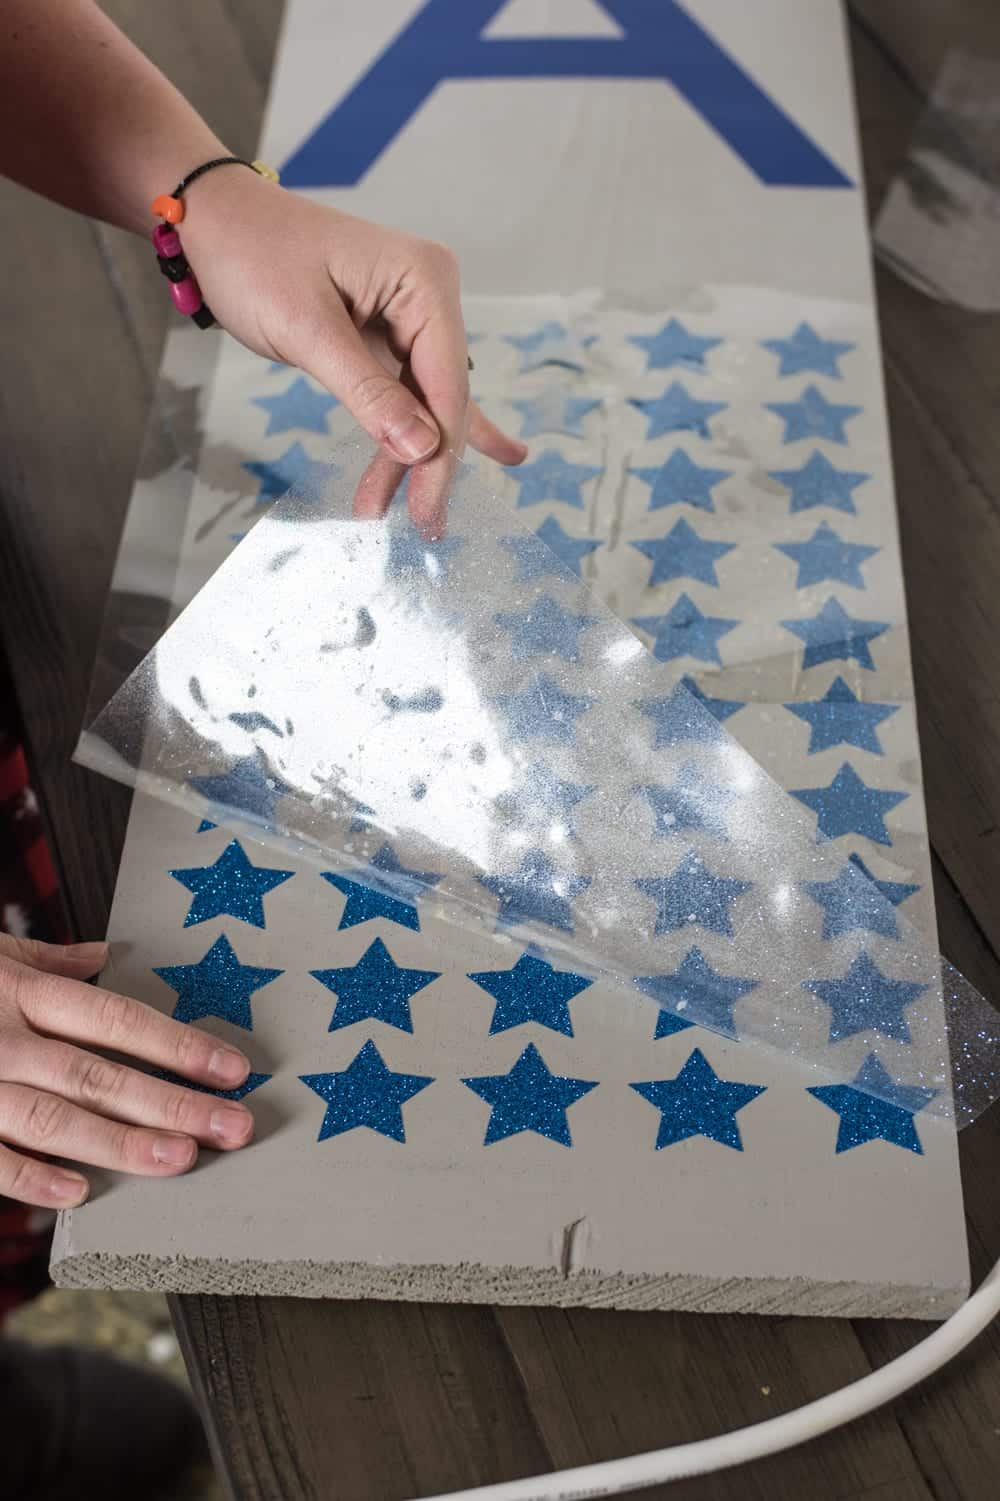
Peel up the plastic liner when it’s still slightly warm.
If you are using regular adhesive vinyl, you can use transfer tape for the vinyl. Make sure you use a scraper tool to make sure it transfers as well as possible and with the least number of bubbles.
Enjoy!
Other Projects You May Enjoy:
- DIY Guess Who Board Game with Cricut
- DIY Magnetic Family Birthday Calendar: Easy to Update!
- DIY Month by Month Baby Onesies – Cricut Baby Onesies
Other Helpful Cricut Tutorials:
- How to Use Vinyl Iron on for Cricut: Everything You Need to know
- How to Use Cricut Foil Iron On: And a Few Things NOT to do!
- Iron vs Cricut EasyPress vs Heat Press: Which One Should YOU Get?
- Cricut Tips for Beginners




Do you have any sealant suggestions?
I don’t, but I’ll approve this and hopefully another commenter will have a suggestion 🙂
Hi Katie, this is such a game changer! I have not been able to get the vinyl to adhere to any boards I have used. I can’t wait to try the iron-on vinyl! Thanks!
I want to put names on beach towels with iron-on vinyl but not sure it will look good. Have you tried the iron-on vinyl on terry cloth? I’m happy I found you!
Good luck! And I haven’t used terry cloth yet, but I’ll add that to my list. I have seen others use it with success!
Hi! I want to try iron on vinyl on wood. If the sign is for outside, would I still use a clear varnish to seal the wood? Not sure how it would adhere to the vinyl. TIA 🙂
We didn’t use one! But I know other people who have successfully 🙂