LDS Temple Craft Ideas – Perfect for Super Saturday!
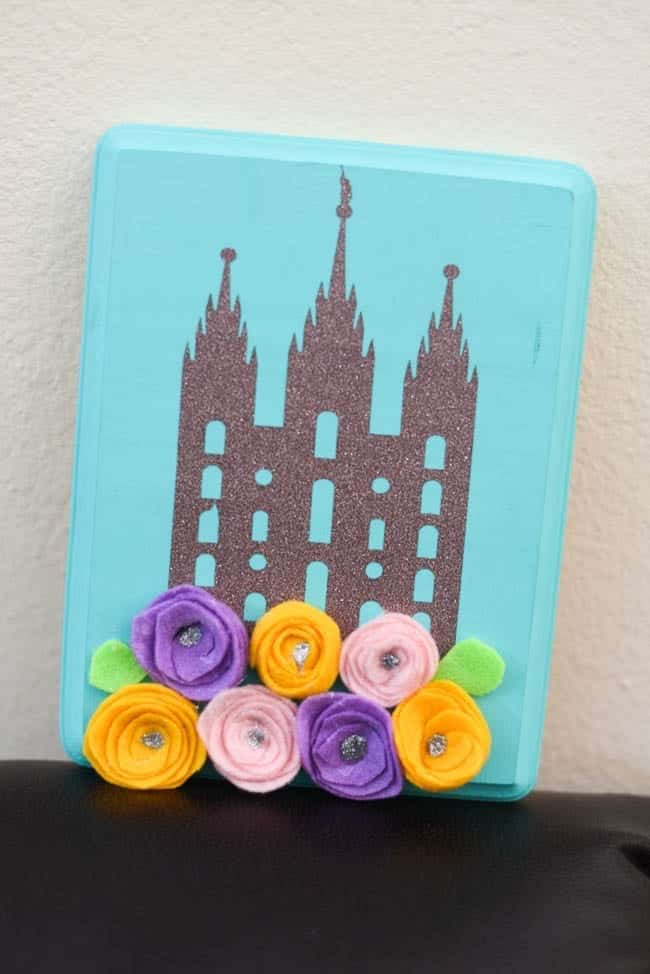
One of the activities I was put in charge of for the Relief Society activities committee was a craft night.
I love doing crafts and projects, so I was really excited about this one. It took us a little while to decide on a craft that would be a) affordable and b) appealing to different people. We felt that it should be a religious-based one.
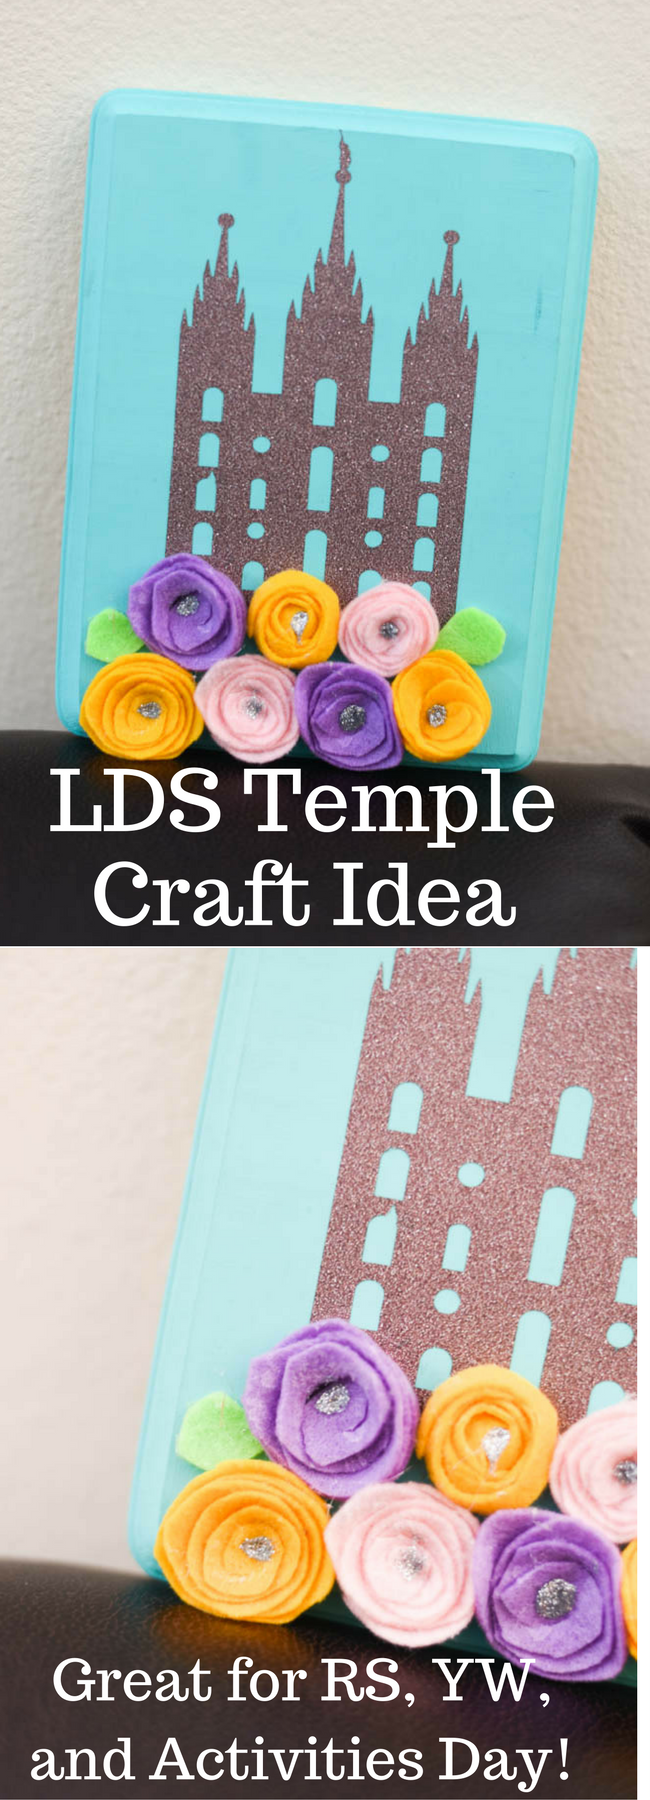
After perusing Pinterest, we came across a Salt Lake City Temple Plaque that someone was selling on Etsy, and we decided to use that for inspiration. Since I have a Cricut Machine, I felt like it was simple enough. Beyond that vinyl Temple, all we needed was some wood, felt for flowers, and paint. One of the other sisters on the committee had a bunch of pearls left over from her wedding that she donated for the project as well.
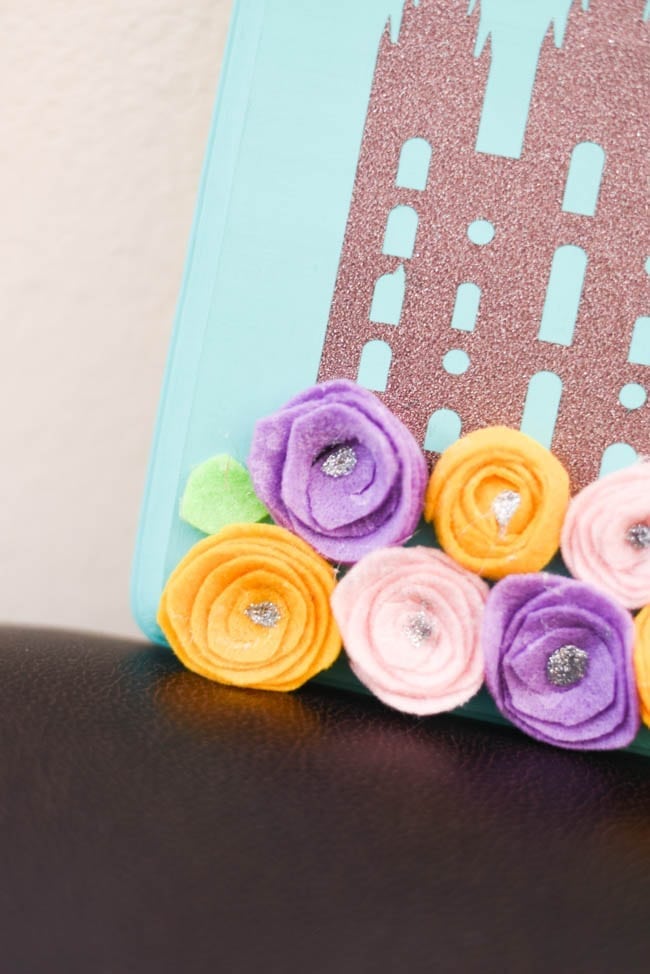
For the sample project above, I bought a rectangular wood plaque from Jo-Ann’s. However, it ended up being cheaper to buy long pieces of wood from Home Depot, and someone from the ward was able to cut them for us. I think ended up being around $1.50 per piece, which is great!
For simplicities sake, we just cut out vinyl shapes of the Salt Lake City Temple. I was pretty excited to see that Cricut actually had this shape in Design Space, which made it really simple. However, if you want to do different temple shapes, it is easy to upload your images to Design Space (I’ll do a tutorial at the end). Chances are, there will be someone in the ward who has a Cricut Machine (or some kind of cutting machine).
We also encouraged the sisters to bring their own pictures if the temple idea didn’t appeal to them (though no one took us up on it!).
It turned out really well. Everyone seemed to enjoy putting their own personal touch on their plaque – we had lots of different colors for paint and felt for the flowers. I loved walking around and seeing everyone get creative! There was one sister who is a recent convert who put so much thought into hers – she told me that when she got home, she was going to draw a little stick figure of herself inside since that’s her goal. I thought that was so sweet!
Anyways, I think each plaque ended up being less than $5 per person, which I think is great! This would be great for a Super Saturday or just for a small craft night like we did.
Materials:
- Permanent Indoor Vinyl – I ordered five sheets of the 12×24 sheets of silver from Expressions Vinyl. It was a great price! I wanted to get glitter vinyl (like the example I made above), however, that was about $2-3 more! You could always bring glitter for people to brush on 🙂
- Transfer Sheets for Vinyl (some people were able to peel off the temple sticker themselves, but it was a lot easier with the transfer sheets!). We just had a couple pieces that everyone shared, since it’s reusable.
- Wood Plaques – a little smaller than 8×10 worked great. The one I used for the example was from Jo-Ann was a 7×9 wood plaque, and it was around $3.50, though would be even cheaper with a coupon (make sure to read my post about couponing at Jo-Ann’s to get the most bang for your buck!).
- Sand paper (unless you buy pre-prepared plaques from a craft store)
- Acrylic Paints (variety of colors)
- Foam Paint Brushes
- Felt for flowers (search on Pinterest for different tutorials. We only demonstrated one way, and I wish I had found a few different ways, since it was a little tricky for some people to understand)
- Hot glue and hot glue guns
Prep Work:
Before the craft night, make sure you have the wood cut and ready to go. We did have everyone sand their own the night of.
You also need to cut out of the vinyl. As I mentioned, I used the Salt Lake City Temple shape that is in Cricut Design Space. You can find vectors of the temple elsewhere, though, such as on Etsy – they have lots of great ones!
Instructions:
Paint wood plaque with a few coats of acrylic paint. You can distress it by doing a white coat first, then another coat with your preferred color and use sandpaper to distress it.
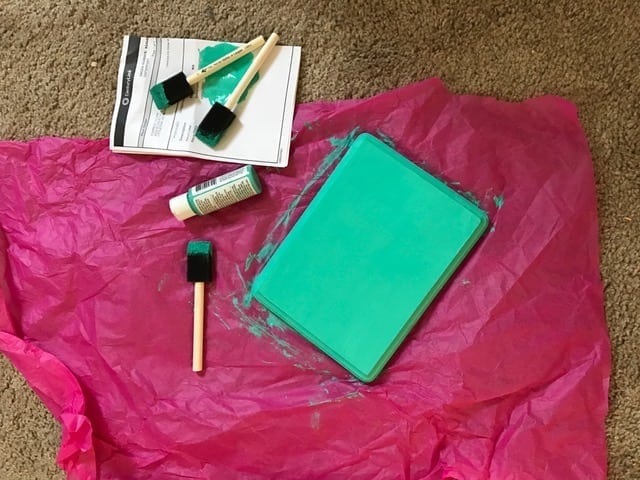
Once it has dried, apply the vinyl to your piece of wood.
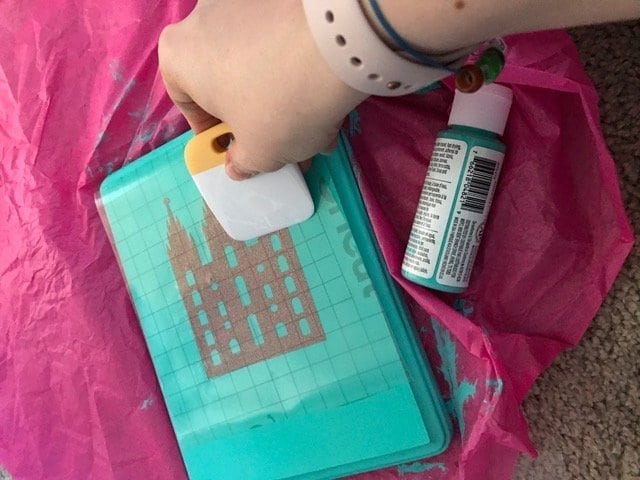
Create your flowers and adhere them on the plaque using hot glue. Add glitter glue, pearls, buttons, etc. to the center of each flower if desired.

Enjoy!
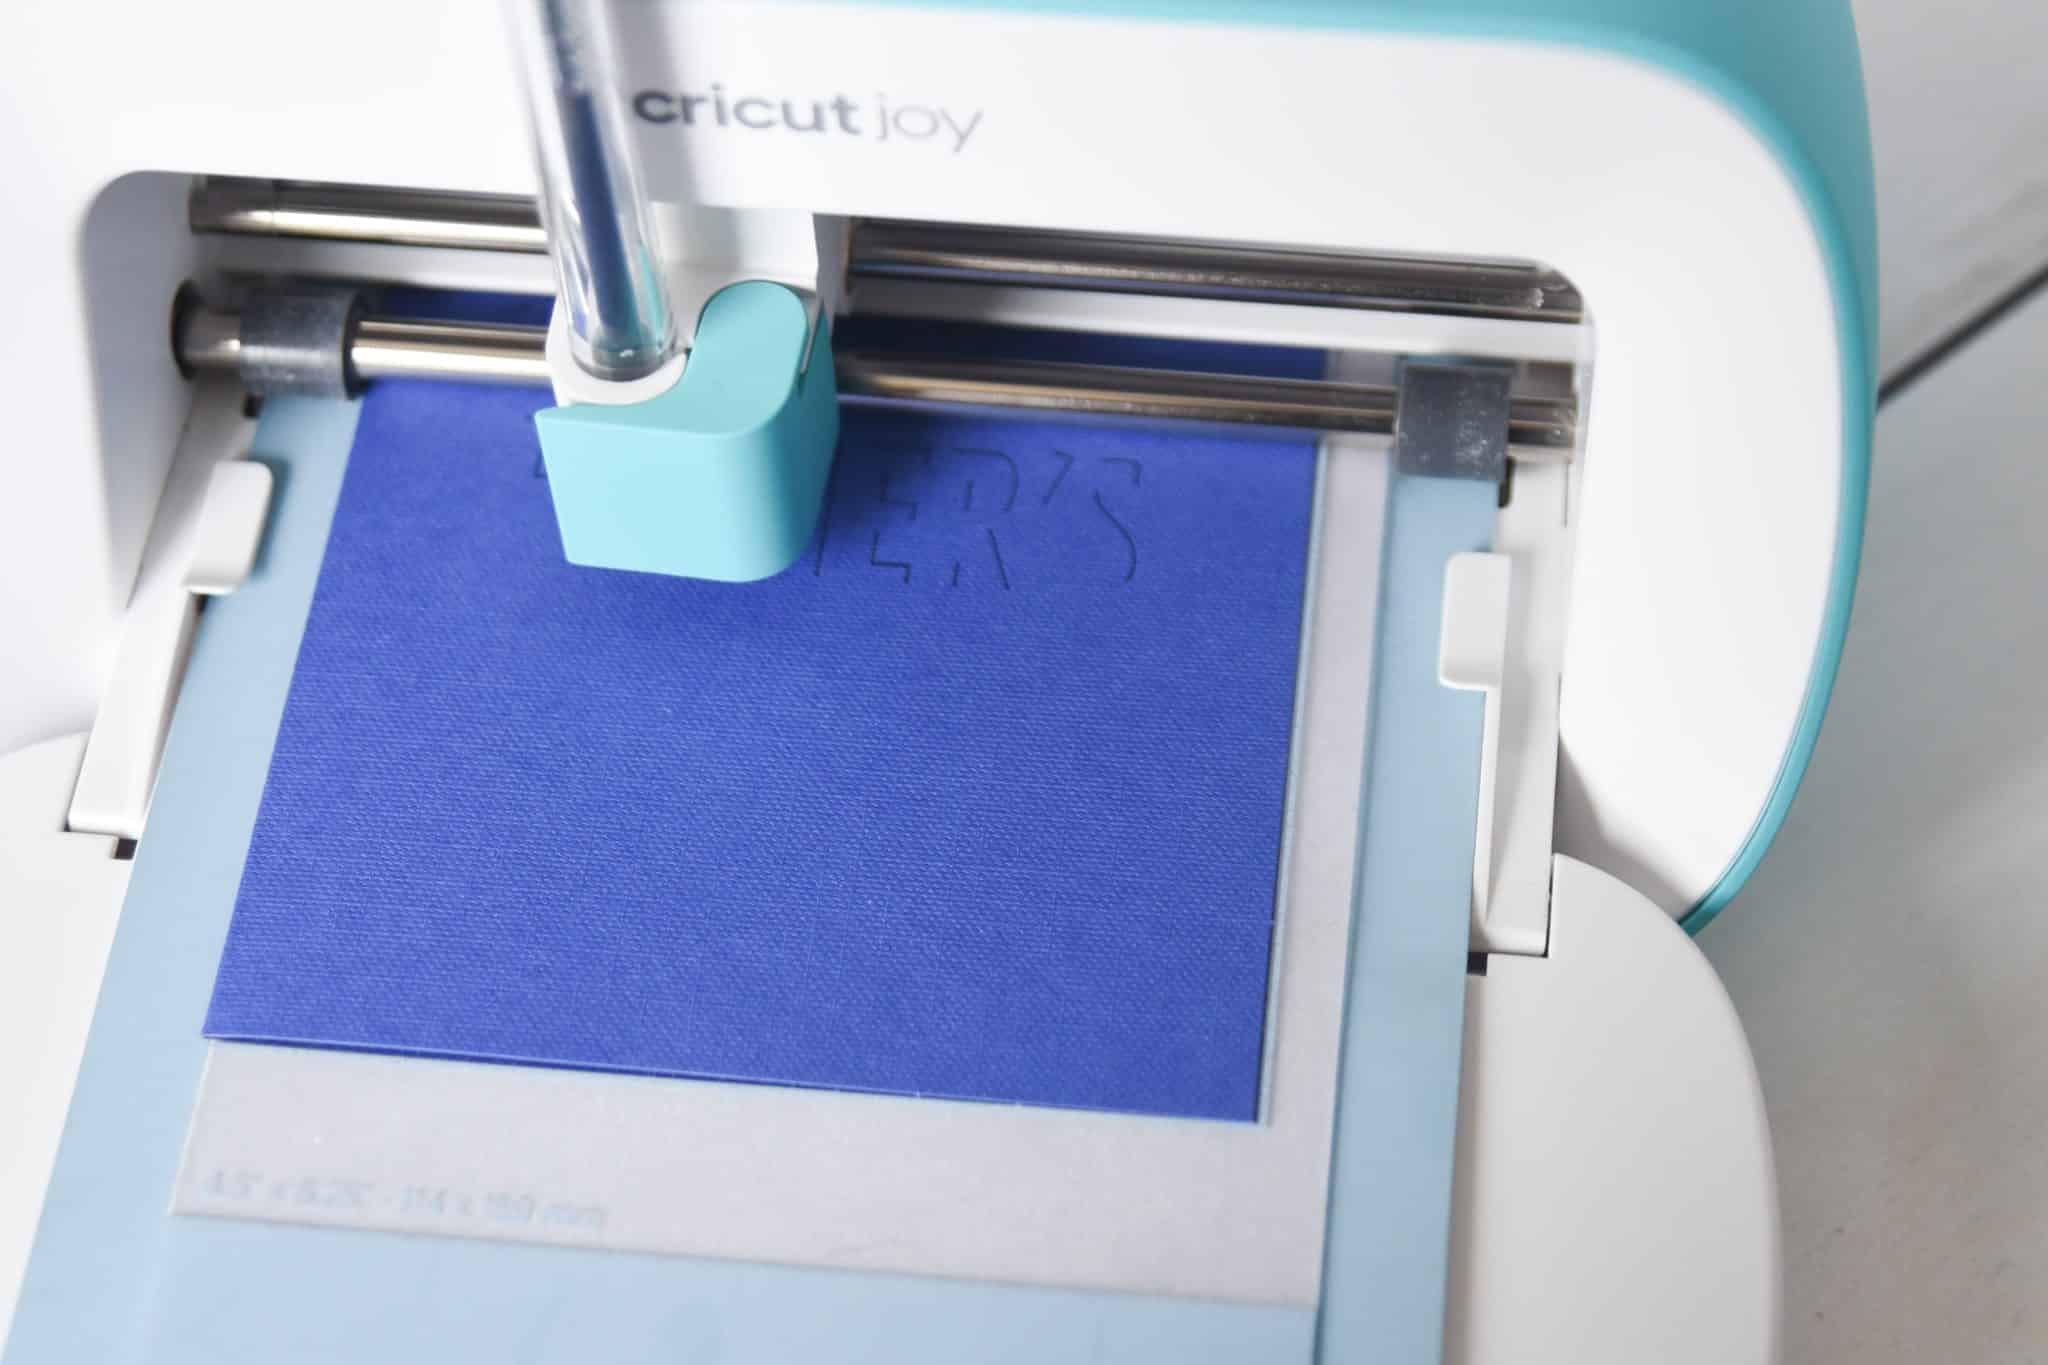
What is the Cricut Machine?
Okay, I have mentioned Cricut a few times throughout this, so you might be wondering what exactly this machine is.
Basically, it’s the greatest invention of all time. Okay, maybe not. But it is pretty awesome. It’s an electronic cutting machine that allows you to create custom, professional projects at home with – there are SO many DIY Cricut projects that you can do.
Cricut has been around for many years, and it has evolved quite a bit. I remember seeing people have one when I was still in middle or high school, but it required cartridges, and it mainly seemed to be for scrapbookers. However, it’s really become quite the amazing little machine that has the ability to cut everything from vinyl and paper to leather and craft foam.
I usually use mine to cut vinyl (for plaques, t-shirts, bags, etc.), make cards, etc., but that really just knicks the surface of what you can do. It’s a bit of an investment, but it makes it so you can create so many great projects at home for a fraction of the price that it would be to make it.
If you are just getting started with your Cricut machine, be sure to check out this post – Cricut 101 for Beginners.




My correct email address is kelpy25@gmail.com Thanks!
Hi! I am looking for your Be attitudes printable that I found on Pinterest. I can’t find it on your blog. Is there any way you can email it to me? Thanks!
Hi! I’m not sure which one this is…can you send me a picture?
This is so cute! What a great idea for Super Saturday!