Two Fun DIY Pinewood Derby Trophy Ideas
Here are a couple of fun and unique DIY Pinewood Derby trophy ideas that your troop will love – they’d make for great Pinewood Derby decorations as well.
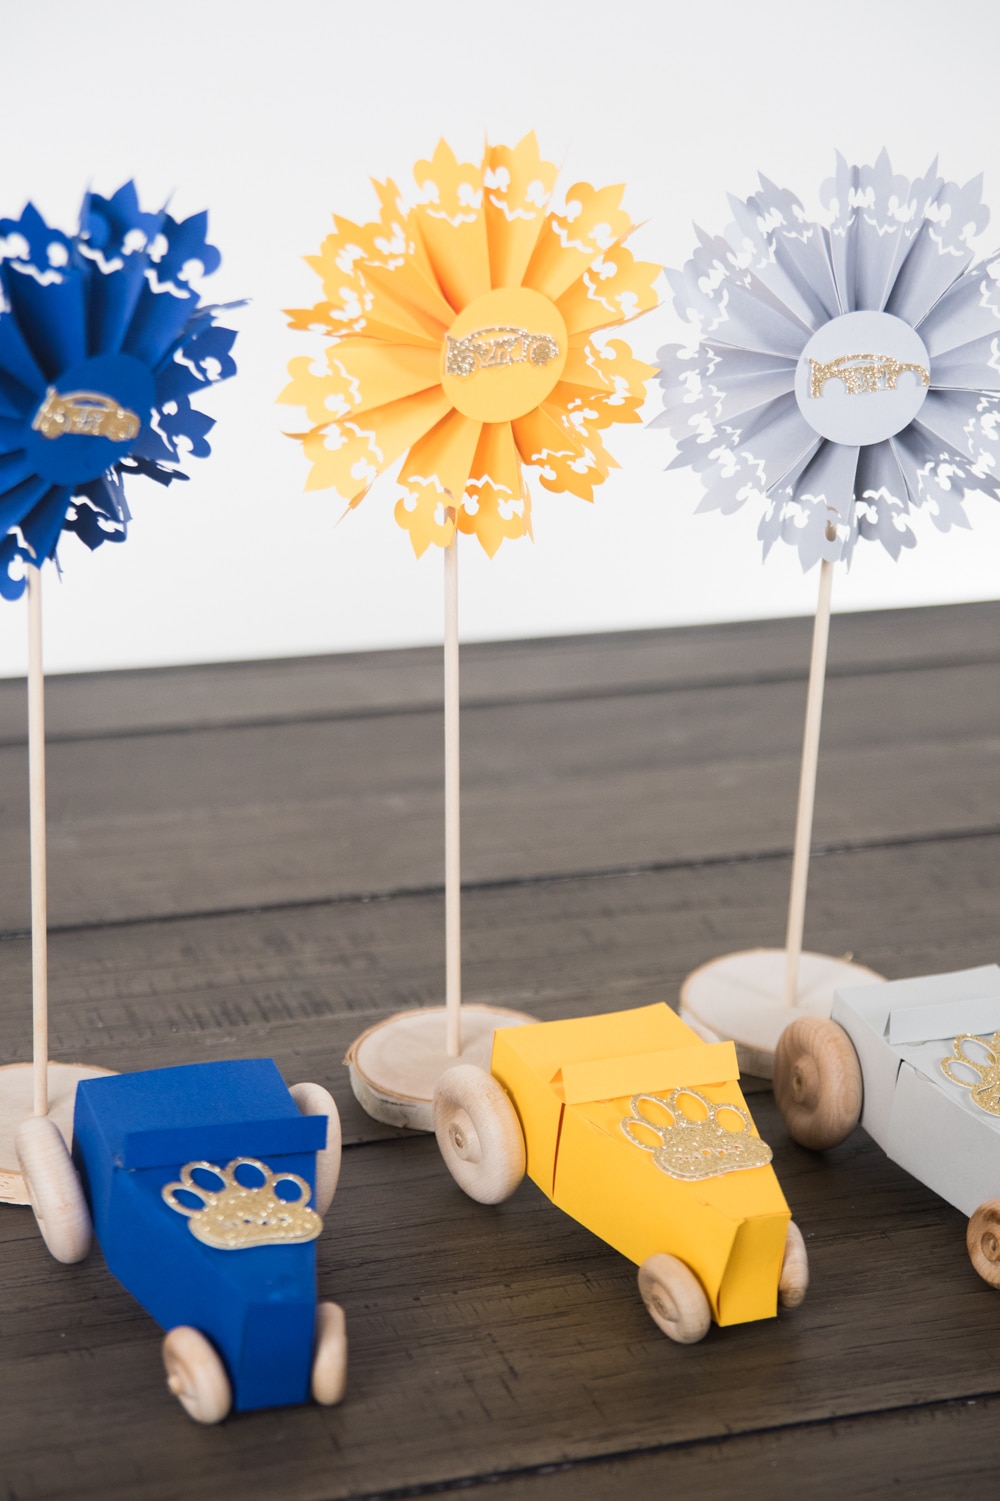
DIY Pinewood Derby Trophies
Last week, I talked all about the Cricut Scoring Wheel – what it is, if you need it, and a bunch of fun scoring projects.
Well, today I’m going to share with you some fun projects I came up with using the Scoring Wheel – DIY Pinewood Derby trophies.
Forrest and I have volunteered at our church within the Cub Scouts the past few years. Although I recently was called to work with another organization in our church, Forrest is still the committee chair.
The Pinewood Derby is definitely one of the most loved traditions within the Cub Scout organization. It’s something the boys look forward to each and every year, and it’s fun to see all their creativity.
We often just hand out certificates and candy bars for the trophies, which the boys, of course, love. However, this is the last year that our church will be sponsoring Cub Scouts, so I thought it would be fun to create a few more creative trophies.
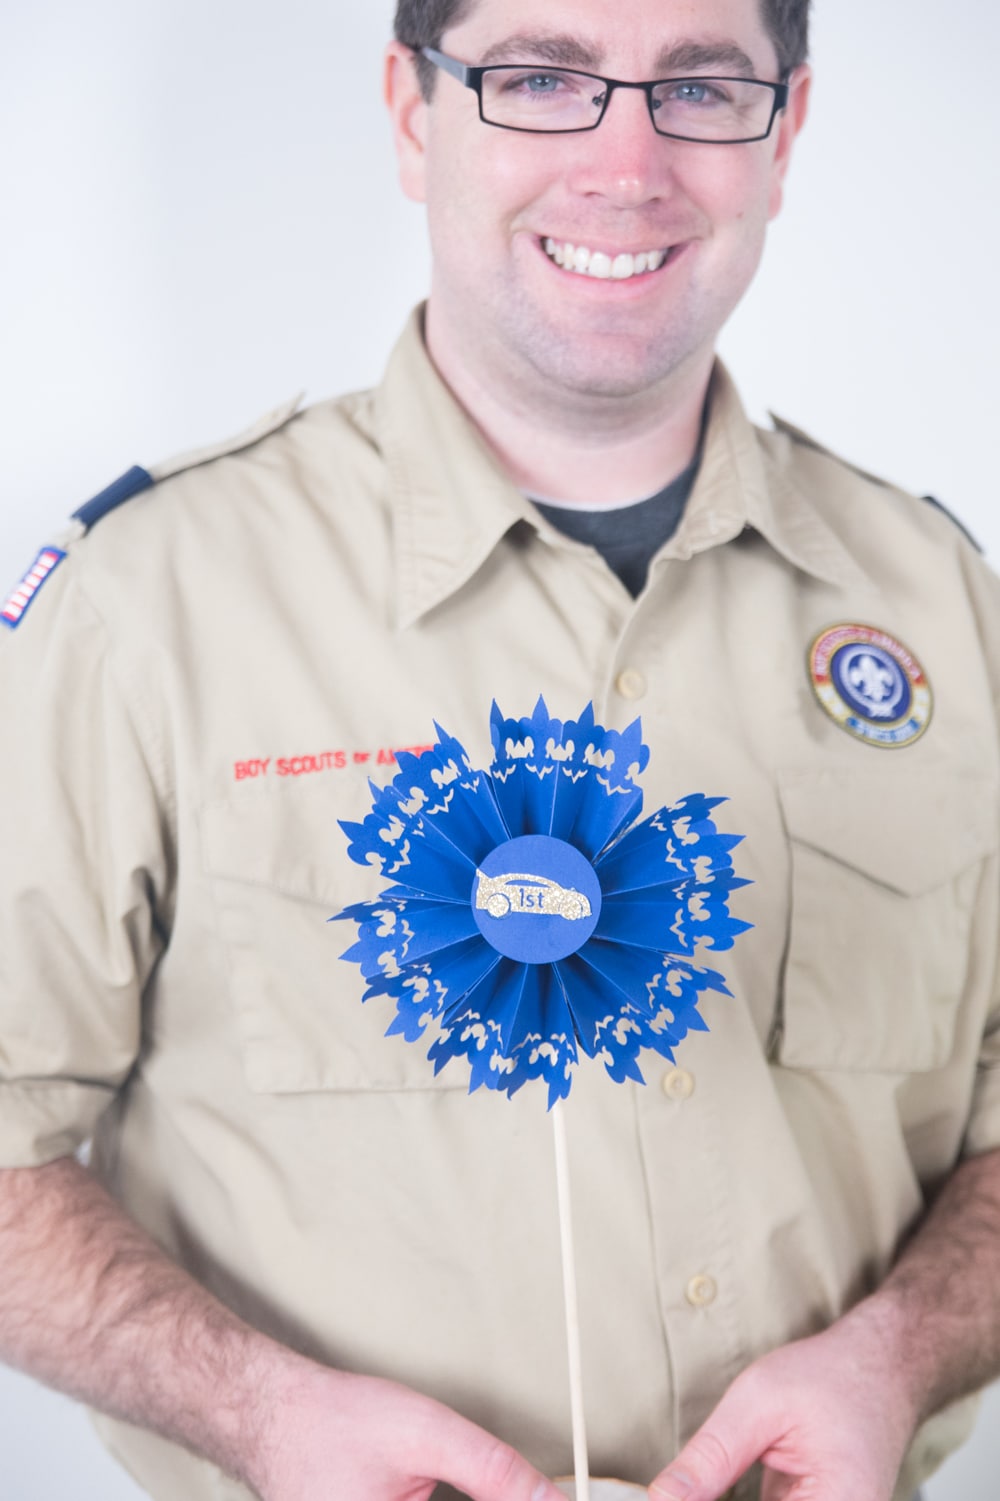
Cricut Design Space has a great catalog of images for Cub Scouts and Boy Scouts that are available (they do cost a little bit), which I was really excited to see! This made it even easier to figure out some fun trophies.
Just search “scouts” in the image library, and there are SO many fun things you could use for decorations for the Blue and Gold, Pinewood Derby, or an Arrow of Light Ceremony.
In this post, I will be sharing two different DIY Pinewood Derby trophy ideas that I think everyone will love and that Cub Scouts will be able to display in their rooms with pride.
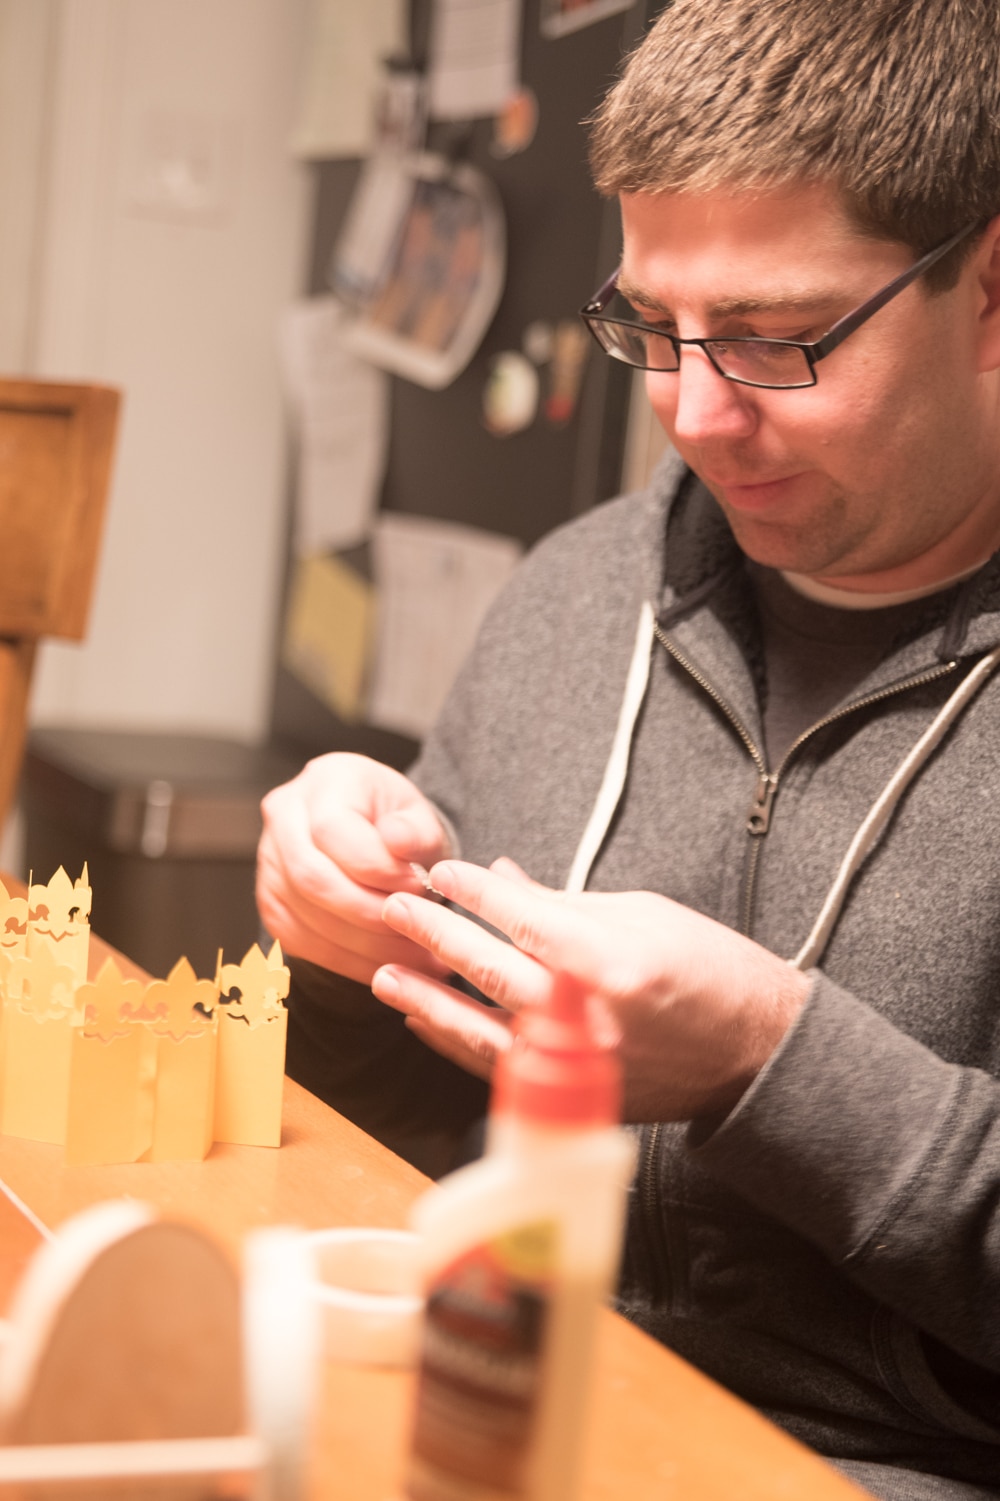
I have to give a major shout out to Forrest – I was getting really stressed out about how to put together some of these, and he swooped in and saved the day. I’m not the best at paper crafting, so he usually helps me figure out where to fold and glue.
Car Trophies
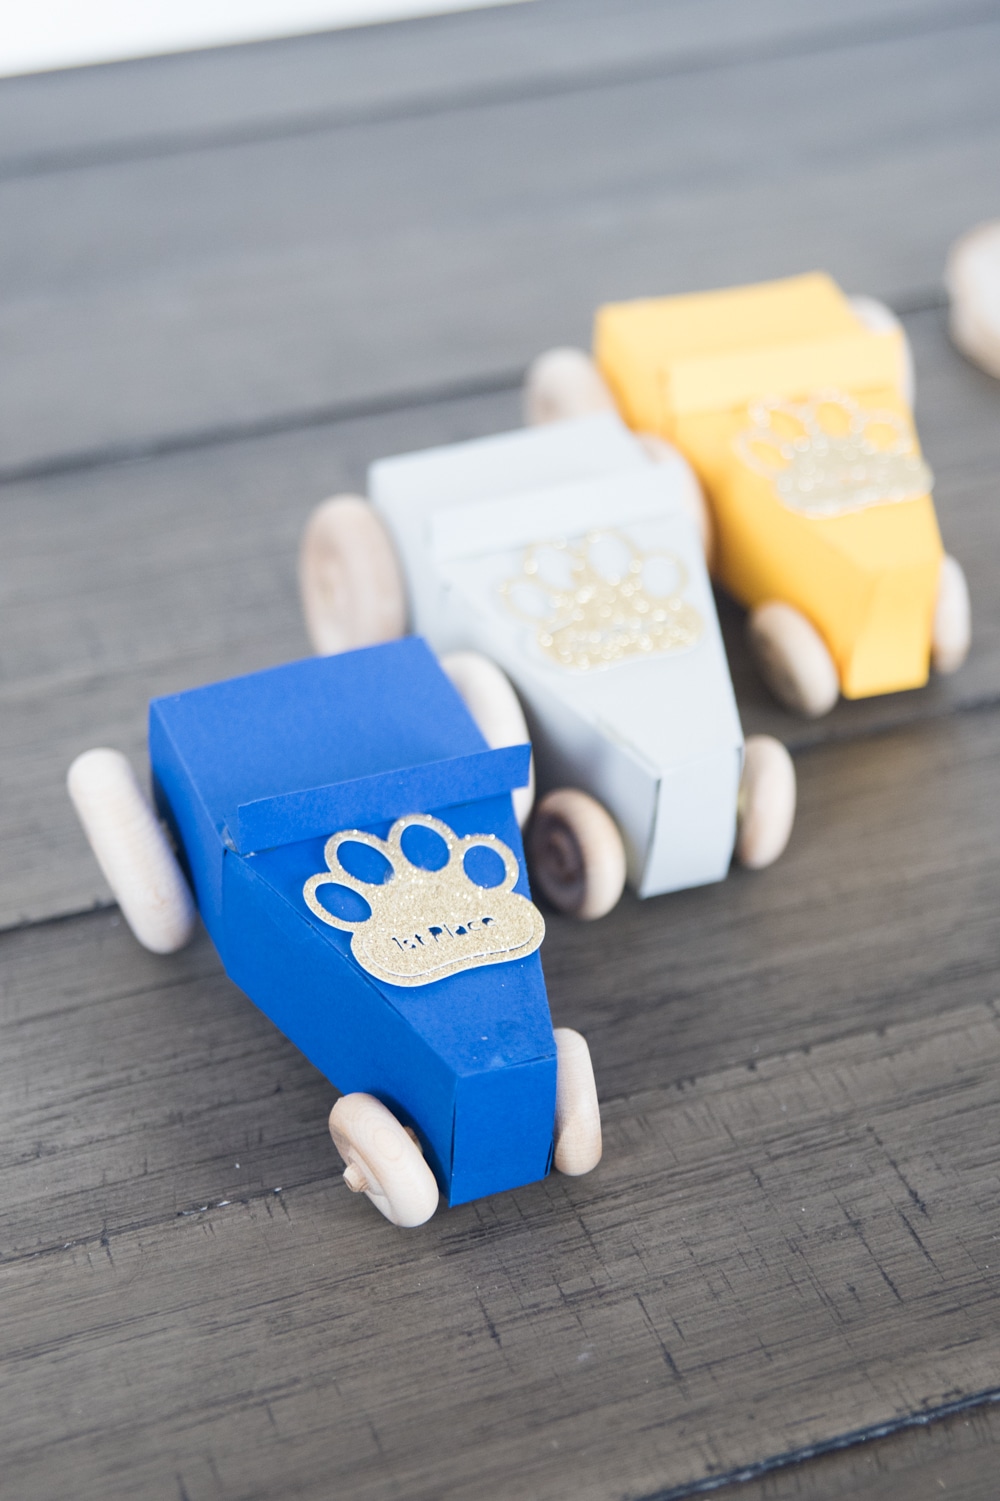
For this one, I used the “racer car” image in Design Space. I thought it was perfect!
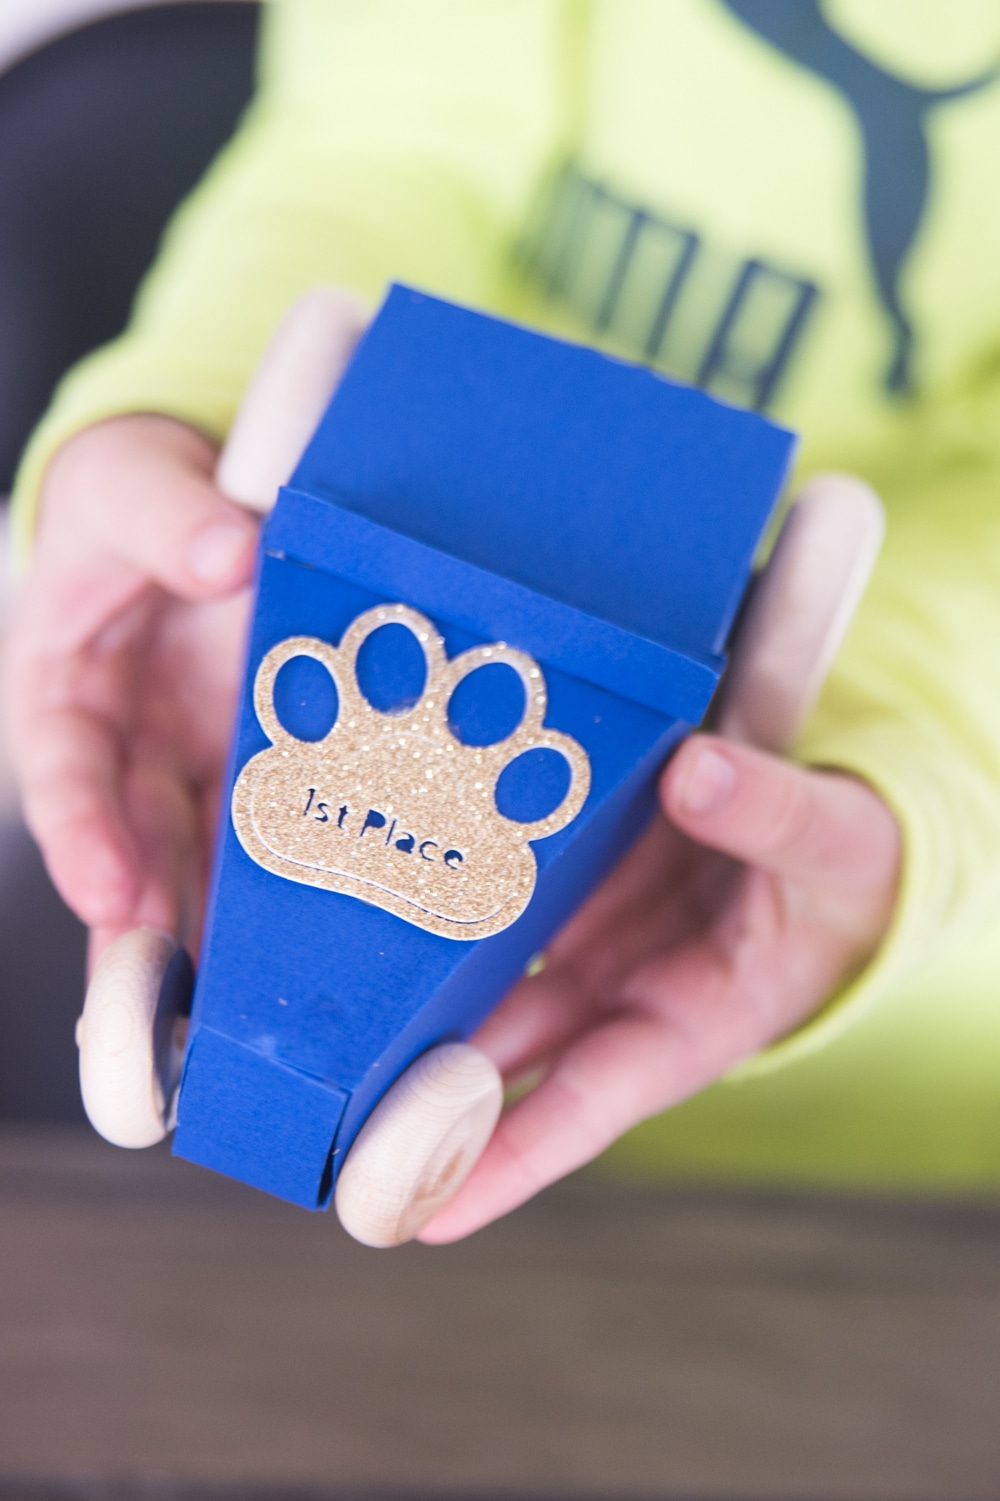
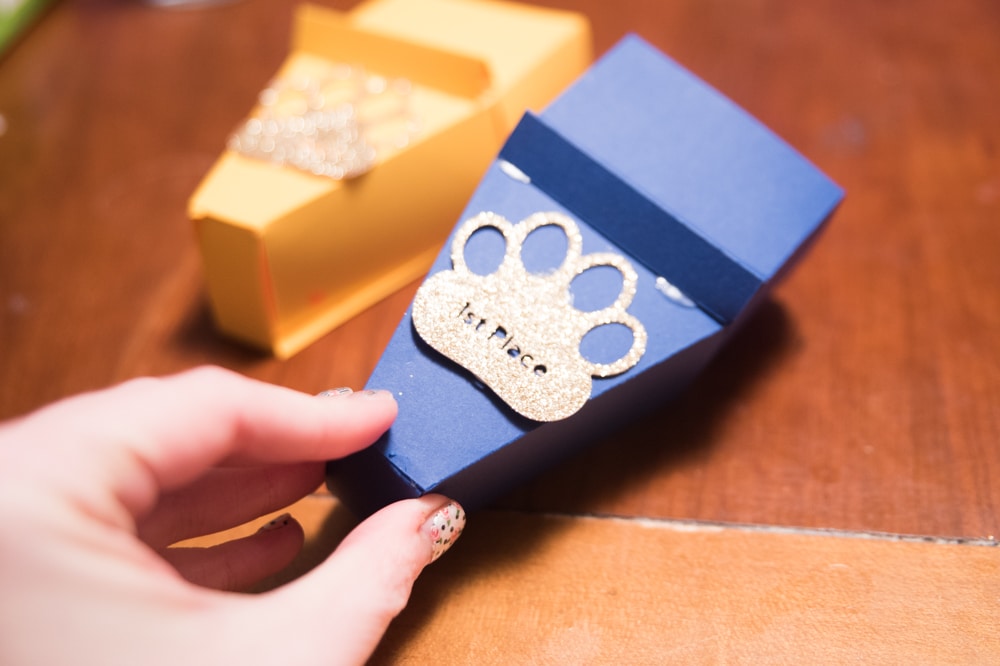
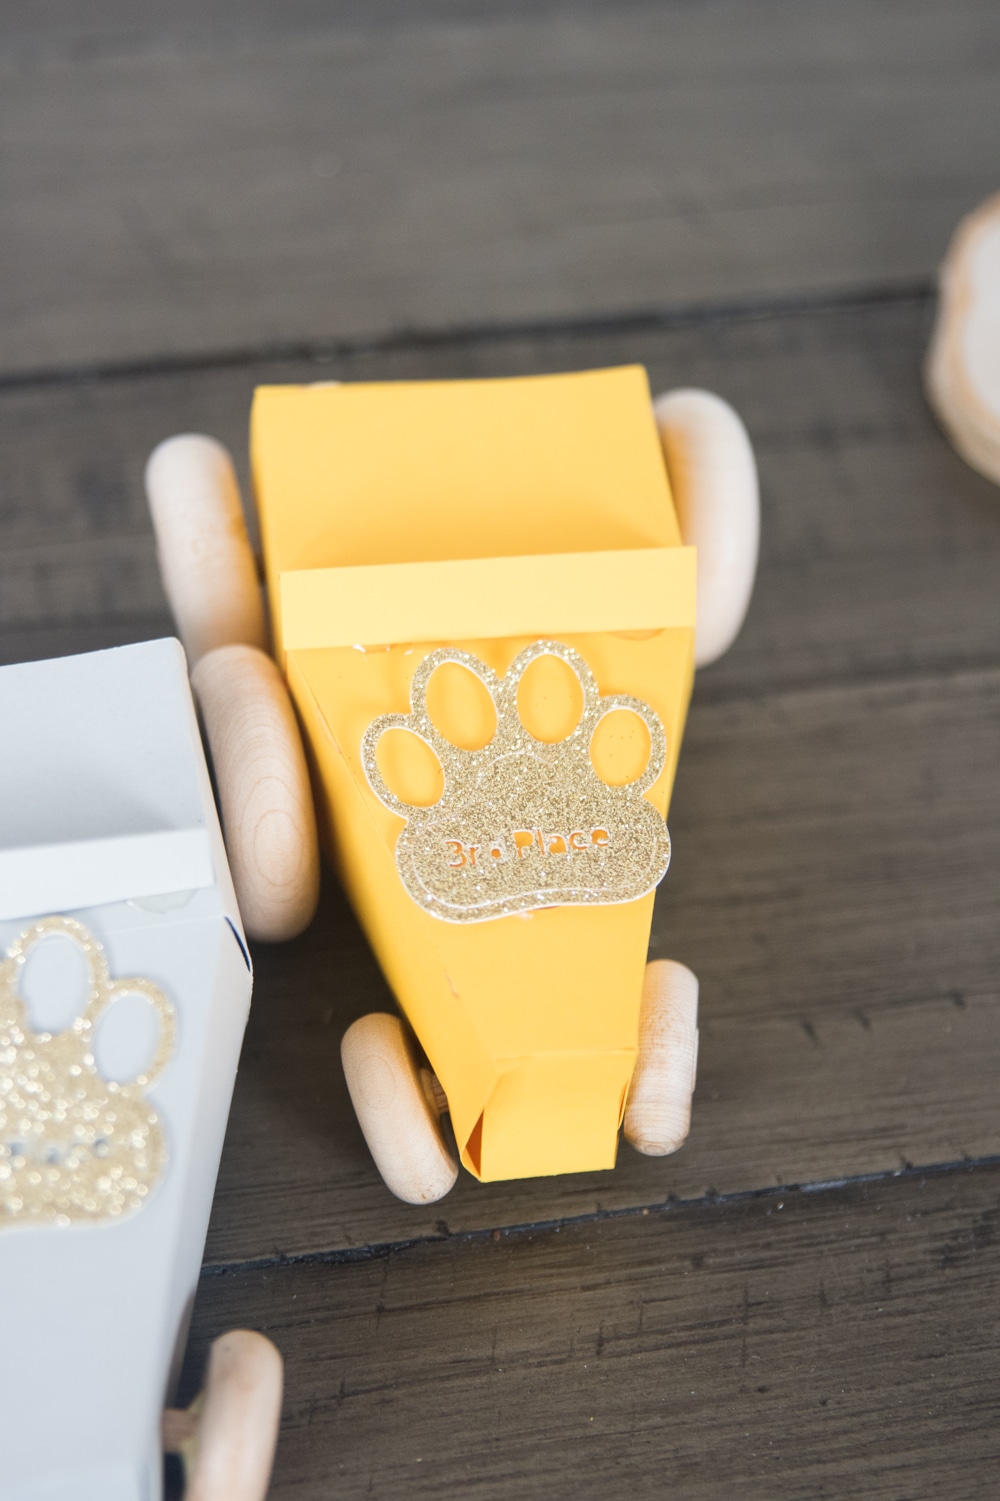
I also created a little emblem for each one using a Cub Scout Paw, and I cut out “first place”, “second place”, and “third place” from the center of it.
These are pretty simple to put together. Here is what you will need:
- Cardstock in blue, gold, and silver
- Glitter gold cardstock
- Wooden toy wheels in 2″ size and 1″ (2 of each for each car) – I got these at Hobby Lobby for about $2.99, and each bag had quite a few in them
- Little dowels that are 1/4″ thick for each wheel
- Wood Glue
- Adhesive (I used glue dots, but I think that hot glue would have been a good choice)
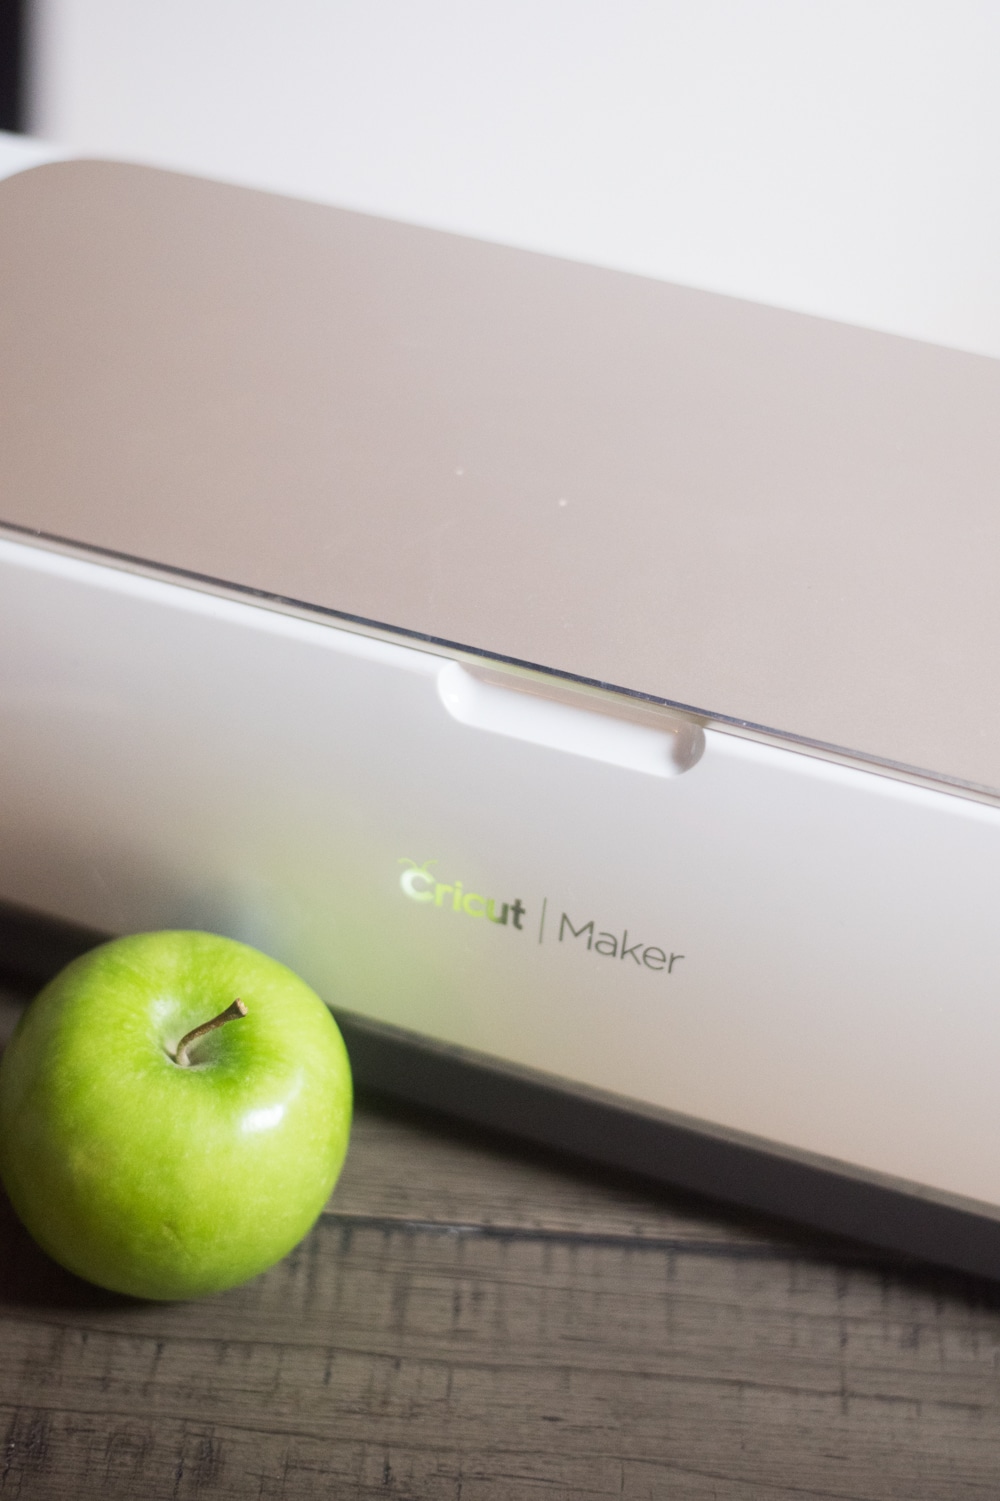
- Cricut Maker (Cricut / Amazon)
- Cricut Scoring Wheel (Cricut / Amazon)
- Cricut Mats – I used a less sticky green mat for my cuts
And here is how you put it together!
Press “Make It” and follow all the prompts to get to the screen where you can make your selections.
Select the material for your first cut and place it on your mat.
If it’s a scoring one, make sure you have your scoring wheel in place.
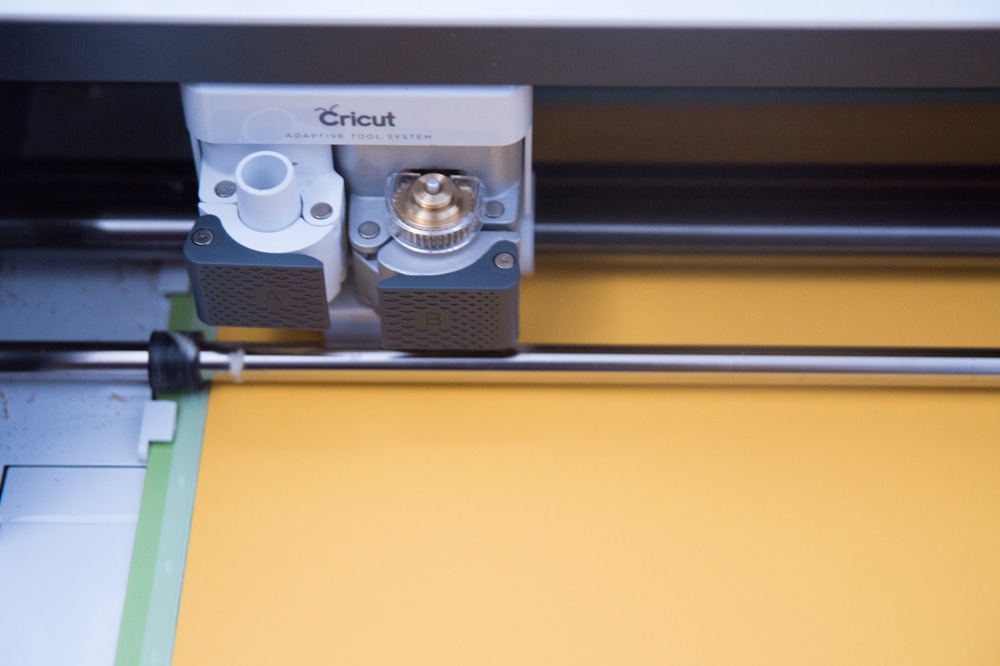
Cut out all your materials and weed out the excess
Fold along the score lines.
Here are a few pictures of us putting the car together. Use an adhesive – like hot glue – to make sure these stay in place. This car was very easy to form once you folded the lines.
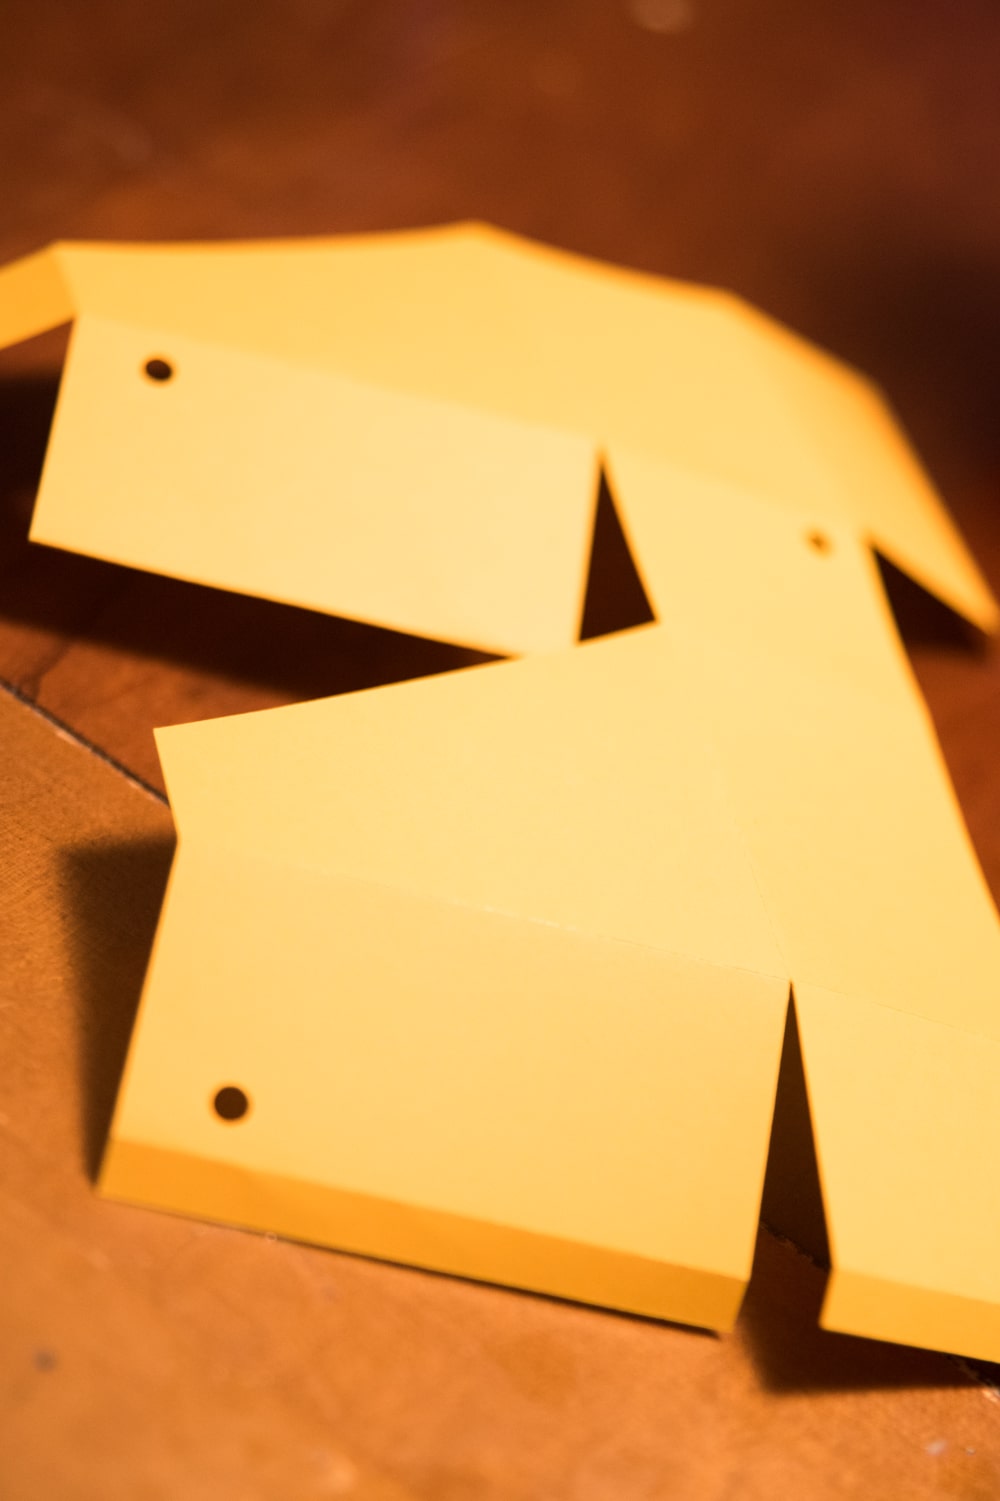
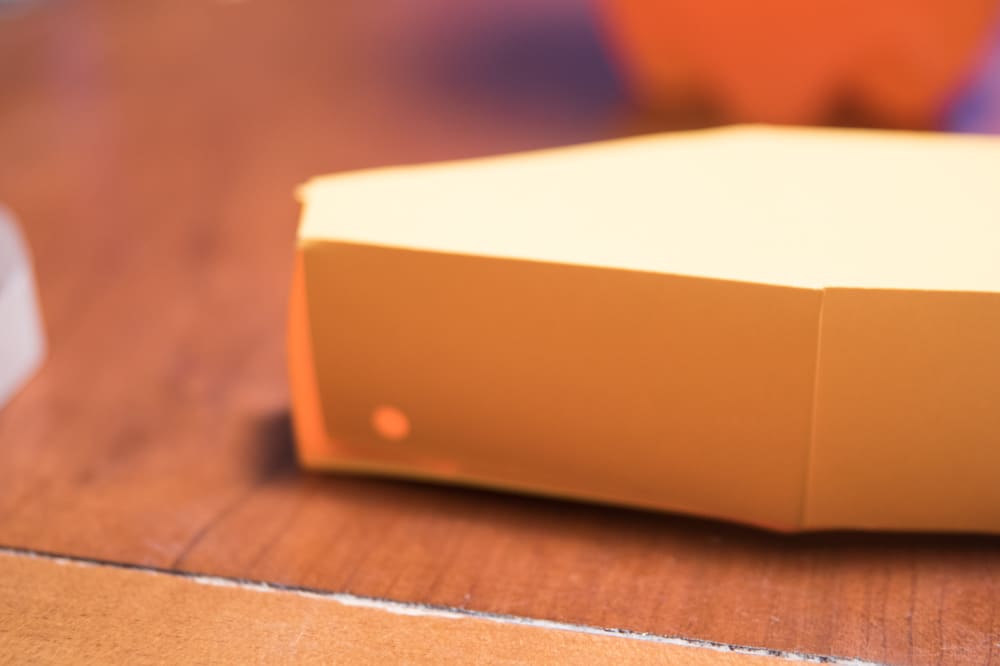
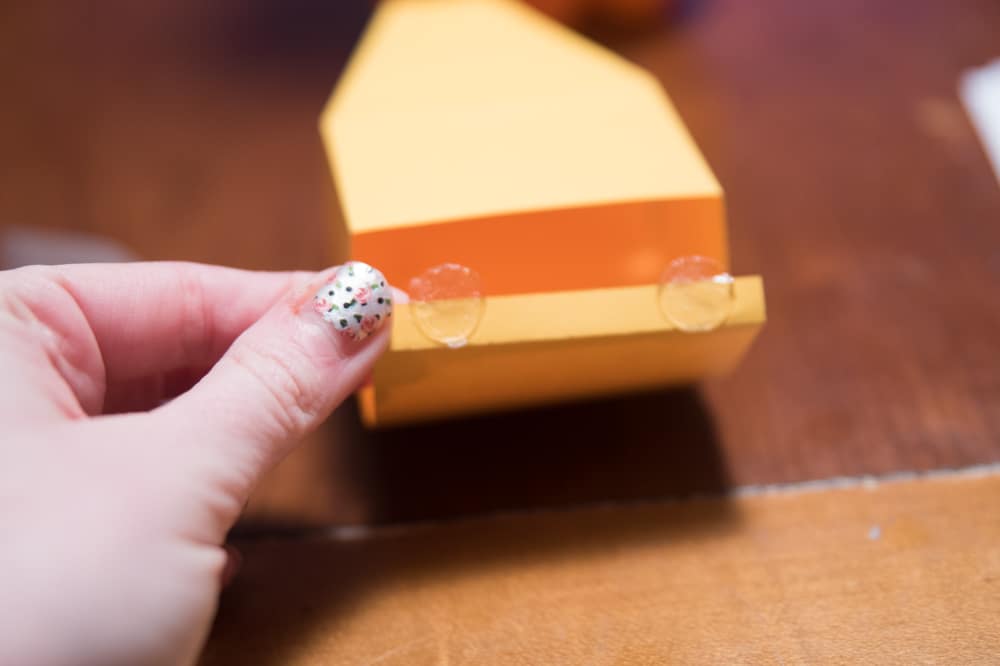
Place the windshield piece on top with some glue.
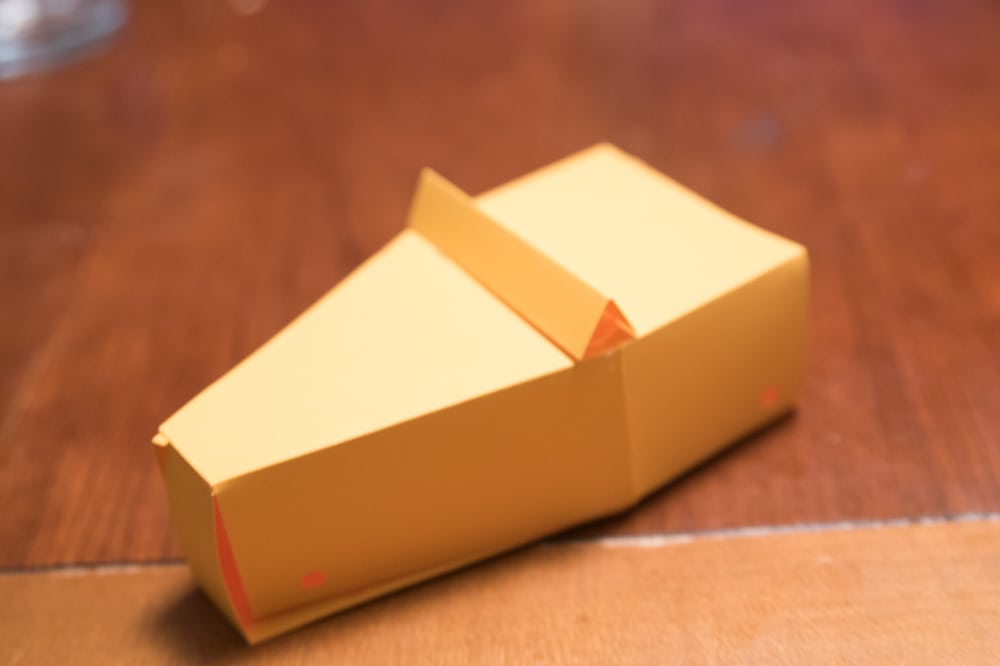
Glue the little decals on top.
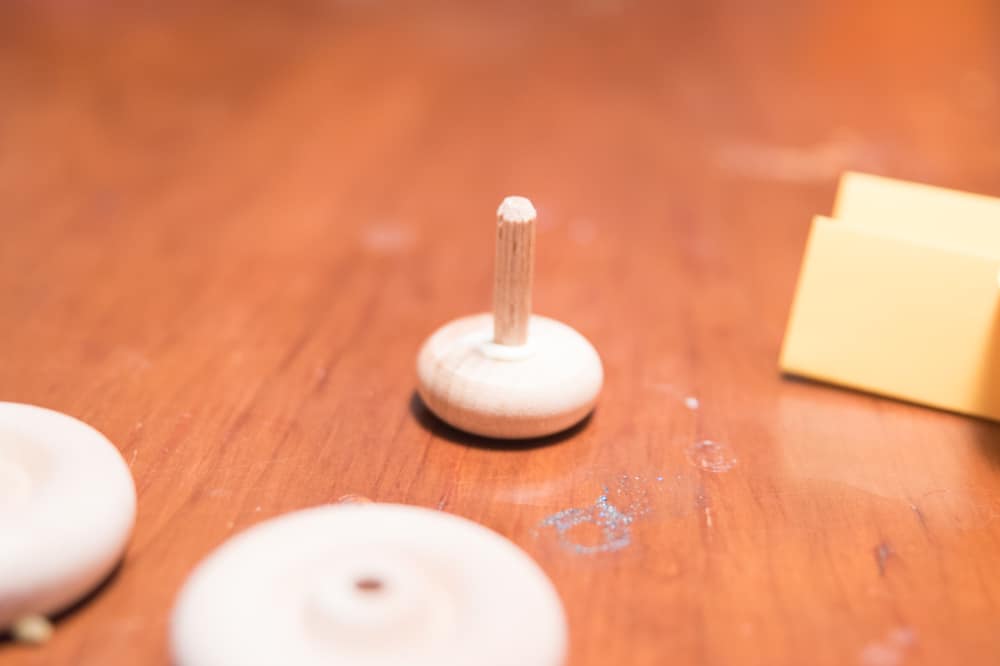
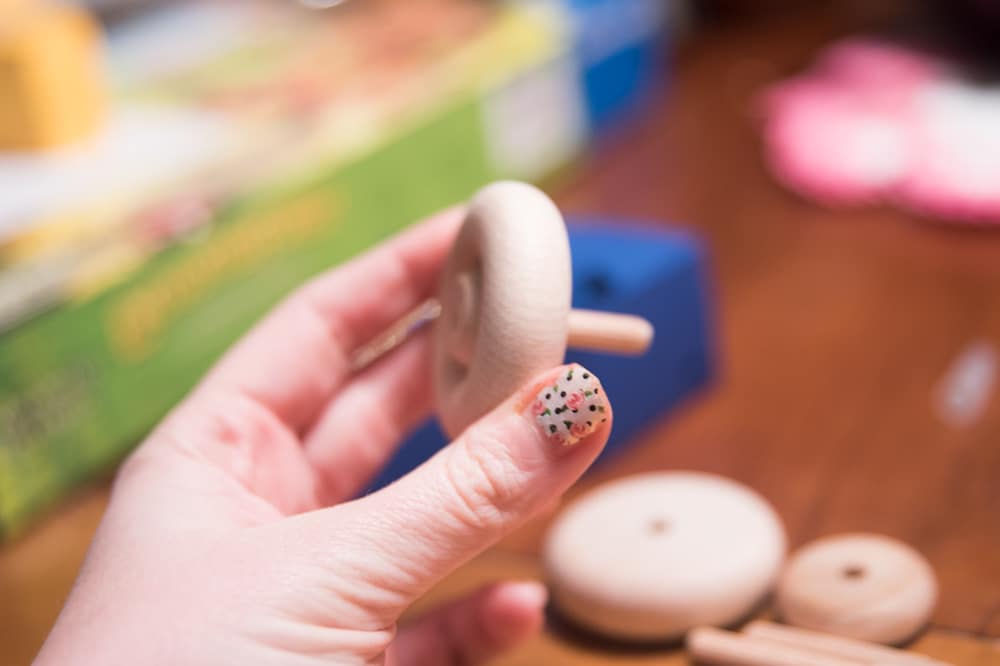
Now it’s time to assemble the wheels. Using wood glue, glue the dowels into the center of each wheel and let dry.
Put the wheels into the car holes. I did find that the wheels in the back weren’t super steady – so if you don’t care if they actually move, you want to hot glue them into place. My holes weren’t quite big enough, but I just pushed the dowel through carefully to make them the right size.
and now you are done!
Rosettes on Wood Pieces
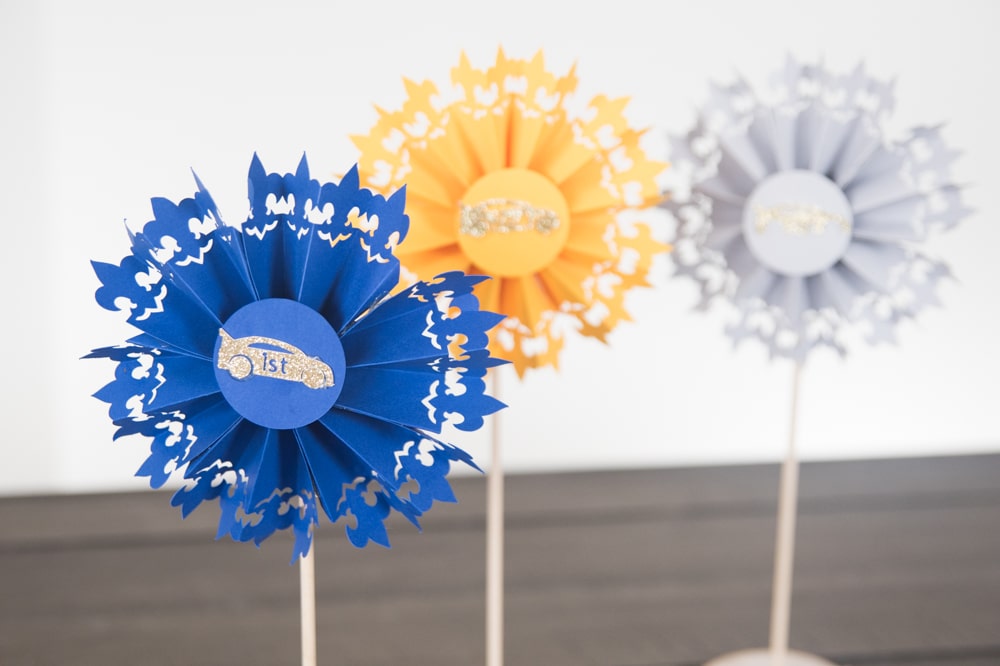
This second award could also double as a centerpiece!
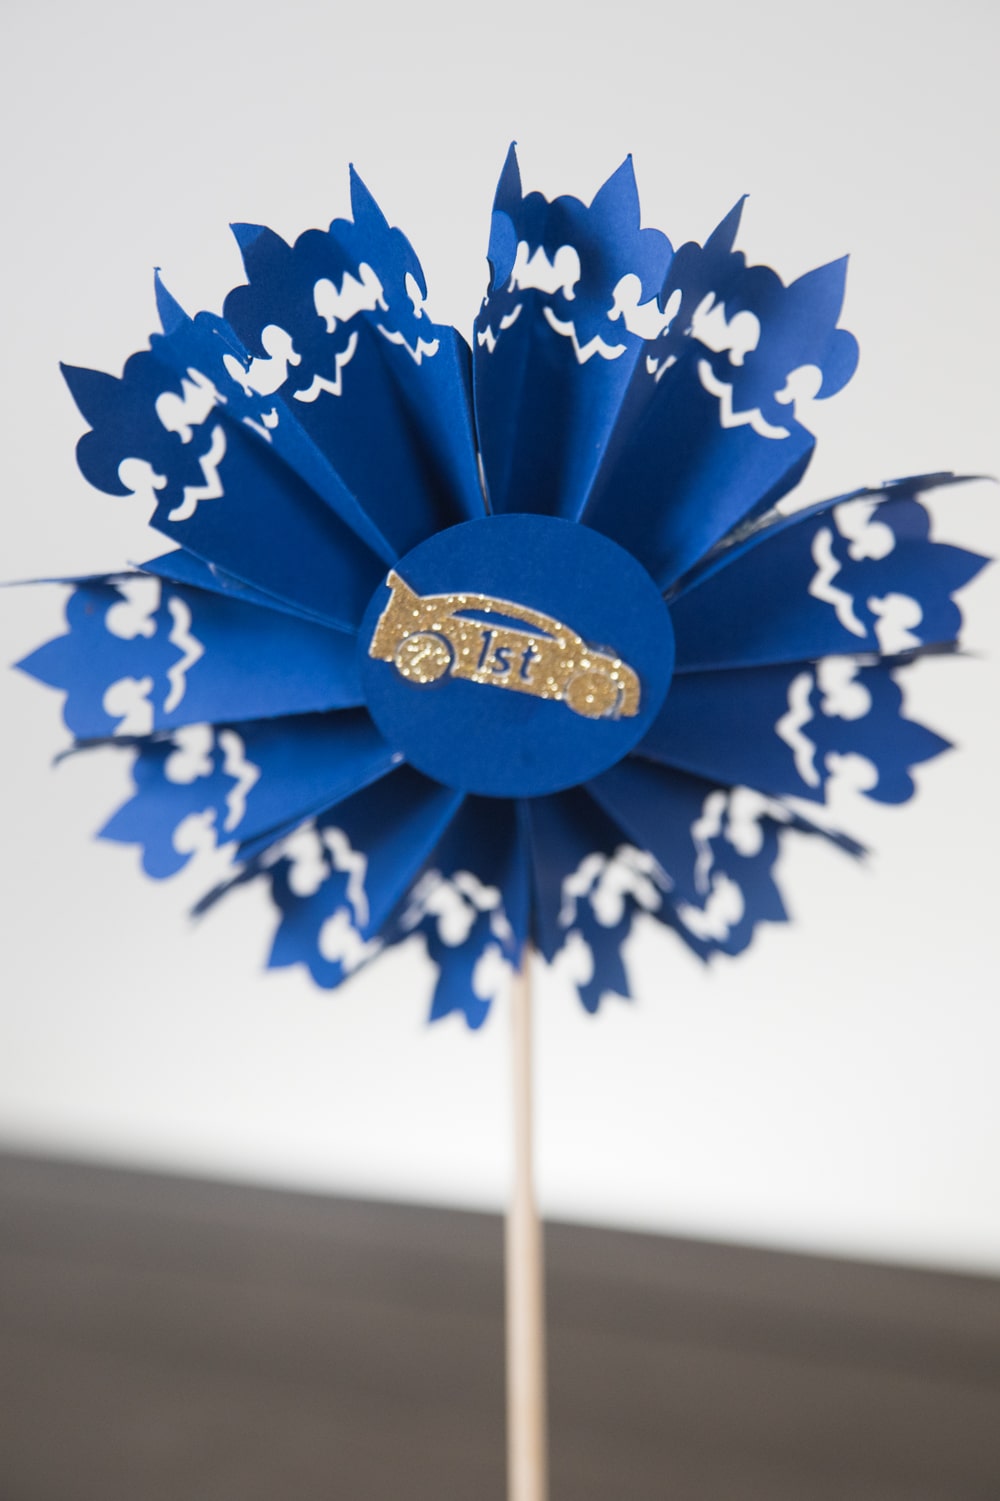
These Rosettes are a part of the Cub Scout/Boy Scout collection in Design Space. I have to admit that I accidentally cut out the Boy Scout ones instead of one of the Cub Scout ones….but I figured it’s all good 🙂 If you would like to use the more Cub Scout specific ones, here are the image numbers:
- Wolf Paw Rosette #M34935A
- Bear Paw Rosette #M349371
- Arrow Rosette #M349350
For this project, you will need:
- Cardstock in blue, gold, and silver
- Glitter gold cardstock
- Long wooden dowels
- Hot glue
- Wood Slices
- Cricut Maker (Cricut / Amazon)
- Cricut Scoring Wheel (Cricut / Amazon)
- Cricut Mats – I used a less sticky green mat for my cuts
Here are in the instructions for this project:
Edit the colors as you see fit.
Press make it and make sure all the mats are correct.
Prepare your mats and select the correct materials in the settings.
Make sure you have your Scoring Wheel in place and cut out your materials!
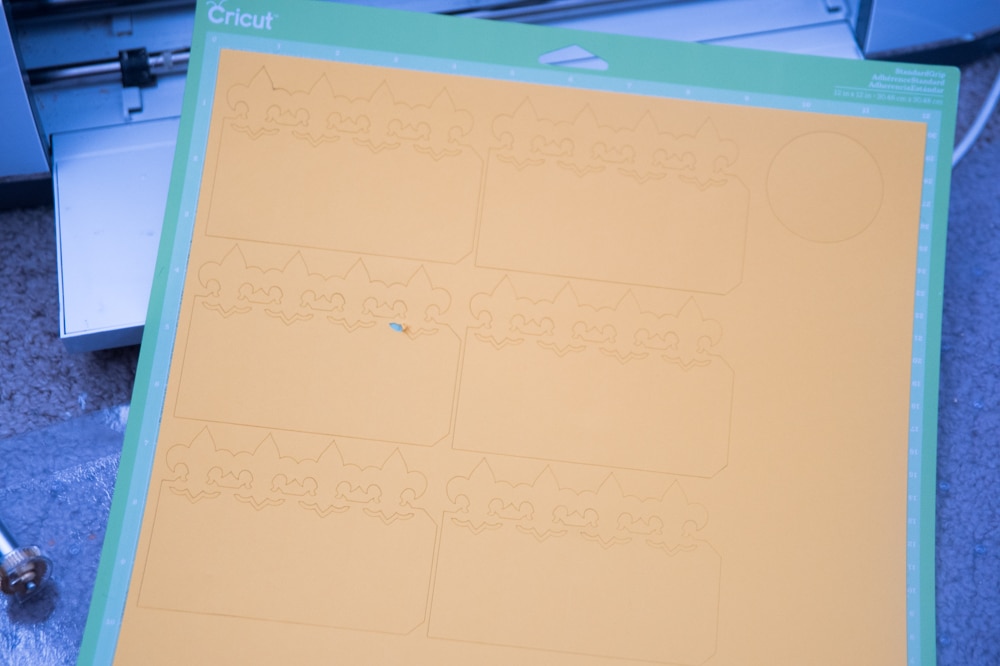
Weed out the excess and get ready to prepare your rosettes
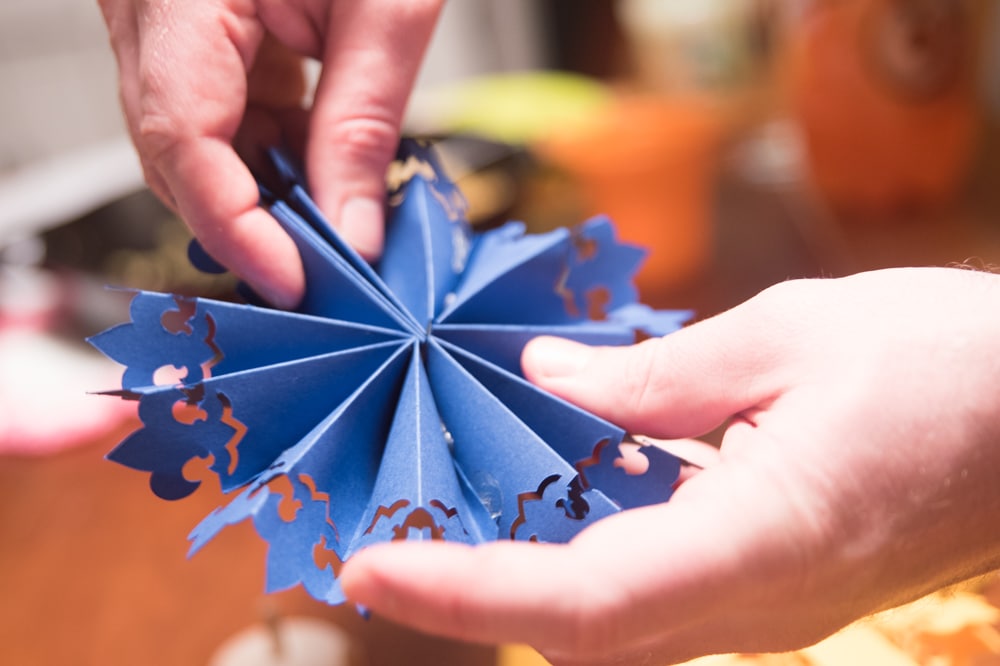
Here is a visual of what you should do:
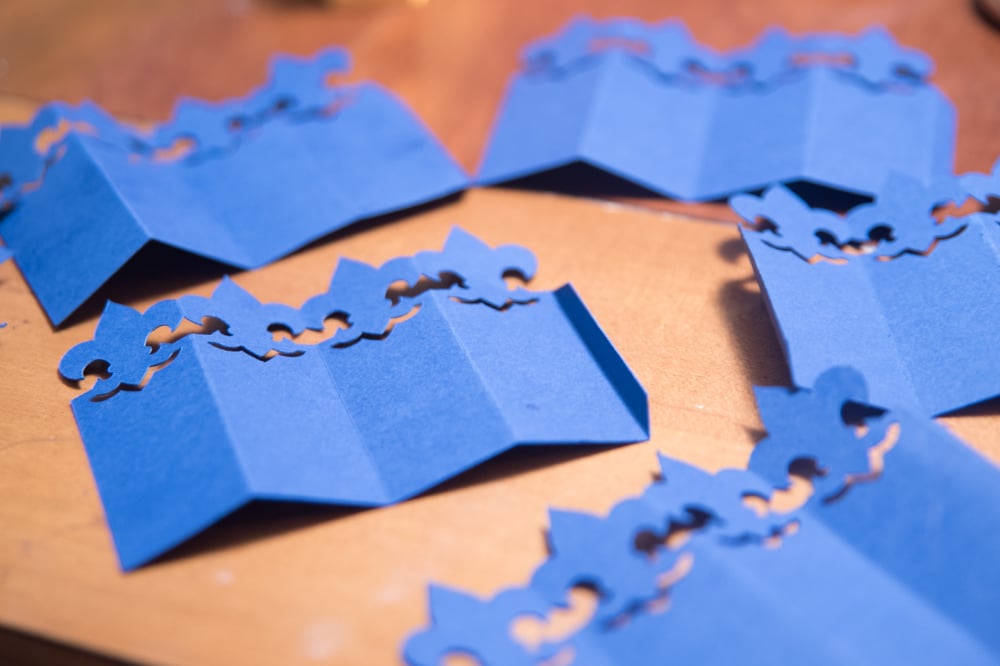
Fold fan each of the pieces of the rosette and fold the tab in at the end.
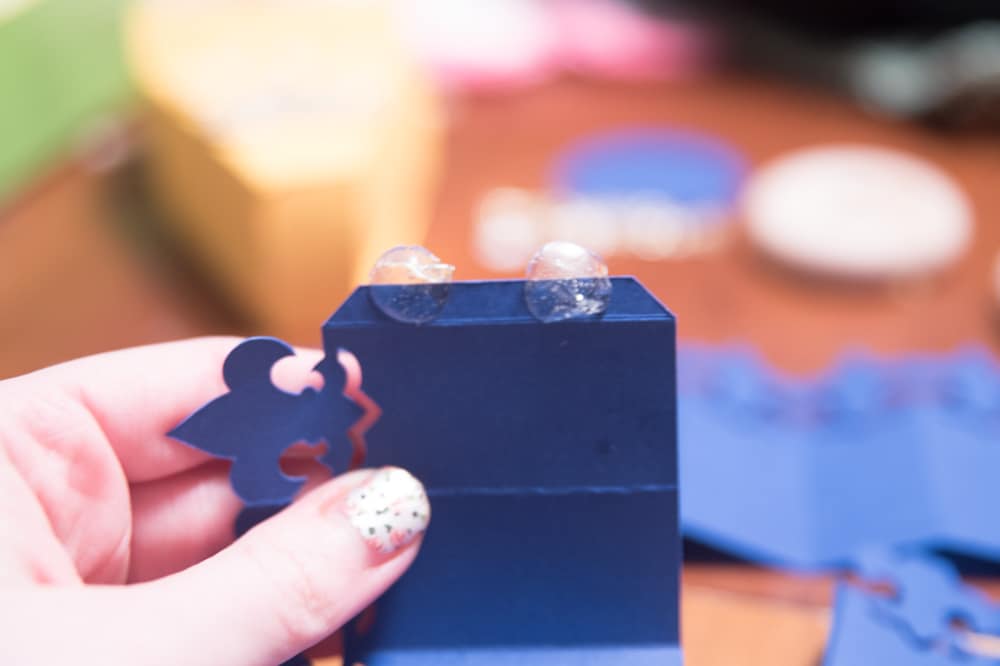
Glue these pieces together at the tabs until you make a circle with all of them.
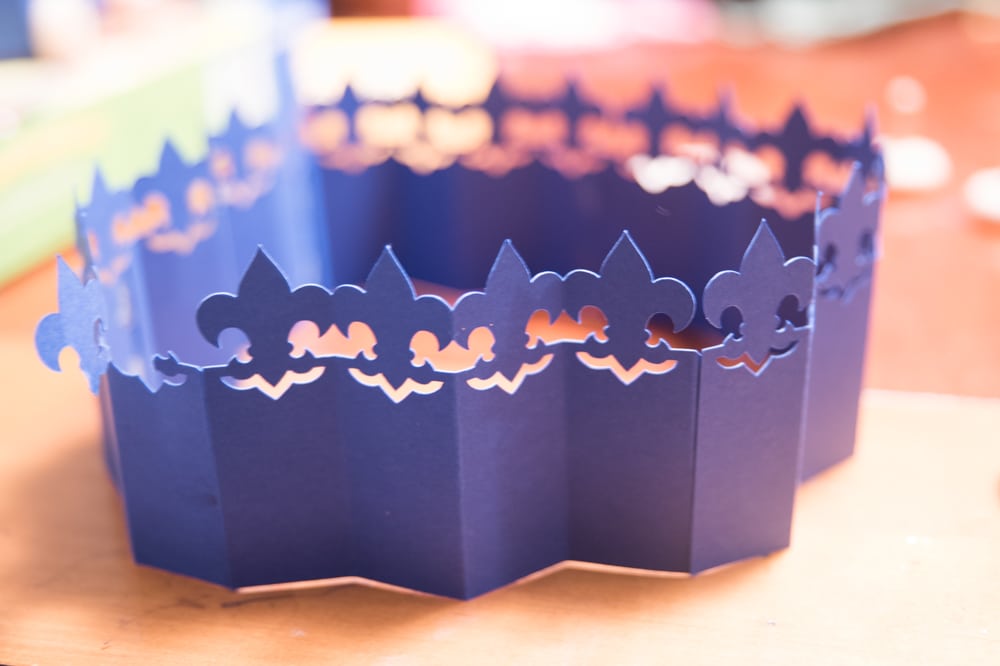
Push together into the center, like this:
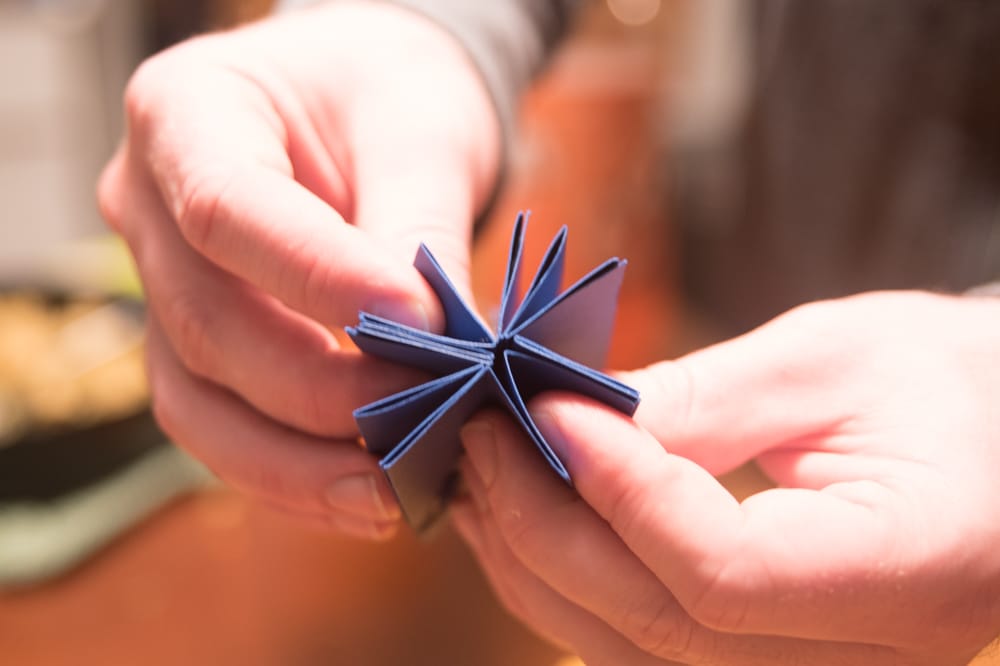
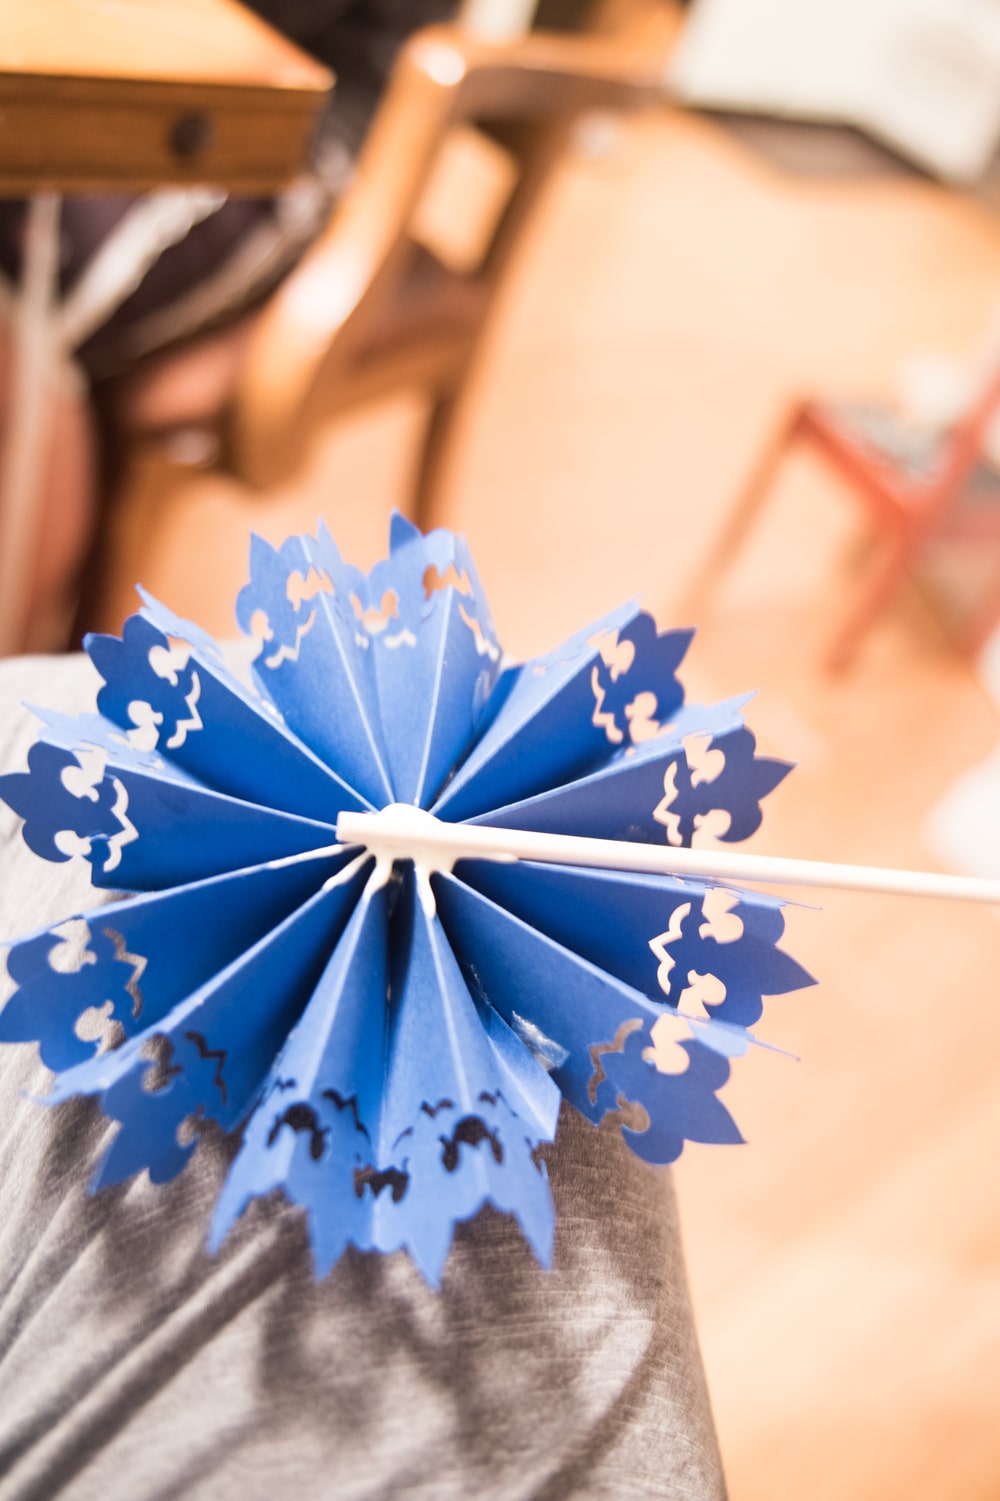
Fan out and make sure you add some kind of adhesive to the center on the front and back so it doesn’t come out place.
Glue the little silver car into the center of the solid circle that was cut out.
Drill a hole into your wood pieces, and then place the wood dowel in the center.
Glue the other end of the dowel to the back of each rosette.
And there you have it! Feel free to ask any questions you may have.
Other Posts You May Enjoy:
- The Cricut Maker Knife Blade is Here!
- 10 Easy Cricut Maker Projects (Using Less than Five Materials!)
- Cricut Tips for Beginners



Can this be done with an explorer air 2?
Absolutely! You’ll just use the scoring stylus. YOu can switch it to this tool instead of the scoring wheel in your settings 🙂
These are so cool! You are a creative GENIUS, Katie!