How to Easily Recover Dining Room Chairs – Tutorial
Recovering your dining room chairs can really transform your dining room and add years of life to your chairs. This tutorial shares simple tips for reupholstering your dining chairs in no time – and on a budget!

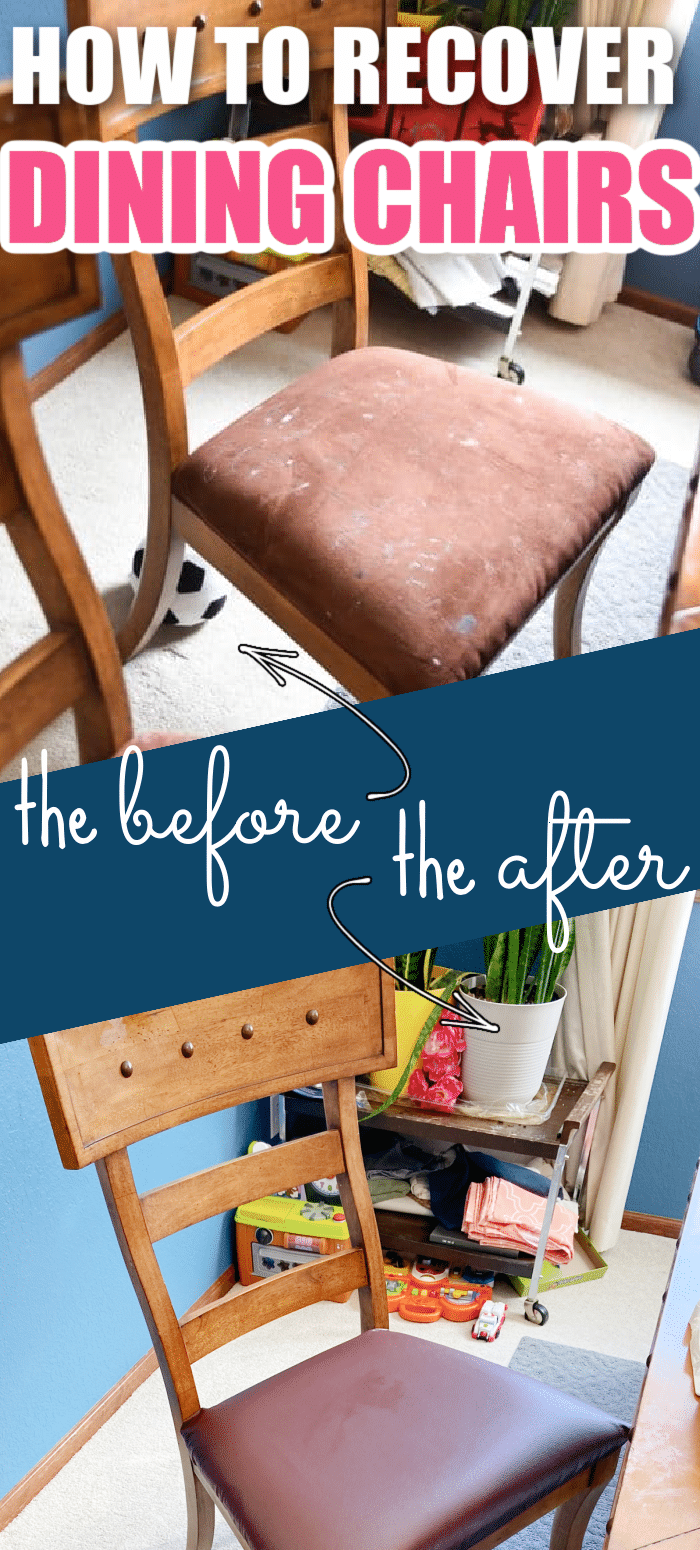
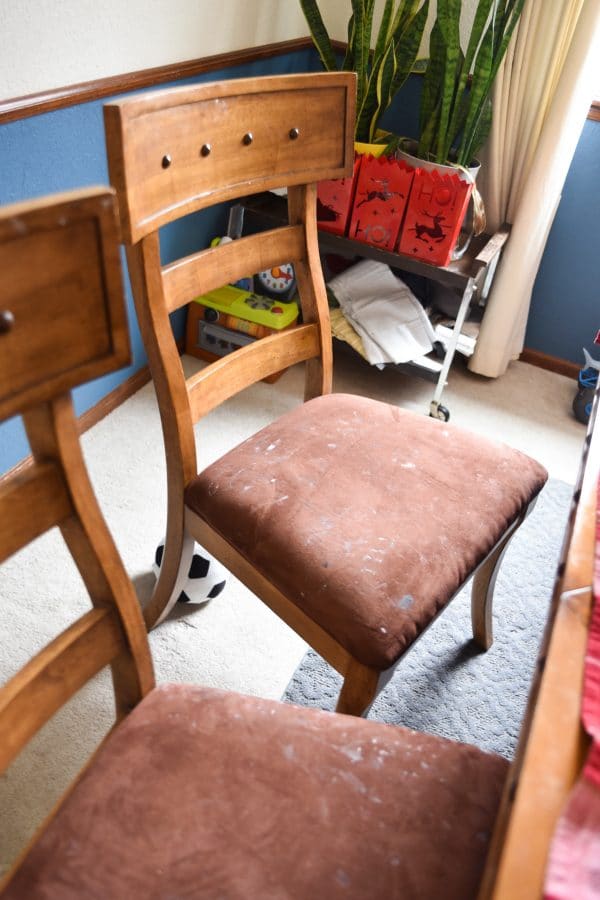
Before 
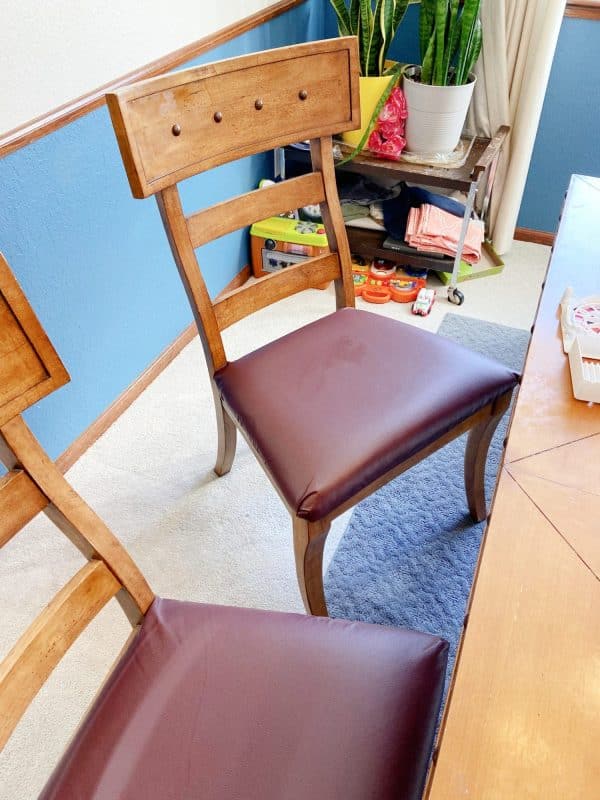
After
DIY Reupholster Dining Room Chairs
There are people who, when they get an idea, nothing can stop them from finishing it as quickly as possible.
And then there’s me. I have TONS of ideas…I even buy materials for projects, and I get so excited to do them.
Then life happens…and two years later, I realize I have a project that desperately needs to be completed.
This was the case with our dining room chairs. We got the table and chairs for a screaming deal at the Restore several years back, but the chairs were T-E-R-R-I-B-L-E. They are super sturdy, but the seat coverings were impossible to clean – and with three little boys, let’s just say they got pretty grungy.
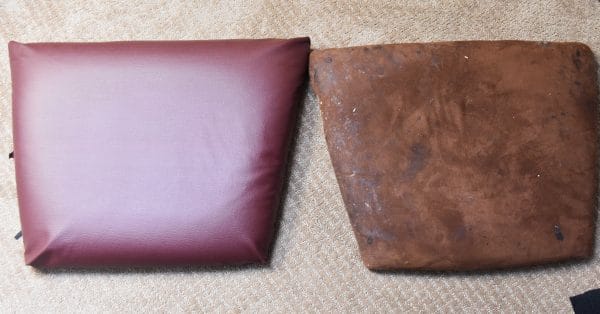
Case in point. Don’t judge me too hard.
When I saw a friend recovering her chairs awhile back, I decided it didn’t look too hard, so I ordered the materials – fully intending to do them right away.
Well, that motivation died down, and months turned into over a year before I revisited the idea.
My brother was home for an extended stay, and when I asked him to help me, he enthusiastically said yes. This project 100% would not have happened without his help.
We learned a lot along the way (such as trusting that there WERE actual screws in the chair – and that it wasn’t glued together), and I thought I’d share our tutorial on how to easily recover your dining room chairs.
When I say easy – I mean, it doesn’t require a ton of skill. What it does require is time, so keep that in mind.
Now, enough babbling – onto the chairs!
Table of contents
What Fabric to Recover Chairs
I was pretty adament that whatever I recovered these chairs with, that it would have to be easy to clean and dark. With children, that’s pretty much a no-brainer.
One of my friends who reupholstered her dining room chairs sent me this listing for faux leather on EBay. It had great reviews, was a great price and they had tons of colors.
I spent $54.95 on five yards in burgundy. I’ve been very pleased with the quality thus far and how it looks. It is VERY easy to clean off – much better for a family with three little boys!
How Much Does it Cost to Reupholster Kitchen Chairs?
This entire project cost $54.95, but that’s because we had a staple gun with staples. If you don’t have those materials, it may cost a little bit. The cost will also depend on how many chairs you have, as well as
How Much Material Do You Need to Recover Chairs?
As I already mentioned, I purchased five yards of the faux leather – and we used every last bit of it. I did mess up a few times, and if I had measured things more precisely, I probably would have had more leftover. But I was glad I ordered as much as I did.
For reference, we recovered eight chairs that have oversized seats.
Should I Remove the Old Fabric?
A lot of tutorials I saw instruct you to remove the old fabric. We did not do this.
Obviously, if you are putting a light material on top of a darker material, you may need to remove the old fabric. You can do this by using a staple remover to take the fabric off.
However, if the old fabric isn’t going to show through, I don’t think this is a necessary step and will shorten the amount of time this project takes!
I do recommend cleaning the cushions well if you don’t remove the fabric so there aren’t pieces of debris that are permanently pressed into the chair.
How to Recover Kitchen Chairs
What You Need:
- Screw Driver
- Staple Gun and Staples
- Fabric for chair coverings
Instructions:
Flip your chairs over and unscrew the seat from the rest of the chair. Set aside the hardware in a safe place.
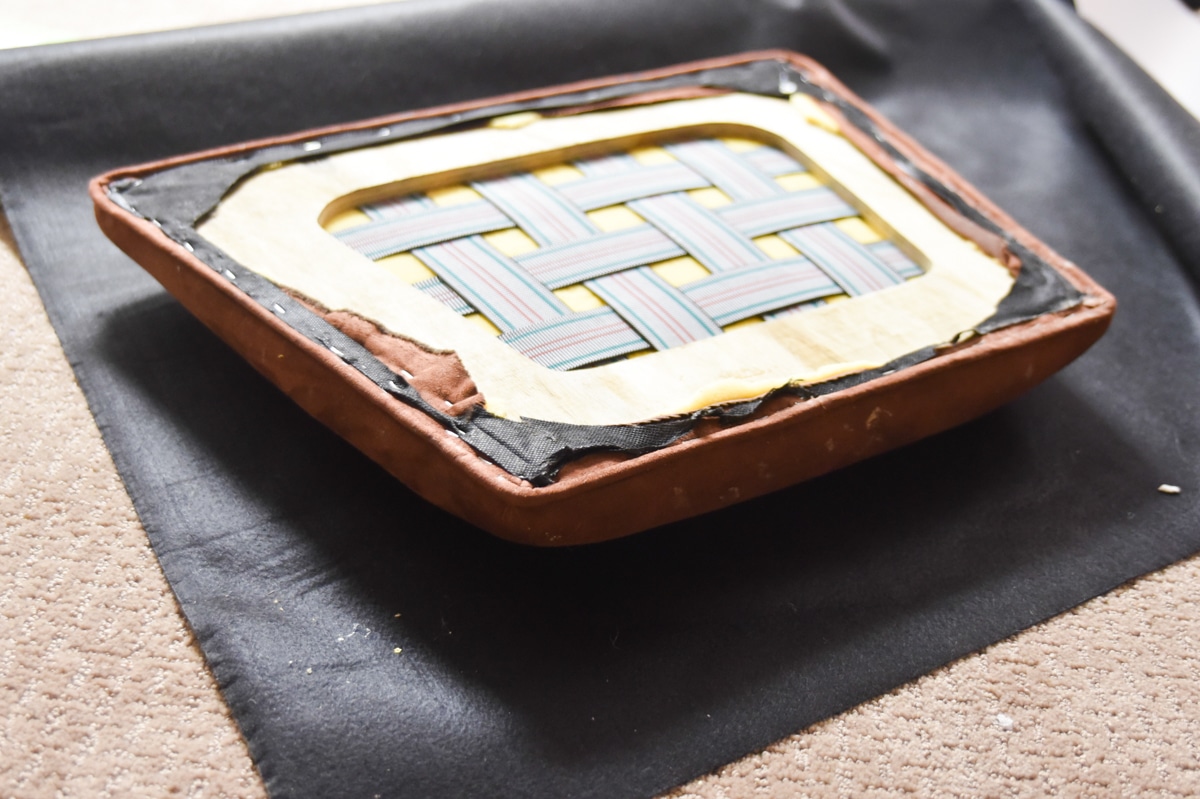
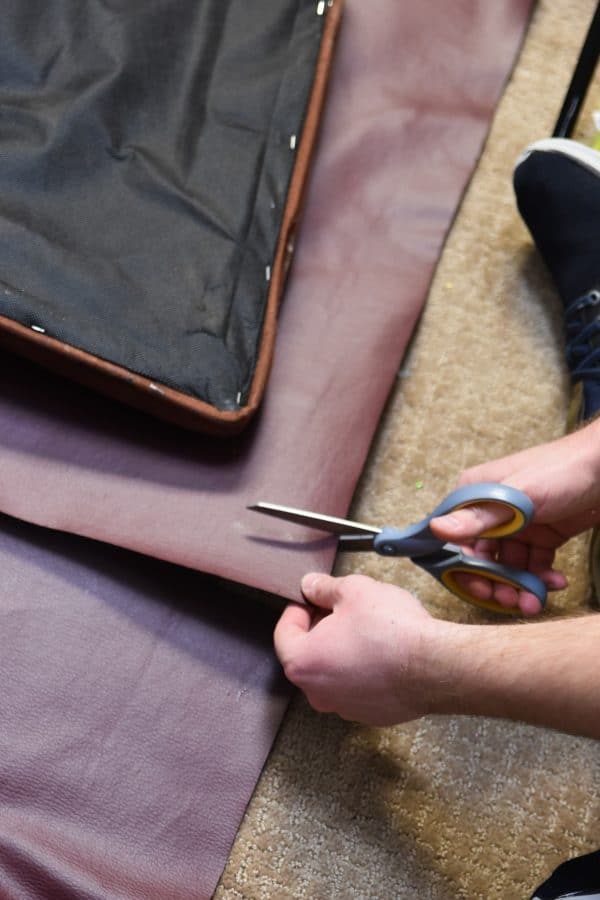
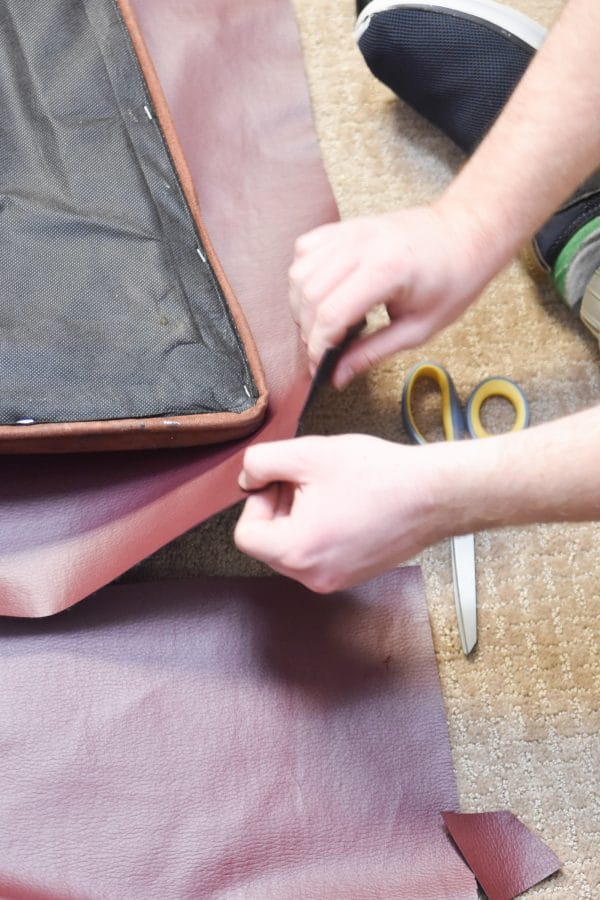
Place your material pretty side down on the floor or your cutting area and put your cushion on top of it.
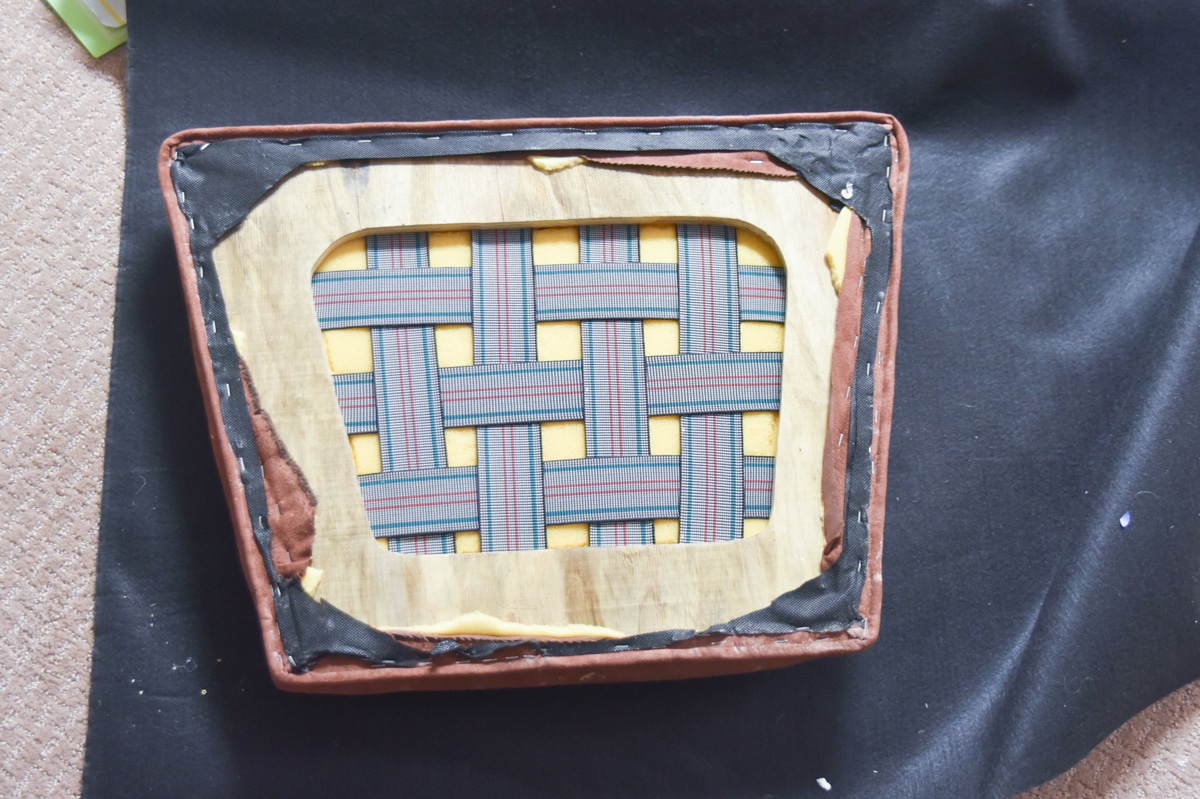
Draw a line about 3″ around the entire cushion with a washable fabric pen or marker.
Remove the cushion and cut out the fabric.
Place the cushion with the padding side down.
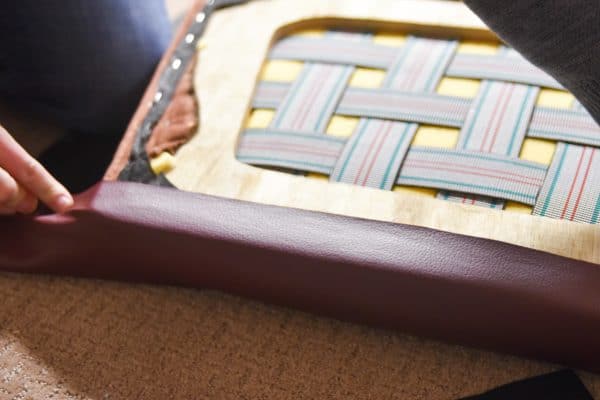
Start with one edge and fold it up over the edge of your cushion. Pull it very tightly and make sure it’s straight and staple the fabric into place in the middle of the edge and around the corners.
Go to the edge on the opposite side from the one you just stapled and do the same thing.
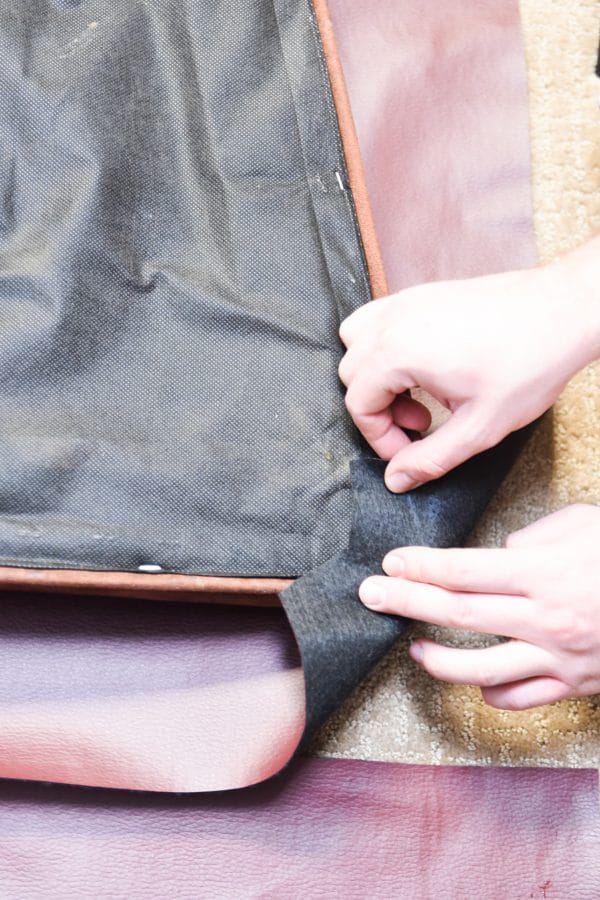
Now is the “fun” part – take one of the unstapled edges and pull it over the edge nice and tight. At this point, you’ll need to start folding in the corners using the instructions at the end of this tutorial.
This takes some time to make sure everything is nice and tight and that the corners fold without having a big gap or with too much extra material.
As you work on the corners, I recommend flipping the cushion over to make sure you like how the corner looks.
Do this with the other corners and the final edge.
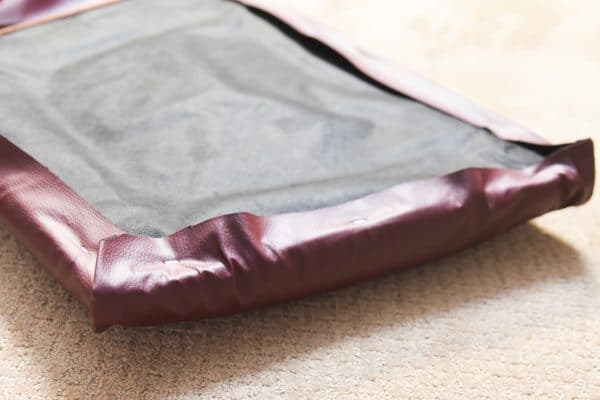
Trim any extra fabric – there probably will be a little bit – you only want about 1/4-1/2″ past where you staple it.
Once everything is how you like it, put staples around the entire cushion to secure the fabric into place.
Flip your cushion over and relish in how beautiful it looks.
Re-attach the cushion to the chairs with the screws and enjoy!
How to Fold in the Corners
The most difficult part of this project, by far, was making sure the corners fit in well and didn’t stick out.
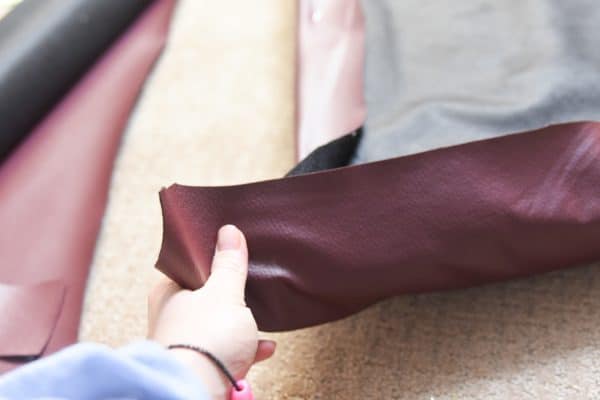
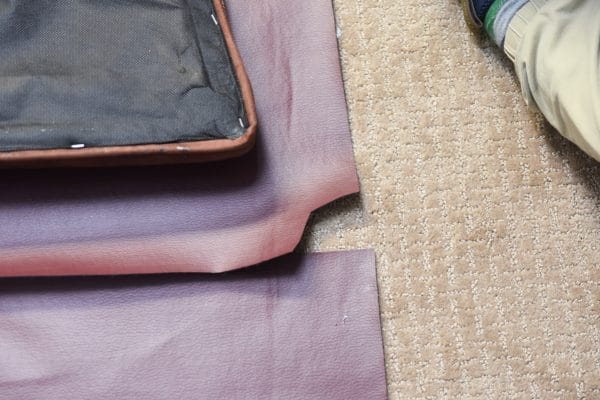
We always start by making a small “V” cut in each corner (just one at a time). This made it easier to fold in – as we did this, we would see if there was a lot of extra material that was bunching it up, and if there was, I would cut more of a “V”. You definitely want to start small though!
It’s honestly just like wrapping a present in a way – you just fold it in and until it looks right and then staple it into place as soon as it gets to where you want it. I wish I had better instructions for this, but it’s kind of hard to explain – just start with the “V” and go from there!
TIPS:
- When taking your chairs apart, make sure you keep track of which hardware goes to which chair. We only took two chairs apart at a time, and we made sure everything stayed together
- Measure twice, cut once. I had a few times where I wasn’t as precise with my measuring as I should have been, and I sorely regretted it.
- Be patient – this process takes time, and sometimes it can be frustrating. It takes time to get everything looking perfect before you staple
- Have someone else help you – while you can certainly do this by yourself, I think it was MUCH easier having my brother there to help me.
More Projects You Might Enjoy:
- Easy DIY Drawstring Bag for Toys – Perfect for LEGO, Toys, and Play and Go!
- DIY IKEA LEGO Table with Free Labels
- Easy DIY Cornhole Board Tutorial
- Easy DIY Backyard Ice Rink with Boards
