The Cricut Foil Transfer Tool Kit: The Ultimate Starter Guide
Learn how to use the Cricut Foil Transfer System and tips and tricks for success. This post has everything you should know to get started and some troubleshooting help as well.
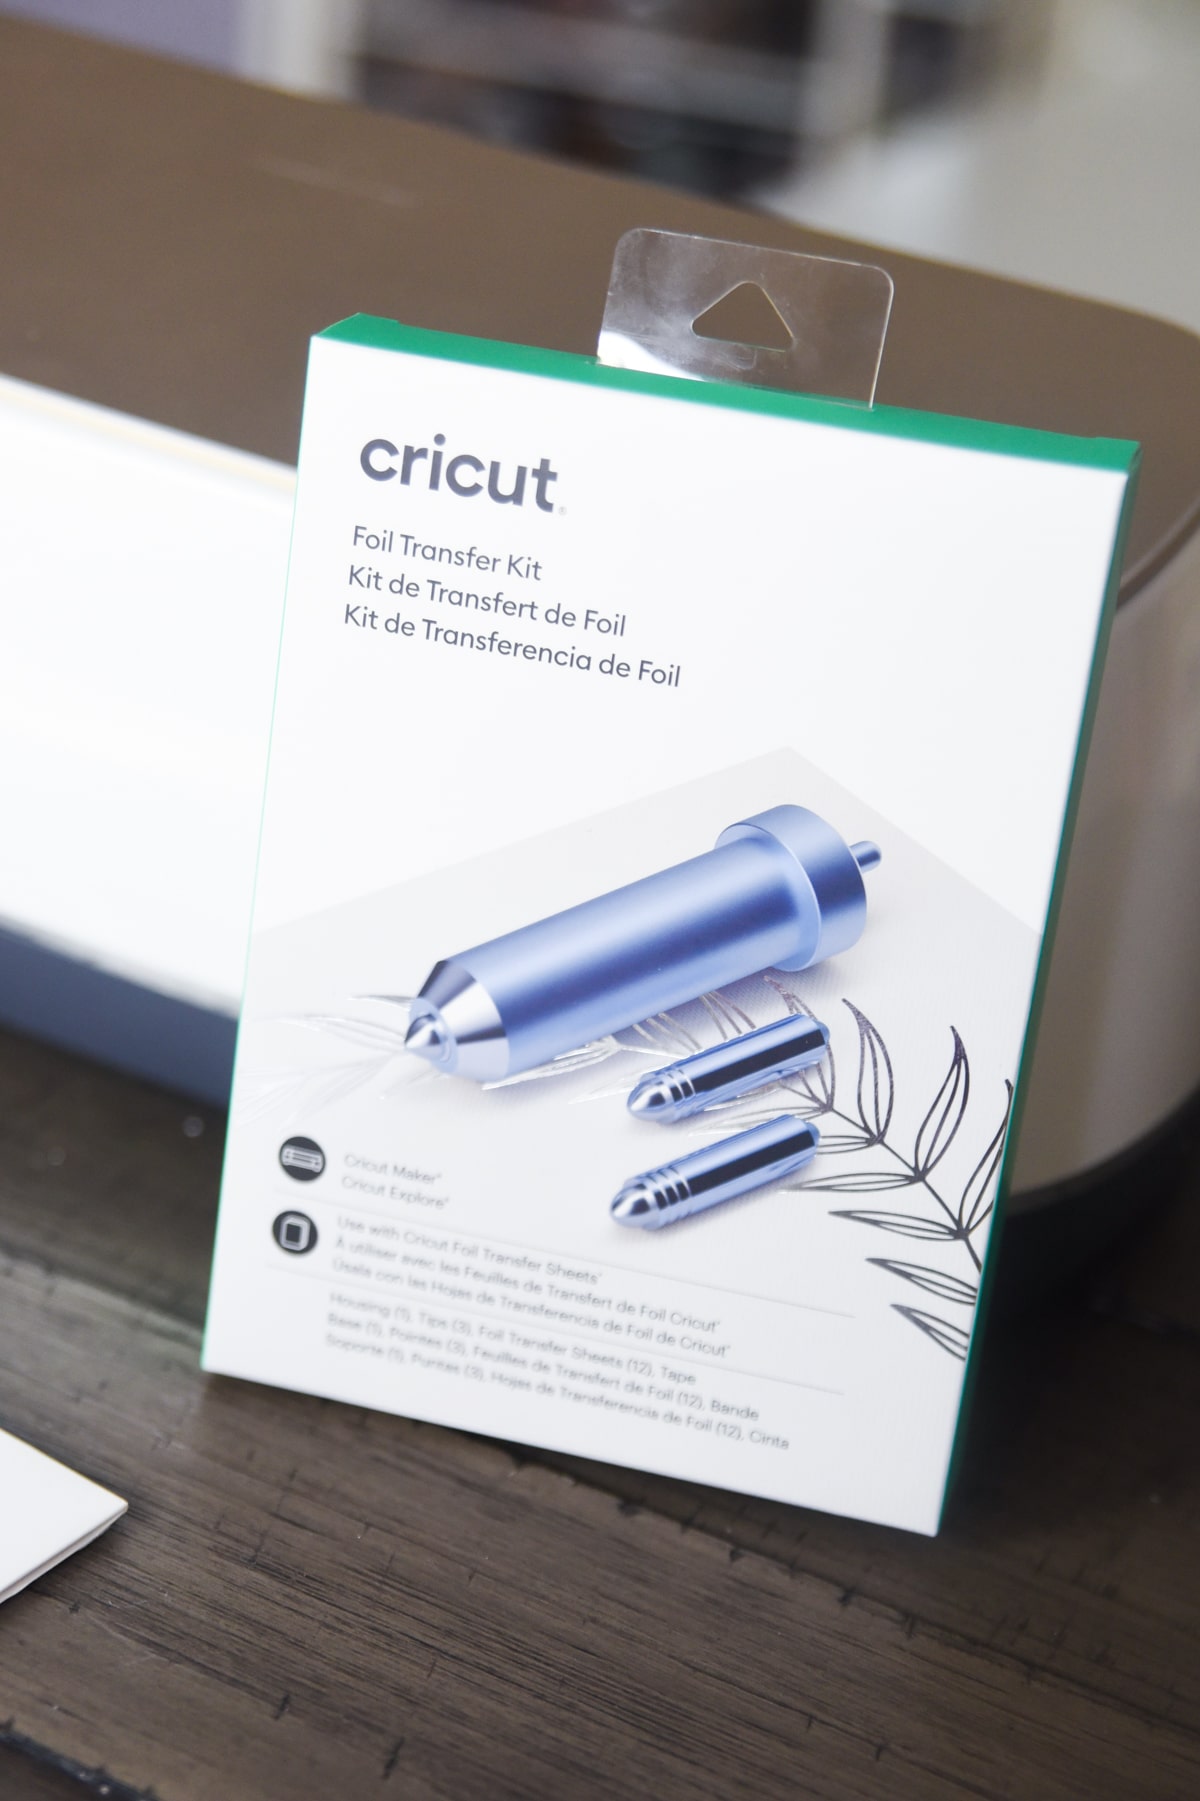
Now that I’ve introduced the Cricut Foil Transfer system and got you all excited about using it…it’s time to actually teach you how to use it!
In this post, I’ll share the basics of how to use the foil transfer tool but also answer some basic troubleshooting tips and questions I’m sure many people are going to be having!
As with any new tool or material, it takes time to figure out how to best use it. If you get frustrated – just take a step away for a few minutes and then come back and try again later!
With that said, Cricut has made this to be a pretty easy-to-learn process, so I think you’ll be a foiling master in no time!
So let’s get started!
CLICK HERE TO BUY THE FOIL TRANSFER KIT ON CRICUT.COM / AMAZON.COM

How to Use the Cricut Foil Transfer Tool
Here are the basic steps for adding this linetype to your designs and creating your own designs.
Materials:
How to Use:
- Open up Design Space
- Create your design – you can select a pre-exisiting foil project in Design Space or create your own with images and fonts you’ve uploaded or that are available in Design Space.
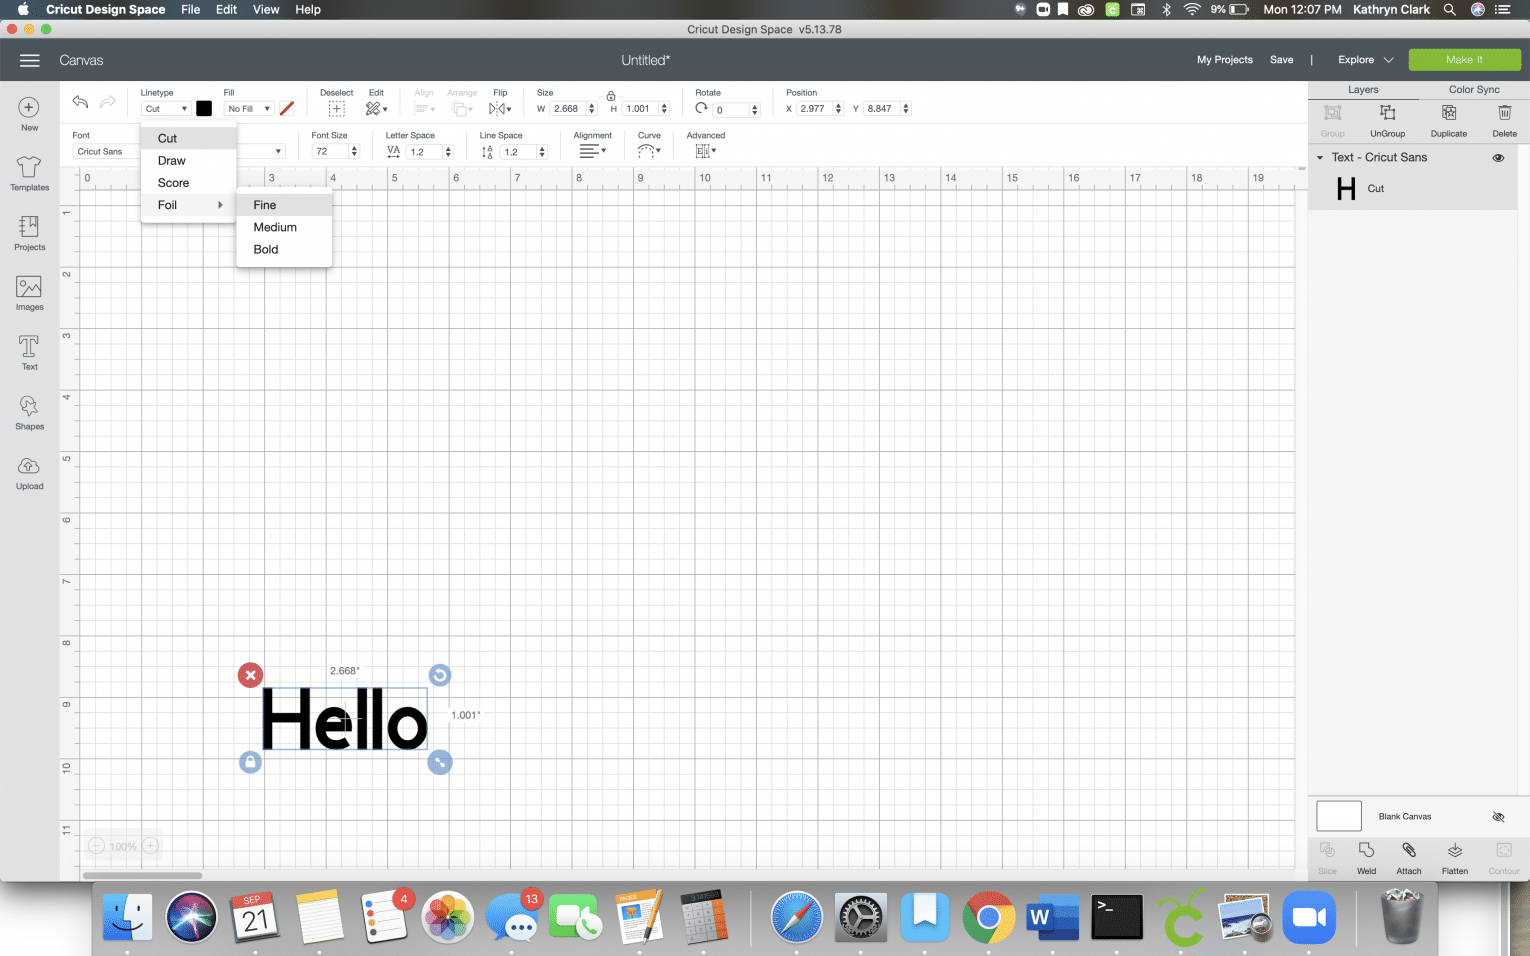
- If you are doing a custom project (so one that wasn’t specifically created for the foil line type), you will need to select the item that you will be doing with foiling with, and then underline type, select “foil” and then either fine, medium, or bold.
- When you are ready to complete your project, press “Make it”. Make sure you check the mat preview to ensure everything looks right.
- Follow the Design Space prompts, which should include:
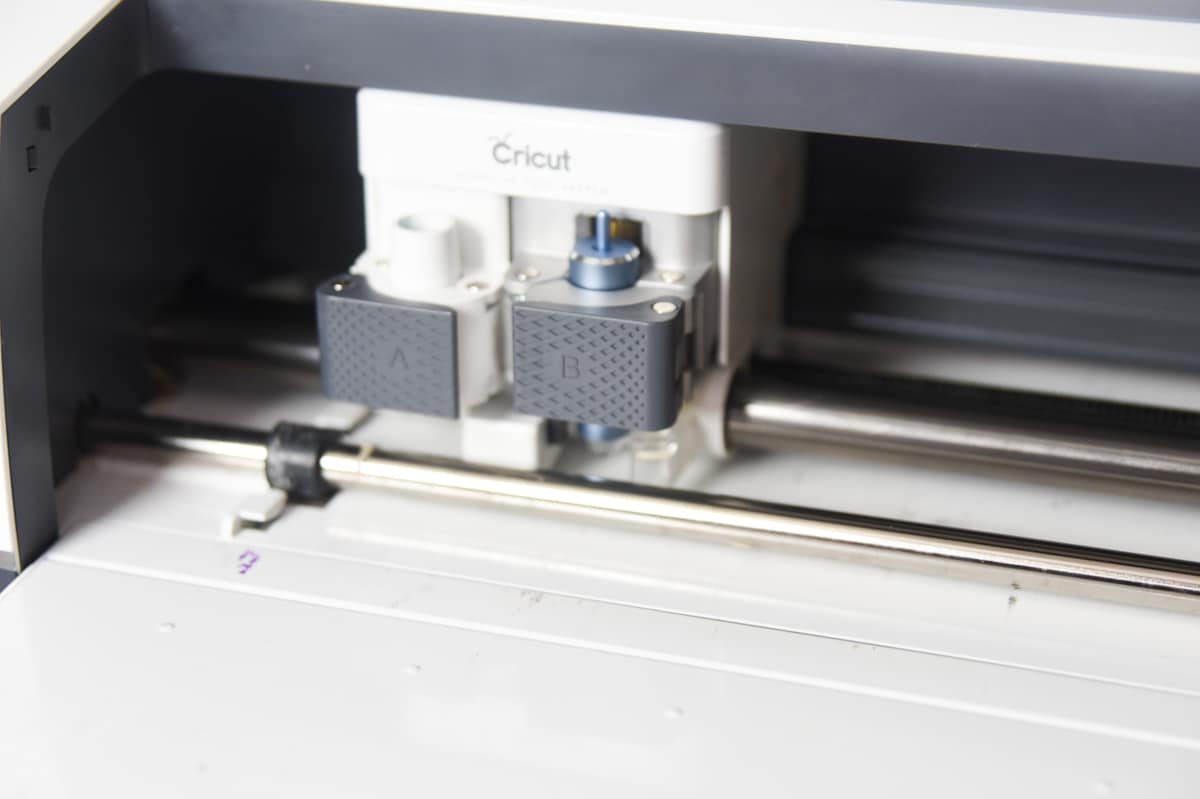
- Insert the Transfer Tool and preferred tip into Clamp B
- Put the foil transfer sheet onto the base material. I would do this before placing the base material onto the mat.
- Press “Go” and let the magic happen!
- Unload the mat and carefully remove the foil transfer sheet.
- Continue cutting
Now here are a few more details on questions you are probably going to be asking and tips for successful use.
What Transfer Tip do I use?
There are three tips available for use with the transfer tool housing – thin, medium, and bold.
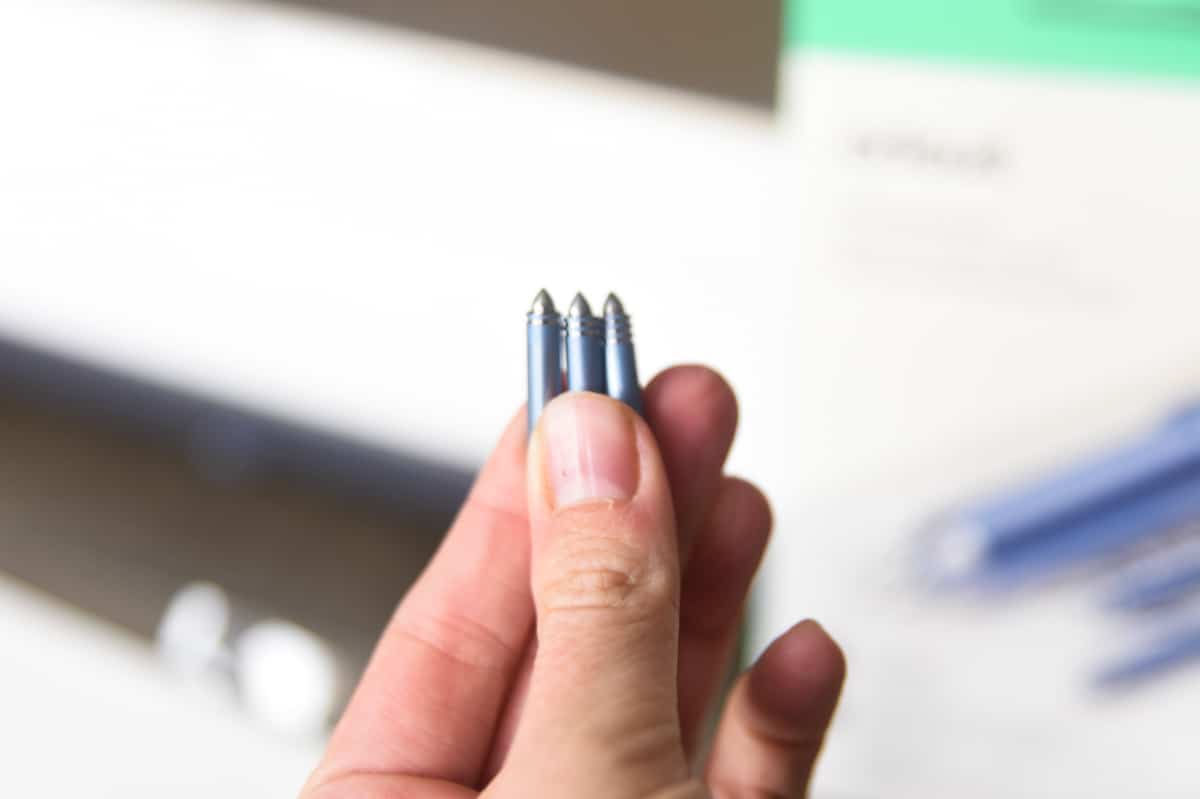
Each tip has a certain number of lines to indicate the size:
- 1 Line = Thin
- 2 Lines = Medium
- 3 Lines = Bold
Here is a comparison of what they look like in Design Space using the same design:

Trim the foil sheet!
In order to save material (and money) make sure you trim your foil sheet down to size when using it. You also want to do this to prevent the foil transfer sheet from sticking to the mat. This can damage your mat and leave foil particles behind – which can decrease the stickiness and possibly affect other projects.
Trim the foil sheet down to the size you need it (so it covers the design space of your project) – but make sure you include enough foil to allow for tape. You don’t want the tape covering any area where the foil will be imprinted.
Place foil shiny side up on mat
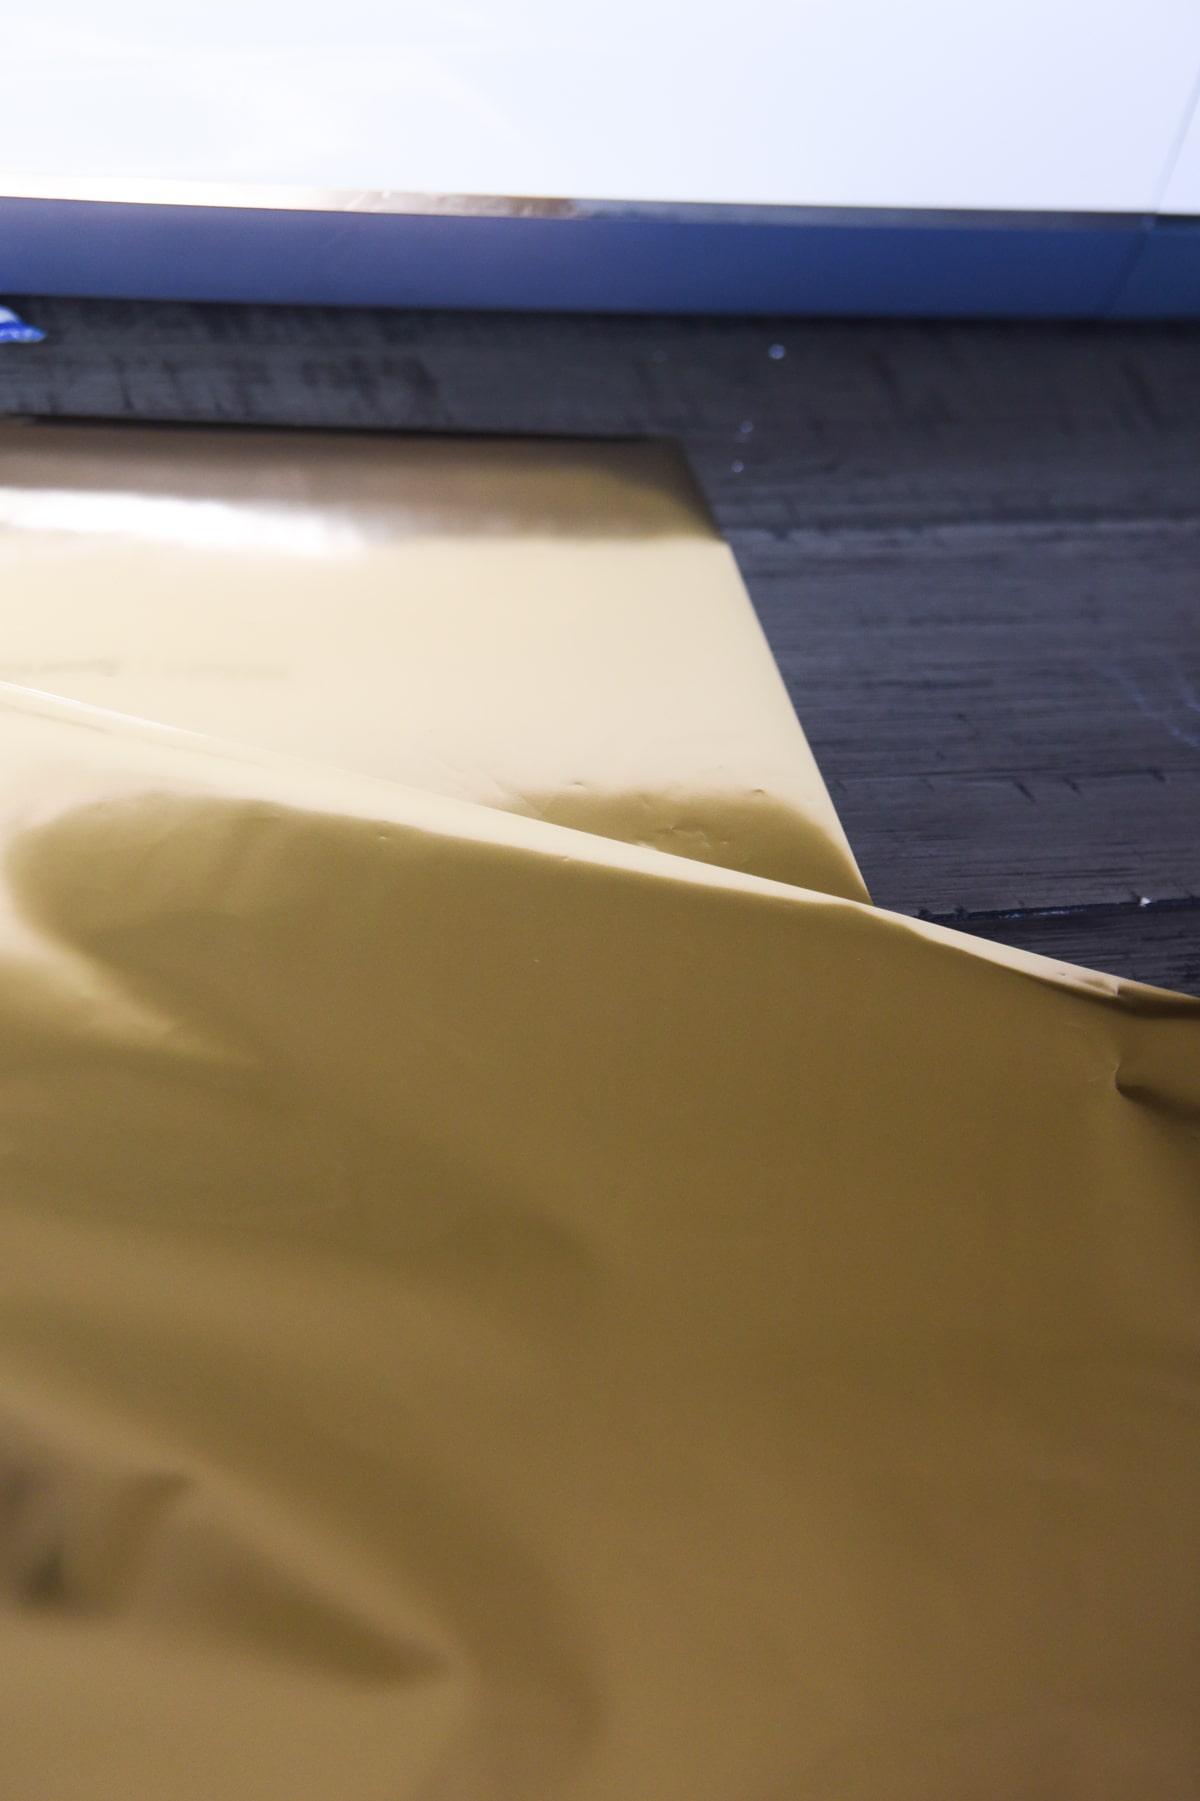
Always make sure that you place the foil shiny side up on the material! No need to to mirror or anything.
What Mat Should You Use
Because this is a material that is put onto a base material, the mat that you will use will entirely depend on the base material. So if you are using light cardstock, you’ll use the LightGrip mat – as opposed to use the StrongGrip mat for Kraftboard.
Don’t Forget to Take off the Transfer Sheet!
When you are doing a foiling project, the first step is always going to be the foiling part. Once this is done, make sure you remove the foil!
I made this mistake my first couple attempts at foiling. I forgot to take the foil off, and it pulled the foil off. It also didn’t cut all the way through my project because of this. So don’t forget to take the foil off!
Best Practices for Taping Transfer Sheet
Taping your transfer sheet down is one of the keys to success with foil transfer.
The tape strips that are included with your foil transfer sheets have been tested with lots of materials. However, it’s always good to still test – especially if it’s a new brand of a material that you’ve used in the past.
All four sides should be securely taped down. Avoid getting lazy about this to save time or material – you’ll end up regretting it.
Include an allowance for tape on your foil transfer sheet when you are trimming it down to size. I would say you need 1/4″-1/2″ of extra foil to ensure you can tape it down adequately.
Make sure tape isn’t covering the design
If your tape is covering the design, it won’t transfer properly. It may transfer a little bit, but you want to make sure there’s enough foil over the base material to prevent overlapping.
When you are in the project preview screen on Design Space, position your design so it’s not right on the edge of the mat and make sure your material is positioned exactly like that on your cutting mat. This should allow you to have tape that doesn’t cover your design while preventing tape from going under the black rollers.
Can I Use a Foil Sheet More than Once?
If you are able to cut it down to sign, you should be able to use an unused portion of a foil sheet more than once. However, if you can’t use a portion of the foil that has already been used.
Make sure you double check the positioning on the mat before you start your project.
Tips for Preventing Ripping
Ugh, it’s SO frustrating when you have your material rip or get messed up. The foil transfer sheets certainly aren’t immune to this, either.
Here are a few things to make sure you do to prevent ripping before it happens:
- Use the correct tip for your project. You will select the thickness in the linetype setting when you are designing your project. This is what tip Design Space will prompt you to use, and it will cut based on those settings. If you attempt to use the wrong tip, it could tear. If you want to change the tip you are using, exit out of the cutting settings and go back to your canvas to change the tip.
- Use the correct setting for your base material – along with the correct mat.
- Securely tape the foil on all four sides.
- Make sure the foil is smoothly placed on the material and doesn’t have any wrinkles, bubbles, or crinkled areas.
- Make sure the tape isn’t covering any area where a design is. You don’t want the tool to go over the tape when it’s creating a design.
- Remove the foil before going on to a cutting portion of your project (DS should prompt you for this!)
Use the Cricut Tool Organizer
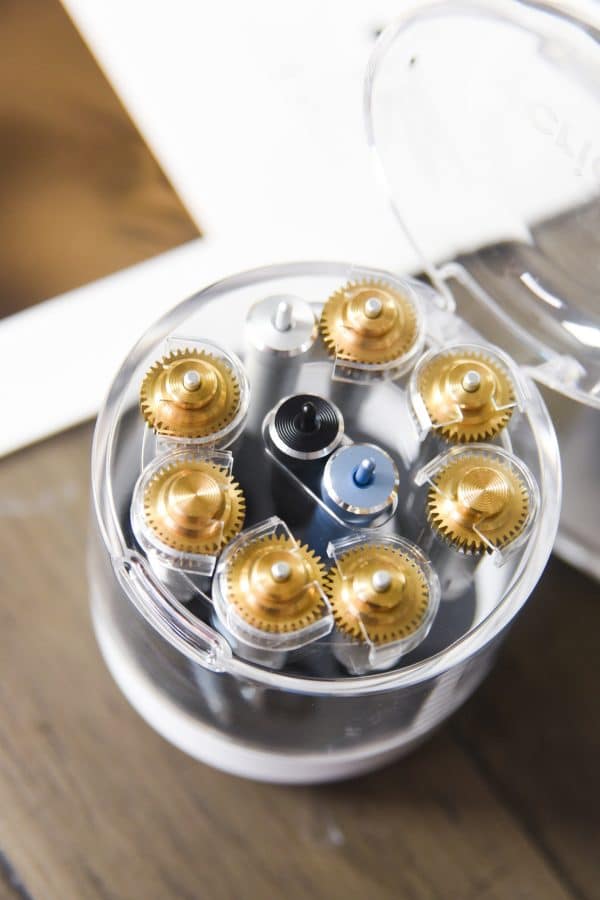
Love this thing! It fits perfectly into the center console of the Cricut Tool Organizer! I put the tips in the bottom.
Ah! My foil get stuck to the mat – is it ruined?
I am sure this is going to happen to just about everyone…especially me. Haha! I’m known for being a little distracted when I’m crafting, so I need to be extra carefully.
Thankfully if the foil gets stuck to the mat, it won’t damage the mat too much, and you should still be able to use it. Unfortunately, it will make your foil transfer sheet unusable, which would be a bummer!
Keep in mind that some of the foil particiles that stick to the mat could potnetially be transfered to other proejcts in the future.
What should I do with the rollers?
You should move your start rollers off to the side, if possible, to prevent them going over your project and putting lovely indents in it.
You also want to make sure that you position the materials on the map so the foil and tape don’t go underneath the black rubber rollers. If tape goes underneath those, they can get stuck and pull off/tear the material as the project is completed.
Even if there is a portion of the foil not being used, I would recommend making sure that it doesn’t go under those or the star rollers. You may end up with extra foil being transferred to your mat or with imperfections on the project.
What tape should be used with the foil transfer sheets?
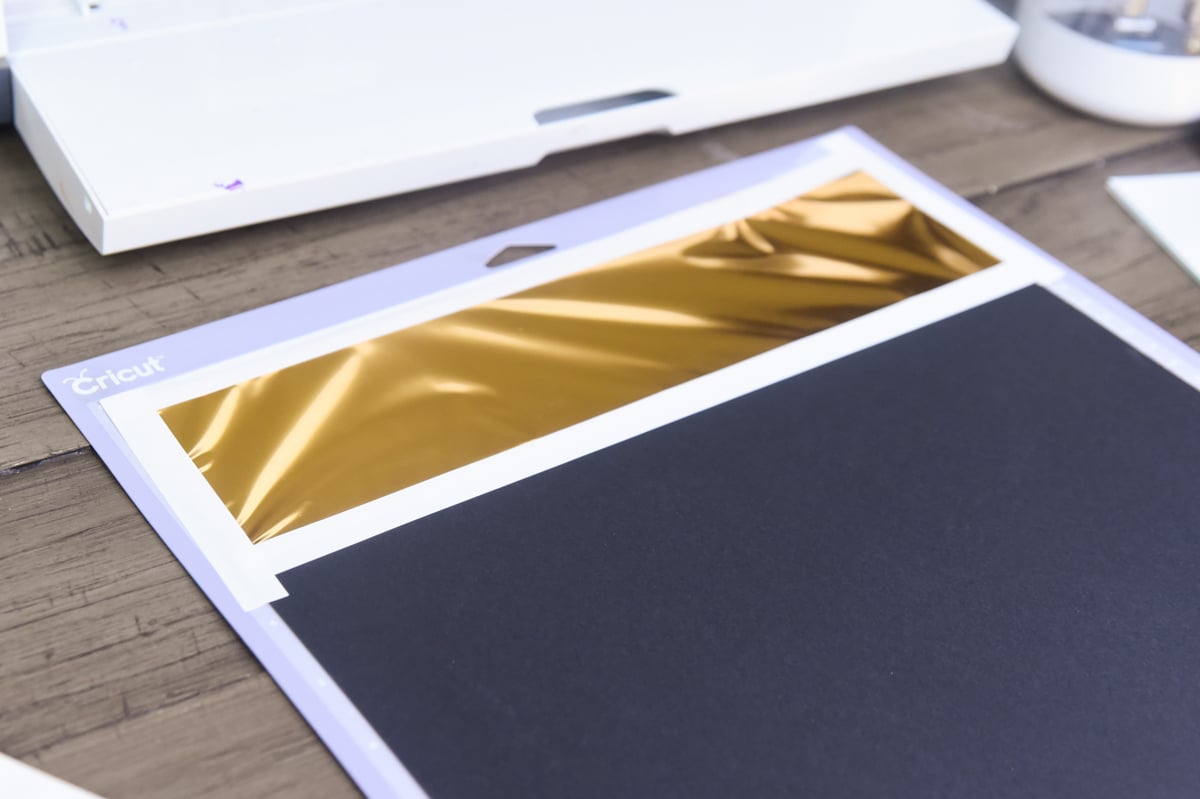
The tape that is included with the foil transfer sheets is what has been tested most with the foil. There should be enough tape in each package for the projects you want to complete.
If you need more tape, you can use an alternative tape that isn’t too sticky and hopefully won’t tear the material. You especially want to be careful when working with cardstock.
Some suggested tapes are washi tape, painter’s tape and masking tape. To prevent ruined projects, test the tape on a small portion of your base material to make sure it doesn’t tear or rip anything.
I’m noticing some foil dust – what can I do to remove this without hurting my project?
Tap your material against a hard surface. This should dislodge the foil dust. You can also use a soft tissue to brush the dust away.
More Posts About the Cricut Foil Transfer System:
- What Materials Can I Use the Cricut Foil Kit With?
- Cricut Foil Transfer versus Foil Quill
- Cricut Foil Transfer Tool – FAQs
Other Cricut Posts You May Enjoy:
- The Cricut Maker Machine: Everything You Should Know
- Cricut Infusible Ink Pens: Tips and Tricks for Getting Started
- The Cricut Joy: Answers to ALL Your Questions!
- How to Use the Cricut Explore 2: The Beginner’s Guide
- How to Use Cricut Foil Iron-On – And a Few Things NOT to do!
- Cricut Infusible Ink: Everything You Need to Know
