Copy Cat Thin Mint Cookies Recipe
Thin mint cookies are popular across the United States – but you can only get them one time a year. This copycat Thin Mint Cookies recipe is SO delicious and fun to make. It is a labor of love – but it’s a labor that is well worth it.

If you missed your opportunity to get your cookies this year, or you want to try your hand at making some of the most popular cookies, then this recipe is for you! These cookies are an exact, if not better, cookie than the Thin Mint that you can only get a few weeks a year.
What makes this recipe work?
This is an amazing cookie! It has the perfect crumbly cookie, nice minty chocolate exterior, and deliciously satisfying flavor that makes this one of the best treats you’ll make all year.
If you follow the steps in the recipe, you’ll end up with gorgeous, shiny cookies that are soft and minty on the outside and crunchy and delicious on the inside.
Following the details in the recipe is important to make sure they come out right every time. Chilling the dough, melting the chocolate carefully, and adding the mint extract a bit at a time will guarantee a consistent, delicious cookie.

How much mint do I add?
This is a mint cookie, so there needs to be mint in both the cookie and the chocolate coating. However, mint extract can easily overpower everything else. So, I always add a small amount, mix thoroughly, and taste. If you can’t taste mint in the dough, you won’t taste it in the cookie. It shouldn’t be strong, but it should be present.
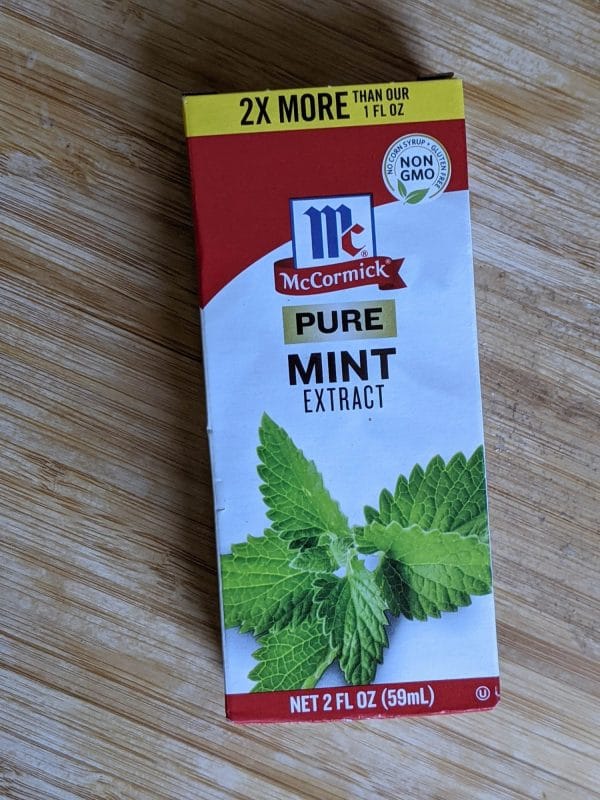
When adding mint to the chocolate, add it carefully and mix thoroughly. Then taste it with a clean spoon. If you want more, add it in 1/8 teaspoon increments. It’s easy to add. It’s impossible to take out.
This recipe calls for enough mint if your mint extract has not been sitting in the cupboard since Destiny’s Child was on the radio. If your extract is old, smell it to make sure it’s still potent. You can use older extract, you just might have to add more.
Why do I need to chill the dough?
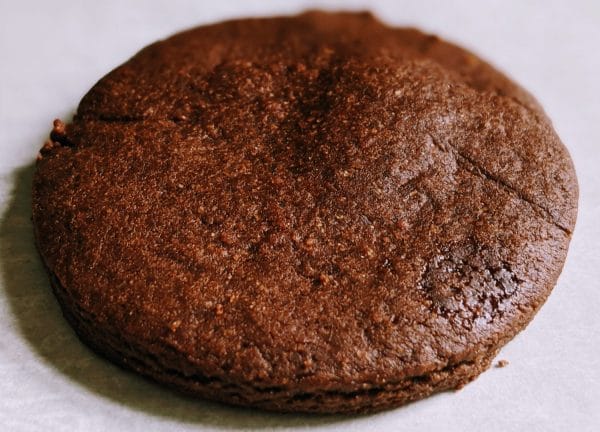
Chilling the dough is an important step because it will help the cookies stay flat as they cook. If you cook the dough when it’s room temperature, it will rise in the oven and you’ll end up with fluffy cookies. They taste great, but they sure aren’t “thin” mints.
How do I melt the chocolate?
Melting chocolate can be done on the stove, or in the microwave. As long as you’re paying attention, doing it in the microwave is easy and avoids the risk of ruining the chocolate by letting water get into the mix. A drop of water in the melted chocolate can ruin the whole thing.
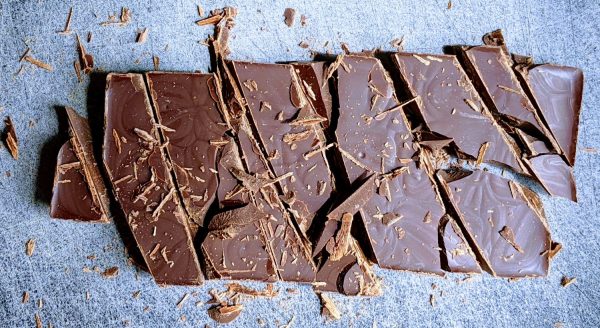
Start with a dry glass microwave safe bowl. Add about six to eight ounces of the chocolate, roughly chopped, with about 1/2 teaspoon oil. Melt on high for 30 seconds, and stir. Melt for another 30 seconds, and stir . Then, in 10 second increments, continue to melt until most, but not all, of the chocolate is melted. As you stir, the remaining chocolate will melt. At this point, add the mint.

If you don’t have baking chocolate, you can use chocolate chips. However, they will not have the same gorgeous gloss when the cookie is finished, and they might be coated a little thicker. I’ve done both ways and they’re both great. Just know the cookies won’t look entirely uniform and polished.

What’s the best way to cover the cookie in chocolate?
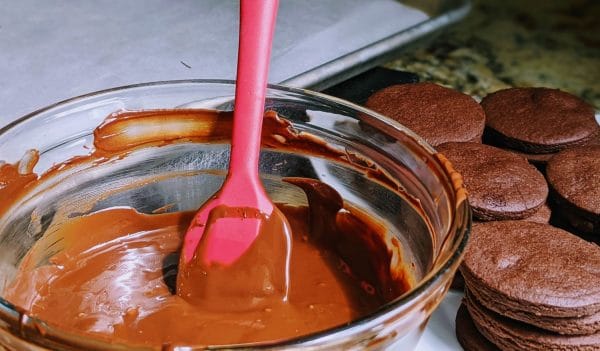
Over the course of dipping 50 cookies, I did every method I’ve ever seen on cooking shows. I used my fingers, a spoon, two forks, frosting methods, dunking, and drizzling. They all work, and they’re all messy. I started out with the drizzle and cover method, and as my fingers got messier and the chocolate thickened as it cooled, I ended up doing the full dunk method.

Find a way that works for you. Work fast as the longer the cookie is in the chocolate, the harder it is to handle. Try not to apply too much pressure, as the cookie can break, which introduces crumbs into the mix. (Crumbs are inevitable, which is another reason to do the chocolate in portions.)
Ingredients
- 1 cup butter, room temperature
- 1 cup white sugar
- 1 egg, room temperature
- 1 teaspoon vanilla
- 1/2 teaspoon mint extract
- 1/2 teaspoon salt
- 1/2 teaspoon baking soda
- 1 3/4 cups flour
- 3/4 cups cocoa
- 14 ounces semisweet baking chocolate, chopped
- 1/2 teaspoon mint extract
- 1/2 teaspoon vegetable or canola oil
Directions
- Mix the sugar and room temperature butter together until fully combined, for several minutes.
- Add egg, vanilla, and mint and combine.
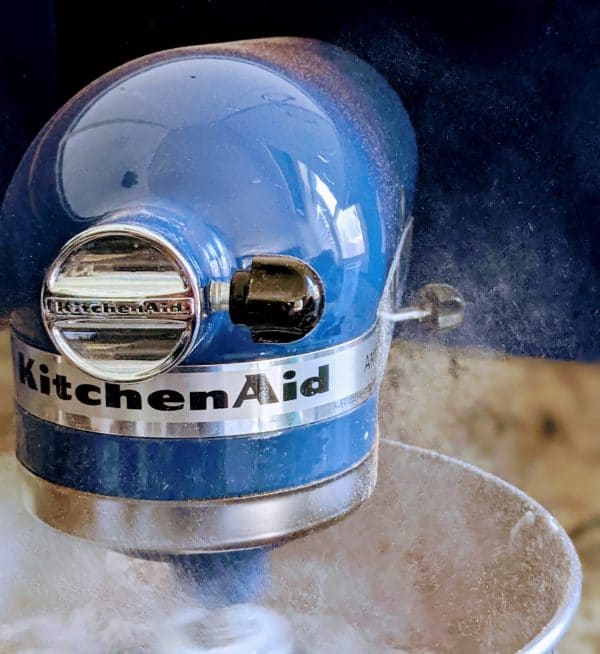
- Add baking soda, salt, and cocoa powder, and then add the flour, being careful not to let it fly everywhere.
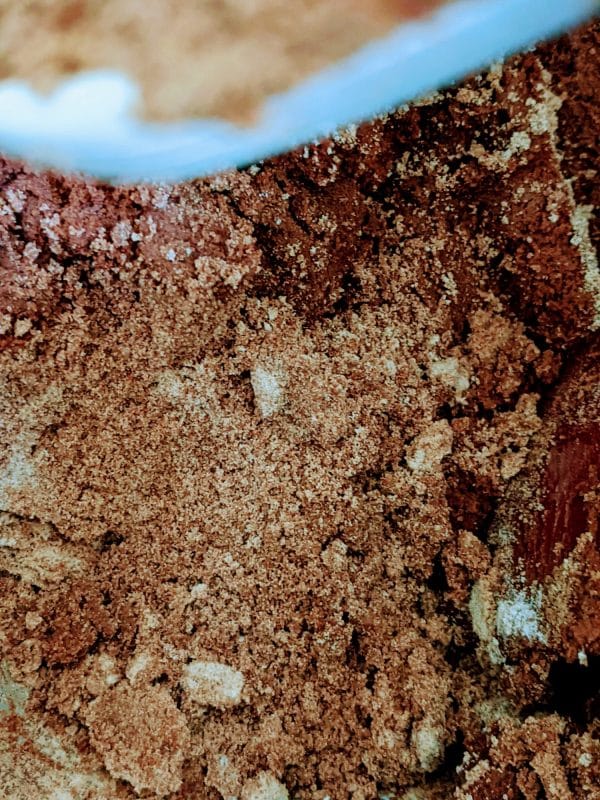
- Be sure to scrape the side and bottom of the mix, the dough has a tendency to not blend entirely, and it is very important to mix it thoroughly. I always taste the dough before calling it finished, it should have a hint of mint. If you can’t taste it when the dough is not cooked, it’s not going to stand out in the finished cookie. It doesn’t need to be strong, but it should be present.
- Once the mix is combined, divide the dough into two equal parts.
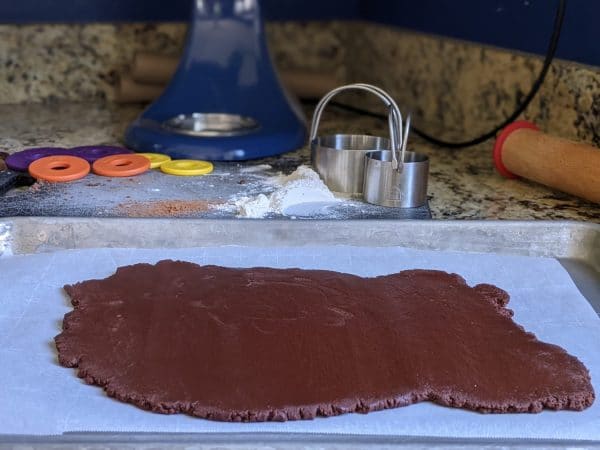
- Roll it out onto parchment paper, about 1/4″ thick.
- If you have a rolling pin with adjustable rings, select the 1/6″ ring.
- It’s just a little thinner, and works great for the cookie.
- Put the cookie dough on a cookie sheet, and repeat with the rests of the dough.
- Chill the rolled dough in the fridge for one hour.
- This step is important. If the dough is not chilled, the cookies will risk rising in the center, which isn’t right for a Thin Mint.
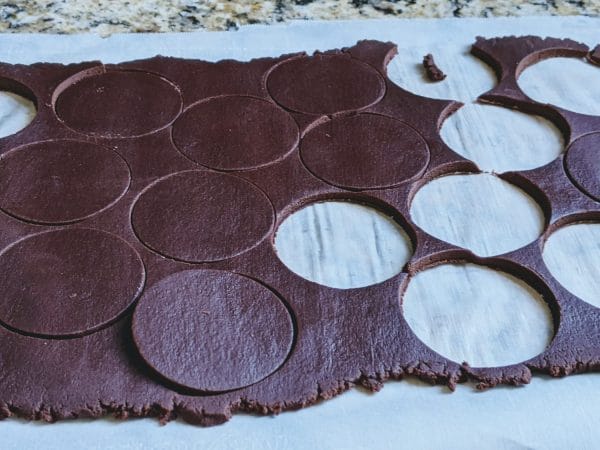
- When the dough is chilled, use a 1 1/2″ circle cookie cutter to cut out the cookies.
- If you don’t have this size, use something similar.
- I use a 2″ biscuit cutter. A shot glass or something similar will work just as well.
- Anything bigger than 2″ will be harder to cover with chocolate without breaking, so be careful.
- Place the cookie cut outs on a lined cookie sheet and bake at 350 degrees for about eight minutes. Watch them carefully to make sure they don’t overcook. They will feel slightly dry and flat to the touch.
- Let the cookies cool completely, for a few hours or overnight. Because they will be covered in melted chocolate, they can’t still be soft and warm from the oven.
- To melt the chocolate, chop it into large chunks and put it in a microwave safe bowl with the oil.
- Melt the chocolate for 30 seconds, and stir, then microwave again for 30 seconds and stir.
- Then microwave it for 10 seconds at a time, stirring regularly.
- The last portion of the chocolate will melt as you stir.
- Add a portion of the extract to the chocolate and stir.
- Then, dip each cookie and coat it entirely.
- Set it down on the parchment and let it cool on the counter entirely.
- Don’t be tempted to speed things up in the fridge or freezer, it will ruin the cookie’s lovely shine, and make the chocolate coating brittle.
- If you try to move a cookie before it’s entirely cooled or it will tear off the paper.
- Once the cookies are entirely cooled, they lift right off the paper.
- If excess chocolate has puddled, you can use a knife or spoon to chip it off. Be sure to lift the cookies carefully, finger prints are very visible on the shiny chocolate.
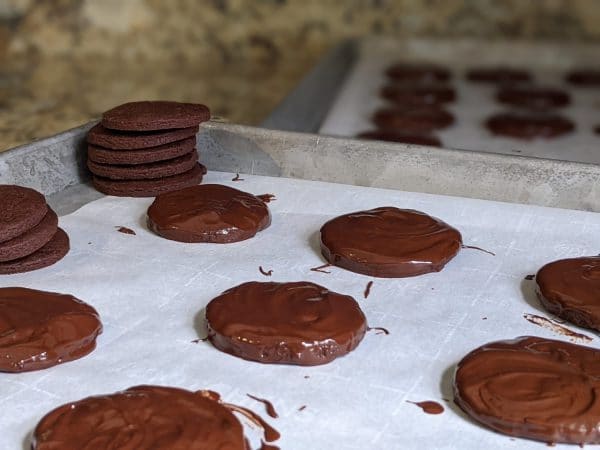

how many cookies does this recipe make?
This recipe makes about 50 2″ cookies, and will last four days at room temperature in a sealed container, if they aren’t all gone by then.
How does this recipe freeze?
If you want to freeze these, go ahead and put them in the freezer once they’re entirely hardened. Or, freeze the dough for easier storage and better overall flavor. They can be frozen for a few months.
How can I make thin mints gluten free?
This recipe is not gluten free and has not been tested with gluten free flour. However, you can certainly try it with your favorite all-purpose gluten free flour mix.
More Cookie Recipes You May Enjoy:
- Lemon Lime Cookies Recipe – Perfect for Spring
- Easy Snickerdoodle Cookie Recipe
- Easy Rolo Cookies Recipe
- The Best Easy Sugar Cookies with Buttercream Frosting
- Easy Ginger Snap Cookies Recipe That Really Snap
- The Best Pumpkin Chocolate Chip Cookies






This looks like a great recipe and was fun to read! The pictures of the finished cookies look way better than original thin mints! Yum!!
Maybe we can make them together!