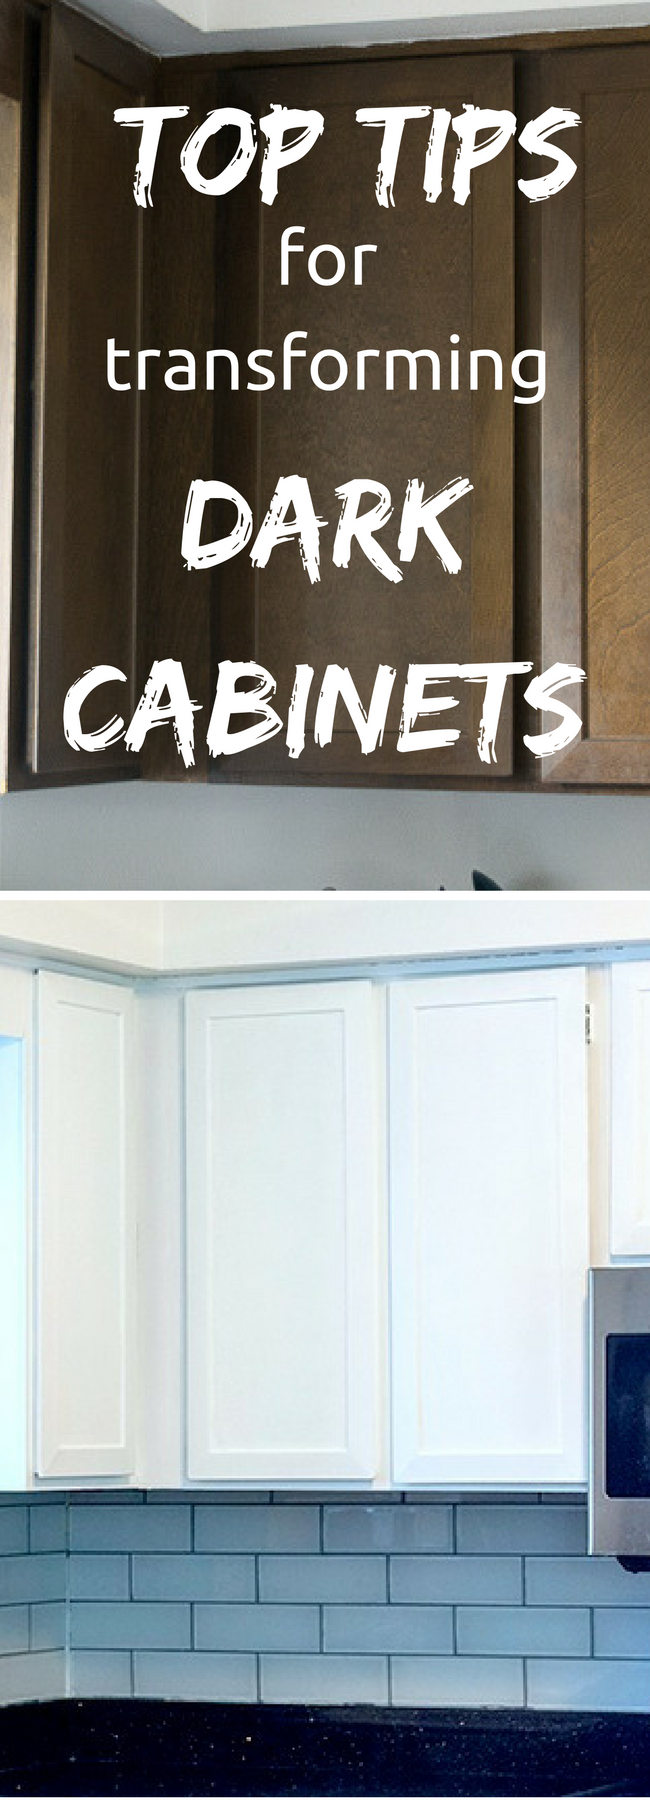
Tips for Painting Dark Cabinets
The house we bought was built in the 1970s.
While the previous owners had done some updates, much of the home was still living in the 70s.
Specifically the kitchen. If you know me, I’ve always dreamed of having a beautiful, large kitchen.
Well, this kitchen wasn’t large or beautiful. I couldn’t do much about the size of the kitchen, however, making it beautiful was in the realm of possibilities.
We’ve been doing some updates to it (including our glass tile backsplash), and I am in love with how it looks now. It actually even looks bigger with the changes we have made.
We still have a few things to do before our “final” reveal (knobs on cabinets, new fixtures, etc.), but today, I’m excited to share the final reveal, as well as a few tips for painting brown cabinets.
Here are some of the before pictures:
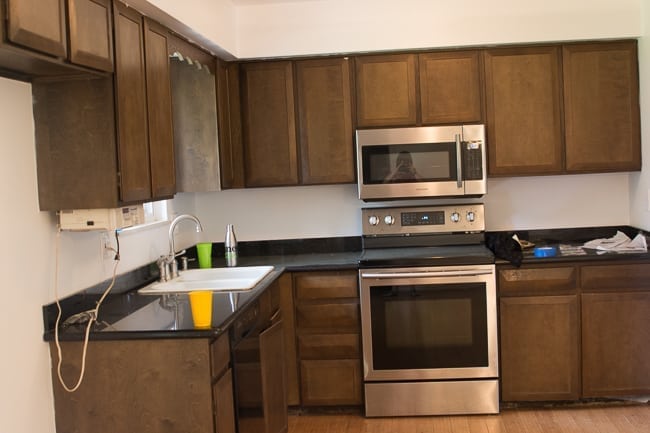
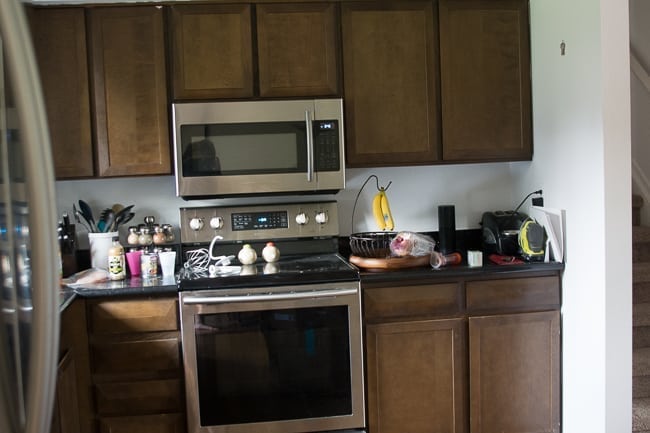
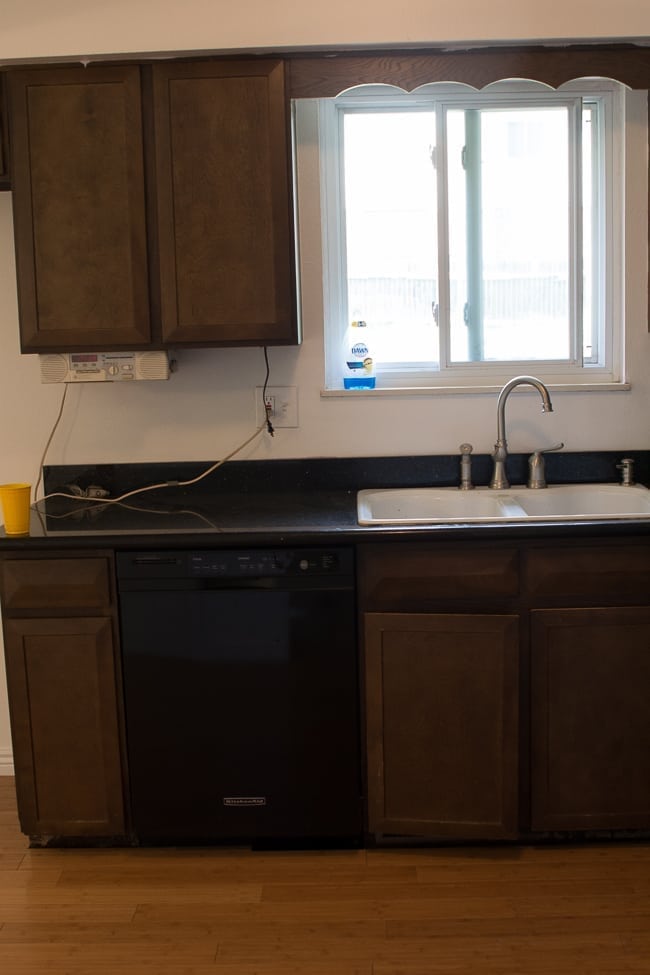
And here are the after!
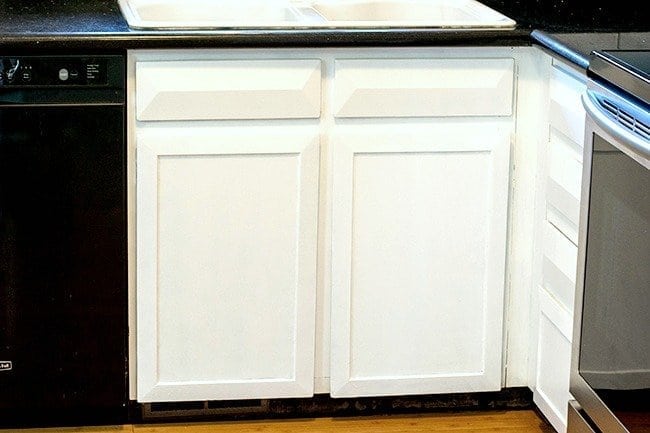
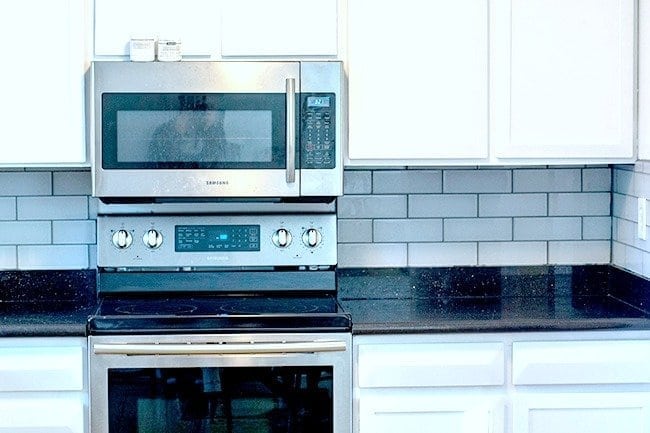
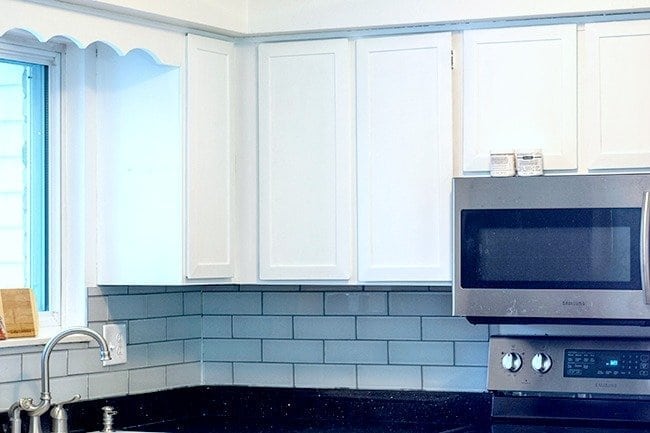
Now, here are a few tips for painting brown cabinets. It’s not the easiest task – it can require a lot of time and coats!
This is actually our second experience painting brown cabinets. The first one was one my parent’s kitchen. We used a cabinet painting kit, which had it’s pros and cons.
This time, we partnered with DecoArt and used their Satin Enamels collection. They have TONS of colors, but we decided to go with a classic – pure white. I felt like it really brightened up the kitchen and made it seem so much more modern.
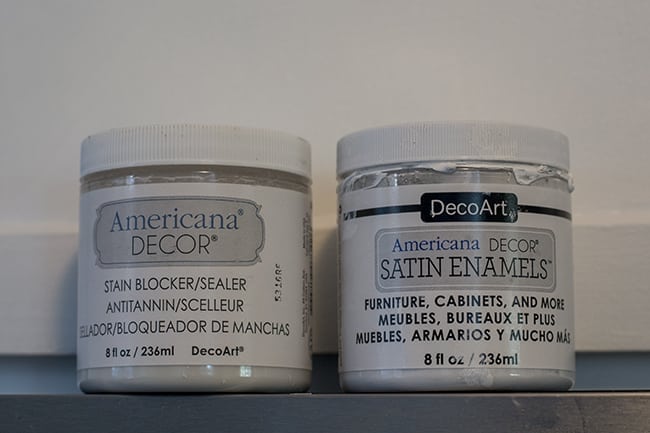
The Satin Enamels paint is specially formulated to stick to the trickiest of surfaces without a ton of prep work required…which I love. The simpler – the better! It actually was designed to help revitalize old cabinets.
They offer 21 different colors (all non-toxic). One jar will cover approximately 20 square feet (two coats), and they are easy to clean with just soap and water.
It’s also a great price. I think one jar at our local craft store is about $8.99. However, if you use a coupon, you can get it for even cheaper, which makes this a very affordable project. As you can see with my parent’s kitchen transformation (as well as ours), a coat of paint can make a big difference!
Revitalizing brown cabinets can be tricky, so hopefully these tips will help!
To Sand or Not To Sand
When we redid my parent’s cabinets, we sanded parts of them down at first. In the end, I wish we had sanded them down completely or used a primer. The paint we used said neither of these were required. However, we quickly discovered that many areas started to crack and split, and some areas bled through with the original stain, no matter how many coats of paints we used.
This made it so we had to go back and sand down the cabinets again and eventually buy a primer. It was really frustrating, and it made the project take SO much longer.
However, with the Americana Decor Satin Enamel paint, we didn’t have to do this at all. Let me tell you, it was such a relief to just be able to put the paint on without doing a ton of prep work. We did one coat of Americana Decor stain blocker/sealer, which is amazing. It helps prevent stains, knots, or tannins from resurfacing and ruining the look of the cabinets.
It really does work, too! The cabinets in our house are the same kind in my parent’s home (we live in the same neighborhood), but by using the sealer, we were able to avoid all the stress that we did with my parents. So I highly recommend getting that sealer before redoing old or dark cabinets.
Use Quality Paint
This is super important. I would do your research on the best cabinet paint that is in your budget. It makes a difference, and trust me, it’s worth using a high-quality product the first time around.
I really do love the Americana Decor satin enamels collection because it is high quality for an affordable price. We ended up using eight jars of the paint.
Lots of Coats
Most cabinet paint will give you an estimate of how much you’ll need for a successful paint job. However, I think most of these recommendations are not accurate for painting over dark cabinets – especially if you are doing a light-colored paint over dark cabinets.
I think our dark cabinets took about 5-6 coats of the paint to get them completely covered. So make sure you give yourself enough time. It’s definitely not a project that will take just an hour or two!
Test the Paint
This is a good tip with any paint project, but I think it’s especially important when painting something dark lighter. We are painting our bathroom cabinets right now (which are also dark), and the colors look NOTHING like the paint says it should, which is kind of frustrating (I should note, we didn’t use Americana Decor, which I’m wishing we had. Their paint seems to be pretty right on).
When I first started painting them, I just did a couple coats without really stopping to think about how they looked. What was supposed to be a blue color looks more like royal purple…which is definitely not what we are looking for.
If you can, get a paint sample from the store and test it on the cabinets before you get too far into it. You just never know how the paint is going to look!
Give Yourself Time
I already said this, but it’s important to give yourself enough time. We started painting this cabinets a few months ago, and we just finished. Granted, we are probably slower than a lot of people (we didn’t feel a huge rush to finish). However, it takes a lot of time to paint dark cabinets because it requires SO many coats.
If you want to get the project down quickly, set aside several days where you can totally concentrate on it. I do recommend doing it in just a few days if you can, simply because it’s not super fun having your countertops covered in paper and paint tape for months on end. Can I just say how wonderful it is to have my countertops back?!
Always have Extra
Try and estimate how much you need, and then get a little bit extra. We thought we had enough paint, but it turned out, we were 1.5 jars too short. Our local craft stores didn’t have the paint in stock, so we had to wait another week to finally get the paint and finish up the project.
My philosophy on most things in life is that it’s always better to have a little bit too much than just a hair too short.
Storing your Paint Brushes
There are few things I dislike more than washing paint brushes – especially if you are going to be using them again soon. We have found that you can store them for awhile in ziploc bags, and they will stay moist. Now, this isn’t a long-term solution (I did this once, and I left the paint brush in there for over a month. It was hard as a rock), but if you are painting over the course of a few days, it is a simple way to avoid having to wash your brushes every day.
However, I was watching Shark Tank a few weeks ago, and there was a company selling these paint brush covers. Totally brilliant – apparently, it keeps them wet and from getting hard for a very long time. They are only around $3.99, and I think they are so awesome. I can’t wait to use them for our next painting project.





I appreciate you talking a little bit about the sanding process before actually painting. I can see why this would be important for improving the adhesion of the paint. I’ll have to remember to sand before I do my next project.
Your kitchen looks beautiful! I love how open and bright it looks, and the backsplash and white cabinets really make it look bigger! I can’t wait to see the final “final” reveal!!