Little Girl DIY Tote Bag Tutorial
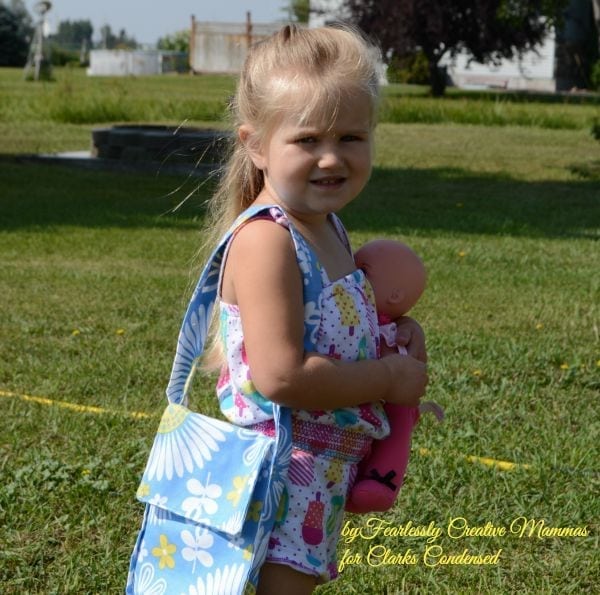
Happy Saturday! It’s Kathleen from Fearlessly Creative Mammas once again. What have you got going on today? Something fun I hope. Have you ever visited my blog? If not, you really should sometime. One of the things I like to do is make stuff for my grandkids. Sometimes it’s food. Sometimes it’s clothes. Sometimes it’s just something fun. Today I’m showing you something just for fun I made my granddaughter. She’s only two, but she thought it was pretty neat. It’s a Tote Bag for a Little Girl. It’s the perfect size for her tiny self and it’s a place she can put her treasures that she likes to carry around. Little kids have so many treasures.

The reason I thought to make this little bag is because I made super hero pencil cases for my grandsons. They really loved them too. You can see the pencil case HERE, in case you have little people for which you want to make a pencil case. Anyway, I try to be fair with my gift giving, so I decided to make this tote bag for my little angel. Isn’t she the cutest thing ever? (No, I’m not bias at all.)

I used home decor weight fabric, so it would wear well. I made another bag similar to this bag in July, but for an adult and a little bit more involved. That one is a Tablet Tote for an adult. I actually made it for my little sister.
For this bag, I cut four pieces of fabric measuring:
7 inches by 13 1/2 inches (back of bag, which will fold over the front to close)
7 inches by 9 inches (2 pieces) (1 piece for the front of the bag and 1 piece for the inside of top of the back of the bag)
47 inches by 4 inches (strap)
The strap piece may need to be adjusted in the length based on the height of the person for whom you are making the bag. I also used a 2-inch piece of velcro and of course, matching thread. Also, I ironed the pieces after I cut them. Usually I iron the fabric first. I’m not sure what I was thinking there, but sometimes that’s the way the cookie crumbles.
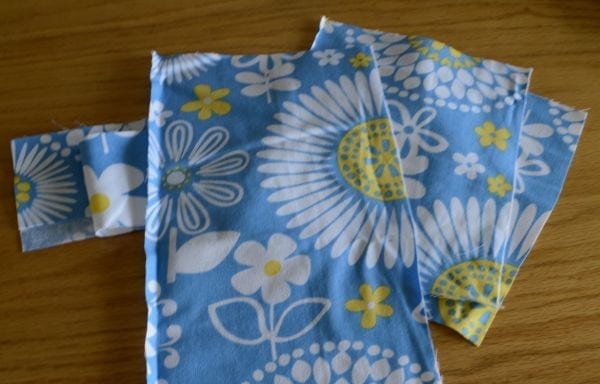
I folded one edge of each piece of bag fabric over, ironed it and then sewed it.
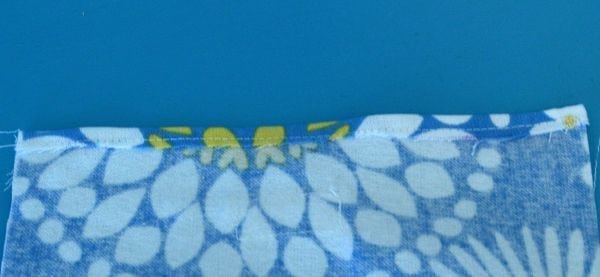
Next, I figured out exactly where I wanted the Velcro to be and attached it in place. I put it on the two 7 1/2 inch x 9 inch pieces.
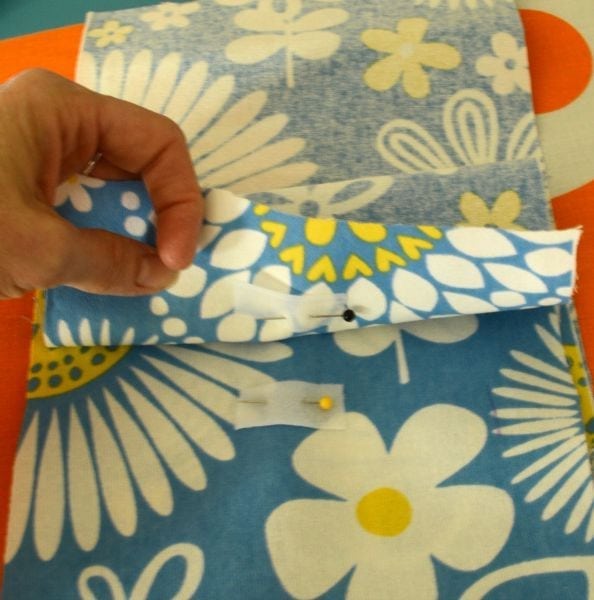
Then I attached the two pieces of back fabric together, attaching with the right sides together and on three sides. Then I turned it right side out and ironed it so the edges were crisp.
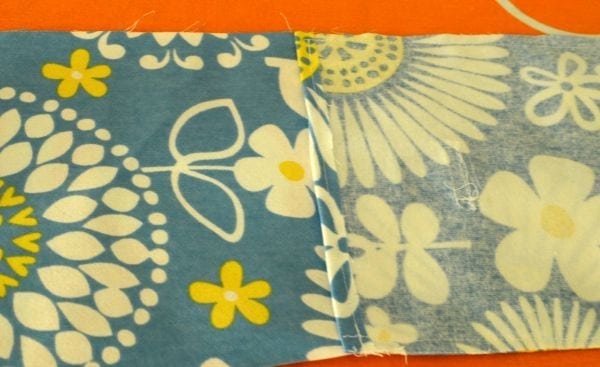
Next, I made the strap by folding the piece in half, long ways, and sewing three sides, leaving one of the edges open to turn it right side out. Iron it to make the edges crisp. Sew the fourth end shut.
Now we’re going to attach all of the pieces together. First, sew one side of the strap to three sides of the front of the bag, like the photo shows below. The ends of the strap should overlap at the bottom of the bag. Then do the same with the back of the bag, but only sewing up to the place on the bag where it folds over the front, which is the same spot that you sewed the front of the bag, so they are even.

Now you have a cute bag for someone you love. If your fabric has a pattern that is specifically up and down, be sure to sew your bag to go with that pattern. This fabric was all over the place, so it worked out well.

Here is my sweet girl again, with her bag and baby. She is so much fun. We painted our nails right after I took this picture. She loves to have her nails painted and she sits so still while I do it. So fun!! Who will you make a cute tote bag for this fall? Come on over and see us at Fearlessly Creative Mammas! We’d love to see you.




Hi
Very lovely simple bag.This is a genius way to make a tote bag.Your instruction is clear.I will try it for my daughter.
Thank you!