DIY Traditional Flannel Advent Calendar with Cricut
Felt advent calendars are a great way to celebrate the countdown to Christmas. With this tutorial, you’ll be able to make your own DIY Felt Advent Calendar with your Cricut in no time!
There was always one Christmas decoration I couldn’t wait to get out as a child.
A simple, flannel advent calendar that we would hang at the bottom of the stairs.
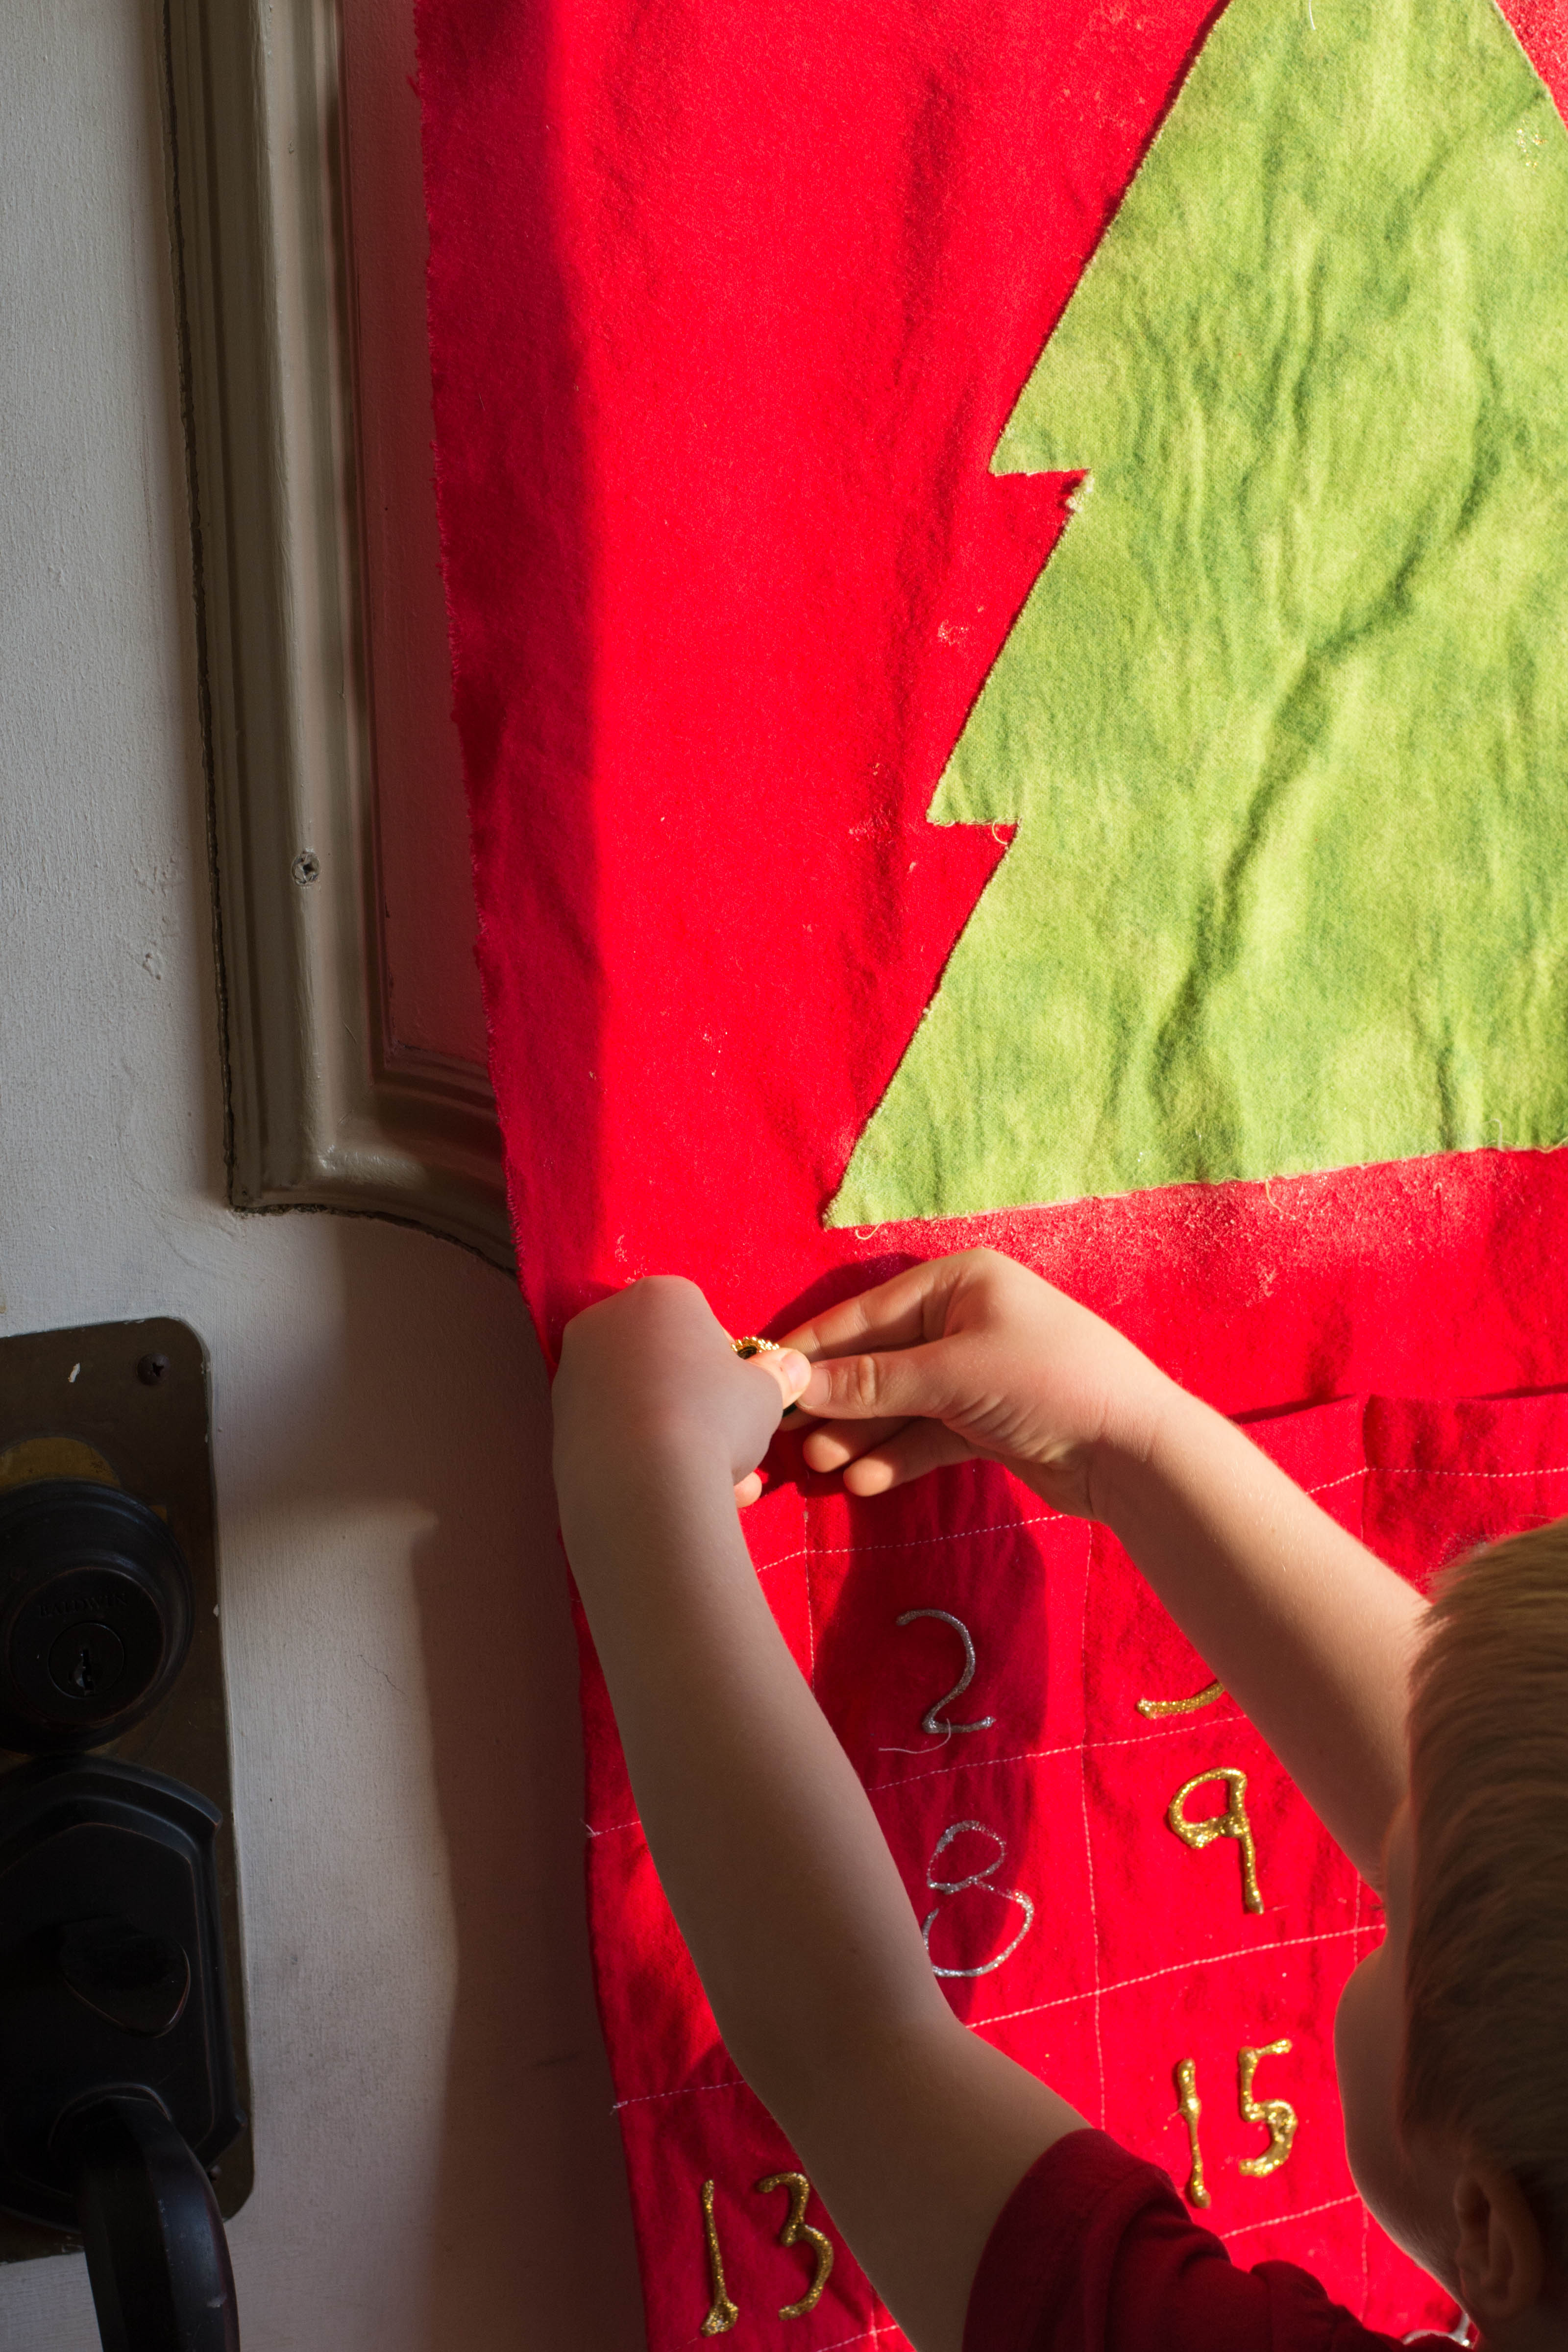
Each day, my siblings and I would race to it, in hopes that we might be the lucky one to hang an ornament and eat the piece of candy that was in the pocket.
I think this must have been a popular pattern at one point because when we arrived at my in-law’s home a few days ago, I noticed that they had one just like the one my mom had.
I’ve been wanting to make one for my family for a while now, and I’m excited to finally have it done. It took a lot of time to get everything right, but I think it’s something my family will enjoy for years to come.

Before I start this tutorial though, I have to say this is one of those times where you should do as I say…not as I do. I messed up on the pockets, and I have a different method that will work much better in the end (instead of having to cut holes into each pocket. Oops!).
I did use my Cricut machine to cut out parts of this product. Do you need a Cricut to do this project? No. But I do think that it makes it simpler. Make sure you read my post about the pros and cons of the Cricut, as well as the beginner’s guide to the Cricut machine!
If you do use your Cricut machine, I recommend adding attaching some heat ‘n bond to the back of the flannel before you send it through the machine. I found that when I didn’t do this, the flannel bunched up and didn’t get cut through as well. The heat ‘n bond makes it much stiffer, and since you need it anyways to iron it to the project, it’s just good to do it in the beginning.
Materials:
- 1-yard red flannel
- 1/2 yard green flannel
- T-shirt/Fabric Paint Pens (we used gold and silver glitter from Tulip)
- Heat ‘n Bond Iron On
- Wooden Dowel
- Matching Ribbon
Instructions:
Step One:
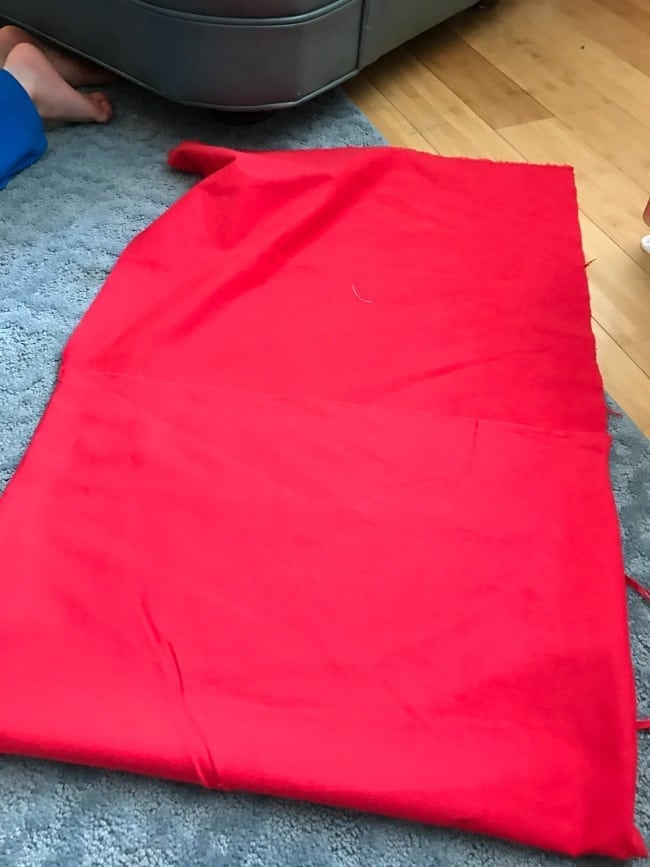
Place the red flannel vertically on a cutting mat and cut off 1/3 of a yard from the bottom.
Step Two:
Cut the 1/3 of a yard of the red fabric into four horizontal strips.
Step Three:
Place the strips on the bottom half of the remaining 2/3 red flannel horizontally. Pin in place
Step Four:
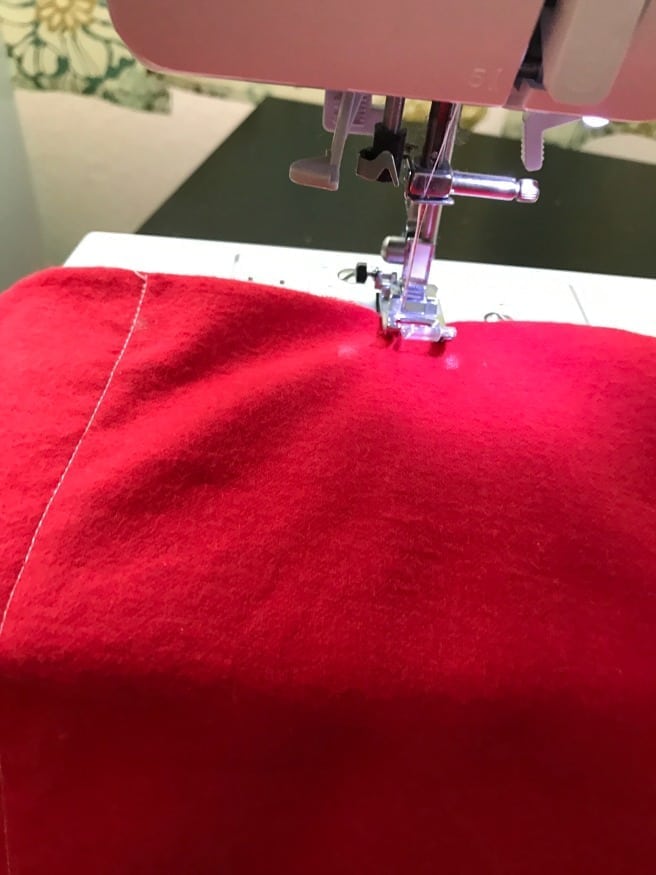
Sew along the side edges and the bottom edge of each strip. Then, divide each strip into six equal squares, and sew a line to make each box.
Step Five:
Create your Christmas tree pattern either using tracing paper or the Cricut machine. First, determine the length and width that you want your tree to be.
In the Cricut software, scroll down to the desired length for your tree. This is where you will start your template at.
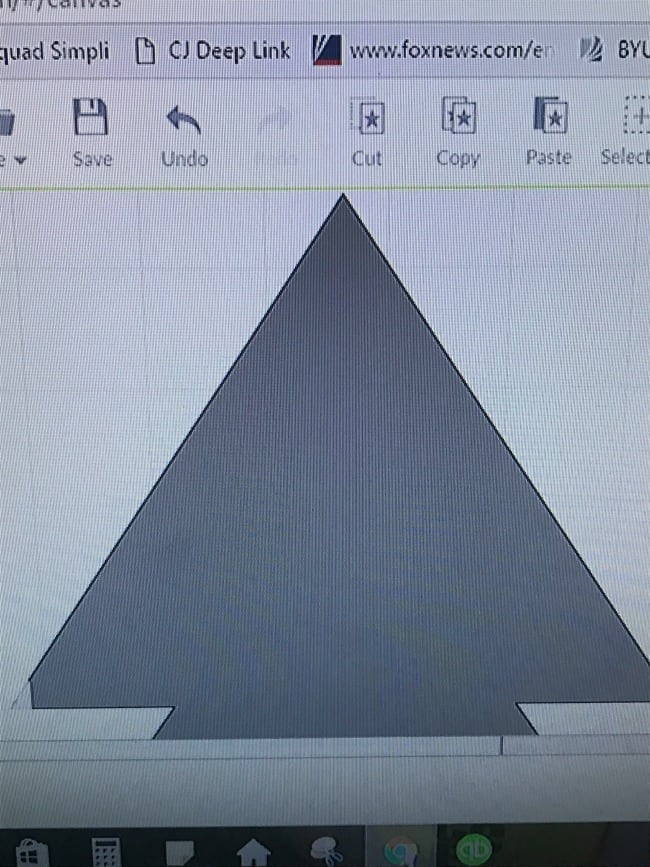
Grab a triangle shape and pull it out to the length that you want you want ito be. Then, use other triangles to build the tree from the bottom up. Once you’ve created the tree in the shape and size that you want, blend the shapes together.
If you are using tracing paper, just draw the tree out in the way you want.
Step Six:
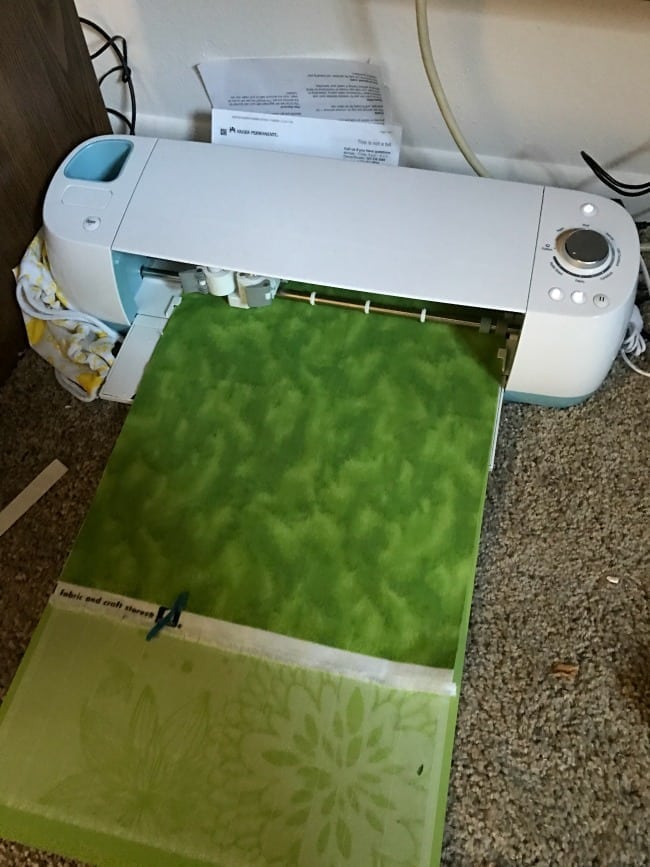
Cut out your tree. With the Cricut machine, send it to cut and do a test cut. I had to use a pretty high setting to cut through the flannel and the heat ‘n bond.
Step Seven:
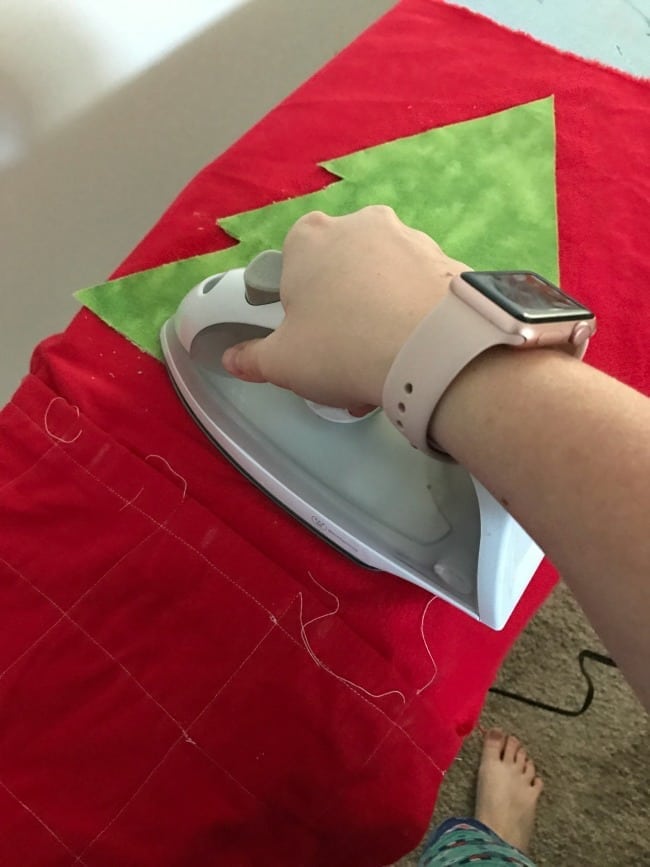
Iron the tree to the main piece of flannel.
Step Eight:
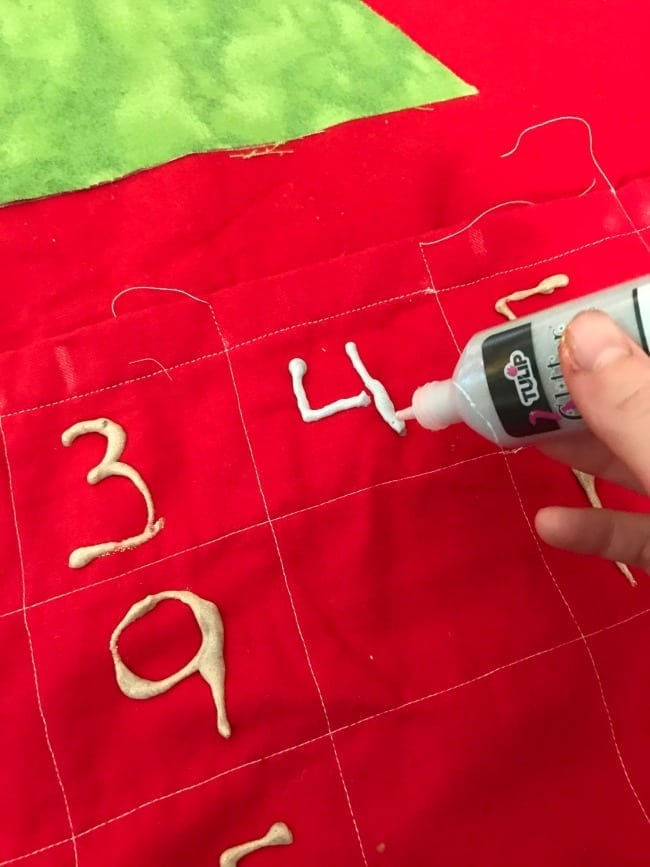
Using fabric glitter pens, write a number on each box. Let it dry completely.
Step Nine:
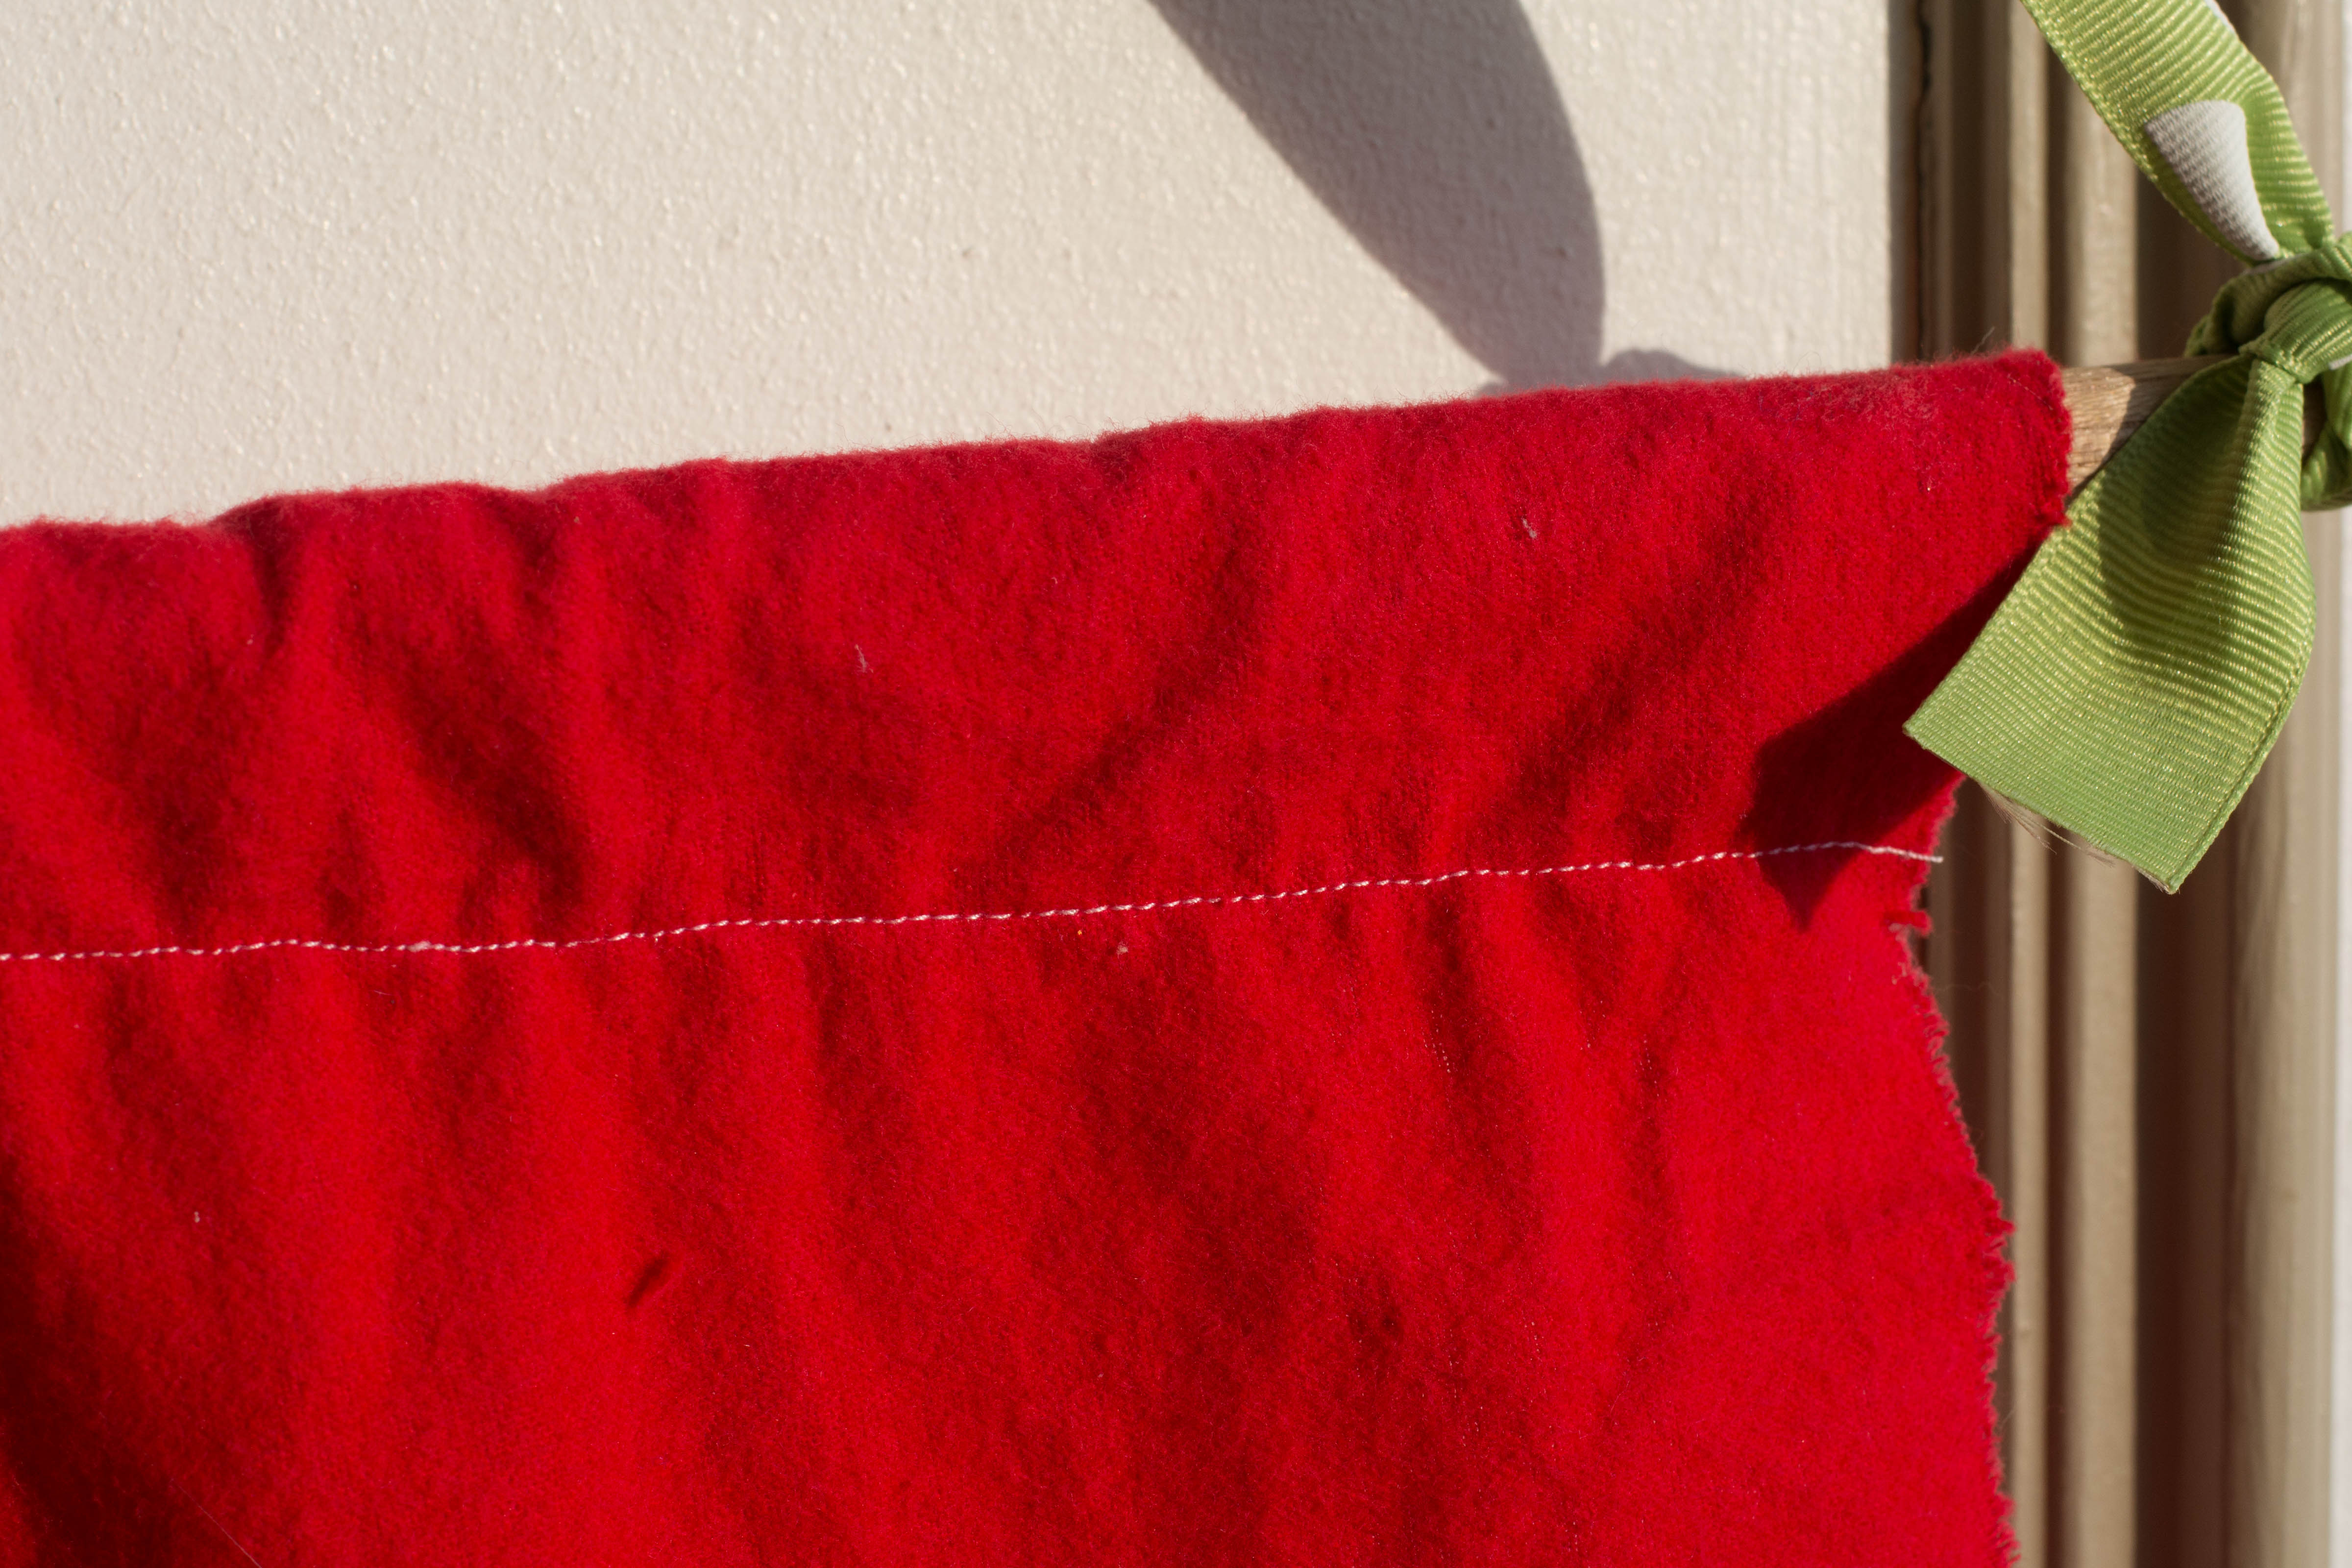
Fold back the top of the fabric to create a pocket to put your wooden dowel (that’s large enough to house it). Sew.
Step Ten:
Put wood dowel in the pocket you sewed previously. Tie ribbon to each end to make a hanger.
Step Eleven:
Place mini ornaments in the pockets with clothespins. Add candy or activity ideas to each pocket during Christmas time.

DIY Felt Advent Calendar
Materials
- 1-yard red flannel
- 1/2 yard green flannel
- T-shirt/Fabric Paint Pens (we used gold and silver glitter from Tulip)
- Heat ‘n Bond Iron On
- Wooden Dowel
- Matching Ribbon
Instructions
- Place the red flannel vertically on a cutting mat and cut off 1/3 of a yard from the bottom.
- Cut the 1/3 of a yard of the red fabric into four horizontal strips.
- Place the strips on the bottom half of the remaining 2/3 red flannel horizontally. Pin in place
- Sew along the side edges and the bottom edge of each strip. Then, divide each strip into six equal squares, and sew a line to make each box.
- Create your Christmas tree pattern either using tracing paper or the Cricut machine. First, determine the length and width that you want your tree to be.
- In the Cricut software, scroll down to the desired length for your tree. This is where you will start your template at.
- Grab a triangle shape and pull it out to the length that you want you want ito be. Then, use other triangles to build the tree from the bottom up. Once you’ve created the tree in the shape and size that you want, blend the shapes together.
- If you are using tracing paper, just draw the tree out in the way you want.
- Cut out your tree. With the Cricut machine, send it to cut and do a test cut. I had to use a pretty high setting to cut through the flannel and the heat ‘n bond.
- Iron the tree to the main piece of flannel.
- Using fabric glitter pens, write a number on each box. Let it dry completely.
- Fold back the top of the fabric to create a pocket to put your wooden dowel (that’s large enough to house it). Sew.
- Put wood dowel in the pocket you sewed previously. Tie ribbon to each end to make a hanger.
- Place mini ornaments in the pockets with clothespins. Add candy or activity ideas to each pocket during Christmas time.
More Cricut Christmas Projects:
- DIY Christmas Nativity Ornaments with Free Cut Files
- DIY Christmas Santa Ornament with Free Cut Files
- 30+ Easy Cricut Christmas Ornament Ideas
- DIY Cricut Christmas Matching Game
